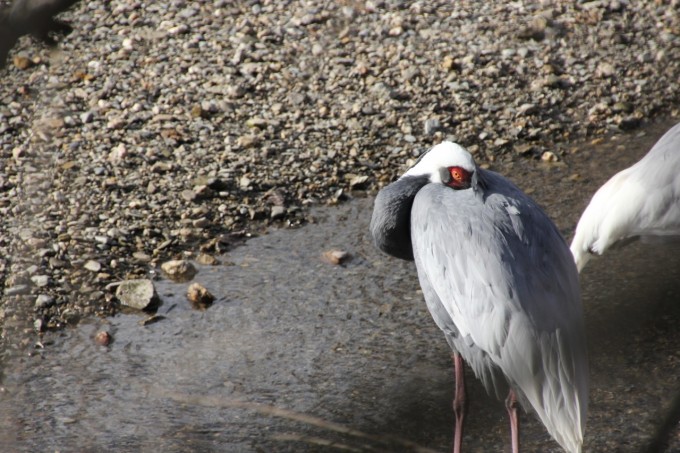
This white-naped crane at the Trevor Zoo this weekend was clearly keeping one eye on me.

This white-naped crane at the Trevor Zoo this weekend was clearly keeping one eye on me.
The weathervane on the chicken coop on a recent blue sky day.
Even though I have close to 60 chickens, mid-winter is a slow time for laying. My egg sales have been reduced to a few local friends and ardent egg fans. I enjoy the slowdown that wintertime brings to the farm. I still have some molting ladies, and the rooster is crowing a little too loudly lately, but come spring I’ll have some beautiful re-feathered girls eager to provide me with more eggs than I’ll know what to do with.
Sometimes you get a strange egg though. I find often that when a chicken is laying an egg for the first time it lays what we have come to call a “rubber egg”. This is an egg that has no hard shell, but just a rubbery outer layer that can be easily torn open with your fingers. This can also be a product of chickens not getting enough calcium and you’d need to increase her oyster shell intake, but this is rarely the case with free-ranging chickens. I have photos of some, but of course I can’t find them at the moment in my archives.
For the last few weeks though I’ve been getting some really tiny eggs. I don’t know who’s laying them, but I’m dying to figure it out. They are probably the smallest eggs I’ve ever had before, and that’s over 10 years and lots of bantam chickens. The really strange thing is that I don’t have a single bantam right now (a bantam is a miniature chicken breed).
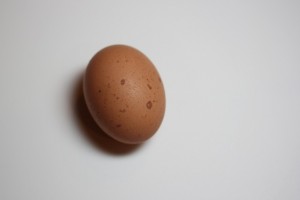
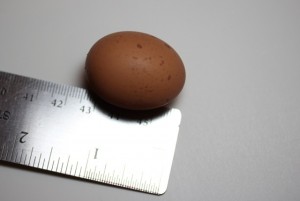
Now compare this to one of my normal eggs, which is about the size of a grocery store’s large egg. The tiny egg is just a hair over 1-1/4″, and the normal egg is about 2-1/2″.
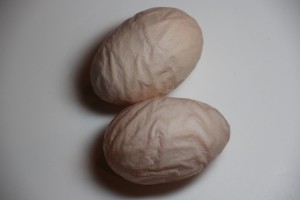
But below are the weirdest eggs by far I’ve ever had. Every once in a while I’ll get an egg with a “wrinkle” in it. I think when eggs are coming down the canal, there is still some elasticity in them to allow for that journey through the hen. Sometimes I’ll get an egg that has a wrinkle in it, like it had a particularly tight journey and just couldn’t completely straighten out before it hardened up, but these eggs below were just really odd. They were completely wrinkled. Again, I never figured out who was laying them, and all I got was these two and nothing more after that. I keep them in the fridge in a special box. One day I’ll crack them open and see if they’re normal inside.
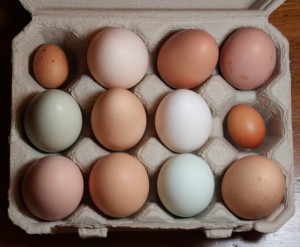
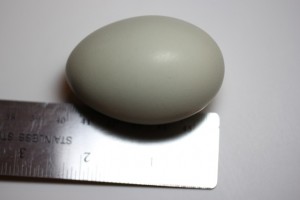
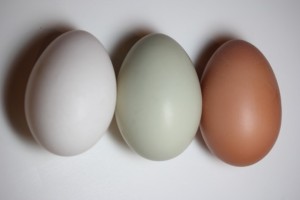
And just to give you a bit of the color range in eggs, below is one of my white eggs, a blue egg and a brown egg. I do have some dark brown layers, but didn’t have any available when I was taking these pictures. They are a beautiful dark dark brown.
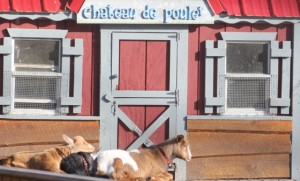
I snapped this photo through the window from my desk a week or so ago. Grace, Kiki & Princess Kate were all enjoying a nap in the winter sun, but I loved how Grace had stretched out on Kiki.
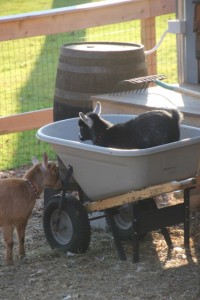
Also taken a few weeks ago, Kiki was hindering my progress in cleaning the goat stalls out by using the wheelbarrow as entertainment. Grace also hopped in a moment later.
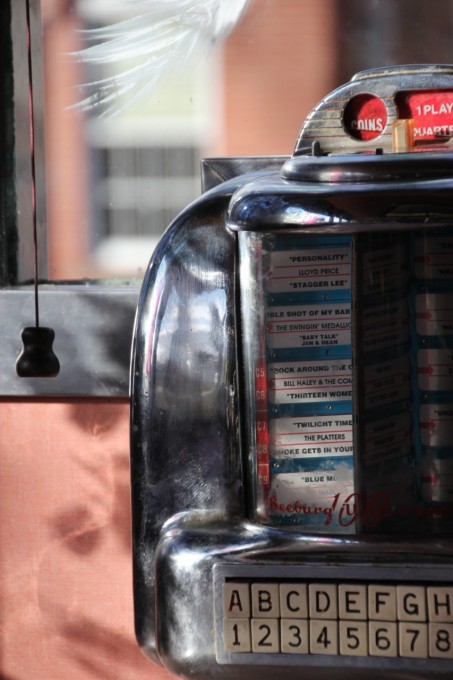
Yesterday while in Millbrook, New York with the family we ate at the diner in town. The kids were absolutely fascinated with the tabletop jukeboxes they still had. After inserting a quarter in them though we were informed that they no longer worked.
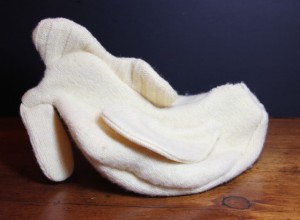
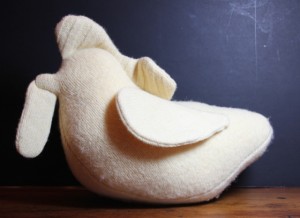
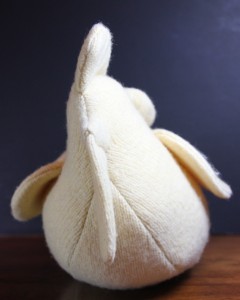
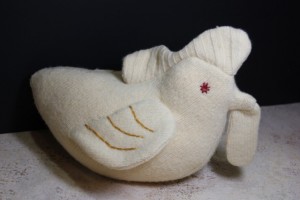
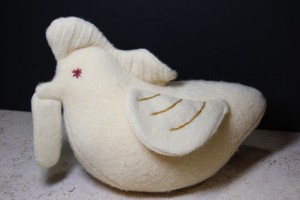
I got this pattern directly from Martha Stewart’s website. It was really easy to make using an old sweater that I felted in the washing machine. The directions appeared to be wrong; they said to enlarge the pattern 400% to make a 5″ tall chicken. When I enlarged the pattern that much I would have had an enormous, turkey-sized chicken. I think I enlarged it 200%, although it may have been a little higher, and in the end and the chicken is 9″ tall and 12″ long. I’m also not exactly sure what that thing hanging down under his beak/chin is supposed to be, or why the heck mine is so enormous and the one in her photos is tiny when I used her pattern? Chickens don’t really have wattles like a turkey, but that’s kinda what it looks like. I also added some embroidery to it: eyes and some wing details. I’m going to try making another one some day with different colored sweaters, maybe red for the comb, yellow for the beak and white for the body? It’s also fun to play with textures, as I did for the comb but you could also do for the wings — ribbed or cabled.

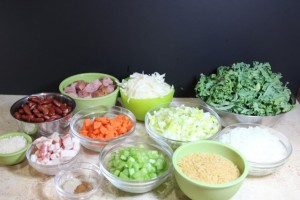
I was in the mood for soup on Thursday, and found this recipe on my favorite go-to recipe site, Cook’s Illustrated. I did change quite a bit from the original recipe, but it was a great launching pad for recipe creativity. I’m not a big cabbage fan, so I substituted kale instead and doubled the called for carrots and celery. I also wanted to make it more of a meal, so in addition to increasing the bacon slightly, I also added 8 oz. of chopped kielbasa to the soup. And I don’t care what anybody says about flavor; I think that gelatinous juice that canned beans are in is nasty. I rinsed and drained mine before adding to the soup. I was afraid that the soup wouldn’t have enough flavor with just using water as the base, so I eliminated some of the water and substituted 26 oz. of chicken broth instead. I wasn’t sure what to think of the cinnamon called for, but I used it. I can’t say I tasted it, but you’re free to use it or eliminate it. Although the original recipe called for only white pepper, I also added about ½ teaspoon of freshly ground black pepper.
Serves 6 to 8 as a main course.
Original recipe from Cook’s Illustrated, published September 1, 1999. Recipe altered significantly by Crafty Farm Girl, January 2012.
Don’t grate your potato until just ready to add it to the soup or it will discolor quickly. Adding the pasta to the pot last, when just about ready to serve, helps it hold onto its bite.
Ingredients
Instructions
Brown the bacon in the olive oil in a large soup kettle or stockpot over medium heat. When it’s beginning to get brown add the sliced and quartered kielbasa and continue to cook, stirring frequently until the bacon has finished cooking and the kielbasa is a bit browned.
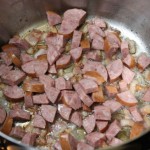
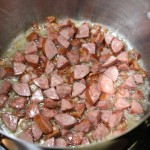
To that same pot add the chopped kale, onion, leeks, carrots and celery and sauté until softened, about 5 minutes, stirring a few times as you sauté . Add reserved potato, beans, peppers, salt, cinnamon, 1 quart hot water and 26 oz. chicken broth; bring to boil, reduce heat, and simmer about 5 minutes to meld flavors.

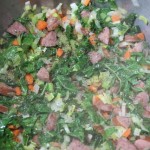
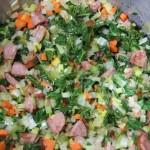
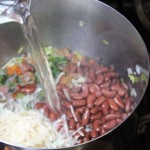
Add orzo, reduce heat to low, and simmer until orzo is tender, 7 to 8 minutes. If you find soup is too thick, you can thin it with additional chicken stock or water.

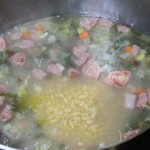
Adjust seasoning with additional salt, if necessary, and serve, passing grated cheese separately.

 Print This Recipe
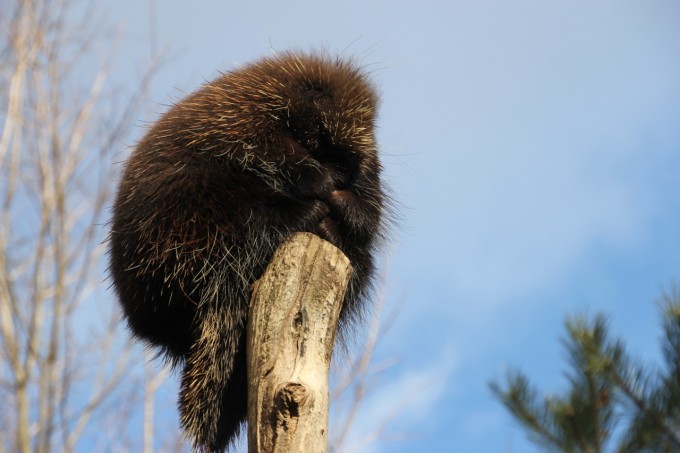
While up in the small town of Millbrook, New York today we stopped at the Millbrook Zoo. This porcupine perched at the top of a bare tree huddled up against the cold wind was quite possibly one of the cutest things I’d ever seen.
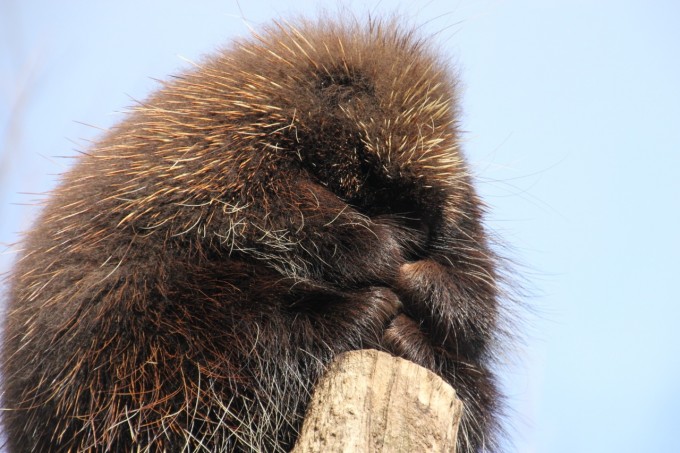
Here’s a closeup of his little face.
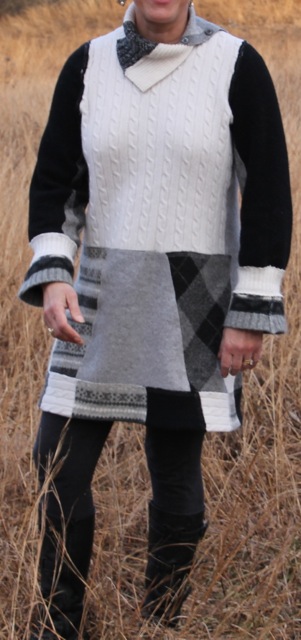
So my collection of sweaters that I’ve been hoarding from local thrift stores was getting a little bit out of hand, and with the confidence of my Quilted Sweater Baby Blanket under my belt, I decided to tackle something that I could wear.
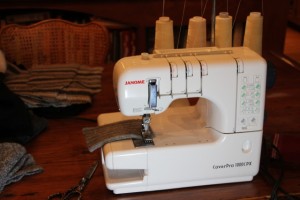
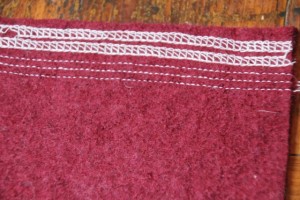
I am extremely fortunate to have an overlock machine. I had to sew a lot of years before I felt I could justify this machine. Now that I have it, I absolutely love it. Doing this project without one of these is not impossible. You could use a straight stitch on a sewing machine and just do a double or triple row of stitches. In the The photo on right on the bottom is what the top of an overlock stitch looks like — 3 rows of straight stitches. The top two rows of stitches in the photo on right show the underside of an overlock stitch looks like.
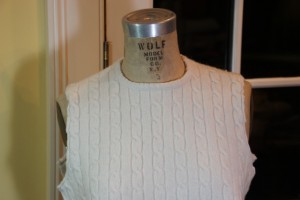
I don’t normally wear a ton of black or white, but I have been wearing a lot of grey lately. Mostly grey T-shirts, which makes me look a bit like a auto mechanic I suspect, but fashion and style have never been my strong suit. When I was going through the boxes of felted sweaters though, what was jumping out at me were all the black, grey and white sweaters, so that’s what I decided to go with. I had a beautiful cable-knit winter-white turtleneck sweater that had some moth holes in the sleeves. I decided this would be the “trunk” of the design. I really had no pre-conceived ideas about what this was going to end up looking like and took each section as it came. I will say that having this old dress form that was my sisters back when she was a sweater designed made it so much easier to work on.
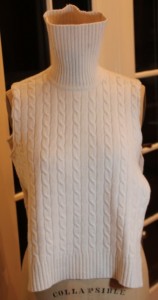
First I removed the turtleneck. It is my personal opinion that nobody over the age of 40 should be wearing a turtleneck — too much risk for Muffin Top Chicken Neck. Nobody wants to see that, but that’s just my personal opinion.
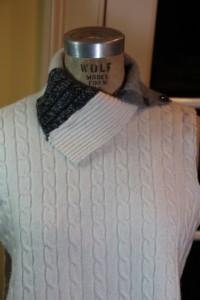
I pieced a few pieces of turtlenecks and sweater pieces to combine this open collar.
I don’t know if this sweater would have fit me before I felted it, as I purchased it at the local Goodwill thrift store, but it certainly was a little snug after being felted in the washing machine. I decided the best way to expand it was to add panels under the arms.
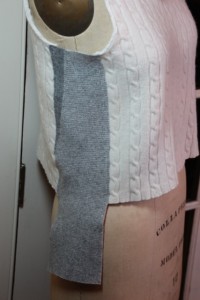
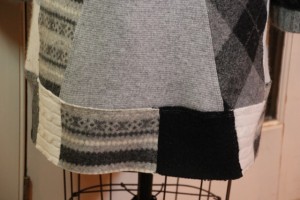
Since I didn’t have one piece of sweater long enough to make it the final length that I wanted, I added an additional length of some white sweater from the original sweater, but I used some of the turtleneck rib on one side and the arm cable on the other side.
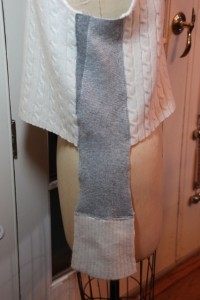
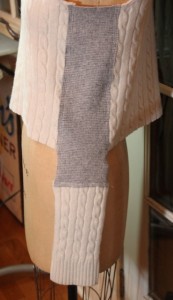
Then I had to piece together some sweaters to form some length on the bottom front. Rather than have straight up-and-down strips, I decided to add some pieces cut a bit on the diagonal for interest and to give it a slight flare.
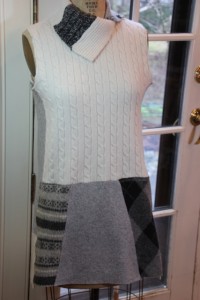
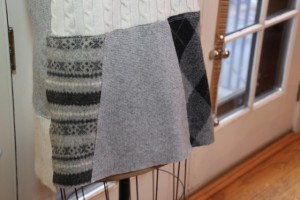
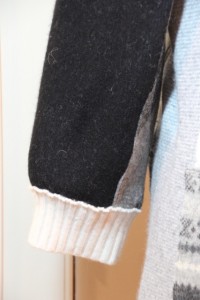
Then I got to work on the sleeves. I had these soft beautiful black sleeves from a sweater, but usual, once they’d been felted they’d never fit over my arms, and were also too short. More inserts would be required to expand the sleeve.
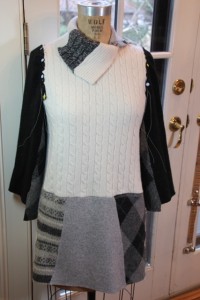
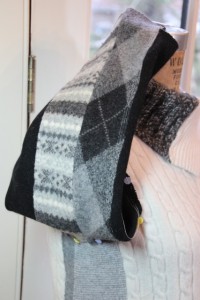
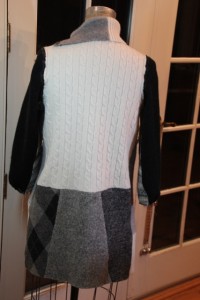
Now that I knew generally what the sleeves were going to look like, I could finish up the back. I didn’t want to make it exactly like the front.
And then I’d needed to lengthen the sleeves. First I added some of the winter white ribbed sweater as a modified cuff, and then I added a slightly flared lower cuff from an old ski sweater of mine. I purposely made this cuff come to a slight point.
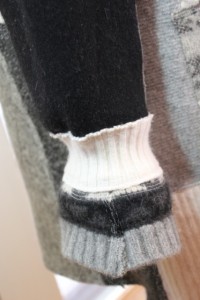
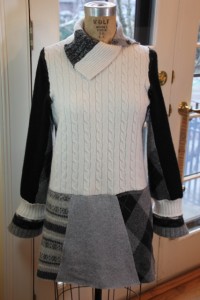
But I still didn’t think it was long enough, even though I planned on wearing it with boots and leggings. I added some more length with smaller, shorter sweater pieces.
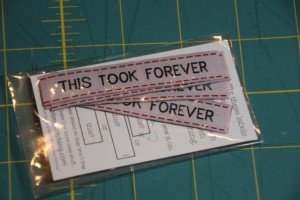
While I was in Austin recently I found these great embroidery patterns by a local company called Sublime Stitching. When I got home I checked out their website, and ordered these adorable sewing labels. Check out their really unique embroidery patterns and other stuff. I thought this project deserved this special label.
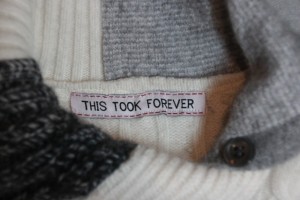
I finished the bottom by finishing the bottom with my overlock machine, but you could use pinking shears or a zigzag stitch too. Then I pressed a 1-inch hem and used my regular sewing machine and a blind hem stitch. I was so thrilled with how it turned out that I wore it today when we packed all the kids in the car and headed up to Millbrook, New York for the day.
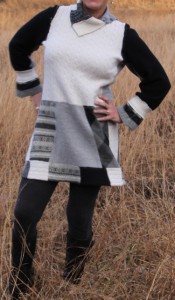
Finished Sweater Front
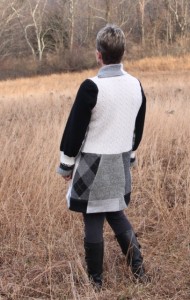
Finished Sweater Back
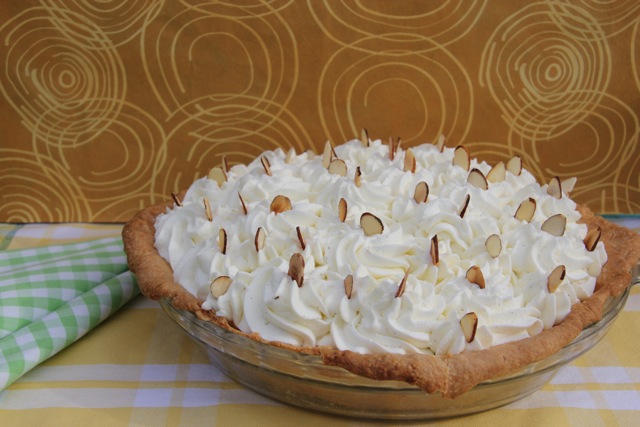
I saw the book Sarabeths Bakery—My Hands to Yours at a bookstore recently and had to have it. It’s a large, beautiful cookbook with lots of classic looking pastries and desserts. I’ve already worked my way through the Croissant Dough and made Pains au Chocolat and Almond Croissants with it that were divine, but when I saw this recipe for Banana Cream Pie I made it that same day.
I have never made a banana cream pie before. What I liked about this recipe was that she added unflavored gelatin and whipped cream to the custard so it wasn’t quite so heavy. I added a pinch or two of cornstarch and cream of tartar to the whipped cream topping so it wouldn’t get weepy. Now her recipe uses a almond pastry crust, and I will put the recipe for that at the bottom of this post. In the interest of saving time, I used a ready-made crust (I love the one from Trader Joe’s). Next time I will definitely use the almond pastry dough to compare the two.
Recipe from Sarabeth’s Bakery; From My Hands to Yours by Sarabeth Levine. Altered slightly by Crafty Farm Girl, January, 2012
Makes 8-10 servings
Almond Pastry Dough (recipe below) or ready-made pie crust dough
Cream Filling
1 teaspoons unflavored gelatin powder
2 tablespoons cold water
4 large egg yolks
1/3 cup superfine sugar
1 ½ tablespoons cornstarch
1 ½ cups whole milk
Seeds from ½ vanilla bean or ½ teaspoon pure vanilla extract
3 ripe bananas, cut lengthwise in half, then into 1/3-inch slices
¼ cup heavy cream
Topping
1-1/2 cups heavy cream, chilled
3 tablespoons superfine sugar
Seeds from ½ vanilla bean or ½ teaspoon vanilla extract
2 tablespoons sliced almonds, toasted for garnish
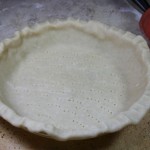
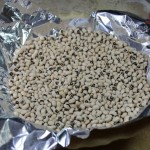
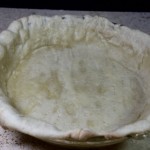
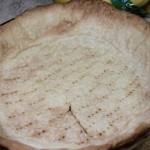
Position a rack in the bottom third of the oven and preheat to 375 o F. Line a 9-inch pie pan with the dough. Pierce the bottom of the dough in a uniform pattern with a fork. Freeze for 15 minutes. Line the dough with some parchment paper or aluminum foil and fill with pastry weights or dried beans. Bake on a half-sheet pan for 15 minutes, until the pastry is set. Remove the parchment paper and the weights and continue baking until the pastry is golden brown, about 10 minutes more. Cool completely.
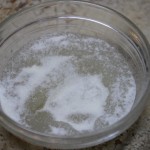
To make the filling, sprinkle the gelatin over the water in a small bowl. Set aside until the gelatin softens, about 5 minutes. Whisk the yolks, sugar, and cornstarch in a heatproof medium bowl until combined; set aside. Place a heatproof bowl with a medium-mesh wire sieve near the stove.
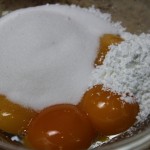
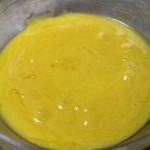
Heat the milk in a heavy-bottomed medium saucepan over medium heat until very hot. I added my scraped vanilla bean and the pod to the milk as I was heating it up. If you are using vanilla extract, wait to add it until directed. Gradually whisk the milk into the egg yolk mixture. Pour the mixture back into the saucepan. Whisking constantly, being sure to reach into the corners of the saucepan, cook over medium heat until the filling thickens and comes to a full boil. Reduce the heat to low and whisk for 1 minute.
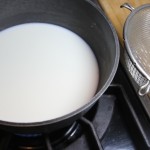
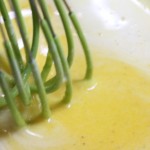
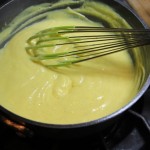
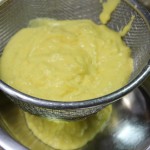
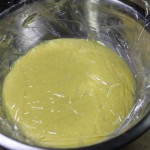
Remove from the heat, add the gelatin mixture, and whisk until the gelatin is completely melted (the pastry cream will thin slightly—don’t worry). Strain through the medium-mesh wire sieve into the clean medium bowl. Stir in the vanilla extract if using. Place a piece of plastic wrap directly on the surface (this discourages a skin from forming), and pierce a few holes in the plastic wrap with the tip of a sharp knife. Let stand on a wire rack until completely cooled and thickened but not set. Remove the plastic wrap and fold in the bananas. (I forgot to cut my bananas in half lengthwise before cutting, but I will do it next time for sure.)
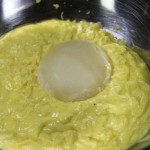
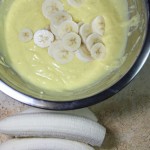
Using a whisk or a handheld electric mixer, beat the cream in a small bowl just until it forms soft peaks. Fold the whipped cream into the banana mixture. Fill the cooled pastry shell and smooth the top. Cover the plastic wrap and let the filling set in the shell in the refrigerator, about 1 hour.
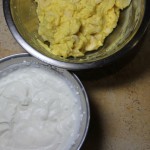
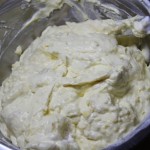
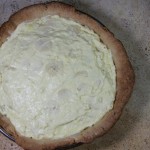
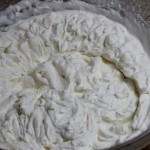
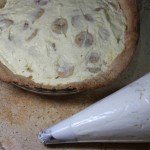
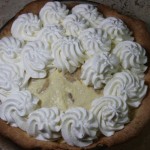
To make the topping, beat the heavy cream, sugar, and vanilla just until it forms peaks. Transfer to a bag fitted with a 3/8-inch diameter open-star tip, such as Ateco #824. Pipe swirls of whipped cream to completely cover the top of the pie. Refrigerate until the pie is chilled, at least 1 hour. Just before serving, top with the toasted almonds. Serve chilled.

Almond Pastry Dough
Makes enough for one 9-inch pie
This delicious, buttery crust bakes into a crisp, nut-flavored shell.
3 tablespoons sliced natural almonds, toasted
1 cup plus 1 tablespoon unbleached all-purpose flour, divided
3 tablespoons superfine sugar
1/8 teaspoon fine sea salt
8 tablespoons (1 stick) unsalted butter, cut into ½-inch cubes, chilled
1 large egg yolk
1 tablespoon ice water, plus more as needed
Seeds of ½ vanilla bean
¼ teaspoon almond extract
Grind the almonds in a coffee grinder with 1 tablespoon of the flour until powdery. Combine the remaining 1-cup flour, the ground almond mixture, sugar, and salt in a medium bowl. Add the butter cubes and toss to coat with the flour mixture. Using a pastry blender, cut in the cutter until the mixture looks like coarse meal with some pea-size pieces of butter, about 2 minutes. Using a fork, mix the egg yolk, 1-tablespoon ice water, vanilla seeds, and almond extract in a small bowl. Drizzle the yolk mixture all over the flour mixture and, using a wooden spoon, combine just until the dough clumps together. If the dough is too dry, add more iced water, a little at a time.
Transfer the dough to a lightly floured work surface and shape into a 1-inch-thick disk. Wrap in plastic wrap. Refrigerate until chilled but not hard, 30 minutes to 1 hour. (The dough can be refrigerated up to 1 day, but it will be very hard, and should stand at room temperature for about 30 minutes before rolling out. The dough can also be frozen, double-wrapped in plastic wrap, for up to 2 weeks. Defrost in the refrigerator overnight.)
 Print This Recipe
Pin It
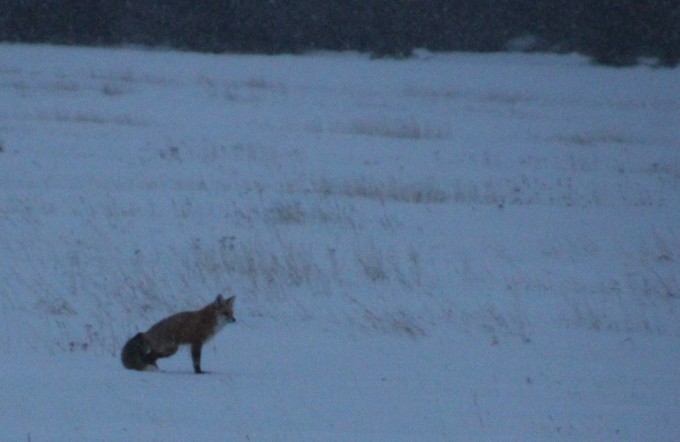
This is not the best quality photo, but the subject is great. In a Wyoming snowstorm at around 6 a.m. one morning over this Christmas holiday, way up near Moran Junction, I caught this red fox walking along the snow-covered field.
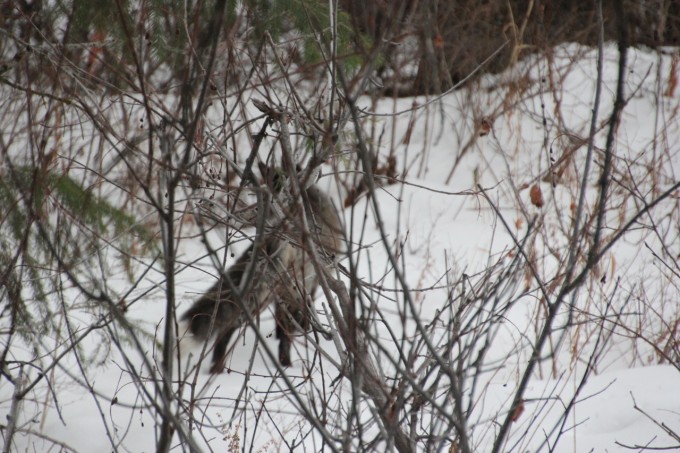
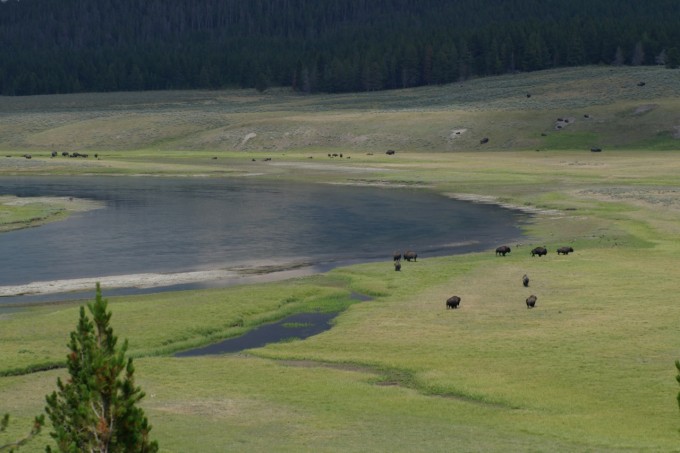
As you drive along the highway from Jackson heading to Dubois (or Yellowstone National Park, depending on if you turn or stay straight), for a portion of the road the valley drops down from the road steeply. There are plenty of turnouts so you can stop and take a look. The Snake River meanders along, and in this photo, some bison enjoy some grass and water. It is so beautiful.
