This Wednesday I had to go down to Lawrenceville, New Jersey, which is about 1-1/2 hours away from my home. It is right next to Princeton, a town I’d never been to before, so we stopped there for a little walk before we headed home. This was taken on the beautiful campus of Princeton University.

Archives for January 2012
Princeton
What the Farm’s Been Up To
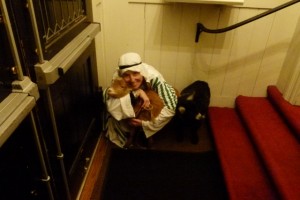
While I was away in Wyoming my friend Cyrena, who is my official farm-sitter when I can’t be there, was kind enough to bring Kiki and Grace to be in the nativity pageant at my friend Cristy’s congregation. Unfortunately the pictures and video from the actual pageant did not turn out well, but here’s one of Cyrena in her shepherd’s costume with the goats. Apparently Grace, normally wanting to be the center of attention, was a bit frozen with stage fright. And of course they pooped on stage too. We anticipated that though and they’d laid down plastic and hay just in case.
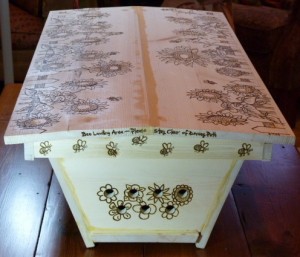
Two new colonies of bees have been ordered for Spring. One for my old hive, and one for the new hive I built with the viewing window in it last winter. I’m very excited to get that colony going!
Winter is a lazy time on the farm. All the animals are bored. The goats are getting fat. Our wether has been very erratic this winter so far, and we’ve had extreme temperature ranges. This seems to be making Princess Kate, my Tennessee Fainting Goat, particularly stiff-legged, and she’s walking around like one one of the Queen’s Guard’s in the Royal British Army.
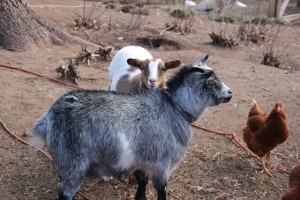
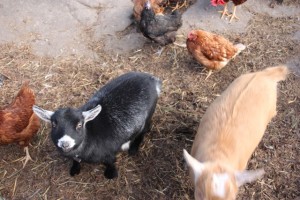
The chickens fly out of the fenced area to free-range, but discover there’s not much out there to eat either this time of year. So I find myself going out several times a day to throw them some cut up apples or kale or scratch grains just to keep them well fed and give them something to do. I’ve been scouring the bargain rack in the produce department at the grocery to find past-prime bargain produce to give them for treats. The bananas are a particular favorite, and the goats adore pears.
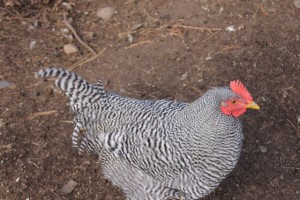
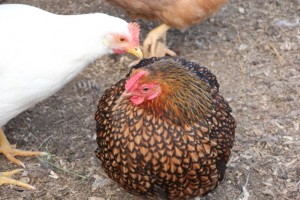
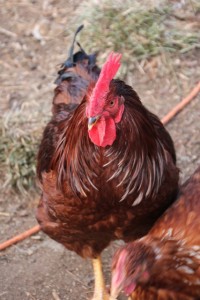
One of my beautiful Buff Chantecler is molting and looks rather miserable right now.
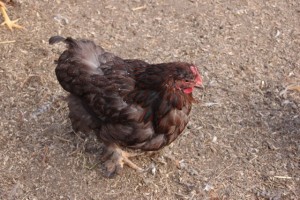
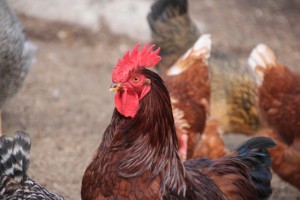
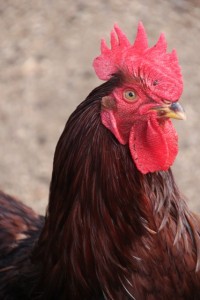
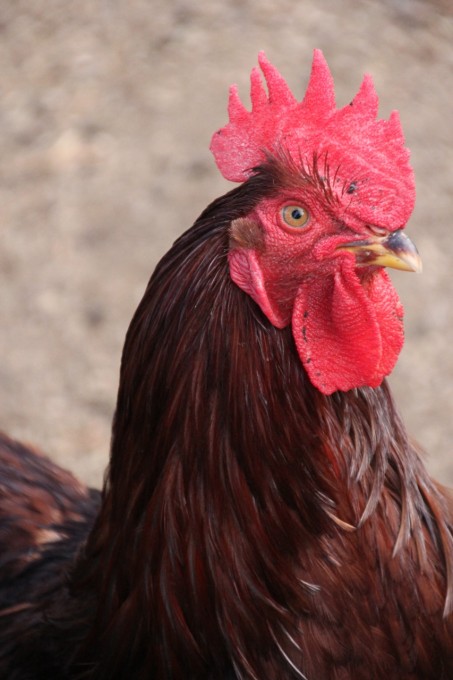
And while Corn Flakes the rooster is getting more lovely by the day, what started as a small garbled crowing in the coop in the morning is slowly, day by day, developing into a full-blown crow. He’s not crowing often at this point, so for now he can stick around.
It was Christmas time last year that Melina and Cissy went away to be bred. While I thought about breeding Melina again, and possibly breeding Princess Kate to a more traditional dairy goat for a meat/dairy cross, I guess I still haven’t recovered from the loss at birth of my Cissy and the strain of bottle-feeding Kiki and Grace from birth. I still have time to breed them should I change my mind.
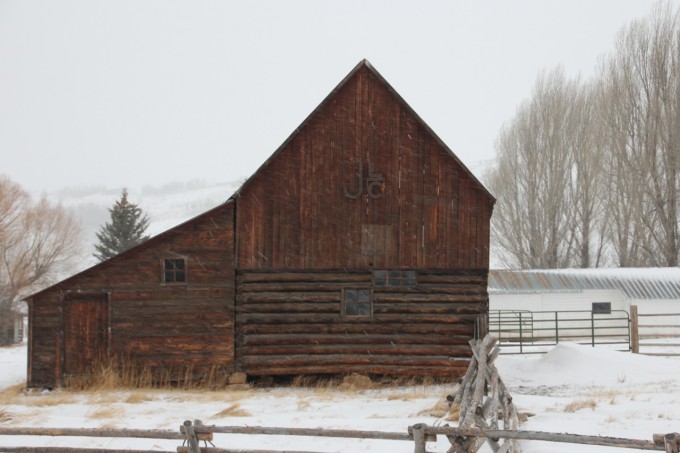
Jackson Land & Cattle Barn
Jackson Land & Cattle is the largest working ranch in Jackson, and this is one of their many barns. I actually think this barn was recently built, or maybe it was moved from another location. It has a lovely, worn patina and it looks beautiful in the snow.
Pear, Apple, Fennel & Cheddar Pizza
You might have read about the amazing meal my sister and I had recently at Leon’s Full Service in Decatur, Georgia. One of the appetizers I had (that’s right folks, I had more than one), was a flatbread with apple butter, grilled fennel, apple slices and cheddar cheese. It was amazing. Sweet and savory. Unexpected. Delicious. I was worried that it would taste like anise, but the grilling must do something to the fennel, because it just gave the pizza a wonderful flavor and a little crunch.
I set out to re-create this while on vacation in Wyoming with Amanda’s help. I decided I wanted to try a pear butter instead of an apple butter. This was purely aesthetics on my part; I didn’t like the dark brown colors of the apple butter I was finding at the stores, but I came across a beautiful pear butter.
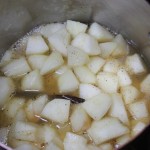
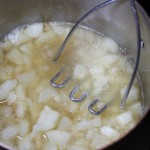
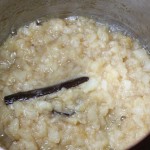
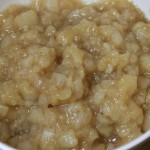
Of course when I went to make it here at home for this post I couldn’t find any pear butter, so I had to make my own. It was easy and really delicious. I put the seeds from 1/2 a vanilla bean in a heavy, non-reactive pot with some seeded, roughly chopped peeled ripe pears and a little apple cider and reduced, mashed, reduced, and reduced some more until almost all of the liquid evaporated. I did not add any sugar as it was for this savory pizza and my pears were nice and ripe, but if I were making it to preserve it, I would have added some sugar. I would only make your own if you can’t find it in the stores ready-made or if you’re planning on making a bunch to can at the same time.
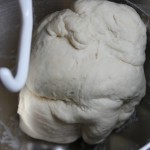
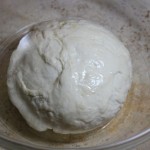
Now the dough was interesting. I found the recipe from Bobby Flay on Food Network’s website. Lots of the people that left comments noted that the dough was very wet. When I made the dough in Wyoming (altitude of 6329 feet), and I made it twice, the dough was absolutely perfect; not too wet at all. When I made the dough in Connecticut (sea level), the dough was almost too dry and hard. It was fine after it rose, but I did consider adding some liquid back into it when I first finished it. My point here is pay attention when you’re making it. It was a lovely dough though and easy to work with and roll out. I’d recommend it for any pizza or flatbread recipe.
Flatbread
Recipe courtesy Bobby Flay
Prep Time: 15 min, Inactive Prep Time: 4 hr
Serves: 4 individual flatbreads or 1 large flatbread
1 1/2 cups warm water (105 to 110 degrees F)
1/2 teaspoon active dry yeast
4 cups all-purpose flour
1 teaspoon salt
2 tablespoons olive or canola oil, plus more for bowl
Mix water and yeast in a large bowl and let stand 5 minutes to proof. Gradually pour in 2 cups of the flour and stir to incorporate. Mix for about 1 minute to form a sponge. Let stand, covered, for at least 1 hour.
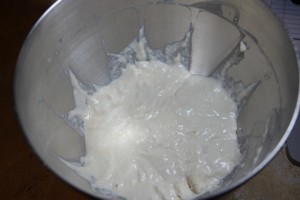
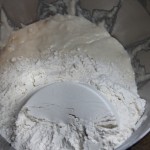
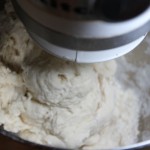
Put sponge in the bowl of a stand mixer. Using the dough hook, add the salt and oil, then add the flour, 1/2 cup at a time, to form a dough. Remove from bowl and knead. Place in a clean oiled bowl and let rise, slowly, about 2 1/2 hours. Divide dough into 4 balls, let rise again for 1/2 hour, and then roll out as desired.
Pear, Apple, Fennel & Cheddar Pizza
Recipe by Crafty Farm Girl, January, 2012
1 recipe flatbread dough
pear butter, either store-bought or home-made
1 large, crisp apple, peeled, cored & thinly sliced (I used Honeycrisp)
Fennel bulb, cleaned, outer leaf removed if necessary, thinly sliced & grilled
Some tender ends of fennel stalks
chopped walnuts
sharp white cheddar cheese, grated (don’t get extra-sharp)
cornmeal (to dust pizza pan with)
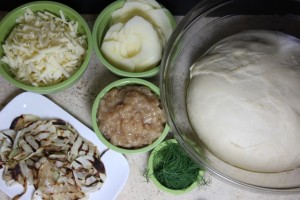
Mis en Place. I, of course, forgot the walnuts.
You can cook your pizza on a pizza stone if you have one (put it in the oven before you pre-heat your oven), or on a metal pizza pan, or just on a baking sheet as I did. Dust the pan lightly with cornmeal to prevent sticking. If you are using a pizza stone, then turn a baking sheet over and dust the underside of the pan with the cornmeal. You can easily slide the pizza off the back of the pan onto the heated pizza stone from there. Preheat the oven to 475o F. Allow oven to preheat completely before putting pizza in.
Once your flatbread dough is ready, and depending on whether you want two large flatbreads or 4 smaller ones, (or you can save and freeze some of the dough to use another time), divide your dough. On a lightly floured surface roll out dough until thin. Move dough to prepared pizza pan.
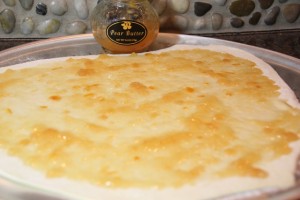
Spread a thin later of the pear butter over the entire pizza crust using an offset spatula, leaving the edges clear.
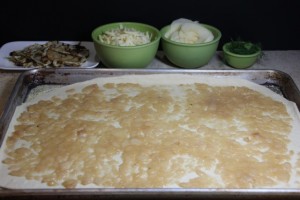
Evenly distribute grilled fennel around pizza.
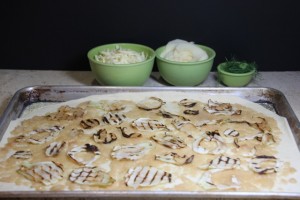
Now of course I forgot the walnuts this time, but don’t you forget them, because they add an important flavor to the pizza! I have a picture of that part from one of the Wyoming pizzas.
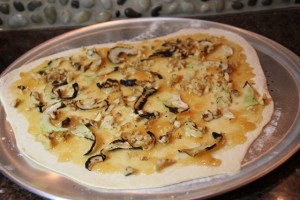
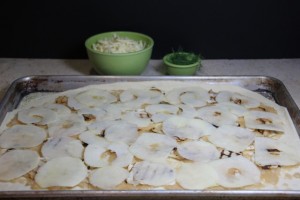
Then evenly distribute the apple slices around the pizza.
Sprinkle the cheddar cheese around just short of the edge of the pizza.
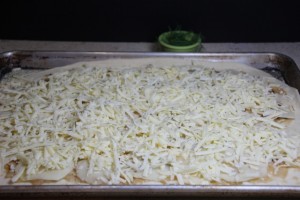
And finally add some of the tender fennel greens around on top of the cheese.
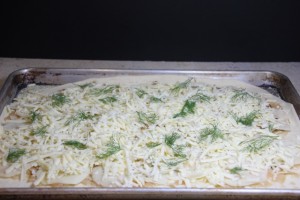
Put pizza into preheated oven (or slide off pan onto pizza stone), and bake until cheese is just beginning to brown a little, about 6-12 minutes. This time will vary a lot on pan or pizza stone and individual ovens.

Pear, Apple, Fennel & Cheddar Pizza
Slice using pizza wheel or large knife and serve immediately.
If you’re in the mood to try something a little different, you’ll be pleasantly pleased with the outcome of this pizza.
 Print This Recipe
Pin It
Print This Recipe
Pin ItRide ’em Cowboy
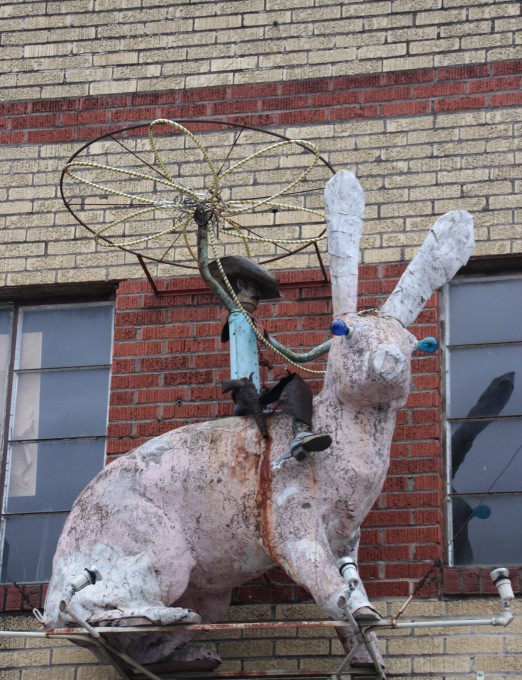
This wonderful sculpture is on display above the Uncommon Objects store in Austin, Texas. A place worth a visit if you're ever in Austin. I would love that sculpture in my yard though!
New Linoleum Print Cards
I had been too busy driving around the South and getting ready for Christmas in Wyoming lately to get any linoleum prints done, but while on vacation I did manage to do a few.
An elk in the aspen trees for the Wyoming Wildlife series.
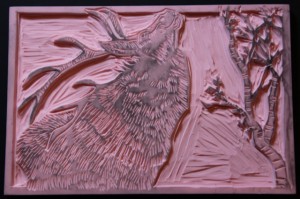
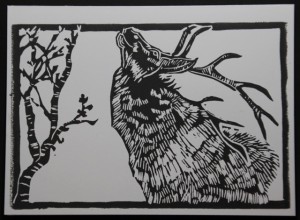
A moose wading in the water for the Wyoming Wildlife series.
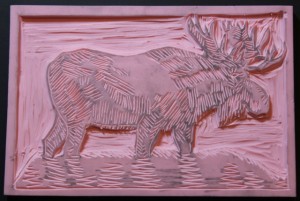
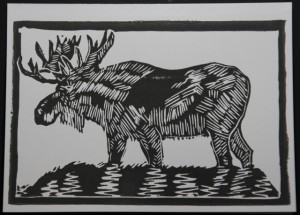
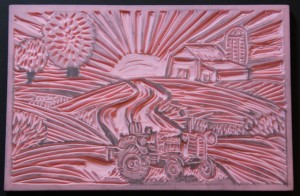
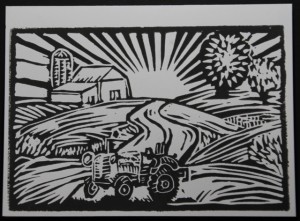
Another farm for the Farmhouse series of cards. I didn’t think I was going to like this one, but once I printed it I really did like it.
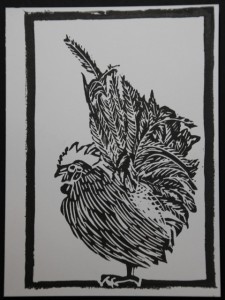
A Japanese bantam rooster for the Rooster series.
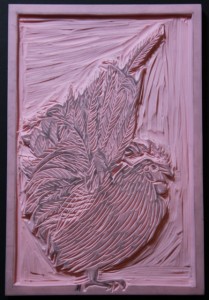
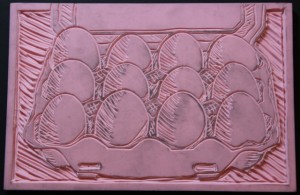
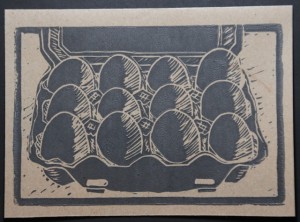
And I love this print of a carton of my eggs. I also chose to print these on brown craft stock cards, which I think are perfect for them. I think this will have to start a new series of some sort.
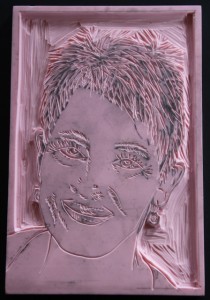
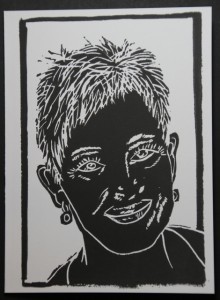
And lastly, I attempted a self portrait. It’s not very good and I think it either needs to go in the garbage or have some more work done to it. The hair and ears came out pretty good, but the face…Lordy was that hard!
Beautiful Corn Flakes
While I was away for two weeks, Corn Flakes finished his transformation into a stunningly handsome rooster. He’s also ‘servicing’ the ladies on a regular basis, whether they like it or not.
Creatively Repairing Moth Holes
This fall when I was taking my winter clothes down from the attic, one of my favorite cashmere cardigans I discovered had quite a few moth holes in it. I’d had it for a few years, and it was a little big on me since I’d lost some of the weight I’d been carrying around for a while, but it was still a nice cashmere sweater that was great for every day wear. Nobody would ever accuse me of being fashionable, but I do try and draw the line at walking around with moth holes in my sweaters.


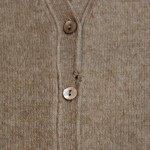


Maybe because I’d recently finished making my Quilted Sweater Blanket, it occurred to me that I could cover those moth holes creatively and still get plenty of use from the sweater. I gathered up some of those felted sweater scraps I had and got to work. I decided to use varying sizes of circles, but you could use any shape you wanted. I used a small straight stitch on my sewing machine and went around each circle several times overlapping the stitched circles a bit just because I liked the way it looked. You could also use a small zig-zag stitch if you wanted. I covered the moth holes first, and then I added more circles around some of the first circles for decoration. I also thought doing this on some of them would keep it from looking like what it was (patches covering moth holes), and more like a fashion statement.


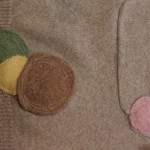
If you’re not me and don’t have boxes of felted sweaters hoarded in your basement for times like these, then go down to your local thrift store, or to your own closet, and get some sweaters that
a) don’t fit anymore
b) have moth holes in them and you don’t care to save the sweater
c) you accidentally washed it and ruined it (in this case the sweater is felted already and your job is done).
Throw the sweaters into the washing machine and then into the dryer. You may have to do this a few times, especially with cashmere or blended sweaters to get a good felted sweater. Once your sweater is felted, you can cut the material and you don’t have to worry about it unravelling on you. The felting process binds the fibers together. This process only works on natural fiber sweaters. Wool works the best, but you can use wool blends as long as the percentage of wool is pretty high. Pure cashmere felts too, but it usually takes a few washes in hot water to get it done right.


I finished this just before we went away for our Christmas break to Wyoming, and I wore that sweater a lot. I can tell you that I don’t think I ever got a compliment on that sweater before, but I got so many compliments on it after I’d done this to it I was shocked.


So don’t throw that sweater out! Get creative.
Welcome Winter
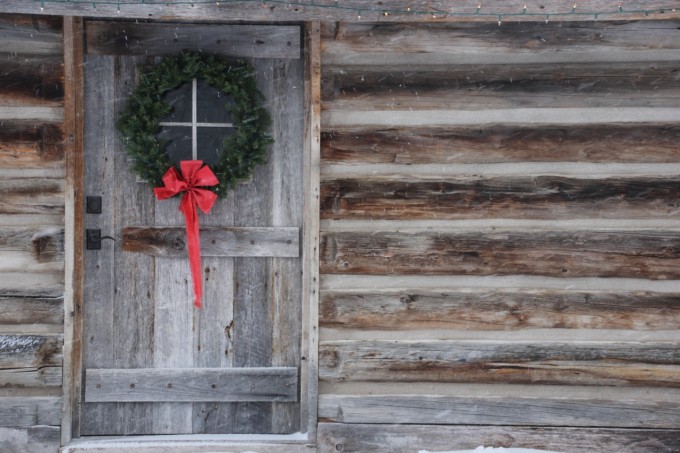
This beautiful door in Wyoming looked so welcoming in the snow.
French Crullers
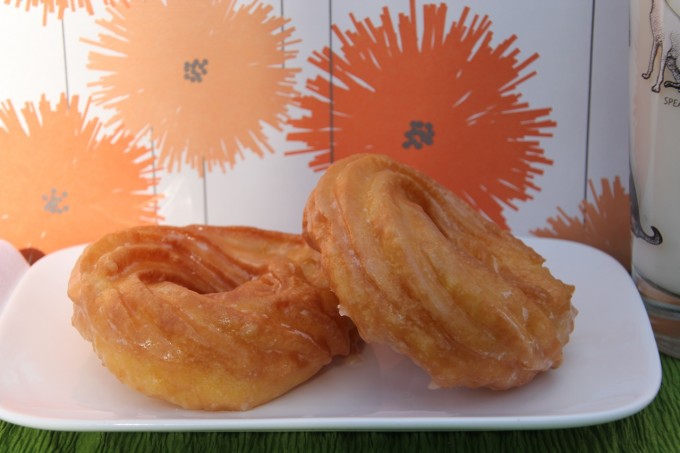
I am back from our two-week vacation in Wyoming. As you may have noticed, I took a break from blogging for the most part. It was a necessary break to recharge my creative batteries (and recover from a nasty cold).
While I brought out a donut cookbook I had, I never did get around to making any out there. Today though, with reality knocking (loudly) on my door and the kids moaning about school tomorrow, I decided some crullers would be the perfect treat for all of us. Now I’ve made crullers before, but I felt like I was just short of getting them ‘just right’ the first time. This time I incorporated all that I learned the first time with things I thought of after, and this time, they were about as close to perfect as I could imagine.
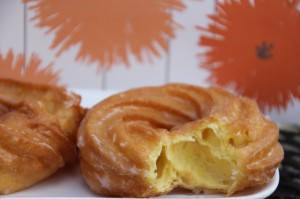
I am not a big donut fan; I find them heavy and doughy, and usually not worth the calories consumed for the pleasure (or lack of) eating one. A good cruller though is light and airy and a perfect treat. So much more impressive-looking than your average donut, and because they are made from a simple Pâte à Choux Dough, they are actually much easier to make than a normal raised, yeasted donut.
Recipe from the book Donuts by Elinor Klivans. Adapted slightly by Crafty Farm Girl, January, 2012.
Pâte à Choux Dough
Makes 8 crullers
4 tablespoons (2 oz.) unsalted butter, cut into small pieces
1/2 cup (4 fluid oz.) water
1/2 teaspoon granulated sugar
1/2 teaspoon salt
1/2 cup all-purpose flour
2 large eggs, at room temperature
2/3 teaspoon vanilla extract
Canola oil for brushing parchment and deep frying
Vanilla-orange glaze (recipe follows)
Place a wire rack on your work surface with parchment, waxed paper or newspaper underneath to catch dripping oil and glaze.
In a saucepan over medium heat, combine water, the butter, sugar, and salt and bring to a boil. Stirring to melt the butter. Add the flour all at once and stir viforously with a wooden spoon until the flour is incorporated and the dough pulls away from the sides of the pan in a ball. Reduce the heat to low and cook, stirring constantly, for 1 minute. The dough will continue to pull away from the pan sides in a large clump.
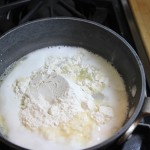
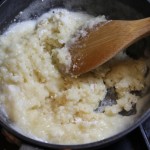
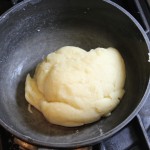
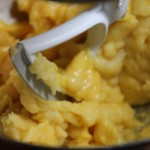
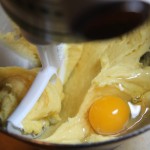
Scrape the dough into a large bowl, Using an electric mixer set on medium speed (use the paddle attachment for a stand mixer), beat until the dough forms large clumps, about 1 minute. Add the eggs, one at a time, beatinguntil smoothly blended after each addition. Add the vannilla and beat until smooth.
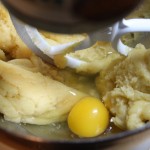
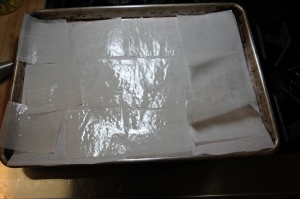
Line a baking sheet with parchment paper. Pour about a teaspoon of oil onto the parchment and with a pastry brush, brush the oil all over the parchment. Use more oil if necessary. Cut the oiled parchment into 3 strips and each strip into 3 squares. Place another piece of parchment on the baking sheet and arrange the oiled parchment squares onto the baking sheet.
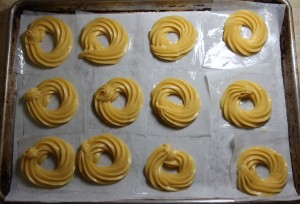
Fit a pastry bag with a 1/2-inch star tip and full the bag with the dough. Pipe a 3-inch circle of dough onto each of the 8 squares of oiled paper.
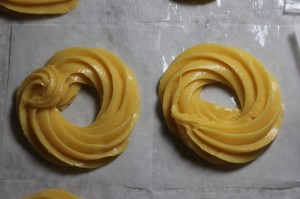
Pour oil to a depth of 2 inches into a deep-fryer or deep, heavy saute pan and heat over mediun-high heat until it reads 360 degrees F on a deep-frying thermometer. Place the piped crullers into the freezer while your oil is heating.
Vanilla-Orange Glaze
Makes about 3 cups glaze
6 tablespoons unsalted butter, melted
2-1/2 cups (10 oz.) confectioner’s sugar
3/4 teaspoon vanilla extract
1/4 teaspoon orange extract
5 tablespoons hot water (plus more as needed)
In a bowl, whisk together the melted butter, confectioners sugar, vanilla and orange extracts and water until smooth. Whisk in 1-2 teaspoons more hot water if needed to give the glaze a thin, light, consistency. Use right away.
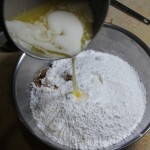
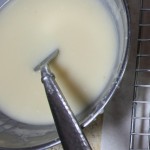
When the oil has reached 360o F, remove the crullers from the freezer. Turn over one of the dough-topped paper pieces and slide the dough circle into the hot oil. You may need to use a thin spatula to get it started, but then it should gentle fall into the oil. Repeat to add 1 or 2 more dough circles to the oil. Be sure not to overcrowd the pan. The crullers should increase in size. Deep-fry until golden on the first side, about 2 minutes.
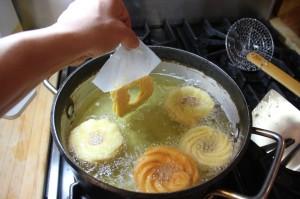
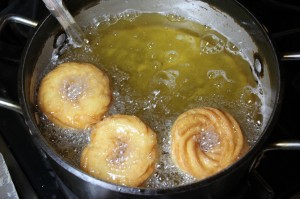
Using tongs, a wire skimmer, or a slotted spoon, turn and fry until dark golden on the second side, about 1-1/2 minutes longer. I found that some of the crullers got cracks in them as they were frying, and a few extra brief turns in the oil sealed those up. Transfer to wire rack, fluted side up, to drain. Fry the remaining crullers.
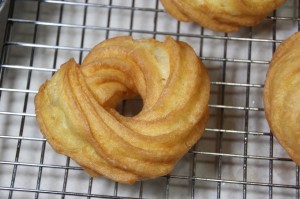
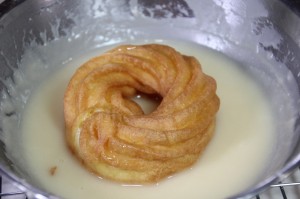
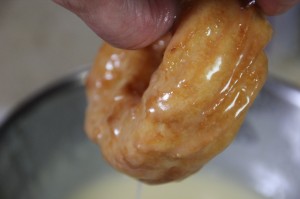
I found that glazing the donuts while they were still pretty warm but not hot worked best. It allowed just the thinnest layer or glaze the remain on the donut, leaving it nice and light. Place the crullers, one at a time, into the glaze, and turn it with a fork to cover completely. Lift it out and allow as much glaze to drop off as you can. Replace on wire rack and allow to cool.
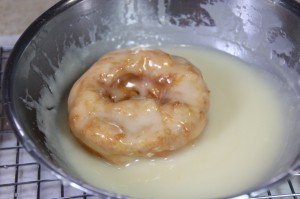
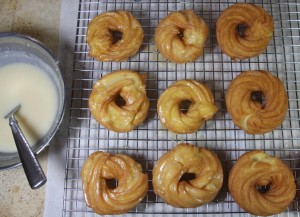
Crullers are best eaten the day you made them.
 Print This Recipe