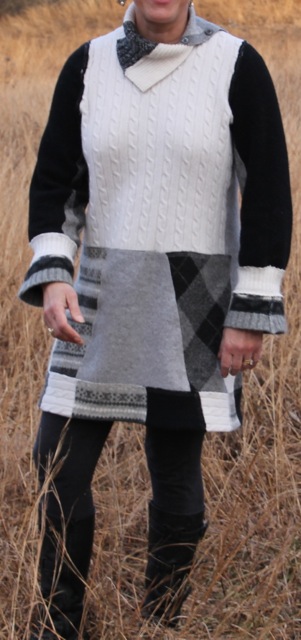
Upcycled Sweater Dress


So my collection of sweaters that I’ve been hoarding from local thrift stores was getting a little bit out of hand, and with the confidence of my Quilted Sweater Baby Blanket under my belt, I decided to tackle something that I could wear.

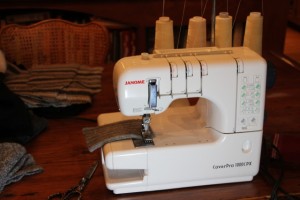
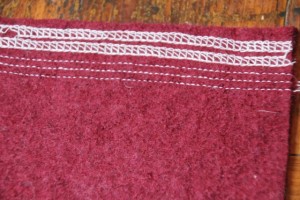
I am extremely fortunate to have an overlock machine. I had to sew a lot of years before I felt I could justify this machine. Now that I have it, I absolutely love it. Doing this project without one of these is not impossible. You could use a straight stitch on a sewing machine and just do a double or triple row of stitches. In the  The photo on right on the bottom is what the top of an overlock stitch looks like — 3 rows of straight stitches. The top two rows of stitches in the photo on right show the underside of an overlock stitch looks like.
I don’t normally wear a ton of black or white, but I have been wearing a lot of grey lately. Mostly grey T-shirts, which makes me look a bit like a auto mechanic I suspect, but fashion and style have never been my strong suit. When I was going through the boxes of felted sweaters though, what was jumping out at me were all the black, grey and white sweaters, so that’s what I decided to go with. I had a beautiful cable-knit winter-white turtleneck sweater that had some moth holes in the sleeves. I decided this would be the “trunk” of the design. I really had no pre-conceived ideas about what this was going to end up looking like and took each section as it came. I will say that having this old dress form that was my sisters back when she was a sweater designed made it so much easier to work on.
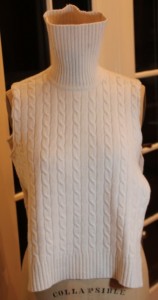

First I removed the turtleneck. It is my personal opinion that nobody over the age of 40 should be wearing a turtleneck — too much risk for Muffin Top Chicken Neck. Nobody wants to see that, but that’s just my personal opinion.
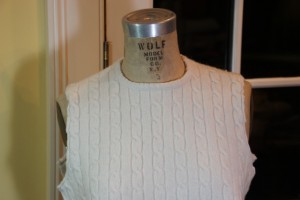

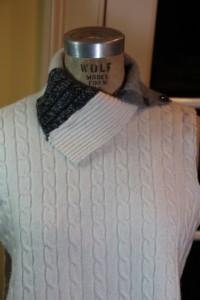
I pieced a few pieces of turtlenecks and sweater pieces to combine this open collar.

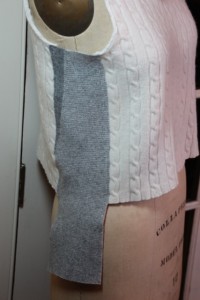
I don’t know if this sweater would have fit me before I felted it, as I purchased it at the local Goodwill thrift store, but it certainly was a little snug after being felted in the washing machine. I decided the best way to expand it was to add panels under the arms.

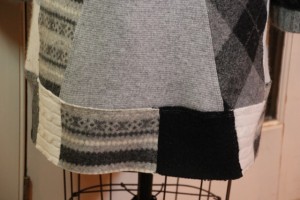
Since I didn’t have one piece of sweater long enough to make it the final length that I wanted, I added an additional length of some white sweater from the original sweater, but I used some of the turtleneck rib on one side and the arm cable on the other side.
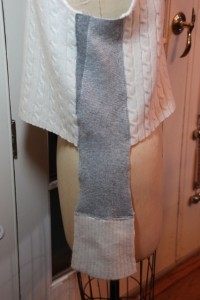
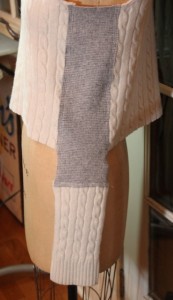
Then I had to piece together some sweaters to form some length on the bottom front. Rather than have straight up-and-down strips, I decided to add some pieces cut a bit on the diagonal for interest and to give it a slight flare.
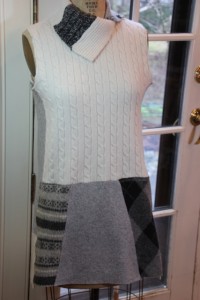
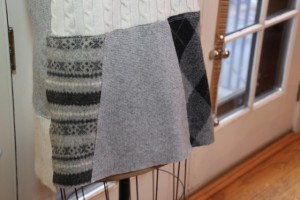
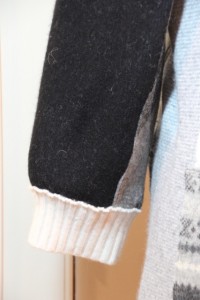
Then I got to work on the sleeves. I had these soft beautiful black sleeves from a sweater, but usual, once they’d been felted they’d never fit over my arms, and were also too short. More inserts would be required to expand the sleeve.
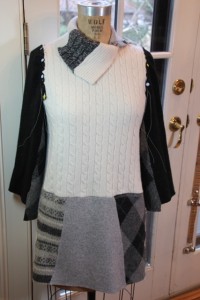
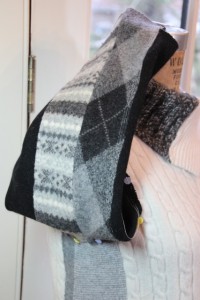
Now that I knew generally what the sleeves were going to look like, I could finish up the back. I didn’t want to make it exactly like the front.
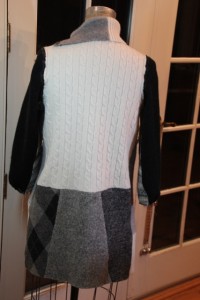

And then I’d needed to lengthen the sleeves. First I added some of the winter white ribbed sweater as a modified cuff, and then I added a slightly flared lower cuff from an old ski sweater of mine. I purposely made this cuff come to a slight point.
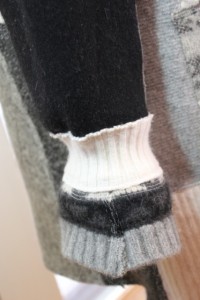
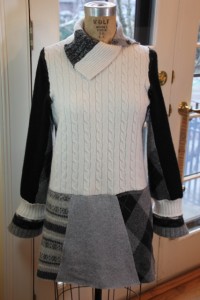
But I still didn’t think it was long enough, even though I planned on wearing it with boots and leggings. I added some more length with smaller, shorter sweater pieces.

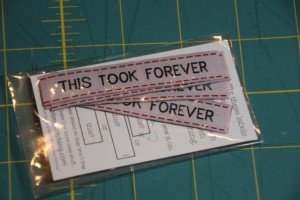
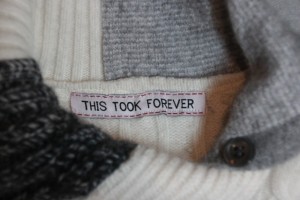
While I was in Austin recently I found these great embroidery patterns by a local company called Sublime Stitching. When I got home I checked out their website, and ordered these adorable sewing labels. Check out their really unique embroidery patterns and other stuff. I thought this project deserved this special label.
I finished the bottom by finishing the bottom with my overlock machine, but you could use pinking shears or a zigzag stitch too. Then I pressed a 1-inch hem and used my regular sewing machine and a blind hem stitch. I was so thrilled with how it turned out that I wore it today when we packed all the kids in the car and headed up to Millbrook, New York for the day.
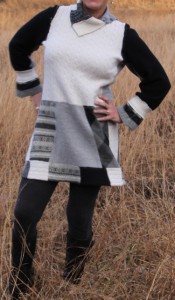
Finished Sweater Front
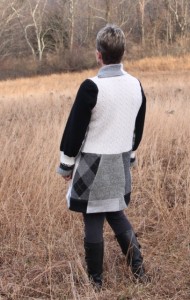
Finished Sweater Back
Pin It

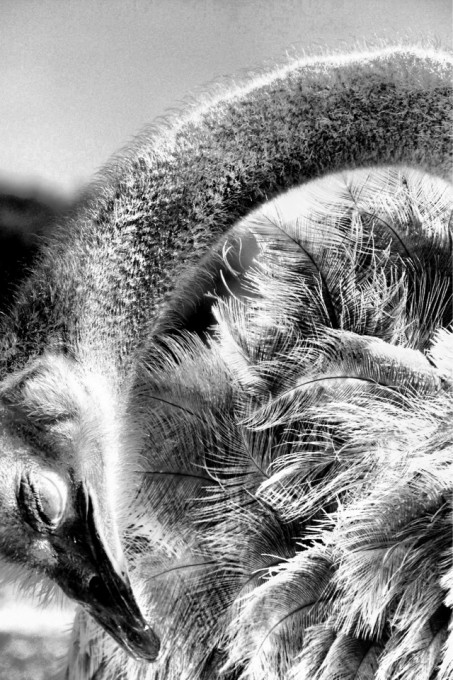
Graceful Rhea • Revamped

It’s been a very long travel day, I’ve gotten very little sleep lately, and I’ve got a wicked cold, but we are here in Wyoming now to spend Christmas. I’m glad to be back, and this always feels like home to me. Hopefully things will settle down a bit for me now and I can get back to some regular cooking, crafting and posting.

The original version of this photo is among my top favorite photos this year. While on the plane today I was playing with some photo apps on my iPhone and gave her a few changes. I think this is interesting too in it’s own way.

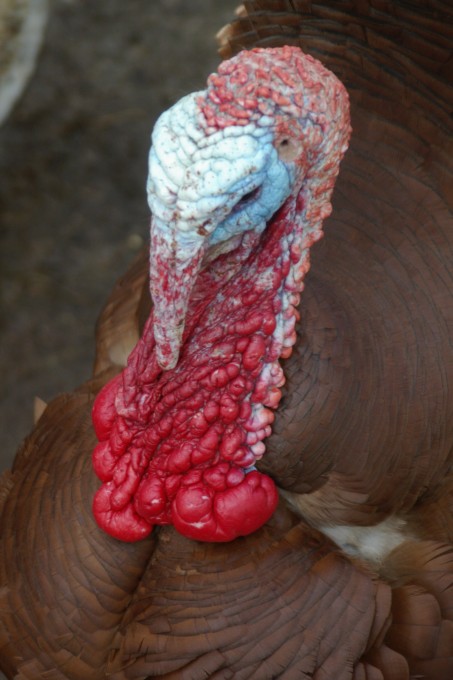
Gobble Gobble

If one spent too much time looking at a turkey's snood and dewlap (that's what those fleshy blue and red things are called), they just may never eat turkey again. This turkey at Quaker Village outside of Lexington, KY, was quite spectacular in his ugliness.

Bouncin’ Babies

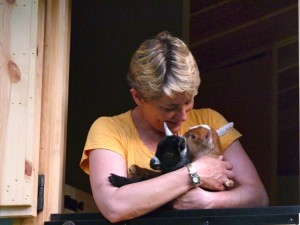
This is a video I made when Kiki and Grace, my newborn Nigerian Dwarf goats, were just 4 days old. Their mother died from toxemia shortly after their birth, and I raised them on bottles since they were 12 hours old.


Baby goats are bouncy and full of energy.

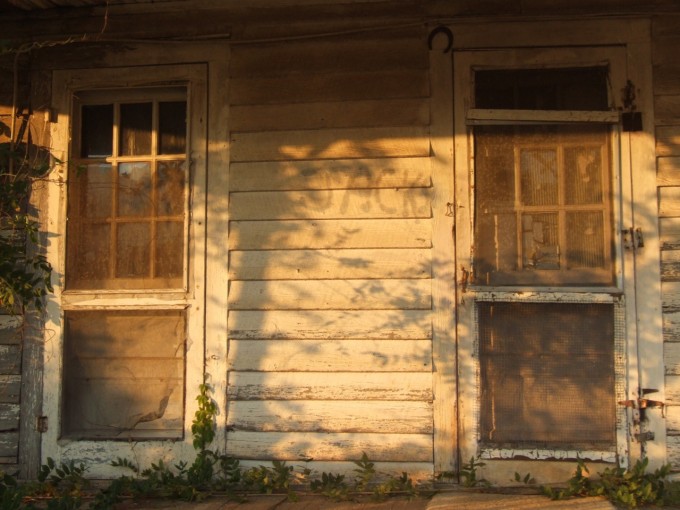
Jack

An abandoned farmhouse outside of Amana, Iowa. I love the faded graffiti between the doors.

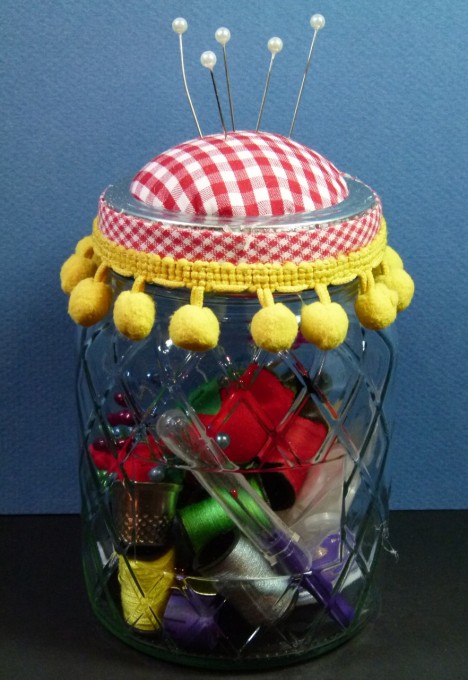
Sewing Kit in a Canning Jar

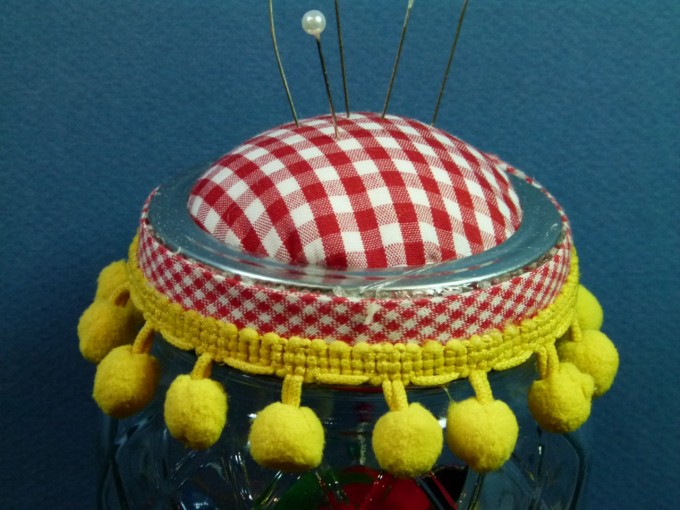
Canning Jar Sewing Kit

How cute are these little things. Sewing kits you make from canning jars! What a great idea as a little gift for someone going away to college, to live in their first apartment, or maybe for some freshly divorced guy who will have to sew his own buttons on his shirts? You could assembly line a dozen of these before the holidays and have them handy as hostess and last-minute gifts.

Another thing I saw on Pinterest, it originally came from Martha Stewart. I decided to dress mine up even more with the checked bias tape around the edge of the jar lid and the fancy dangly pom-pom’s. I found everything I needed to make them; fabric, trims, and basic sewing kit, all at Wal-Mart.

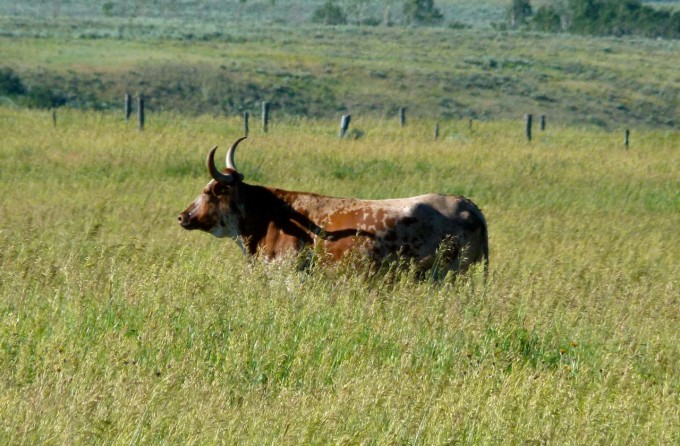
Gazing Longhorn

I love Longhorn cattle. Oddly enough, I saw exactly one longhorn when I was in Texas in March, but I see lots of them in Wyoming. This particular one was in Kelly gazing longingly at the Tetons.

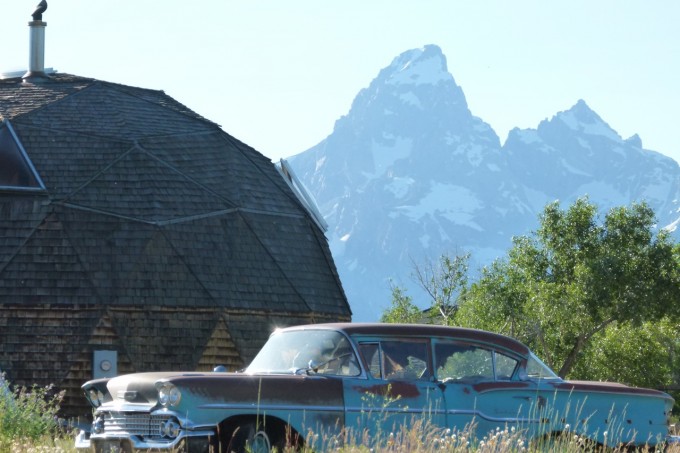
The View Above the Rusty Car & Geodesic Dome

When I took a photo of this car and geodesic dome that I posted in June, what I failed to even notice at that time was the incredible view directly behind it. I took this photo on another visit there with Evan and was struck by "the Grand" sitting right behind it. I wonder if all the people that live in Kelly realize how lucky they are to wake to that view every day?

Chocolate Malt Cupcakes

I’ve recently discovered Pinterest. Lordy, as if I wasn’t getting too little sleep already, add something terrific like a website where you can create idea boards for all of the things you come across on the internet or on Pinterest directly. Dangerous. Time consuming. Fun.

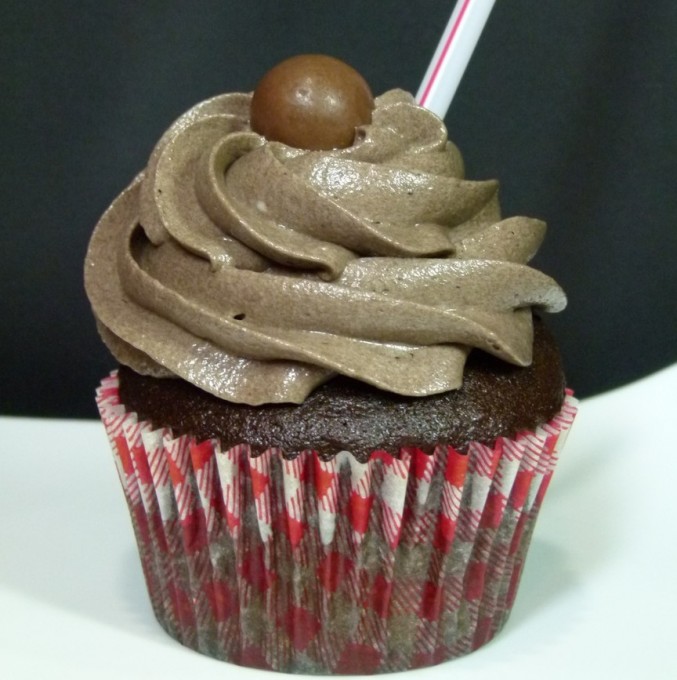
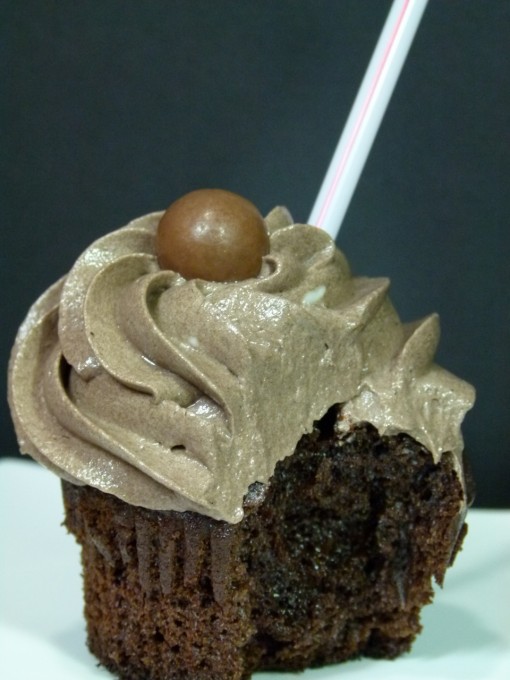
I came across these cupcakes the other day on Pinterest. Amanda begged me not to make them since they looked too delicious and she has been able to show little self-restraint when it comes to eating since she’s been home from college, but I made them anyway.

*Now the pictures on both sites showed big swirls of icing on each cupcake. My experience with icing, both for cakes and cupcakes, is that there is never enough. Knowing this, I did 1-1/2 times the recipe published in the Culinary Chronicles, and I still was short for 9 cupcakes. Granted, I could have used less icing on each cupcake to be sure, but if I had only made the recipe as originally printed and been less generous on the icing there is no way I would have had enough for all of then. My suggestion is to use the recipe as I’ve altered it below, be slightly less generous than I was in your piping and you should have enough for all of your cupcakes.

“Chocolate Malt” Cupcakes

Recipe found on Pinterest on That Winsome Girl. Original blog posting from The Culinary Chronicles.
Cupcakes adapted from Martha Stewart Cupcakes
Buttercream adapted from Oh My! Sugar High

Altered by Crafty Farm Girl, 2011

Makes approximately 28 Cupcakes (I got 32*)

Ingredients:

Cupcakes:
2¼ Cups All-Purpose Flour
¾ Cup Unsweetened Dutch-Process Cocoa Powder
½ Cup Granulated Sugar
¾ Cup Packed Brown Sugar
1½ Teaspoons Baking Soda
½ Teaspoon Salt
1 Cup Milk
1½ Cups Malted Milk Powder
1 Cup Vegetable Oil
3 Large Eggs, at room temperature
1 Cup Sour Cream, at room temperature
1 Teaspoon Vanilla Extract
½ Cup Chocolate Covered Malt Balls, chopped

Chocolate Malt Buttercream:
1-1/2 Cups Unsalted Butter, at room temperature
1-1/2 Cups Vegetable Shortening, at room temperature
3/4 Cup Malted Milk Powder
5 Tablespoons Unsweetened Dutch-Process Cocoa Powder
1 Teablespoon Instant Espresso Powder
5 Tablespoons Milk
6 Cups Confectioner Sugar, sifted
*Chocolate Covered Malt Balls and Straws to garnish (Optional)

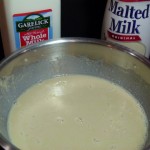
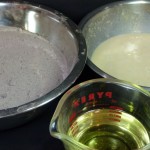
Preheat oven to 350 degrees. Line standard muffin tins with paper liners. Whisk together flour, cocoa, both sugars, baking soda and salt. In another bowl, whisk together milk and malted milk powder until powder is dissolved.

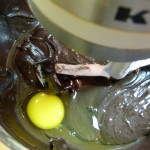
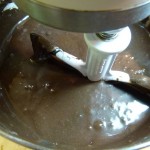
With an electric mixer on medium-high speed, beat flour mixture, milk mixture and oil until combined. Add eggs, one at a time, beating until each is incorporated, scraping down sides of bowl as needed. Add sour cream and vanilla, and beat just until combined. Fold in crushed chocolate covered malt balls.


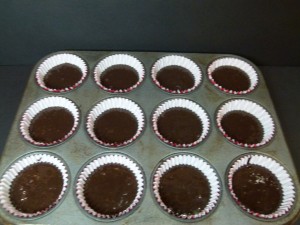
Divide batter evenly among lined cups, filling each halfway. Bake, rotating tins halfway through, until a cake tester inserted in centers comes out clean, about 20 minutes.


While cupcakes are cooling, prepare frosting. In a large mixer bowl, whip the butter and shorting for several minutes until very light and fluffy. Sprinkle in malted milk powder, espresso powder and cocoa powder. Whip for 1 minute. Slowly add the powdered sugar a few spoonful at a time, letting it incorporate until the frosting becomes thicker and stiff. Add milk, one tablespoon at a time and whip until combined.

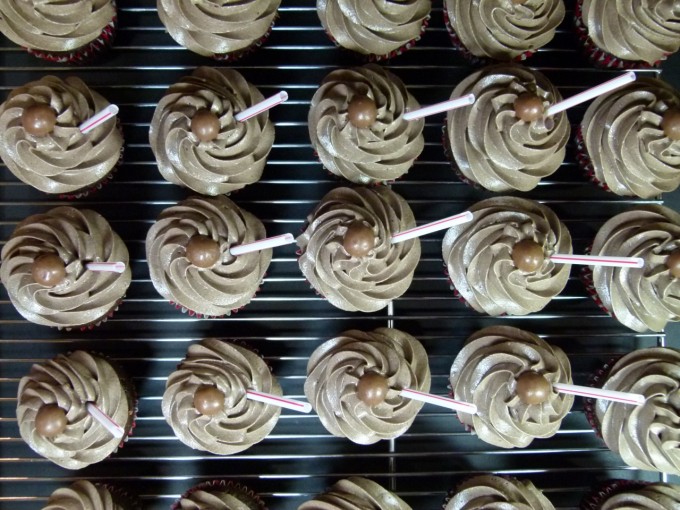
Fill bag with the frosting and pipe large swirls on top of cupcakes. Top with candies and straw garnish.


Goat House Cupolas

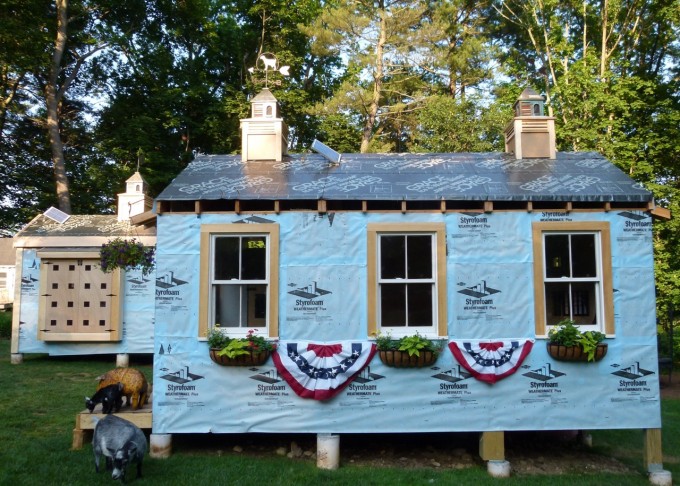
Double cupolas on the goat house are complete


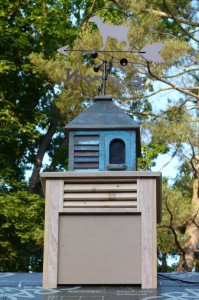
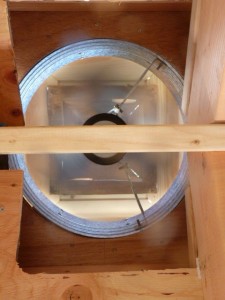
When I first started researching cupolas to use on the goat house and chicken coop I was astounded at how expensive they can be. Michelle had drawn one cupola on the chicken coop and two on the goat house. At the prices I was finding that would have been prohibitively expensive. Then I stumbled across 3 birdhouses at a local decorating store warehouse. I thought they’d be perfect for cupolas. Then I came across these solar-powered attic fans and I thought that would be great for keeping the animals cool in the summer. We have an enormous old dinosaur of an attic fan in our house and it does wonders to cool off our house. The contractors said they could just build it into the lower box of the fan.

I was feeling so ‘green’ and energy efficient!

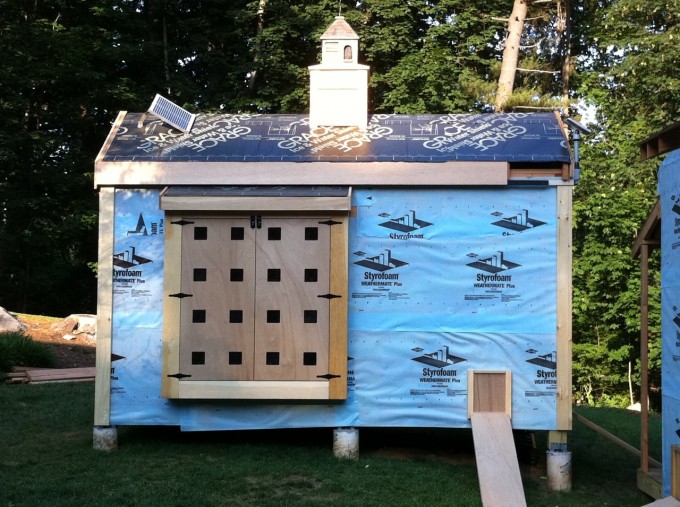
Just to really kick it up a ‘green’ notch, I added two solar-powered lights – one for each house. The houses look more technically savvy with all those solar panels than our house does! Then, just for shits and giggles I decided to distinguish the two houses with appropriate animals. I found a great copper rooster at, of all places, Pottery Barn! Perfect for the coop. Then I found really inexpensive goat weathervanes on-line. Two of those for the goat house. They are actually boer goats, but most people would not be able to tell the difference.


And the last items completed today were the ramps for the chickens to get in and out of the coops. Because of the big grade change around the houses, some of the ramps are quite steep! I guess I won’t have any fat chickens when they’re running up and down them all day.