Naughty Angel

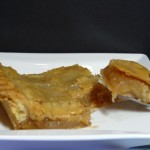
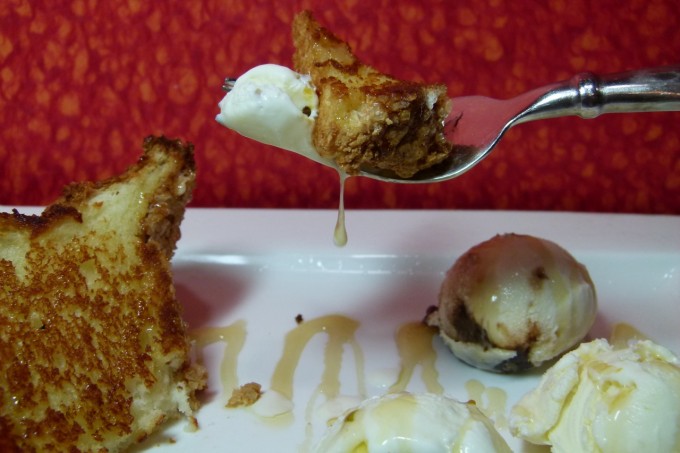
I love this dessert. I originally posted it on craftyfarmgirl.com last year, but I made it last night and thought it deserved to be posted again. I first had this dessert at Paul Newman’s restaurant The Dressing Room, which reflects Paul Newman and chef Michel Nischan’s mutual commitment to neighborly hospitality, local, natural and organic ingredients and regional American heirloom food. My friend Susan had taken me there to celebrate my birthday. The dessert I had was this Naughty Angel. An almond-scented angel food cake which is pan fried. They served it with vanilla ice cream and Andrew’s Local Honey drizzled over it all. I couldn’t get home fast enough to try and make this myself. It’s such a simple concept, yet somehow elevated to a new level with the pan-frying of the cake and the addition of the honey.
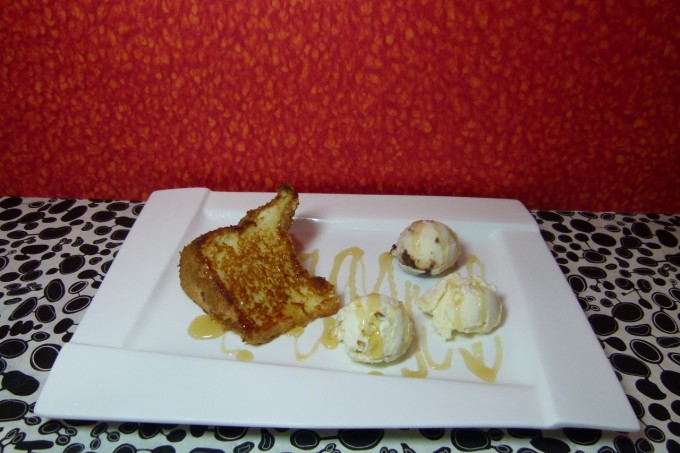

What’s really nice about this dessert is that you don’t even have to make the angel food cake yourself if you don’t want to. You can buy the cake at a store and it probably will be almost as good. I would not get a really basic discount grocery store kind of angel food cake though – spend a little more time searching out a well-made one. Our locally-owned grocery store in town, Palmer’s, has a fabulous angel food cake in their bakery that would be great for this.

In the few years since I first had it Andrew’s Honey has grown and can now be found on the shelves of most grocers I go in to. At that time not only was Paul Newman still alive, but the only place to get this artisinal honey at the farmer’s market in Westport. I can’t help but wonder how artisinal his honey can be if it’s now being mass-produced for every grocery I go in. Finding some special artisinal honey is definitely worth it though for this dish. Please do not put Sue Bee on this or anything in a plastic bear — It’s part of that elevation thing I was talking about.

Naughty Angel

  • 1 recipe The Best Angel Food Cake, below
  • ice cream (you can use just vanilla or use a variety as I did here. I used Haagen Daaz Vanilla, Banana Split and Pistachio.
  • Artisinal Honey
  • Soft butter (I like to use softened whipped butter)
  • Directions:

    First, stick the plates you’ll be serving the dessert on in the freezer. This will allow you a lot more “working” time as you are plating the desserts before everything starts getting all melty on you.

    Slice the angel food cake into individual serving sizes. Angel food cake slices best with a serrated knife, or you’ll get even neater slices if you use an electric knife.

    Put a large skillet (or two, depending on how many servings you’re making) on a medium-low heat on the stove and allow it to heat up. Meanwhile, butter both sides of the cake with the softened butter.

    Take the ice cream out of the freezer to soften up a bit while you are browning the cake.


    When the skillet is hot, place the cake slices in the pans and cook until nicely browned on one side. Check as you are cooking to make sure the heat isn’t too high or too low. You want a nice, slow browning to get a little caramelization.

    When one side is browned flip them over and brown the other side.
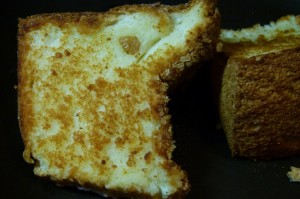

    While the second side is browning, take your plates out of the freezer and lay them out on your work surface.

    When both sides are browned plate the slices on the individual plates. Quickly scoop the ice cream onto the plate, then drizzle both the cake and the ice cream with a very generous spoonful of honey. Serve immediately.
    _____________________________________________________

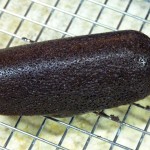
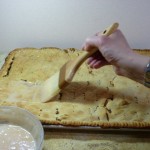
    I’m not going to show you the step-by-step for the angel food cake here because I’ve already done it quite nicely on craftyfarmgirl.com. Click the link to see the step-by-step directions there. However, since I did take the photos yesterday (not realizing what a fine job I’d done the first time), I will show you the best shot of the bunch just because I want to.
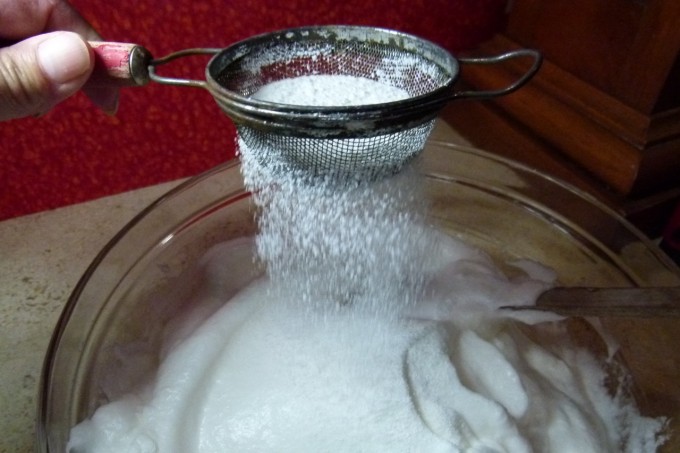
    The Cooking Action Shot

    The Best Angel Food Cake

    Published September 1, 1992 by Cook’s Illustrated magazine, adapted (slightly) by Crafty Farm Girl.

    Serves 10 to 12.

    WHY THIS RECIPE WORKS:
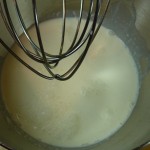
    To get an angel food cake recipe for a tall, perfectly shaped cake with a snowy white, tender crumb encased in a thin, delicate, golden crust, we experimented with egg whites, finding no discernable difference in volume between whites beaten at 72 degrees and those taken straight from the refrigerator. What we found key to creating a stable foam for our angel food cake recipe was the speed at which we beat the egg whites, starting at low speed just to break them up into a froth and increasing the speed to medium to form soft, billowy mounds. When large bubbles stop appearing around the edges, this is the point the sugar should be added, a tablespoon at a time. Once all the sugar is added the whites become shiny and form soft peaks when the beater is lifted. This is just right for making the perfect tall, light yet firm angel food cake.

    Sift both the cake flour and the granulated sugar before measuring to eliminate any lumps and ensure the lightest possible texture.

    If you have a kitchen scale, use it for this recipe. Measuring cups can be drastically off. When baking, if there’s a weight along with a measurement I will always use my scale for the most accurate results.

    INGREDIENTS
    1 cup sifted cake flour (3 ounces)
    1-1/2 cups sifted granulated sugar (10 1/2 ounces)
    12 large egg whites (1 3/4 cups plus 2 tablespoons)
    1 teaspoon cream of tartar
    1/4 teaspoon table salt
    1 teaspoons vanilla extract
    1-1/2 teaspoons lemon juice
    1 teaspoon almond extract

    INSTRUCTIONS

    Adjust an oven rack to the lower-middle position and heat oven to 325 degrees. Have ready an ungreased large tube pan (9-inch diameter, 16-cup capacity), preferably with a removable bottom. If the pan bottom is not removable, line it with parchment or wax paper.

    In a small bowl, whisk the flour with 3/4 cup sugar. Place remaining 3/4 cup sugar in another small bowl next to the mixer.

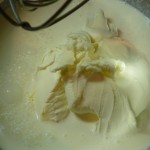
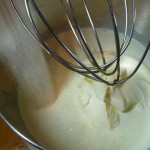
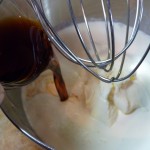
    In the bowl of a standing mixer, or with a handheld mixer, beat egg whites at low speed until just broken up and beginning to froth. Add cream of tartar and salt and beat at medium speed until whites form very soft, billowy mounds. With the mixer still at medium speed, beat in 3/4 cup sugar, 1 tablespoon at a time, until all sugar is added and whites are shiny and form soft peaks. Add vanilla, lemon juice, and almond extract and beat until just blended.

    Place flour-sugar mixture in a sifter set over waxed paper. Sift flour-sugar mixture over egg whites about 3 tablespoons at a time, and gently fold it in, using a large rubber spatula. Sift any flour-sugar mixture that falls onto the paper back into the bowl with the whites.

    Gently scrape batter into pan, smooth the top, and give pan a couple of raps on the counter to release any large air bubbles.

    Bake until the cake is golden brown and the top springs back when pressed firmly, 50 to 60 minutes.

    If cake pan has prongs around the rim for elevating the cake, invert pan onto them. If not, invert pan over the neck of a bottle or funnel so that air can circulate all around it. Let the cake cool completely, 2 to 3 hours.

    To unmold, run a knife around edges, being careful not to separate the golden crust from the cake. Slide cake out of pan and cut the same way around removable bottom to release, or peel off parchment or wax paper, if used.

    Place the cake, bottom-side up, on a platter. Cut slices by sawing gently with a serrated knife. Serve the cake the day it is made if possible.

    Per Serving:  Cal 150; Fat 0 g; Sat fat 0 g; Chol 0 mg; Carb 33 g; Protein 4 g; Fiber 0 g; Sodium 105 mg

    Print This Recipe Print This Recipe
Sugar Cookies – Batch 2

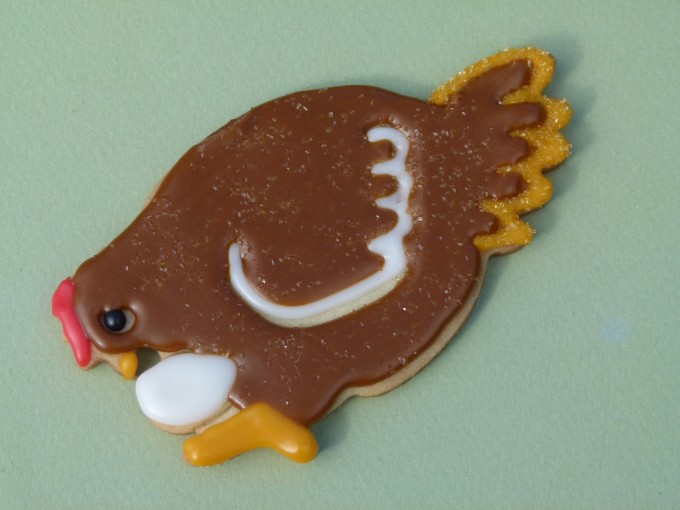
In my continued efforts to pursue perfection in regards to sugar cookies I made another batch last week.

Chickens with gold sprinkles everywhere

Plain brown chickens

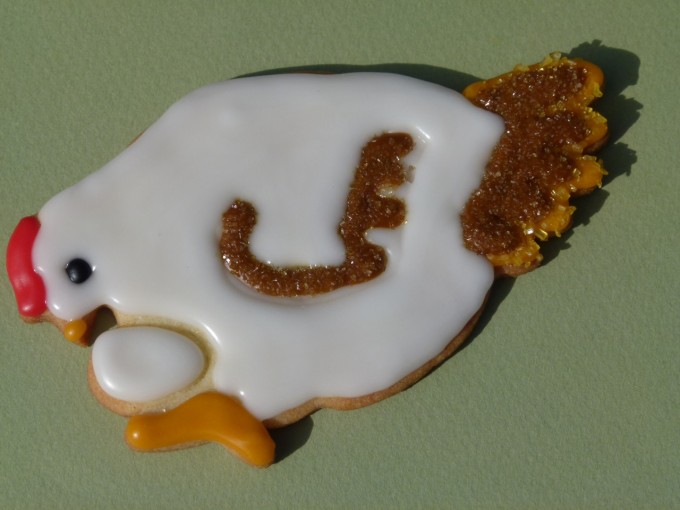
White chickens with brown tail feathers. I called these my fluffy butt chickens because I put the gold sprinkles on only their bottoms and wing feathers.

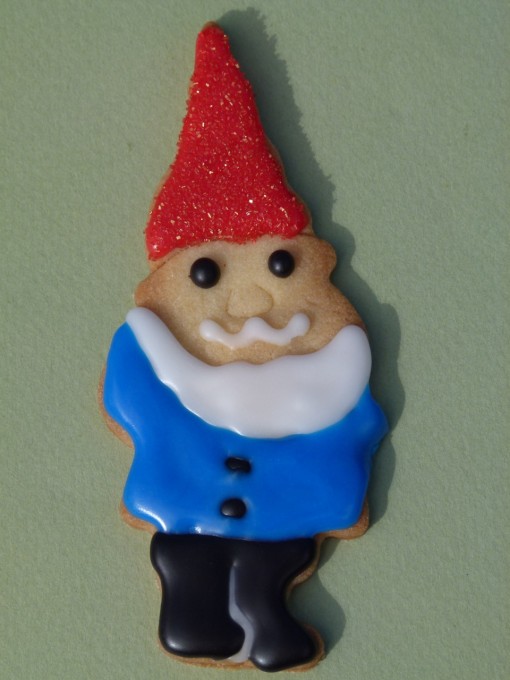
Gnomes with sparkly red sugar on their hats

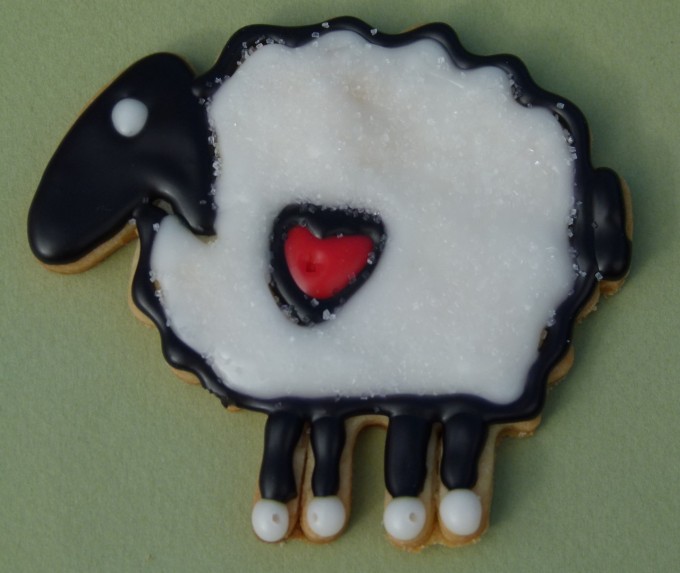
Sparkly White Sugar Sheep

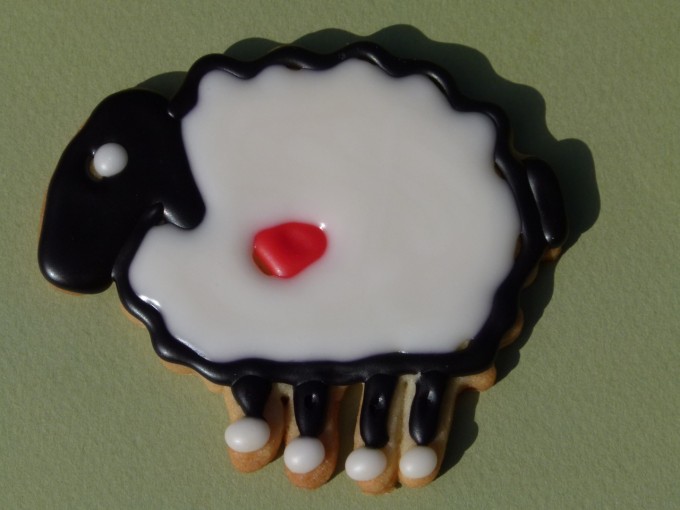
Plain White Sheep with a Black Outline

Generally speaking I learned from this that I like the sugar used in moderation. I liked the sugar on the fluffy butts of the chickens, not all over. I loved the sugar on the red gnome hats, and I didn’t like it on the sheep at all.

Just wait until you see the next batch. I found the most awesome cookie cutters on-line that I ordered. I will achieve sugar cookie perfection before the twins’ birthdays.

Pig Cake


Pioneer Woman's Pig Cake

Today while I was briefly waiting for some photos to download I clicked onto Pioneer Woman and saw this recipe for Pig Cake. It looked delish and seemed very similar to a cake I’d had at my parents house at a party in the last year or two. As PW says, it’s a great pot-luck or general party cake. Since the smell of vinegar seemed to be permanently stuck in my nostrils from 2 days of pickle-making, I decided at 8:00 tonight that I needed to make this pig cake. I needed to get my house smelling like something other than kosher dill pickle brine again. I needed to eat a piece of pig cake. So I did.

Now I’m not going to show you step-by-step photos of me making this cake because I didn’t take any. I spent my whole day working on paper mache trophy heads and pickles. If you want to see some beautiful step-by-step photos of how to make this cake just click on the link above and see Ree’s beautiful directions.

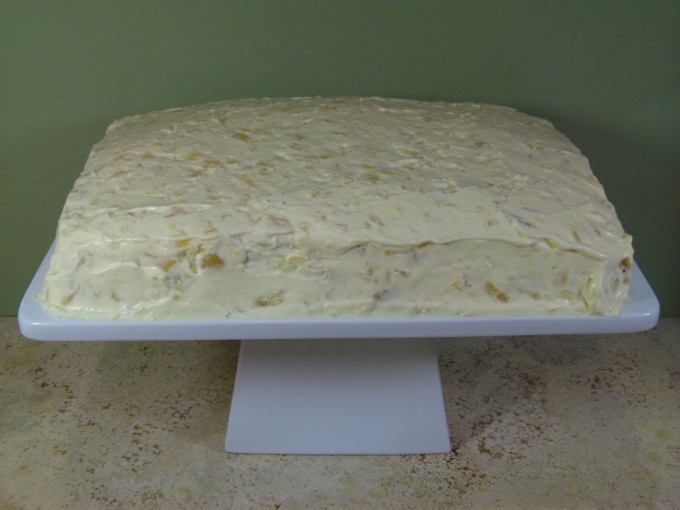
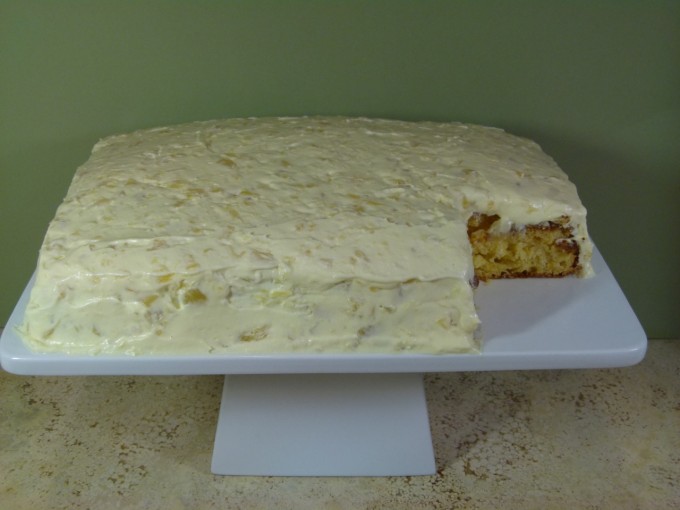
I can, however, show you what the cake looked like after I took a big ‘ol piece for myself. I assume that is why they call it Pig Cake?

Pig Cake after I helped myself

Pioneer Woman’s Pig Cake

Prep Time: 10 Minutes • Cook Time: 30 Minutes • Difficulty: Easy • Servings: 16

INGREDIENTS
For the Cake:
1 box (18.25 Oz. Box) Yellow Cake Mix
1 stick Margarine (softened)
1 can (14 Oz. Can) Mandarin Oranges, Drained, 1/2 Cup Juice Reserved
4 whole Eggs
1 teaspoon Vanilla Extract

For the Topping:
1 package (4 Oz. Box) Vanilla Instant Pudding Mix
1 can (20 Oz. Can) Crushed Pineapple, Juice Reserved
½ cups Powdered Sugar
4 ounces, fluid Frozen Whipped Topping (such As Cool Whip)
Extra Mandarin Orange Slices, For Garnish
Preparation Instructions
Preheat oven to 350 degrees. For the cake, combine cake mix, margarine, 1/2 cup juice from the mandarin oranges, eggs, and vanilla. Beat for four minutes on medium-high. Add drained oranges and beat again until pieces are broken up and small. Pour batter into greased and floured 9 x 13 inch baking pan and bake for 25 to 30 minutes, or until golden brown and set. Remove from oven and cool completely. If desired, turn out cake onto a large platter.

Once cake is cool, blend juice from drained pineapples with the vanilla pudding mix. Add powdered sugar and mix, then mix in whipped topping. Stir in drained pineapple. Spread on cooled cake and refrigerate several hours.

To serve, cut cake into squares and top each square with a mandarin orange slice.
Print This Recipe Print This Recipe
The Sugar Cookies That Ate My Day

This is not a traditional cooking post of mine, but frankly I worked so hard on these that I just had to show you.

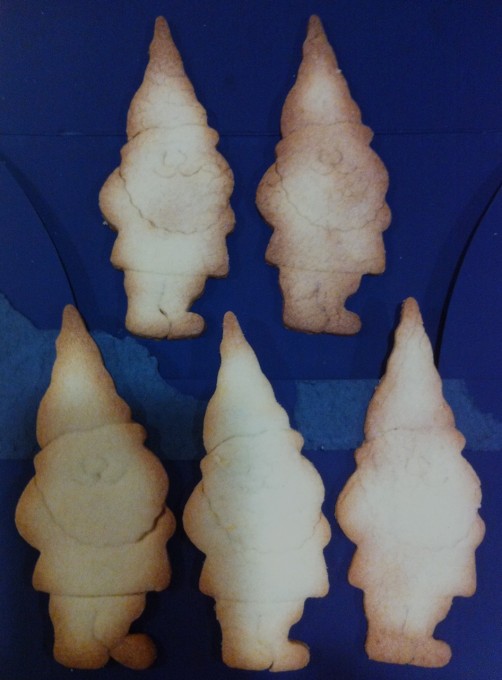
I received a free box of King Arthur Flour Vanilla Sugar Cookie Mix with an order I received the other day. Now I like a sugar cookie as much as the next person I suppose, but often find that they’re old and stale or the icing tastes like wallpaper paste. Occasionally you’ll get a good one, and then you remember why they’re so popular. I’m also not a huge fan of the time you need to spend rolling out and cutting out any kind of cookie. I much prefer the ice cream scoop method straight onto a sheet of parchment. However, for whatever reason last night I decided to give this free cookie mix a shot. The dough was easy to make, rolled out pretty nicely, cut pretty well and baked up to a delicious cookie. I was impressed. I have a great collection of cookie cutters, which is odd for someone who rarely uses them — it’s the Hoarder in me. I chose my favorites and ended the night with a nice assortment of delicious cookies.

(please excuse the horrible photography in this post – I took them with my cell phone to send to my daughter in college – I didn’t plan on posting them!)

Amanda loves gnomes.

But I couldn’t stop there. No. It’s not like I didn’t have a zillion other things that I could have been doing. I had to ice them. First I had to find an icing recipe that looked like it would create a nice smooth layer, taste good, and dry hard. I found one on allrecipes.com that got rave reviews. For flavoring it called for almond extract, which I love, but I decided to also add a little orange extract as well. Almond and orange flavors go great together, and I thought it might be more kid-appealing.

I kid you not when I say this took the bulk of 4 or 5 hours to complete. It completely consumed my entire afternoon. There was frozen pizza for dinner tonight. But holey smokes, do these cookies look and taste great (lousy photography aside).

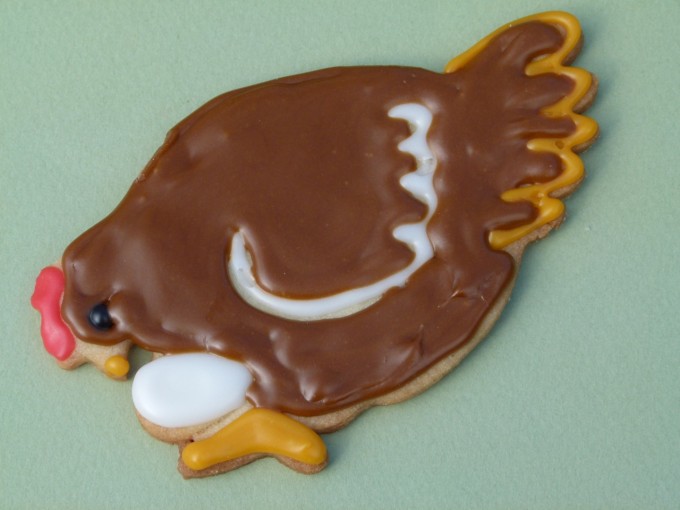
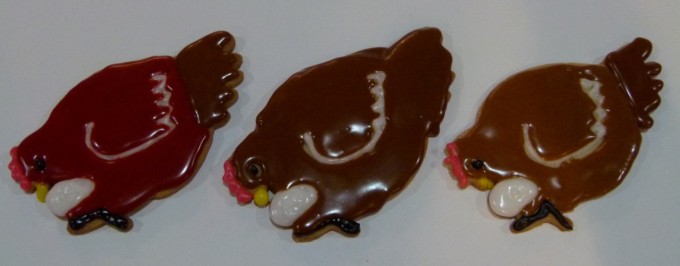
These are the most adorable cookies I may have ever seen. A chicken rolling her egg underneath her. Makes me feel right at home. I used three different colors of icing on them, and still can't decide which one I prefer.


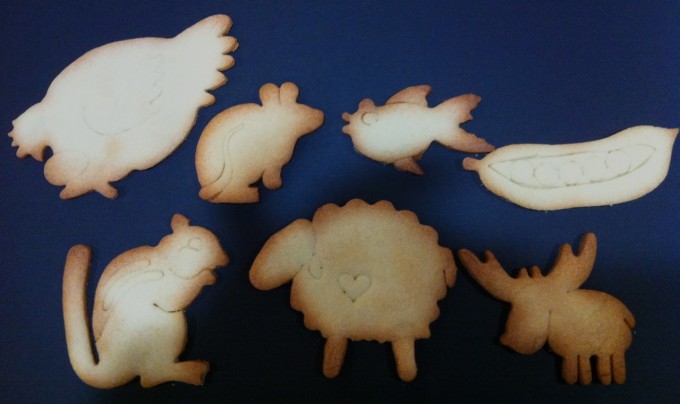
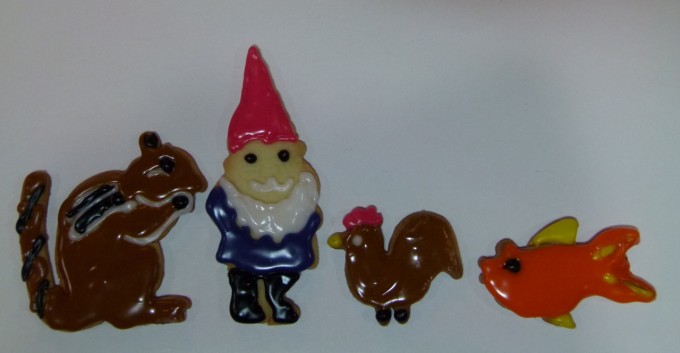
A Chipmunk, Gnome, Small Chicken & Goldfish


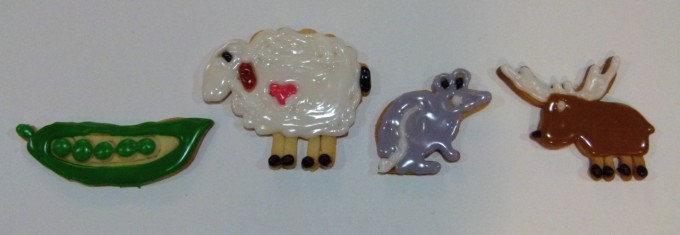
Peas in a Pod, Sheep, Mouse & Moose

And no, it did not take me all afternoon to ice just 11 cookies, these are just examples of the variety that I made. There were LOTS of cookies from that one box of mix.

Evan told me the other day that his class has decided that they want his birthday this year to be “chicken-themed”. I found it hysterical that these kids are already thinking about Evan’s birthday and what I’m bringing in for a treat when his birthday is over a month away. Also pretty funny that they want a chicken theme. It would be hard to top last year’s TV Dinner Cupcakes, but as I was making these chicken cookies I decided these would be just perfect.

I guess I’d better block off a few days on my calendar to get those done.

So that’s how my day was.

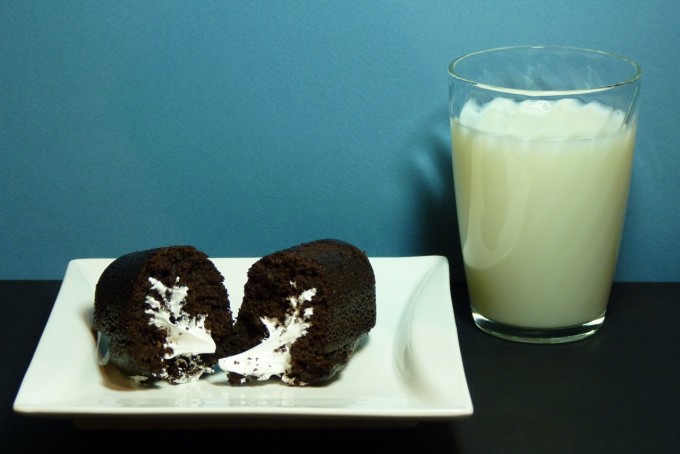
Chocolate Twinkies

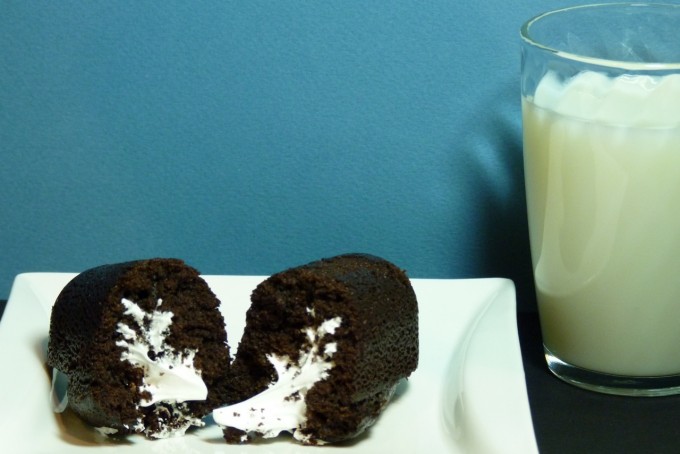
Just about a year ago I posted my original Twinkie recipe. I thought I’d follow that classic up with my Chocolate Twinkie a year later.

On a side note, should you be thinking about trying either the original Twinkie recipe or this Chocolate Twinkie recipe and are in need of the special pan, I put a search on eBay for a “Twinkie Boat Cakelet Pan” for a month and got a surprising number of hits from that search. For all I know they’ve become easier to find in the past year, but a year ago they were hard to come by. Also note that in the following photos I was making a double batch of the recipe.

Chocolate Twinkie’s

Original recipe by Williams-Sonoma. Adapted by Crafty Farm Girl, 2011©

When making the filling, be sure your electric mixer bowl, whisk and beater are spotlessly clean. Any spot of grease or fat will prevent the egg whites from expanding to their full volume.

Ingredients:
For the cakelets:
1 cup all-purpose flour
3/4 tsp. baking soda
3/4 tsp. salt
8 Tbs. (1 stick) unsalted butter, melted
1 egg
1 tsp. vanilla extract
1 cup sugar
1/3 cup Dutch process cocoa powder
2/3 cup boiling water

For the filling:
2 egg whites
2/3 cup sugar
1/4 cup light corn syrup
Pinch of salt
1/2 tsp. vanilla extract

Directions:
Have all the ingredients at room temperature.

Preheat an oven to 325°F. Generously grease and flour an 8-well cream boat pan. Note: My pans were a very good non-stick variety, so I did not find it necessary to do more than a quick spray of cooking spray.

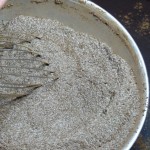
To make the cakelets, over a bowl, sift together the flour, baking soda and salt; set aside.

In a small bowl, whisk together the butter, egg and vanilla; set aside.

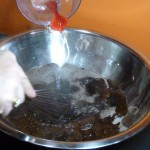
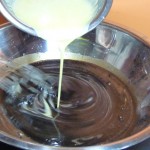
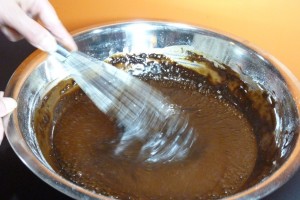
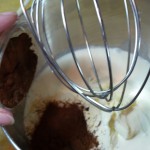
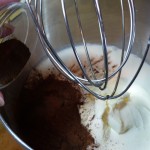
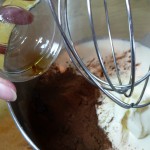
In a large bowl, whisk together the sugar and cocoa powder. Whisk in the boiling water, then whisk in the butter mixture.

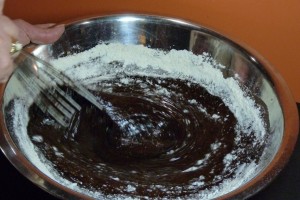
Add the flour mixture in two additions, whisking until smooth and no lumps of flour remain.

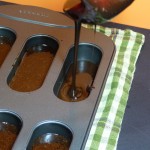
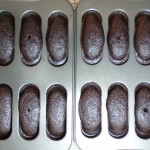
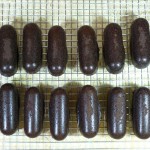
Divide the batter among the wells of the prepared pan, filling each individual pan until about 3/4 full. Bake until the cakelets spring back when touched and a toothpick inserted into the center comes out clean, 17 to 20 minutes. Transfer the pan to a wire rack and let the cakelets cool for 10 minutes. Invert the pan onto the rack, gently tap the pan bottom and lift off the pan. Let the cakelets cool completely.

Meanwhile, make the filling: In the bowl of an electric mixer, using a handheld whisk, beat together the egg whites, sugar, corn syrup and salt just until combined. Place the bowl over but not touching simmering water in a saucepan and whisk until the sugar dissolves and the mixture is hot, 2 to 3 minutes.

Set the bowl on the mixer fitted with the whisk attachment and beat on medium speed for 3 minutes. Add the vanilla and beat until the outside of the bowl is cool and medium-firm peaks form, 2 to 3 minutes more.


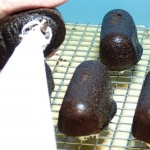
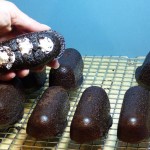
Spoon the filling into a pastry bag fitted with a 1/4-inch plain tip. Insert the tip 1 inch into the bottom of a cakelet. Gently squeeze the filling into the cakelet while slowly withdrawing the tip. Repeat in two more places along the bottom. Turn the cakelet over so that the filling holes are on the underside and place on a serving plate. Repeat with the remaining cakelets and filling.


Makes 8 Twinkies. Recipe easily doubles.

Print This Recipe Print This Recipe
Slab Apple Pie

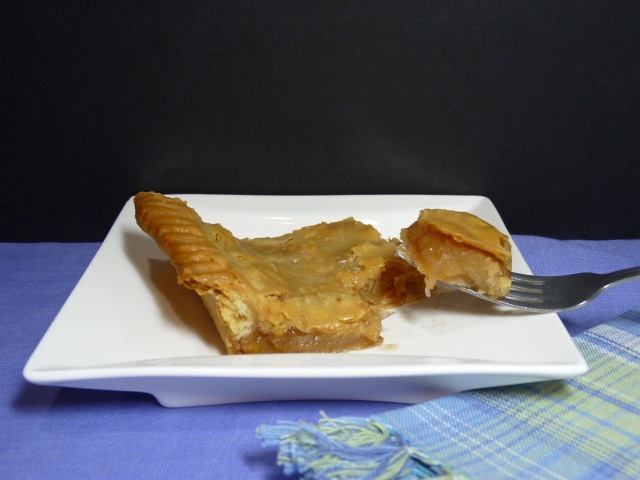
I really thought that I had posted this on my old site, but in searching through the archives I see it is not there. This is a great recipe from Cook’s Country Magazine that I changed up a little. It’s a terrific thing to make for a bake sale or a pot-luck dinner as it travels well, is easy to serve, and makes enough to feed a crowd. I made it for last year’s 5th grade fundraising function at the school and they asked me to make it again this year since it was a best-seller last year.

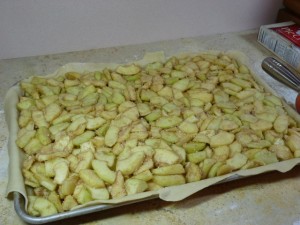
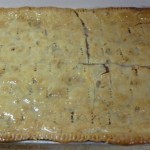
Unlike a traditional apple pie, slab pie is made in a baking sheet and can feed up to 20 people. Its filling is thickened to ensure neat slicing, and it’s topped with a sugary glaze. Use store-bought pie crusts and glue two of them together with water, rolling the dough out into a large rectangle that fits into the large sheet pan.


Apple Slab Pie

Original recipe printed by Cook’s Country Magazine, 10/2007. Revised by Crafty Farm Girl, 2011.

The recipe calls for a 18 by 13-inch nonstick baking sheet for this pie. If using a conventional baking sheet, coat it lightly with cooking spray. The original recipe used 1-1/2 cups of ground up animal crackers in it. I didn’t like animal crackers as a kid, my kids don’t like animal crackers, and I didn’t want animal crackers in my slab apple pie. I’ve made this recipe in my modified form several times, and I don’t recall ever saying to myself “Gee, this sure would taste better with some animal crackers in it.” I also finish it with an egg wash on the crust before baking, where the original recipe does not.

Pie

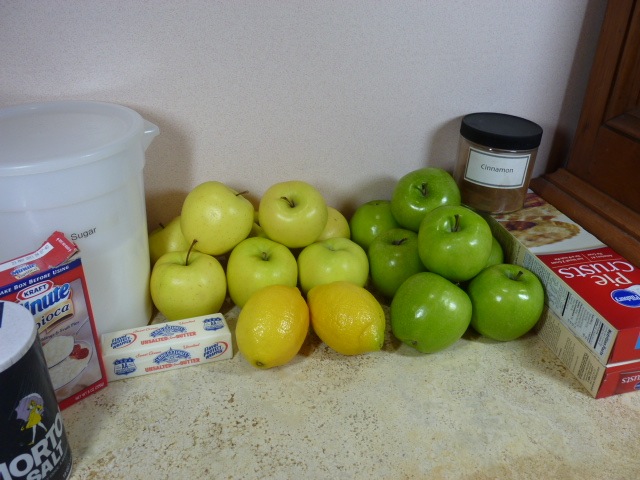
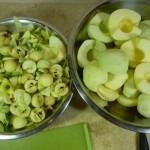
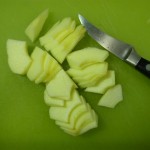
  • 8 Granny Smith apples (about 3 1/2 pounds), peeled, cored, sliced thin and halved)
  • 8 Golden Delicious apples, (about 3 1/2 pounds), peeled, cored, sliced thin and halved)
  • 1 cup granulated sugar
  • 1/2 teaspoon salt
  • 2 (15-ounce) boxes Pillsbury Ready to Roll Pie Crust
  • 6 tablespoons Minute Tapioca
  • 2 teaspoons ground cinnamon
  • 3 tablespoons lemon juice
  • 1 egg, lightly beaten

Glaze

  • 3/4 to 1 cup reserved apple juice (from filling)
  • 2 tablespoons lemon juice
  • 1 tablespoon unsalted butter – softened
  • 3/4 cups confectioners sugar

Serves 18 to 20

For the pie:

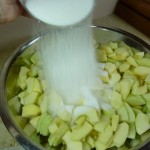
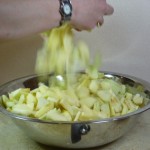
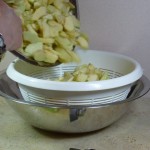
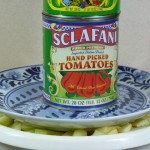
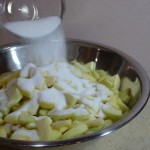
Save those apple peels & cores for the chickens & goats if you have them! Combine apples, 1 cup sugar, and salt in colander set over large bowl. Let sit, tossing occasionally, until apples release their juices, about 30 minutes. Note: I weigh mine down with a plate and some canned tomatoes to help extract the juices better. I’ve also let this sit overnight and for several hours like this without a problem.) Press gently on apples to extract liquid and reserve 3/4 cup juice. You can use as much as a full cup of extracted juice for this recipe, you will just have to reduce it down a little more and it will be more flavorful.


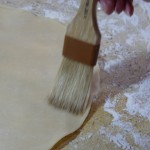
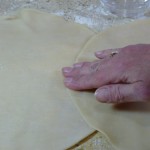
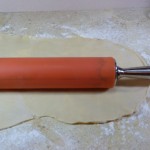
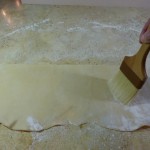
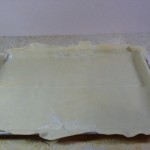
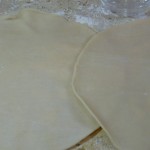
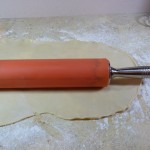
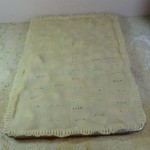
Adjust oven rack to lower-middle position and heat oven to 350 degrees. Brush half of one pie round with water, overlap with second pie round. Roll out dough to 19 by 14 inches and transfer to rimmed baking sheet. Roll out top crust in the same way.


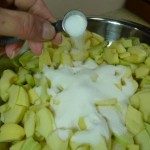
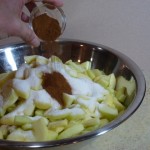
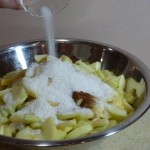
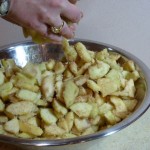
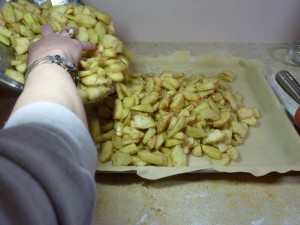
Toss drained apples with remaining 1/2 cup sugar, cinnamon, tapioca, and lemon juice and arrange evenly over bottom crust, pressing lightly to flatten.


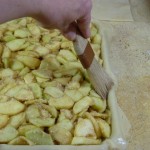
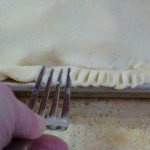
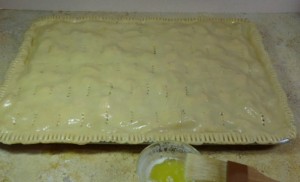
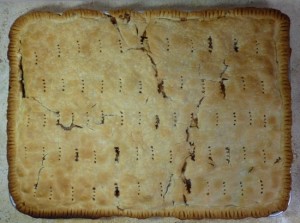
Brush edges of bottom crust with water, and arrange top crust on pie. Press crusts together and use a paring knife to trim any excess dough. Use fork to crimp and seal outside edge of pie, then to pierce top of pie at 2-inch intervals. Brush top of  pie with beaten egg. Bake until pie is golden brown and juices are bubbling, about 1 hour. Transfer to wire rack and let cool 1 hour.


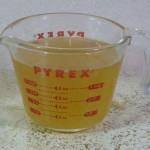
For the glaze: While pie is cooling, simmer reserved apple juice in saucepan over medium heat until syrupy and reduced to 1/4 cup, about 6 minutes. Now I don’t necessarily stick to this 3/4 cup measure and tend to use whatever it is I got out of the pressed apples, which will depend a little one how long you left them pressing. This time I had about 1 1/4 cups. And you will need a minimum of 3/4 cup, but regardless of what you start with, you will still reduce the liquid down to 1/4 cup. The more you start with the more flavorful the glaze will be. Stir in lemon juice and butter and let cool to room temperature. Whisk in confectioners’ sugar and brush glaze evenly over warm pie. Let pie cool completely, at least 1 hour longer. Using a ruler, divide pie into even pieces. I cut them into pieces 3.6″ wide along the 18″ side and 3.25″ along the 13″ side, providing 20 very generous portions. You could make your slices even smaller providing even more pieces if you needed to. Serve.

Make Ahead: The pie can be made up to 24 hours in advance and refrigerated. Bring to room temperature before serving.

Print This Recipe Print This Recipe
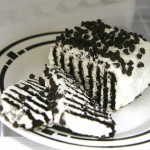
Mocha Icebox Cake

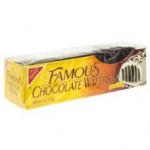
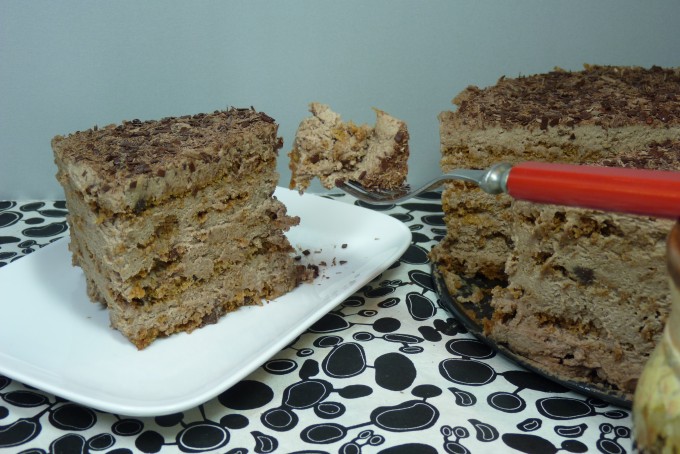
I grew up with Icebox Cake made with chocolate wafer cookies and whipped cream. It’s what my stepmom made for everybody’s birthdays. She made them in all shapes and sizes. You take chocolate wafer cookies, smear some sweetened whipped cream on each one, sandwich them together and then ice the whole thing with more whipped cream. You let it sit in the fridge overnight so the whipped cream soaks into the cookies and they get soft. It’s delicious. The recipe has been around forever.


My daughter, Amanda, is a huge Ina Garten fan. She’s also a Paula Deen fan. For spring break she and her friend were thinking of going on a Paula Deen cruise! Better that than Mexico or Florida for heavy drinking I suppose. Anyway, the point is she told me that her new book, How Easy Is That?, which I gave her for Christmas, had a revamped recipe for chocolate Icebox Cake. She made it for me for my birthday and it was really delicious.

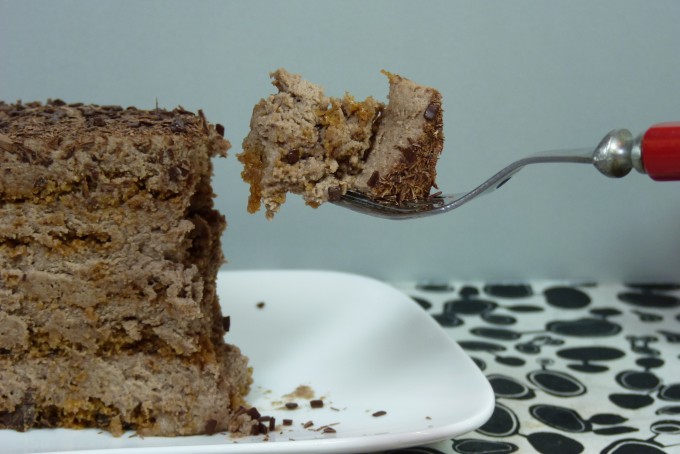
Now I don’t claim to be a better cook that Ina Garten, but I thought that there was some room for improvement in the cake. Now I will say that since Amanda had to make the cake on the Saturday night before my birthday on Tuesday (as she was leaving the next morning to go back to college), it did sit in the fridge for 3 days before we ate it. I thought it was a little dry. Delicious, but could have used a little more moistness. When I made it I increased the recipe for the icing (although it’s not really a typical icing but we’ll call it that) by 1/4. I also realized that Amanda made it in a 9″ spring-form pan and the recipe called for an 8″ one. I made it with an 8″ one.


Mocha Chocolate Icebox Cake

Original recipe from Ina Garten’s “Barefoot Contessa: How Easy Is That?” cookbook.  Adapted by Crafty Farm Girl©, January, 2011

Serving Size: Serves eight

For this recipe you should try to use chocolate chip cookies from Tate’s Bake Shop in Southampton, New York, which are available nationally or at TatesBakeShop.com. If you can’t get them, use another thin, crisp chocolate chip cookie.

Ingredients


2 cups cold heavy cream
12 ounces Italian mascarpone cheese
1/2 cup sugar
1/4 cup Kahlúa liqueur
2 tablespoons unsweetened cocoa powder, such as Pernigotti
1 teaspoon instant espresso powder
1 teaspoon pure vanilla extract
3, 8-ounce packages of Tate’s Bake Shop chocolate chip cookies
Shaved semisweet chocolate, for garnish (I make mine by running a vegetable peeler down a chunk of chocolate)


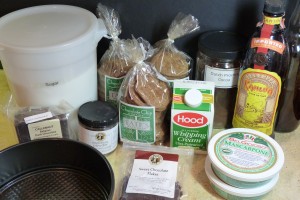
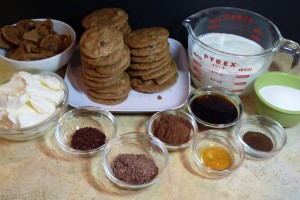
Remember, if I can teach you only one thing in life, that would be to assemble your ingredients and then “mise en place”, a French term referring to having all the ingredients necessary for a dish prepared and ready to combine up to the point of cooking. Once you learn to do this your cooking life will be much easier.


Preparation

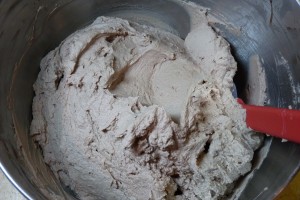
In the bowl of an electric mixer fitted with the whisk attachment, combine the heavy cream, mascarpone, sugar, Kahlúa, cocoa powder, espresso powder, and vanilla. Mix on low speed to combine and then slowly raise the speed, until it forms firm peaks.

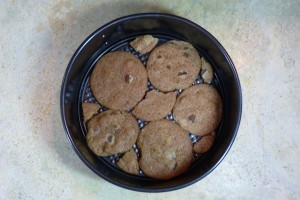
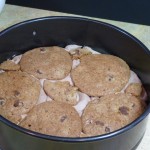
To assemble the cake, arrange chocolate chip cookies flat in an 8-inch springform pan, covering the bottom as much as possible. (I break some cookies to fill in the spaces.) Spread a fifth of the mocha whipped cream evenly over the cookies.

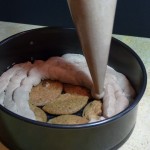
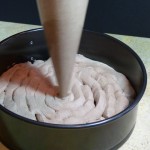
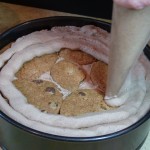
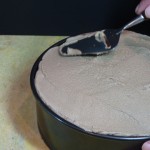
Now let me just stick a little note in here. It is very hard to spread this cream/icing onto a layer of cookies at the bottom of an 8″ spring-form pan. Amanda finally ended up starting with a cheese slicer, which was working pretty well, but then we finally ended up sticking the icing into a pastry bag and just cut off the tip (or you can use a plain round piping tip) and piped the icing in. It worked MUCH better that way in my opinion. If you don’t have a pastry bag, then use a small off-set spatula or a cheese slicer to spread the icing. I found when I piped it I didn’t even really need to spread it, as when I placed the next layer of cookies down it squished it all down pretty evenly anyway.

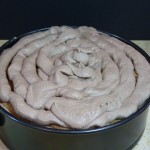
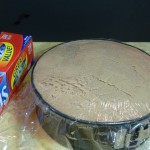
Place another layer of cookies on top, lying flat and touching, followed by another fifth of the cream. Continue layering cookies and cream until there are five layers of each, ending with a layer of cream. Smooth the top, cover with plastic wrap, and refrigerate overnight.


Sprinkle the top with the chocolate. Run a small sharp knife around the outside of the cake and remove the sides of the spring-form pan. Cut in wedges and serve cold.


Delicious!

Print This Recipe Print This Recipe
Coconut Snowballs

I loved Hostess Coconut Snowballs as a kid. I didn’t get to eat them very often, but they were always a real treat when I got them.


Since my coconut cake is one of my favorite desserts, I decided to try and remake the old classic Hostess Snowballs in a more adult version. I’m quite certain mine also had a whole lot less chemicals in them that the Hostess variety – I think the shelf life on those things is l like 6 months or something scary like that!

This recipe does require one piece of special fairly expensive equipment; half-round silicone baking molds. Luckily I made these for an event that I could write them off to my husband’s business. They can be purchased at a professional baking supply store. I ordered mine online at J.B. Prince. They only came in a full-sheet pan size which is so large that only professional restaurants have ovens that big. I simply cut the thing in half and they fit onto my half-sheet sized pans perfectly.

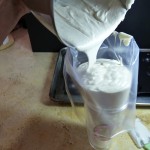
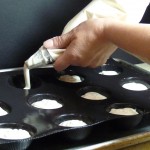
Starting with the same recipe I use for my coconut cake which I originally posted on March 7th, 2010 you will follow the cake directions exactly as shown in that original post. However, when your batter is done you will pour it into a pastry bag fitted with a large plain round tip. This is how I filled the silicone molds and found it easy and neat. You could also just use a spoon or spouted measuring cup as well.


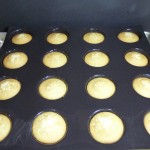
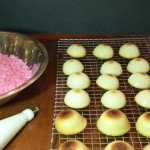
Place the silicone molds onto your baking sheet. They are very flexible so make sure that they are sitting as flat and straight as possible. Fill each mold about 3/4 full with the batter and bake until lightly golden brown, about 10-14 minutes. You don’t want to let them get too brown on top. The molds are small and if you overcook them they will get dry.

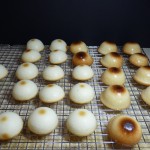
When done remove from the oven and allow to cool for a few minutes before lifting the silicone mats off of the sheet pans and placing on a wire rack to finish cooling. When cool you simply push them out of the silicone pans and they easily release.

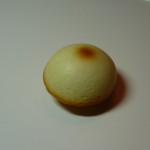
My kids had a great time with the way they came out. For some reason they all had dark brown tops so from then on we called them “coconut boobies’.


You will need less buttercream for these than you would for the original cake, so although the ingredients stay the same, use the following ingredient measurements.

Coconut Buttercream

4 large egg whites
1 cup granulated sugar
pinch table salt
1 pound unsalted butter (4 sticks), each stick cut into pieces, softened but still cool
1/4 cup cream of coconut
1 teaspoon coconut extract
1 teaspoon vanilla extract

Following the original recipe on the link (above) to make the icing.

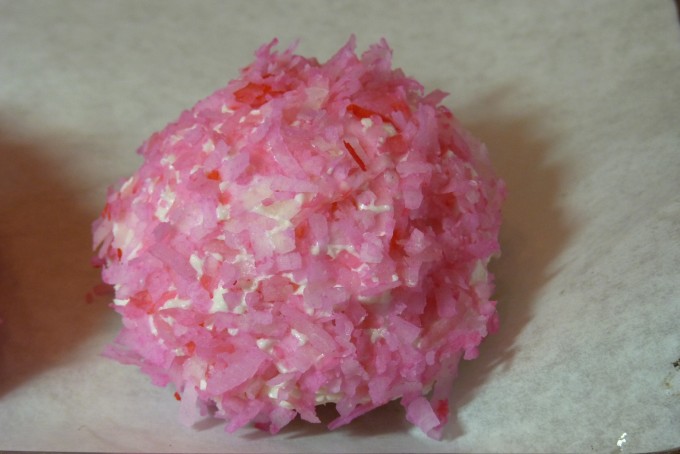
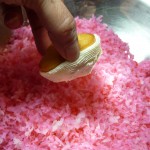
For the coconut topping you will need one 14 oz. bag of sweetened shredded coconut. My preferred brand for this is Baker’s brand as I find it much moister than other brands I’ve tried. Pour the coconut into a large bowl and with your hands toss it around and break apart any clumps. Using some pink paste food coloring if you  have it, if not use liquid food coloring, and put a small amount on a toothpick or the tip of a knife and brush it onto the coconut. Using your (clean) hands toss the coconut around rubbing it together to get the coloring to evenly distribute and color the coconut. You can add more if it’s not pink enough. Keep working it together with your hands until you’ve got the color you want and all of the color is evenly distributed. You also don’t have to make them pink; make them red for Valentine’s Day or green for St. Patrick’s Day.


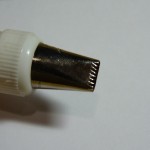
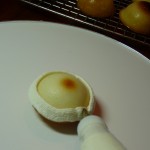
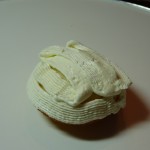
Now place your icing in a pastry bag with really any tip I used a rather flat one with a serrated top but any smaller tip will do. If you don’t have a pastry bag, then you can ice them by hand with a knife or small spatula. Holding them carefully on the edges you want to get a fairly even coating of icing around the entire half-round.


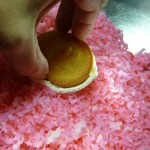
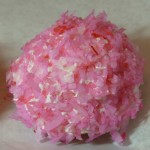
Then, holding the cake as close to the edges as possible you want to place it into the colored shredded coconut. You want to push it in a little to get the icing evenly distributed and the coconut evenly covered. Roll it around a bit until you’ve got it all covered in the coconut.


These were so amazingly delicious. They were soft and coconutty and so much better than the hostess variety.
They were a little complicated to make, but if you’ve got an upcoming event or party that calls for a special dessert hors d’oeuvre this is definitely a dessert that both kids and adults enjoyed.

Print This Recipe Print This Recipe