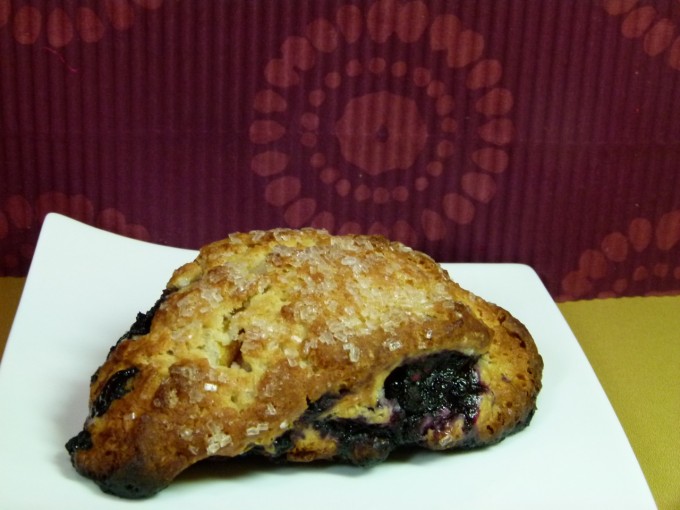
Mixed Berry & Peach Scones

I had bought these amazing black raspberries at the farmer’s market several weeks ago. Having no need for them at the time, I layed them out on a baking sheet and froze them IQF (Individually Quick Frozen). While the home method of doing this isn’t as quick as professionals do it using dry ice, the end result is the same — fruit that stays separated and easy to use right out of the freezer. If you were to stick the berry container in the freezer you would end up with one large clump of berries.
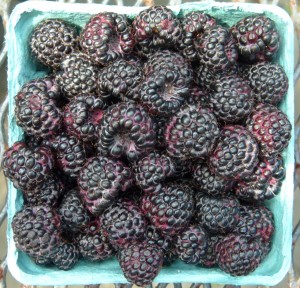
Black Raspberries

The same thing happened this week with some local blueberries I’d bought at the farmer’s market. Nobody was eating them (Evan must not have known they were in there), so I froze those IQF as well.

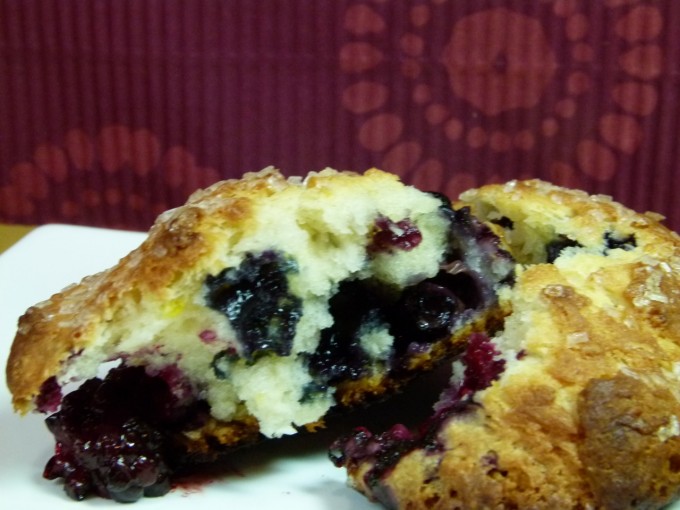
Then I remembered this scone recipe that I’ve often used. Delicious frozen berries are perfect for them. So I went to the store and bought some beautiful blackberries and a peach as well. I diced the peach into a small dice and, together with the blackberries, I froze those IQF as well.

Once everything was frozen I took everything out of the freezer and quickly tossed them together to combine. I put the 1-1/2 cups I needed for this recipe in a bowl, and the rest went into a ziploc freezer bag for later use. Bowl and bag went back into the freezer.
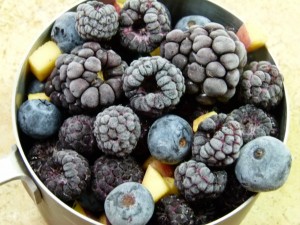
Frozen mixed berries and peaches

Mixed Berry & Peach Scones

Makes 8. Originally published July 1, 2007 by Cook’s Illustrated. Altered by Crafty Farm Girl, 2011.

It is important to work the dough as little as possible—work quickly and knead and fold the dough only the number of times called for. The butter should be frozen solid before grating. In hot or humid environments, chill the flour mixture and workbowls before use. While the recipe calls for 2 whole sticks of butter, only 10 tablespoons are actually used. Refrigerate or freeze leftover scones, wrapped in foil, in an airtight container. To serve, remove foil and place scones on a baking sheet in a 375-degree oven. Heat until warmed through and recrisped, 8 to 10 minutes if refrigerated, 16 to 20 minutes if frozen. See final step for information on making the scone dough in advance.

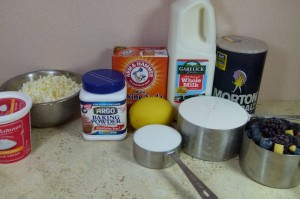
Ingredients
16 tablespoons unsalted butter (2 sticks), frozen whole (see note above)
1-1/2 cups fresh blueberries (about 7 1/2 ounces), picked over (see note)
1/2 cup whole milk
1/2 cup sour cream
2 cups unbleached all-purpose flour (10 ounces), plus additional for work surface
1/2 cup sugar (3 1/2 ounces), plus 1 tablespoon for sprinkling if you aren’t using the white sanding sugar
2 teaspoons baking powder
1/4 teaspoon baking soda
1/2 teaspoon table salt
1 teaspoon grated lemon zest
White sanding sugar (optional)

Instructions
Adjust oven rack to middle position and heat oven to 425 degrees. Score and remove half of wrapper from each stick of frozen butter. Following photo at left, grate unwrapped ends on large holes of box grater (you should grate total of 8 tablespoons). Place grated butter in freezer until needed. Melt 2 tablespoons of remaining ungrated butter and set aside. Save remaining 6 tablespoons butter for another use. Place blueberries in freezer until needed.

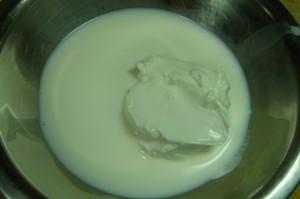
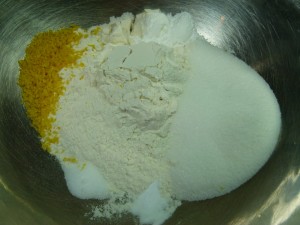
Whisk together milk and sour cream in medium bowl; refrigerate until needed. Whisk flour, 1/2 cup sugar, baking powder, baking soda, salt, and lemon zest in medium bowl.
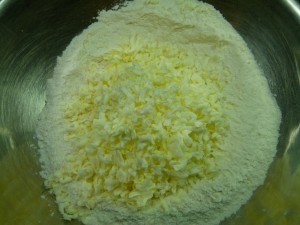
Add frozen butter to flour mixture and toss with fingers until thoroughly coated.
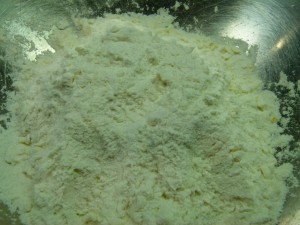
Add milk mixture to flour mixture; fold with spatula until just combined.
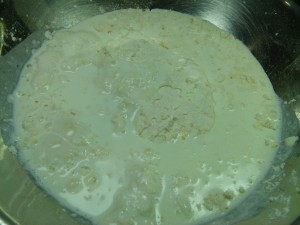
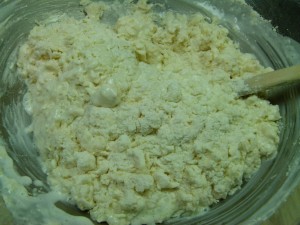
With rubber spatula, transfer dough to liberally floured work surface. Dust surface of dough with flour; with floured hands, knead dough 6 to 8 times, until it just holds together in ragged ball, adding flour as needed to prevent sticking.
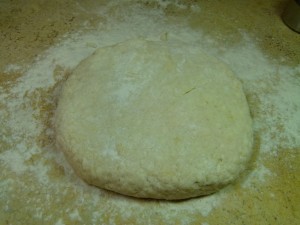

Roll dough into approximate 12-inch square. Following illustrations, fold dough into thirds like a business letter, using bench scraper or metal spatula to release dough if it sticks to countertop. Lift short ends of dough and fold into thirds again to form approximate 4-inch square. Transfer dough to plate lightly dusted with flour and chill in freezer 5 minutes.

Transfer dough to floured work surface and roll into approximate 12-inch square again. Sprinkle berry mixture evenly over surface of dough, then press down so they are slightly embedded in dough.
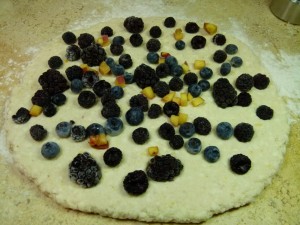

Using bench scraper or thin metal spatula, loosen dough from work surface. Roll dough, pressing to form tight log. Lay seam-side down and press log into 12 by 4-inch rectangle.
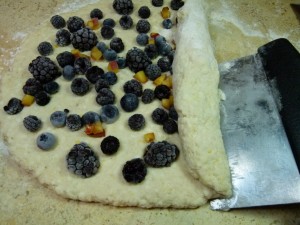
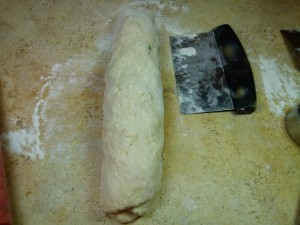
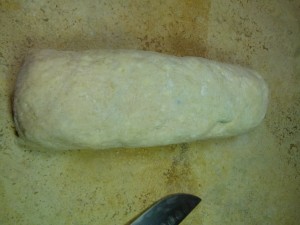
Push the dough at the ends and at any thick or thin points to make a more even log


Using sharp, floured knife, cut rectangle crosswise into 4 equal rectangles. Cut each rectangle diagonally to form 2 triangles and transfer to parchment-lined baking sheet.
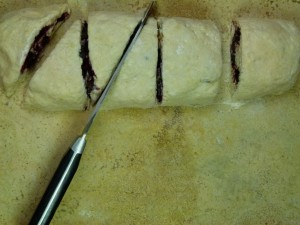
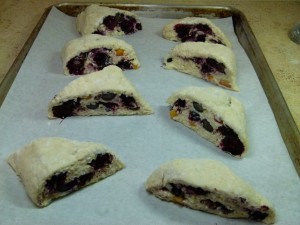
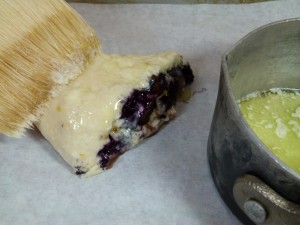
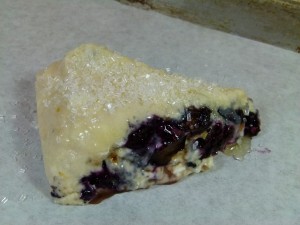
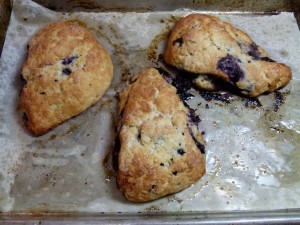
Brush tops with melted butter and sprinkle with sanding sugar or the remaining tablespoon sugar. Bake until tops and bottoms are golden brown, 18 to 25 minutes. Transfer to wire rack and let cool 10 minutes before serving.
To Make Ahead:
After placing the scones on the baking sheet, either refrigerate them overnight or freeze. When ready to bake, for refrigerated scones, heat oven to 425 degrees and follow directions in step 6. For frozen scones, heat oven to 375 degrees, follow directions in step 6, and extend cooking time to 25 to 30 minutes.
Mixed Berry Pie


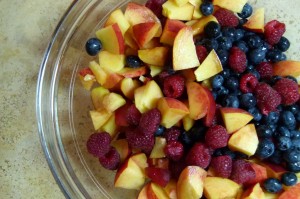
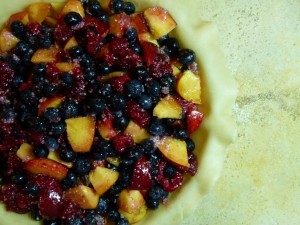
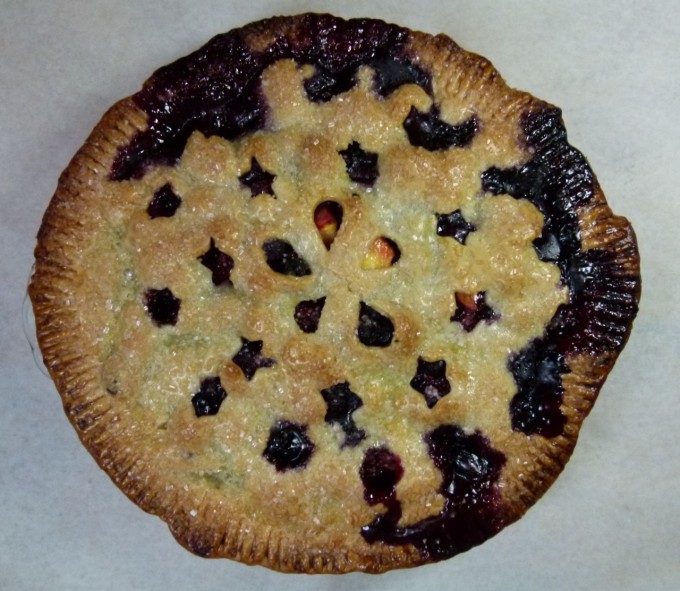
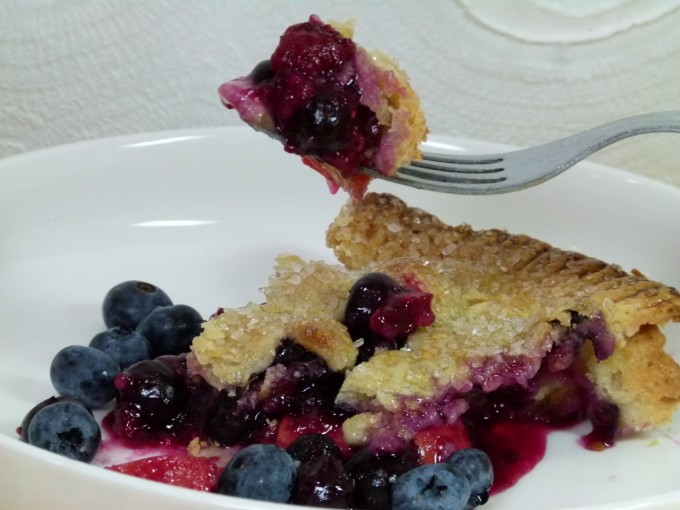
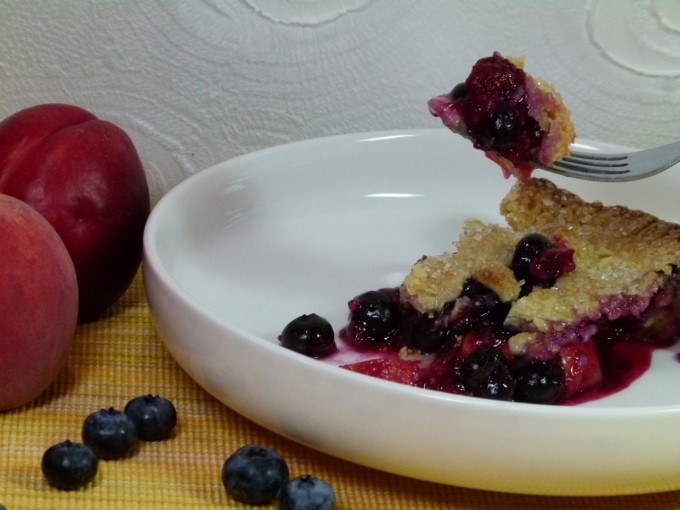
My stepmom makes a wicked good pie, and for my dad’s birthday a few weeks ago she made a mixed berry pie that was really terrific. I got it into my head that I had to make one myself, so off to the farmer’s market I went on Wednesday. I still had some blueberries left that Evan and I had picked late last week, so I picked up some raspberries, peaches and nectaries there.

Now normally I make my own pie crust dough, but Wednesday came and went without me even having a chance to think about making the pie, so on Thursday afternoon I grabbed some frozen Trader Joe’s pie crust out of the freezer to use. It was really nice looking — you could see hunks of butter in the dough. Even though it was thawed out, it didn’t just crack when I unfolded it – it broke into four pieces. This was very easily fixed with a few passes of a rolling pin, which I would have done anyway.

I don’t know if it was the fresh, perfect fruit that I used, but this pie came out really tasty. The crust was terrific too. It wasn’t too sweet, it wasn’t too runny, and I love a little sugar dusted on the crust.

Farmer’s Market Mixed Berry Pie

Original recipe (for blueberry pie) from Cook’s Illustrated. Modified by Crafty Farm Girl, August, 2011.

Note: Grind the tapioca to a powder in a spice grinder or mini food processor. If using pearl tapioca, reduce the amount to 5 teaspoons.

1 box ready-made pie dough (I used Trader Joe’s for the first time and it was really good). You can certainly make your own if you have more time than I did yesterday!

3 cups fresh blueberries, washed and drained (about 15 ounces)
1 small 1/2 pint basket fresh raspberries, picked over
3 fresh, ripe peaches, pitted and sliced into 1/4″ to 1/2″ slices and then cut slices in half again.
3 fresh, ripe nectarines, pitted and sliced into 1/4″ to 1/2″ slices and then cut slices in half again.
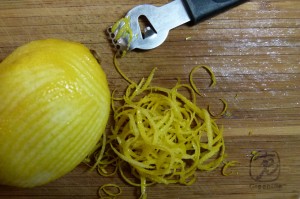
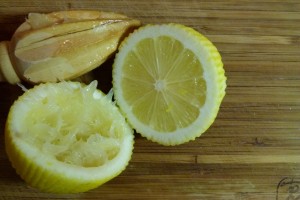
2 teaspoons grated zest and 2 teaspoons juice from 1 lemon
3/4 cup sugar (5 1/4 ounces)
3 tablespoons quick-cooking tapioca (see note)
2 tablespoons King Arthur Flour Company Pie Filling Enhancer (optional)
pinch table salt
1 large egg , lightly beaten with 1 teaspoon water
white sparkling sugar

INSTRUCTIONS

Remove ready-made dough from refrigerator, unwrap, and roll slightly to flatten and even out dough on a lightly floured work surface to 12-inch circle, about 1/8 inch thick. Roll dough loosely around rolling pin and unroll into pie plate, leaving at least 1-inch overhang on each side. Working around circumference, ease dough into plate by gently lifting edge of dough with one hand while pressing into plate bottom with other hand. Leave dough that overhangs plate in place; refrigerate while preparing filling until dough is firm, about 30 minutes.

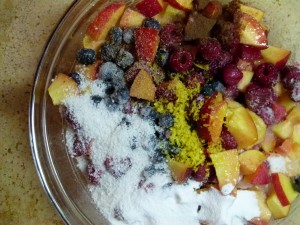
For The Filling: In a large bowl combine the 3 cups blueberries, raspberries, peaches, nectarines, lemon zest, juice, sugar, tapioca, pie filling enhances (if using) and salt; toss to combine. Transfer mixture to dough-lined pie plate and scatter butter pieces over filling.


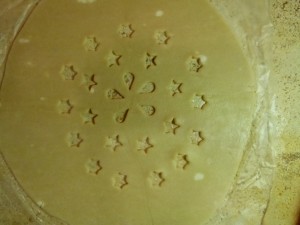
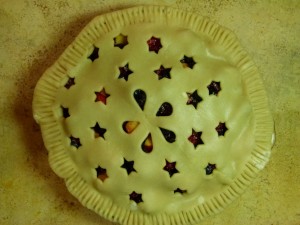
Roll out second disk of dough on lightly floured work surface to 11-inch circle, about 1/8 inch thick. Using a small round biscuit cutter or small decorative cookie/pastry cutters, place one hole in the center of dough and more holes evenly spaced around center hole. Roll dough loosely around rolling pin and unroll over pie, leaving at least 1/2-inch overhang on each side.


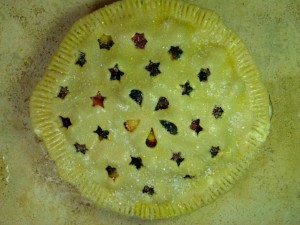
Using kitchen shears, trim bottom layer of overhanging dough, leaving 1/2-inch overhang. Fold dough under itself so that edge of fold is flush with outer rim of pie plate. Flute edges using thumb and forefinger or press with tines of fork to seal. Brush top and edges of pie with egg mixture and sprinkle with the sparkling sugar. If dough is very soft, chill in freezer for 10 minutes.


Place pie on heated baking sheet and bake 30 minutes. Reduce oven temperature to 350 degrees and continue to bake until juices bubble and crust is deep golden brown, 30 to 40 minutes longer. Transfer pie to wire rack; cool to room temperature, at least 4 hours. Cut into wedges and serve.

Frozen Chocolate Peanut Butter Terrine


As soon as I saw this recipe I knew I had to make it immediately. Amanda has been waiting and waiting for me to make this Devil’s Food White-Out Cake, the recipe for which I’ve had open on the kitchen table for about a week now, but she’ll just have to wait.

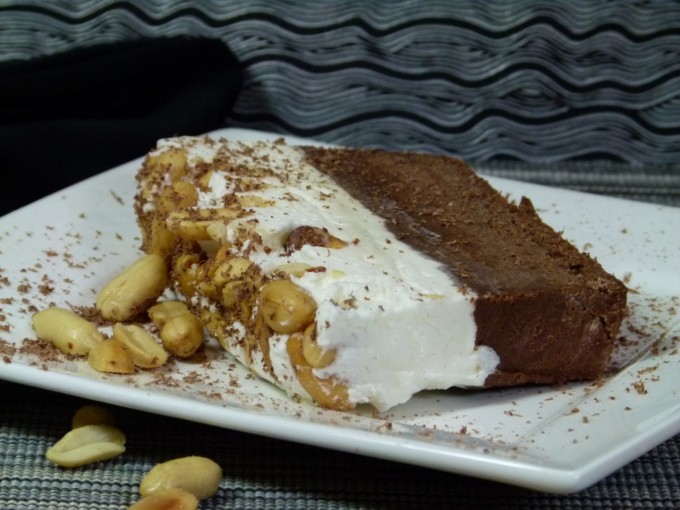
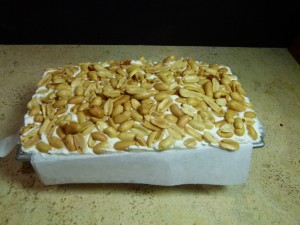
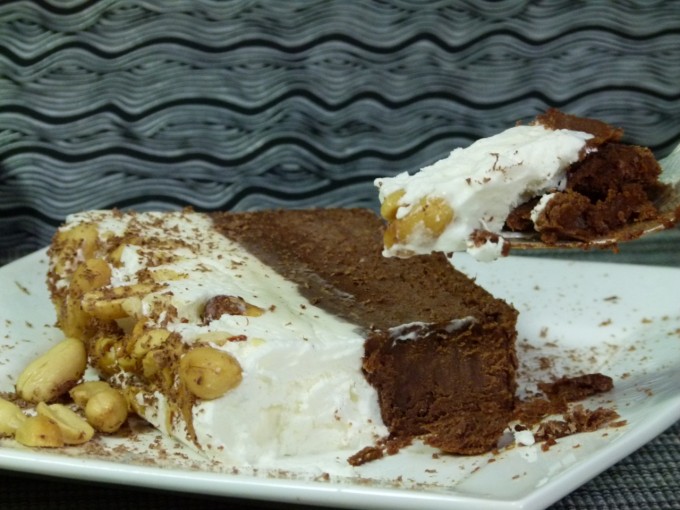
The original Martha Stewart Recipe was all chocolate. Sprinklebakes added the layer of whipped cream on top, which I thought was a necessary addition, but to give the whipped cream layer more body, I thought to add some Marshmallow Fluff would be key. Because I added the marshmallow fluff, I reduced the sugar in the topping to 1/8 cup. Wow. With the salty peanuts on top! Perfect.

Frozen Chocolate Peanut Butter Terrine

Adapted from sprinklebakes.com, who adapted it from a Martha Stewart recipe. Adapted by Crafty Farm Girl, July, 2011.

12 oz. bag of semisweet chocolate chips, or 12 oz. chocolate, chopped evenly
1 cup creamy peanut butter
2 1/2 cups heavy cream – divided
1 tsp. vanilla extract
1/8 cup sugar
1/2 cup Marshmallow Fluff
1 1/4 cups roasted, salted peanuts
Wax paper or parchment
Baking spray

1. Coat a 9×5-inch loaf pan with baking spray. I used a canola spray.

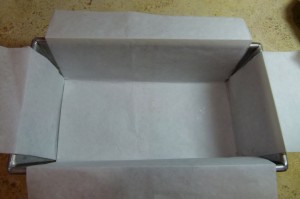
2. Line the pan with a long piece of waxed or parchment paper. I doubled mine over so it would be strong enough to lift out the terrine without tearing. Make sure there is enough paper to hang over each end of the length of the pan. Press the paper to the sides of the pan allowing the oil to adhere the paper to the sides.


3. In a medium bowl, whip 1 ¼ cups of the heavy cream with an electric mixer until stiff peaks form. Set aside.

4. Melt chocolate – you can do this in the microwave at 30 second intervals, or over a double boiler. I used the microwave.

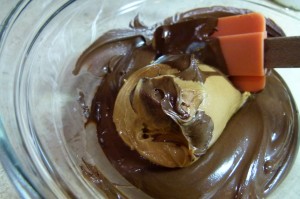
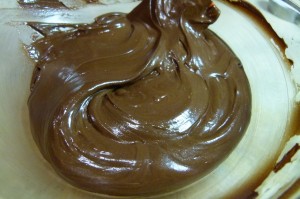
5. Stir peanut butter into the hot melted chocolate until the peanut butter has melted and the mixture is consistent. Let mixture cool slightly.


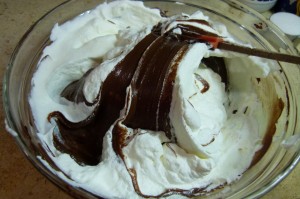
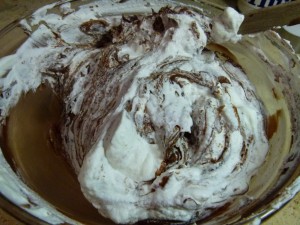
6. Gently fold together chocolate mixture and whipped cream.


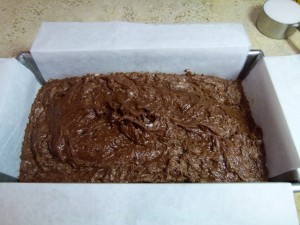
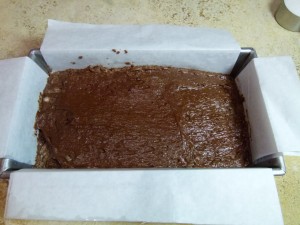
7. Pour into prepared pan.


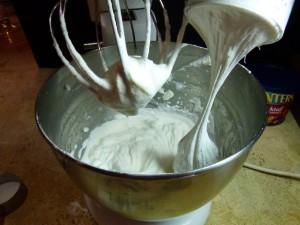
8. Whip remaining heavy cream, gradually adding the 1/8 cup sugar and vanilla until soft peaks form. Add the 1/2 cup of Marshmallow Fluff and beat until stiff peaks form.


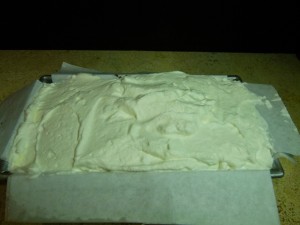
9. Top chocolate layer with sweetened whipped cream. Spread evenly with an off-set spatula. Cover whipped cream with peanuts; gently press them into the whipped cream with your fingertips. Pick up the loaf pan and drop it once on the counter to settle the layers.


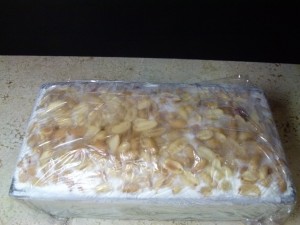
10. Wrap tightly in plastic. Freeze for 3 hours.

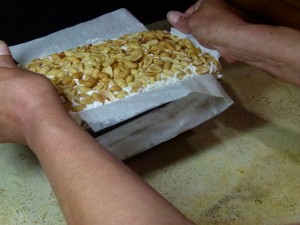
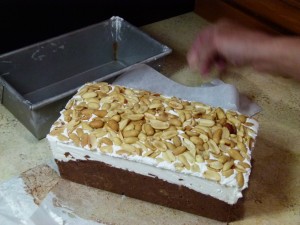
11. To remove the chocolate loaf from pan, use a dish towel soaked in hot water to warm the sides and bottom of the pan (Note: I did not find this step necessary – mine just lifted out with a slight tug). Lift chocolate loaf out by gently tugging on the wax paper.


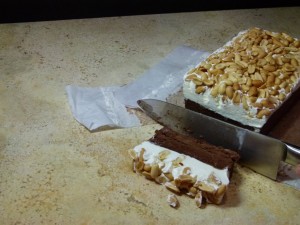
12. Peel paper off sides of terrine. Slice about 1 inch thick with a large warm chef’s knife heated up by running it under hot water, wiping the knife clean & re-heating between slices. I garnished mine with some grated chocolate. Plate and serve immediately.


Cotton Candy

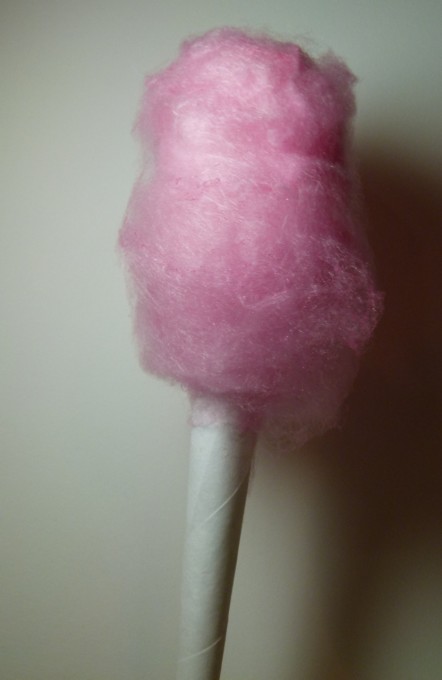
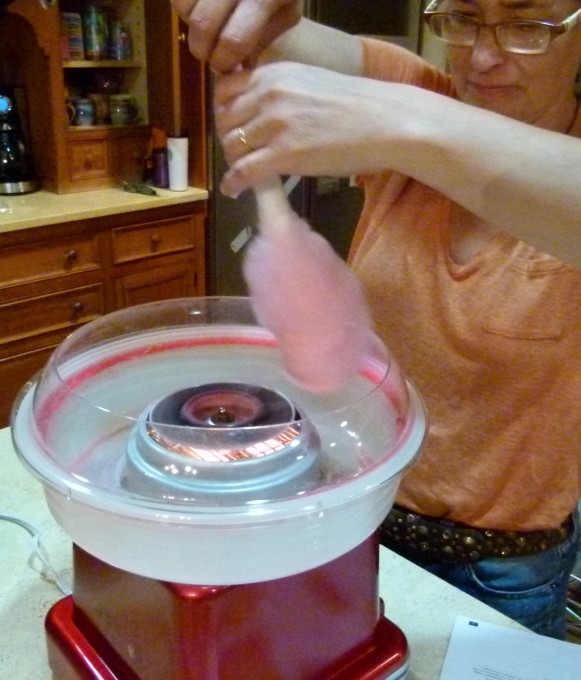
Just before we left for Wyoming I was in Kohl’s department store with the India and Maia when we saw a cotton candy making machine on sale. I love cotton candy. So do my kids. It was on sale for goodness sakes. In the cart it went. However, I was so busy getting ready to go away that last day or two that we never did get to try it. Today Evan was very helpful to me. He was digging post holes for goat play things and also cleaned out the entire old chicken coop in preparation for the new chicks I am expecting to arrive this week. The payment that he requested was to fire up the new cotton candy machine.

It was easy. And surprisingly, it actually worked! Now we didn’t get big fluffy balls of cotton candy like you’d get at the local fair, but they were smaller versions of the same thing. The strangest part of it was if you didn’t use the ‘cotton candy sugar’ that came with the kid but tried using the Countrytime hard candy that they also provided, you got something that looked just like cotton candy, but tasted like lemonade. You can even use sugar free candy in it! I’m trying that next.

I’ll do a more substantial post on this machine soon, but I just thought it was so fun I wanted to share.

I feel bad that India and Maia weren’t here to try it out for the first time. They are going to be so jealous when they read about it in my letters that I wrote to them tonight.

Here’s a bad photo of me trying it for the first time courtesy of Evan.

4th of July Cupcakes in a Jar

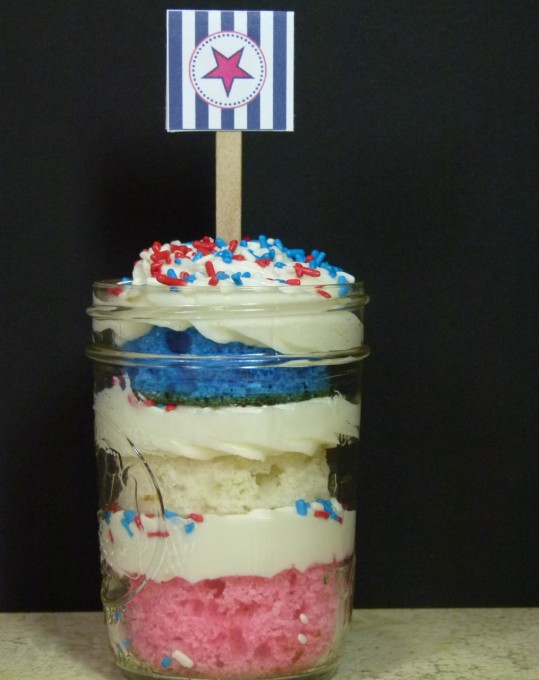
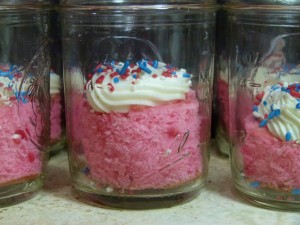
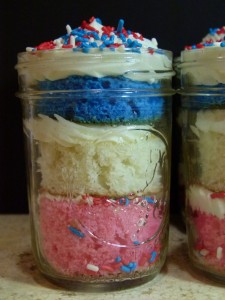
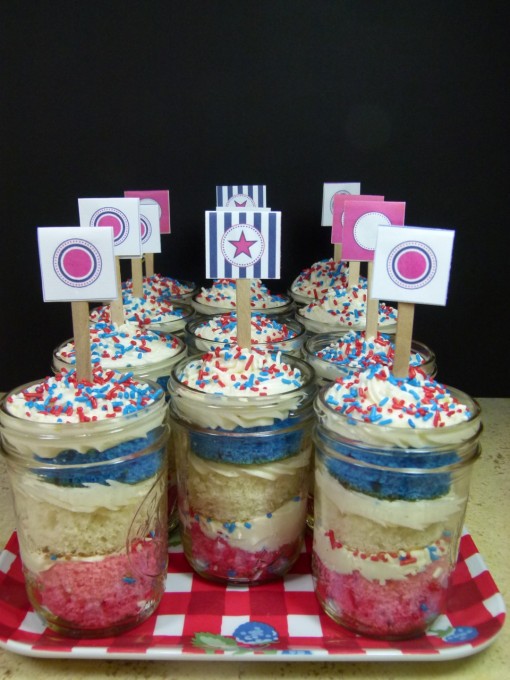
How cute are these cupcakes in a jar? Well, thanks to my new obsession, Pinterest, I found them on The Tomkat Studio website and had to try them.

Now I did them a bit differently than the original site’s recipe called for, but you can just as easily follow the one they did by following the link above to The Tomkat Studio. Her recipe didn’t list a yield quantity, but the way I did it, using 2 boxes of cake mix instead of one, yielded enough to make a full case (12 jars) and extra batter for 6 cupcakes. The original recipe also baked the cakes in 9″ round pans, but since I was using 2 mixes I used 13″ x 9″ pans. For icing I fiddled with the Easy Vanilla Buttercream icing from Cook’s Illustrated. I prefer a real buttercream, but this icing still has butter in it and the confectioner’s sugar allows it to stand up better in hot, humid weather.

4th of July Cupcakes in a Jar

You’ll need…

Jars (I used a case of 12 1/2 pint canning jars)
2 white cake mix (from a box or from scratch)
Frosting (see recipe below, but you can use canned)
Tomkat Studio Memorial Day Free Printables (use 3 of the 4 designs)
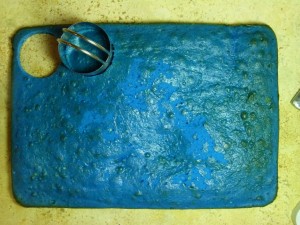
Prepare 3- 12″ x 9″ cake pans by greasing the pan lightly (I used spray canola oil). Prepare the batter of your favorite white cake (from a box or from scratch). Measure 2 cups of cake batter into 2 bowls. Color one bowl of batter red, and one blue (using concentrated gel coloring).  Fill first 2 pans with the colored batter. Pour 2 cups of plain white batter into the third prepared pan and with any remaining batter you can make cupcakes. Since I was baking less batter than would normally be put into this size pan, I watched the pan closely in the oven until it was lightly browned on top and it sprang back when touched lightly, about 15 minutes.

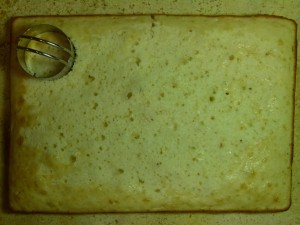
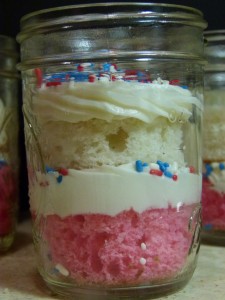
Once baked, cool cakes completely. Prepare a batch of frosting (see recipe below). Remove cakes from pans and place on a work surface. Then, use a 2″ round cookie cutter to cut out circles of cake. Fill a piping bag fitted with a large round or star tip. Layer cake and frosting as shown above (red cake, a little frosting, some sprinkles, white cake, a little frosting, some sprinkles, blue cake, a nice swirl of frosting for the top layer), some sprinkles.


*Note- the cupcakes in a jar could also be make using cupcakes, cut in half, then used as directed above.
Dress up your cupcakes in a jar with ribbon and The Tomkat Studio Free Printable Memorial Day designs. Use the printables as cupcake toppers (if you are serving the cupcake jars open), or as a finishing label, if you plan to use the cupcake jars as favors or gifts.

Easy Vanilla Buttercream Icing

Any of the buttercream frostings (see related recipes) can be made ahead and refrigerated; if refrigerated, however, they must stand at room temperature to soften before use. If using a hand-held mixer, increase mixing times significantly (at least 50 percent).

4 sticks unsalted butter , softened
5 cups confectioners’ sugar (5 ounces)
1/2 teaspoon table salt
2 teaspoons vanilla extract
3 tablespoon heavy cream

Instructions

In standing mixer fitted with whisk attachment, beat butter at medium-high speed until smooth, about 20 seconds. Add confectioners’ sugar and salt; beat at medium-low speed until most of the sugar is moistened, about 45 seconds. Scrape down bowl and beat at medium speed until mixture is fully combined, about 15 seconds; scrape bowl, add vanilla and heavy cream, and beat at medium speed until incorporated, about 10 seconds, then increase speed to medium-high and beat until light and fluffy, about 4 minutes, scraping down bowl once or twice.

Chocolate Malt Cupcakes

I’ve recently discovered Pinterest. Lordy, as if I wasn’t getting too little sleep already, add something terrific like a website where you can create idea boards for all of the things you come across on the internet or on Pinterest directly. Dangerous. Time consuming. Fun.

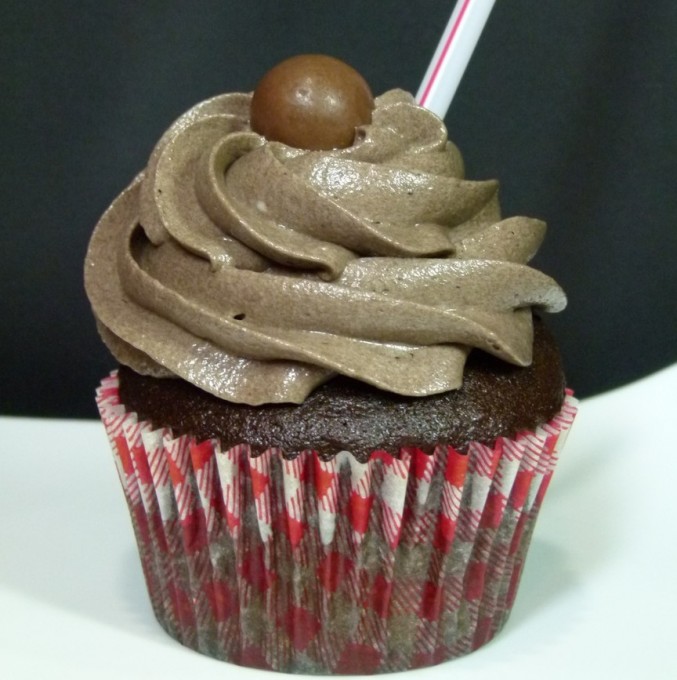
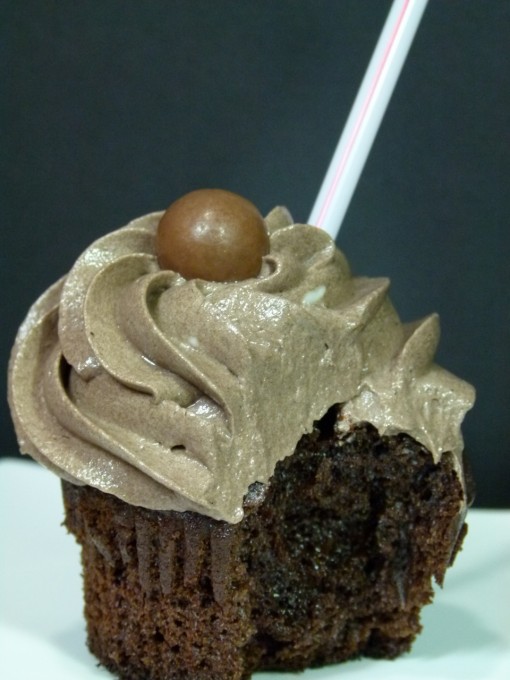
I came across these cupcakes the other day on Pinterest. Amanda begged me not to make them since they looked too delicious and she has been able to show little self-restraint when it comes to eating since she’s been home from college, but I made them anyway.

*Now the pictures on both sites showed big swirls of icing on each cupcake. My experience with icing, both for cakes and cupcakes, is that there is never enough. Knowing this, I did 1-1/2 times the recipe published in the Culinary Chronicles, and I still was short for 9 cupcakes. Granted, I could have used less icing on each cupcake to be sure, but if I had only made the recipe as originally printed and been less generous on the icing there is no way I would have had enough for all of then. My suggestion is to use the recipe as I’ve altered it below, be slightly less generous than I was in your piping and you should have enough for all of your cupcakes.

“Chocolate Malt” Cupcakes

Recipe found on Pinterest on That Winsome Girl. Original blog posting from The Culinary Chronicles.
Cupcakes adapted from Martha Stewart Cupcakes
Buttercream adapted from Oh My! Sugar High

Altered by Crafty Farm Girl, 2011

Makes approximately 28 Cupcakes (I got 32*)

Ingredients:

Cupcakes:
2¼ Cups All-Purpose Flour
¾ Cup Unsweetened Dutch-Process Cocoa Powder
½ Cup Granulated Sugar
¾ Cup Packed Brown Sugar
1½ Teaspoons Baking Soda
½ Teaspoon Salt
1 Cup Milk
1½ Cups Malted Milk Powder
1 Cup Vegetable Oil
3 Large Eggs, at room temperature
1 Cup Sour Cream, at room temperature
1 Teaspoon Vanilla Extract
½ Cup Chocolate Covered Malt Balls, chopped

Chocolate Malt Buttercream:
1-1/2 Cups Unsalted Butter, at room temperature
1-1/2 Cups Vegetable Shortening, at room temperature
3/4 Cup Malted Milk Powder
5 Tablespoons Unsweetened Dutch-Process Cocoa Powder
1 Teablespoon Instant Espresso Powder
5 Tablespoons Milk
6 Cups Confectioner Sugar, sifted
*Chocolate Covered Malt Balls and Straws to garnish (Optional)

Preheat oven to 350 degrees. Line standard muffin tins with paper liners. Whisk together flour, cocoa, both sugars, baking soda and salt. In another bowl, whisk together milk and malted milk powder until powder is dissolved.

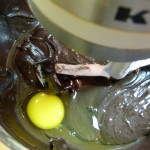
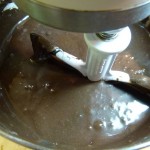
With an electric mixer on medium-high speed, beat flour mixture, milk mixture and oil until combined. Add eggs, one at a time, beating until each is incorporated, scraping down sides of bowl as needed. Add sour cream and vanilla, and beat just until combined. Fold in crushed chocolate covered malt balls.


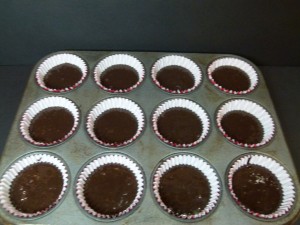
Divide batter evenly among lined cups, filling each halfway. Bake, rotating tins halfway through, until a cake tester inserted in centers comes out clean, about 20 minutes.

While cupcakes are cooling, prepare frosting. In a large mixer bowl, whip the butter and shorting for several minutes until very light and fluffy. Sprinkle in malted milk powder, espresso powder and cocoa powder. Whip for 1 minute. Slowly add the powdered sugar a few spoonful at a time, letting it incorporate until the frosting becomes thicker and stiff. Add milk, one tablespoon at a time and whip until combined.

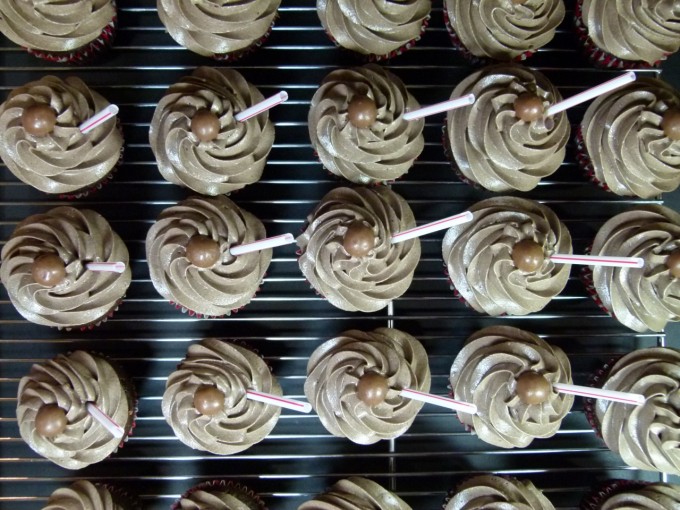
Fill bag with the frosting and pipe large swirls on top of cupcakes. Top with candies and straw garnish.


Fresh & Easy Cherry Turnovers


I am not used to being in Wyoming so early in June. I’m more used to early July, when cherry season has started over in Idaho. I can usually drive over Teton Pass and find several farmers selling their fresh-picked cherries from the back of their trucks along the road. Given the weather they’ve had this winter and spring, I’m not sure when the cherries will be ripe this year — August?

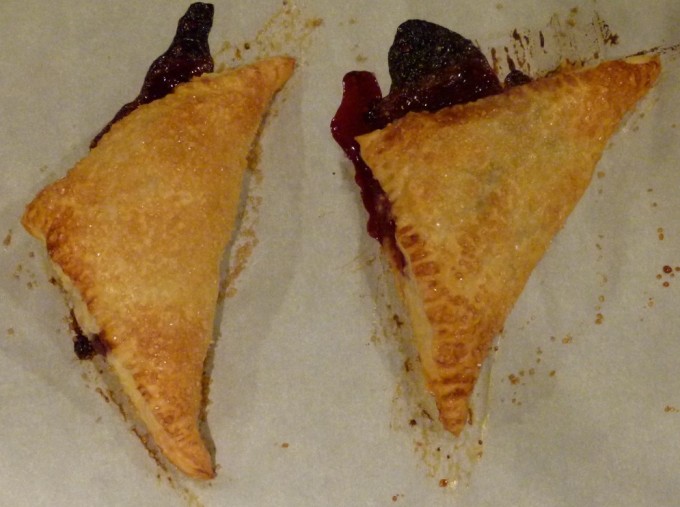
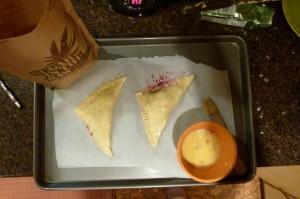
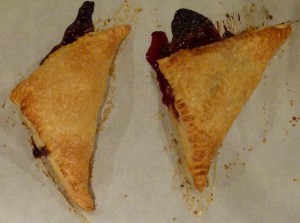
However, I quickly copied this recipe from my Breakfast Comforts cookbook by Williams-Sonoma (which is a lovely breakfast/brunch cookbook) and stuffed it in my folder before I left, hoping to find some fresh cherries to make them with. Alas there were no Idaho cherries to be found, but there were some lovely ones at the grocers, so I decided to give them a try. They were light and delicious and the filling was perfect. Not too sweet, and the cherries still had some firmness to them as they are only cooked briefly. They were really easy to put together and I froze the leftovers for our next trip out there.

Please excuse the photo quality here. I am not quite as well set-up for  food photography in Wyoming as I am in Connecticut.

Flaky Cherry Turnovers

Original recipe from Breakfast Comforts by Williams-Sonoma

Yield: 9 turnovers.  Note: The original recipe called for the books’ Quick Puff Pastry. I decided to use ready-made puff pastry, which yielded 8 turnovers.

  • 1 box prepared frozen puff pastry, thawed overnight in the refrigerator
  • 2 1/2 cups Bing cherries, pitted and halved
  • 1/4 cup granulated sugar
  • 1 teaspoon lemon juice
  • 1 tablespoon corn starch
  • flour for rolling out the dough
  • 1 large egg, beaten
  • Turbinado sugar for sprinkling

Have ready a stainless steel bowl set in a larger bowl of ice water. In a heavy, medium saucepan, combine the cherries, sugar, and lemon juice.


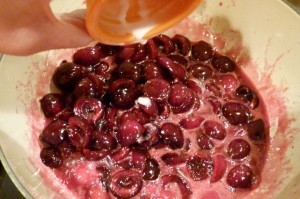
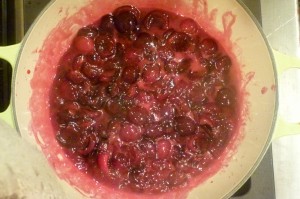
Cover and cook over medium-low heat, stirring often, until the cherries give off their juices and are tender, about 5 minutes. Taste and add more sugar, if desired (I added another tablespoon to mine).

In a small bowl, sprinkle the cornstarch over 1 tablespoon of cold water and stir to dissolve. Stir in to the simmering cherry mixture and cook until thickened, about 30 seconds.


Transfer to the stanless steel bowl set in the bowl of ice water and let stand until chilled, about 20 minutes.
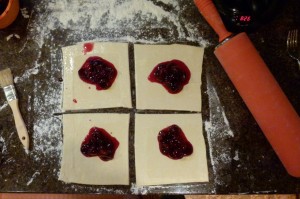
Line a rimmed baking sheet with parchment paper. Roll out the puff pastry, one sheet at a time, to approximately 10″ x 10″ square. Cut this into 4 equal 5″ squares, evening edges if necessary. Using a pastry brush, brush water lightly around the edge of the square. Place about 2 tablespoons of the chilled filling just off the center of a pastry square.


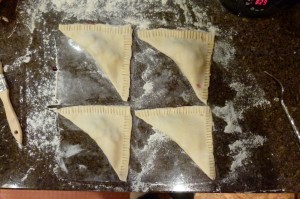
Fold the square in half diagonally so two points meet and enclose the filling. Using a fork, press and seal the edges closed.


Place on the baking sheet. Repeat with the remaining pastry squares and filling. Refrigerate, uncovered, for 15-30 minutes. Repeat with remaining puff pastry sheet.
Preheat the oven to 375 degrees F. Brush the tops of the pastries with some of the beaten egg. Sprinkle the tops with the turbinado sugar.


Bake until the turnovers are puffed and golden brown with no signs of uncooked dough, 20-25 minutes. Let cook on the baking sheet for 10-15 minutes. Serve warm or at room temperature.
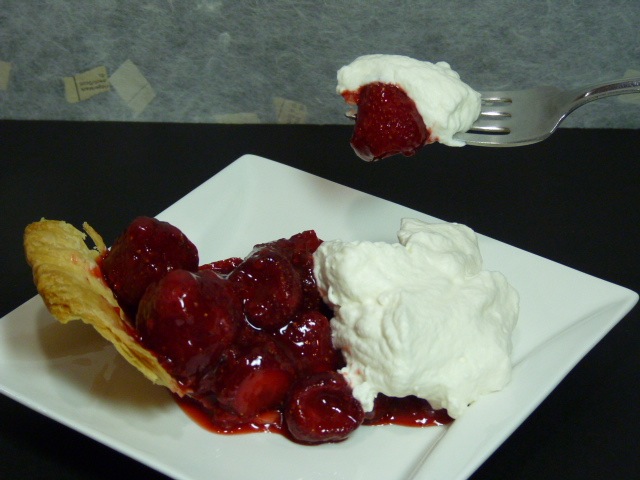
Fresh Strawberry Pie

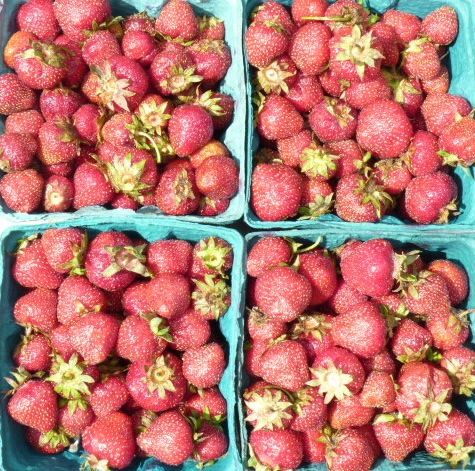
At the Union Square Farmer’s Market in Manhattan this weekend were the first strawberries of the season! I was so excited I bought 4 quart containers of them!

Fresh Strawberries from Manhattan's Union Square Farmer's Market

There is just nothing like the taste of fresh strawberries locally grown. They really make you understand how little the strawberries you get at most grocery stores all year actually taste like strawberries!

I’d seen this recipe in the most recent issue of Cook’s Illustrated magazine and knew this was what I would make with these beauties. I don’t think I’ve actually ever had strawberry pie. I guess I started out at the top with this recipe, so it will be all downhill from here. This was pretty easy to make, and it was really terrific and so full of flavor. I added slightly more strawberries to the glaze mixture than the original recipe called for, and since I had a deep-dish pie shell, I added some extra whole strawberries to the pie as well.

Fresh Strawberry Pie

Makes one 9-inch pie, serving 8 to 10. Published May 1, 2011. From Cook’s Illustrated.

Why This Recipe Works:

We knew that the success of our Fresh Strawberry Pie recipe hinged on getting the thickener just right. When none of the thickeners that we tried worked on their own, we decided to use a combination of two: pectin (in the form of a homemade strawberry jam) and cornstarch. In our strawberry pie recipe by themselves, pectin produced a filling that was too firm and cornstarch one that was too loose. But together they produced just the right supple, lightly clingy glaze that was perfect for our strawberry pie.

To account for any imperfect strawberries, the ingredient list calls for several more ounces of berries than will be used in the pie. If possible, seek out ripe, farmers’ market–quality berries. Make certain that you use Sure-Jell engineered for low- or no-sugar recipes (packaged in a pink box) and not regular Sure-Jell (in a yellow box); otherwise, the glaze will not set properly. The pie is at its best after two or three hours of chilling; as it continues to chill, the glaze becomes softer and wetter, though the pie will taste just as good.

Ingredients

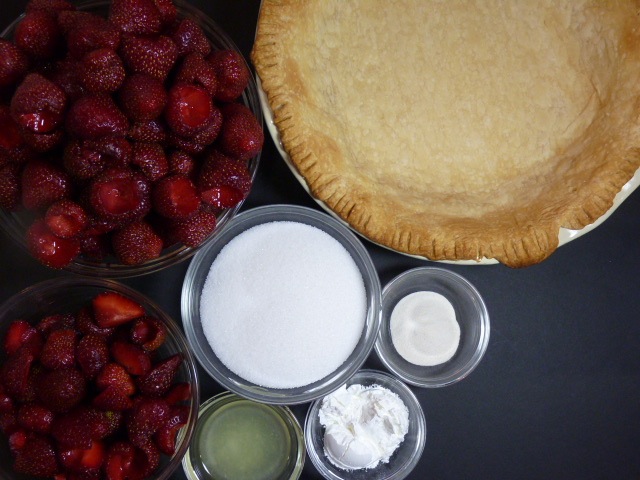
1 pre-baked pie shell
4 pints (about 3 pounds) fresh strawberries , gently rinsed and dried, hulled (see note)
3/4-cup (5 1/4 ounces) sugar
2 tablespoons cornstarch
1-1/2 teaspoons Sure-Jell for low-sugar recipes (see note)
Generous pinch Table salt
1 tablespoon juice from 1 lemon
Whipped Cream
1 cup cold heavy cream
1 tablespoon sugar

Instructions

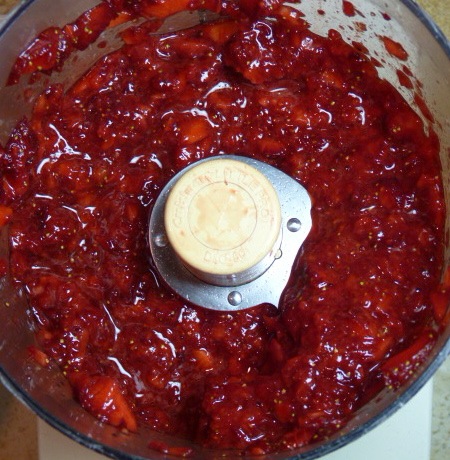
FOR THE FILLING: Select 6 ounces (I used 8 oz.) misshapen, underripe, or otherwise unattractive berries, halving those that are large; you should have about 1½ cups. In food processor, process berries to smooth puree, 20 to 30 seconds, scraping down bowl as needed. You should have about ¾ cup puree.


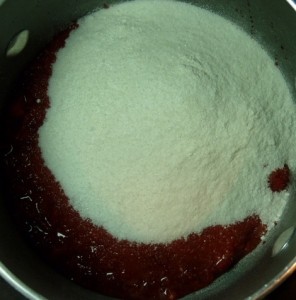
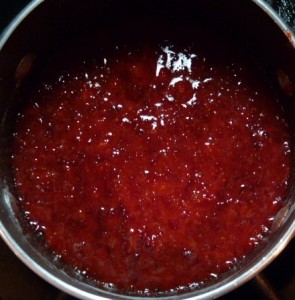
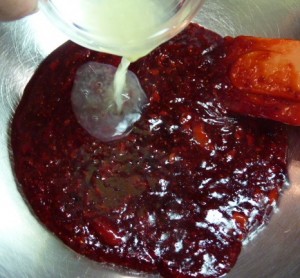
Whisk sugar, cornstarch, Sure-Jell, and salt in medium saucepan. Stir in berry puree, making sure to scrape corners of pan. Cook over medium-high heat, stirring constantly with heatproof rubber spatula, and bring to full boil. Boil, scraping bottom and sides of pan to prevent scorching, for 2 minutes to ensure that cornstarch is fully cooked (mixture will appear frothy when it first reaches boil, then will darken and thicken with further cooking). Transfer to large bowl and stir in lemon juice. Let cool to room temperature.


Meanwhile, pick over remaining berries and measure out 2 pounds of most attractive ones (I used a little more than 2 pounds since I had a deep-dish pie shell); halve only extra-large berries. Add berries to bowl with glaze and fold gently with rubber spatula until berries are evenly coated. Scoop berries into pie shell, piling into mound. If any cut sides face up on top, turn them face down. If necessary, rearrange berries so that holes are filled and mound looks attractive.


If any cut sides face up on top, turn them face down. If necessary, rearrange berries so that holes are filled and mound looks attractive.


Refrigerate pie until chilled, about 2 hours. Serve within 5 hours of chilling.


FOR THE WHIPPED CREAM: Just before serving, beat cream and sugar with electric mixer on low speed until small bubbles form, about 30 seconds. Increase speed to medium; continue beating until beaters leave trail, about 30 additional seconds. Increase speed to high; continue beating until cream is smooth, thick, and nearly doubled in volume and forms soft peaks, 30 to 60 seconds.

Cut pie into wedges. Serve with whipped cream.

Print This Recipe Print This Recipe

Chilled Lemon Soufflé

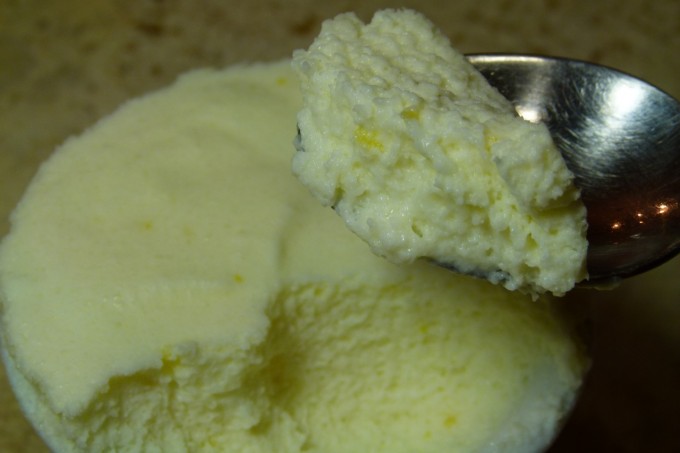
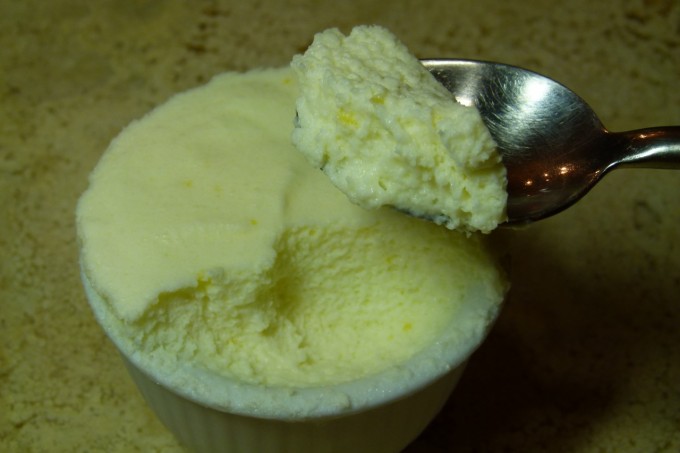
I had an urge to make soufflé this weekend. At first I toyed with chocolate, but I like to make those with Amanda. Then I was going to make a Kahlua soufflé with espresso beans, but somehow I wanted something cold and ended up trying this recipe. Perhaps it was the long-awaited arrival of some warm weather. This soufflé was not hard to prepare, difficult to fail with as compared to a baked soufflé and was really delicious. I didn’t eat it until a day after I made it, but I didn’t find it too stiff as the original recipe warned. A great recipe for a summer dinner party as it can be made ahead, is cool, light, and not too filling after a meal.


Chilled Lemon Soufflé

Serves 4 to 6. Original recipe from Cook’s Illustrated magazine. Published July 1, 1999. Adapted (slightly) by Crafty Farm Girl, 2011.

For a chilled lemon soufflé recipe that would perfect the unusual marriage of cream and foam, sweet and sour, and high lemony notes and rich custard, we lightened a silky custard base with beaten egg whites and whipped cream, then added both lemon juice and zest to give the soufflé an extra citrus punch. Following the last step in our lemon soufflé recipe, we fashioned a homemade foil collar for our soufflé dish before pouring the mixture in to give it more room to rise.

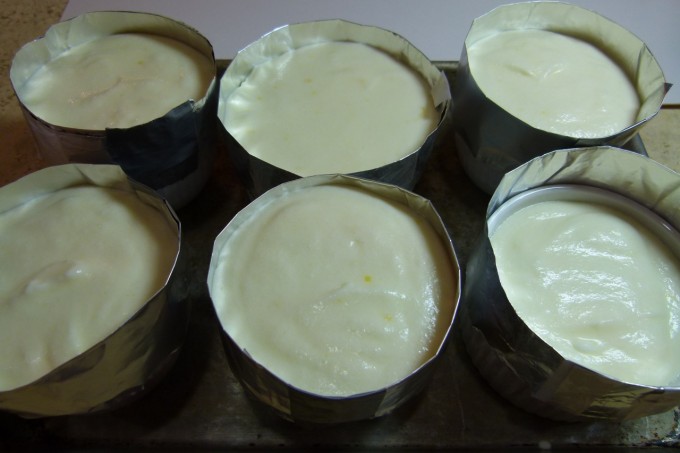
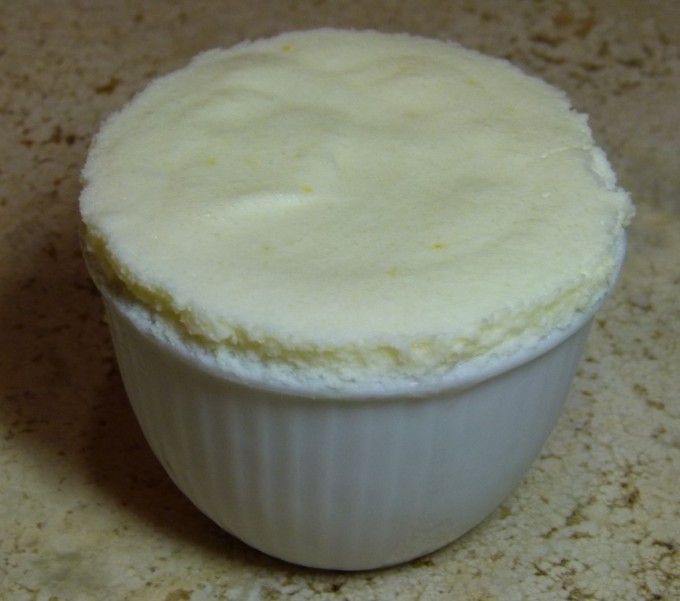
Now the original recipe called for using a 1-quart souffle dish. I chose to use individual ramekins. Since I wasn’t sure how many it would make since the recipe claims to serve only 4-6, I prepared 4 6-ounce and 2 10-ounce ramekins. I had enough to fill all of the dishes, but I didn’t have a high rise over the top of the dish into the collar. Next time I would make it with 6 6-ounce ramekins and I would get a nice high rise of ‘soufflé for a better presentation. To make this lemon soufflé ‘soufflé’ over the rim of the dish, use a 1-quart. For those less concerned about appearance, this dessert can be served from any 1 1/2-quart serving bowl. For best texture, serve the soufflé after 1 1/2 hours of chilling. It may be chilled up to 6 hours; though the texture will stiffen slightly because of the gelatin, it will taste just as good.

INGREDIENTS

1/2 
cup lemon juice from 2 or 3 lemons
2 1/2
 teaspoons grated lemon zest (grate before juicing)
1 
package gelatin (1/4-ounce), unflavored
1
 cup whole milk
3/4
 cup granulated sugar
5 
large egg whites at room temperature
2 
large egg yolks at room temperature
1/4 
teaspoon cornstarch
3/4 
cup heavy cream
pinch cream of tartar
Fresh mint leaves , raspberries, confectioners’ sugar, or finely chopped pistachios for garnish (optional)

INSTRUCTIONS

Cut 6 pieces of foil 3 inches longer than the circumference of the soufflé dishes and fold it lengthwise into fourths. Wrap the foil strips around the upper half of the soufflé dishes and secure the overlap with tape. Tape the collars to the soufflé dish. Carefully remove the collars before serving.

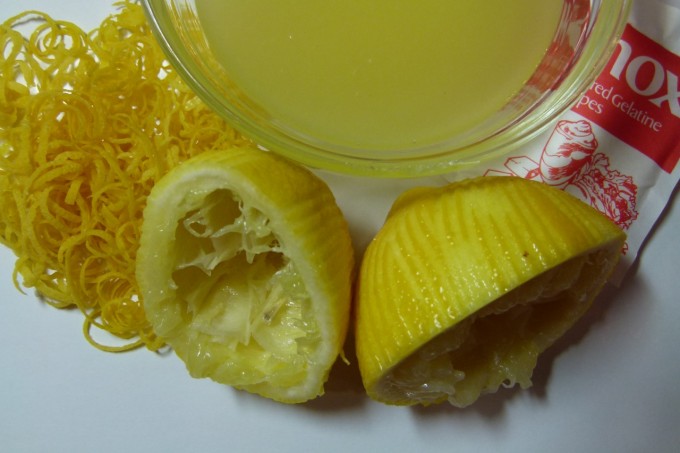
Place lemon juice in small nonreactive bowl; sprinkle gelatin over. Set aside.

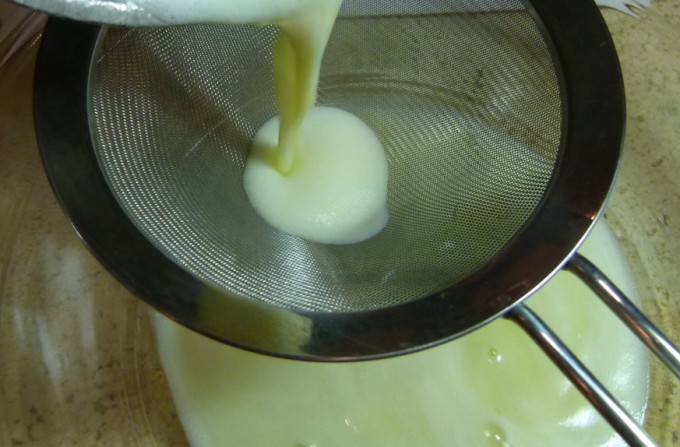
Heat milk and 1/2 cup of the sugar in medium saucepan over medium-low heat, stirring occasionally, until steaming and sugar is dissolved, about 5 minutes. Meanwhile, whisk together yolks, 2 tablespoons sugar, and cornstarch in medium bowl until pale yellow and thickened, 3 to 5 minutes. Whisking constantly, gradually add hot milk to yolks. Return milk and egg mixture to saucepan and cook, stirring constantly, over medium-low heat until foam has dissipated to a thin layer and mixture thickens to consistency of heavy cream and registers 185 degrees on instant-read thermometer, about 4 minutes. Strain into medium bowl.

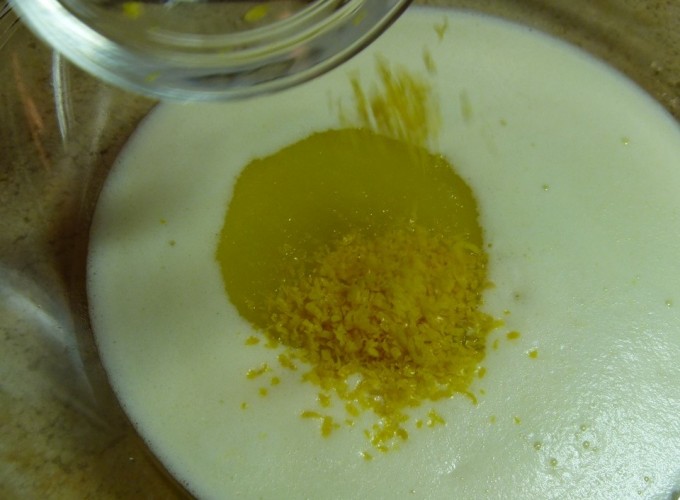
Stir in lemon juice mixture and zest.


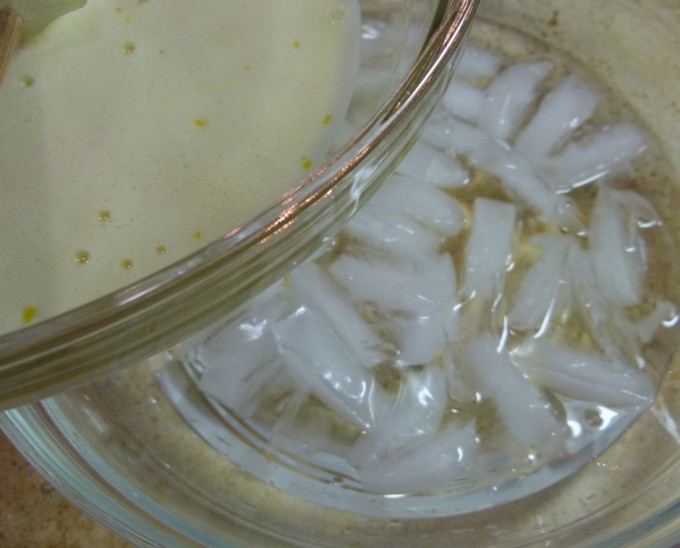
Set bowl of custard in large bowl of ice water; stir occasionally to cool.


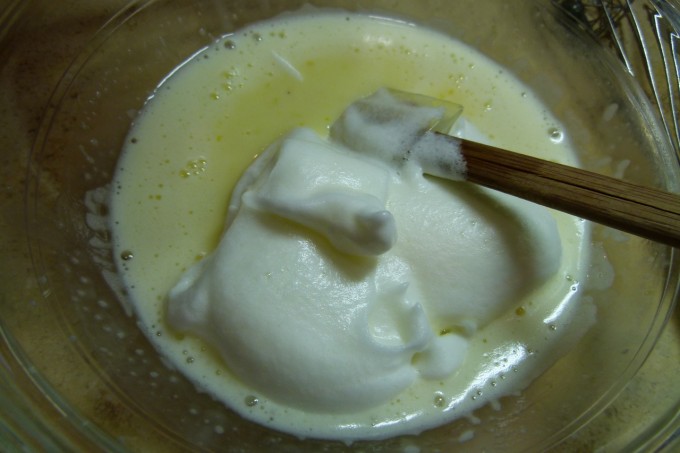
While custard mixture is chilling, in bowl of standing mixer fitted with whisk attachment (or in large mixing bowl if using hand mixer), beat egg whites and cream of tartar on medium speed until foamy, about 1 minute. Increase speed to medium-high; gradually add remaining 2 tablespoons sugar and continue to beat until glossy and whites hold soft peaks when beater is lifted, about 2 minutes longer. Do not overbeat. Remove bowl containing custard mixture from ice water bath; gently whisk in about 1/3 of egg whites, then fold in remaining whites with large rubber spatula until almost no white streaks remain.


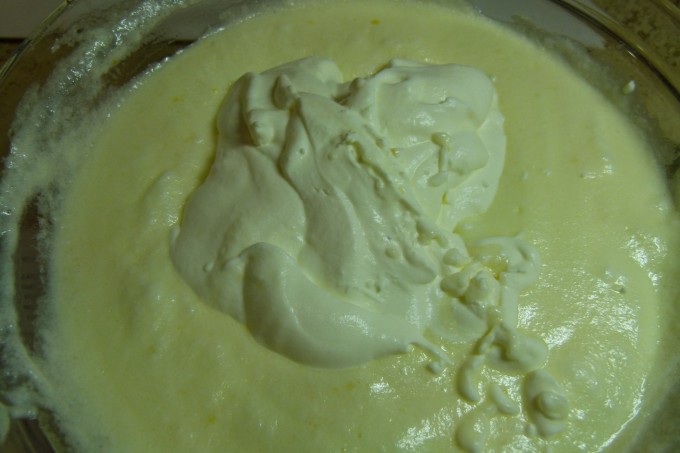
In same mixer bowl (washing not necessary), with mixer fitted with whisk attachment, beat cream on medium-high speed until soft peaks form when beater is lifted, 2 to 3 minutes. Fold cream into custard and egg-white mixture until no white streaks remain.


Pour into prepared soufflé dish or bowl. Chill until set but not stiff, about 1 1/2 hours (can be refrigerated up to 6 hours, see note).


Remove foil collar, if using, and serve, garnishing if desired.


Print This Recipe Print This Recipe

Pear & Ginger Tart

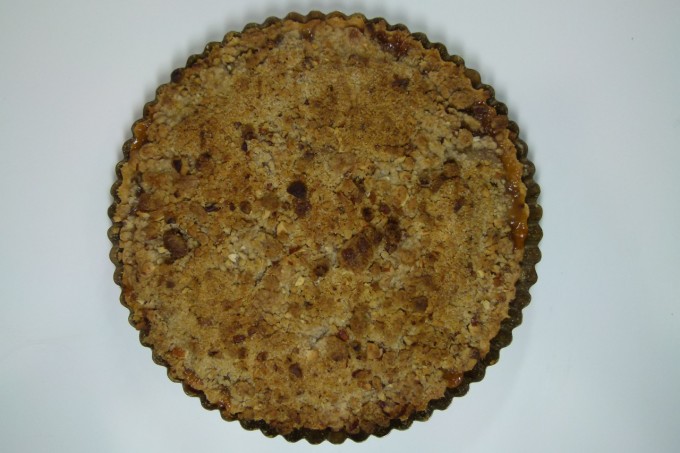
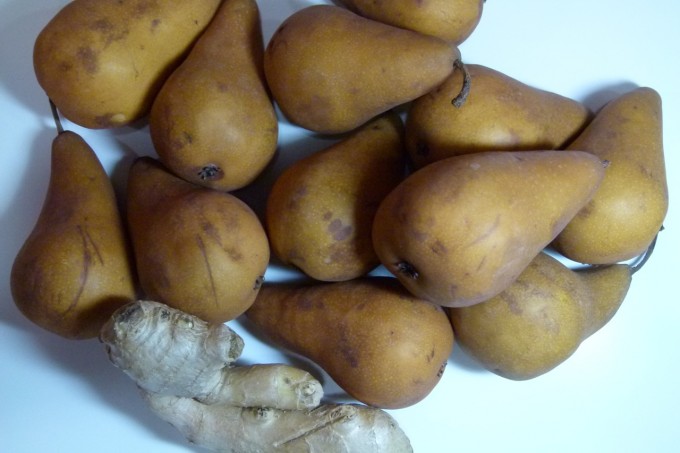
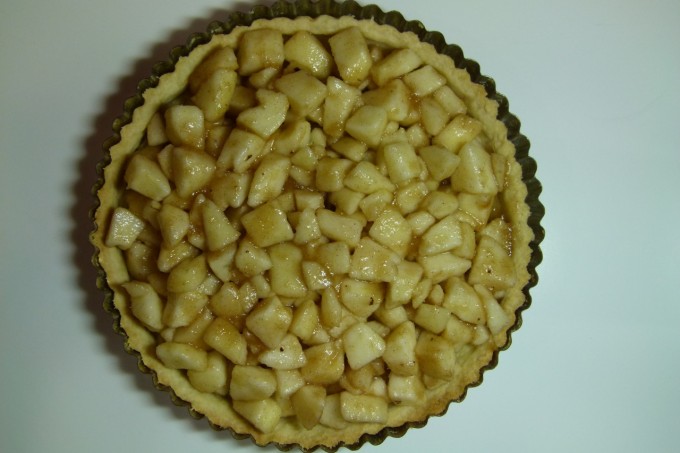
It was teacher appreciation day on Tuesday and I volunteered to make a dessert. For some reason I got it into my head to make a pear tart. I searched around the internet and pulled a bunch of different ideas from a bunch of different places; taking ingredients that I liked from different recipes and creating my own. I love ginger, and i think pears and ginger go great together. I also love dutch apple pie. I wanted some vanilla bean in the pear mixture and nuts in the topping. I wanted to pre-bake the pastry shell so it didn’t get too soggy when I baked the pears in it.

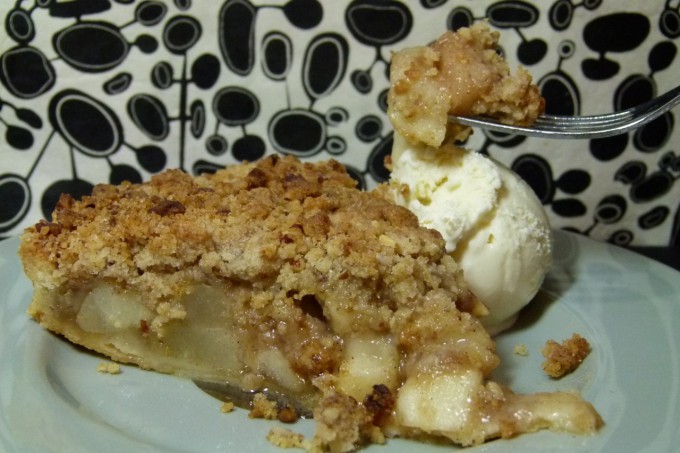
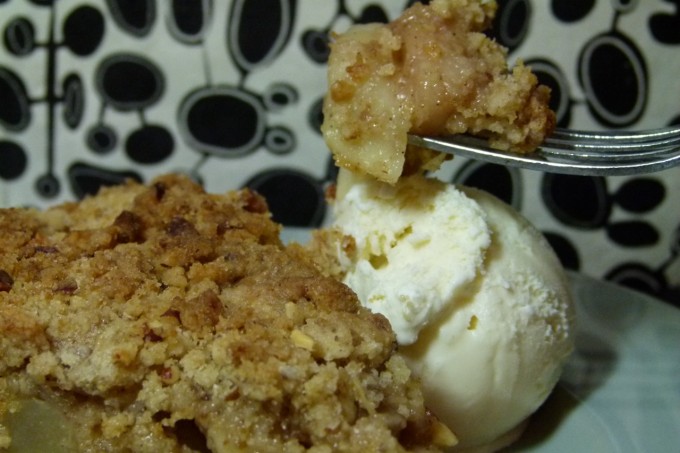
This is what I came up with, and it was crazy delicious. Vanilla ice cream was perfect with it. Jim just wanted a bite, but ended up eating the whole slice it was so good.


Pear & Ginger Tart

Nut Crisp Topping

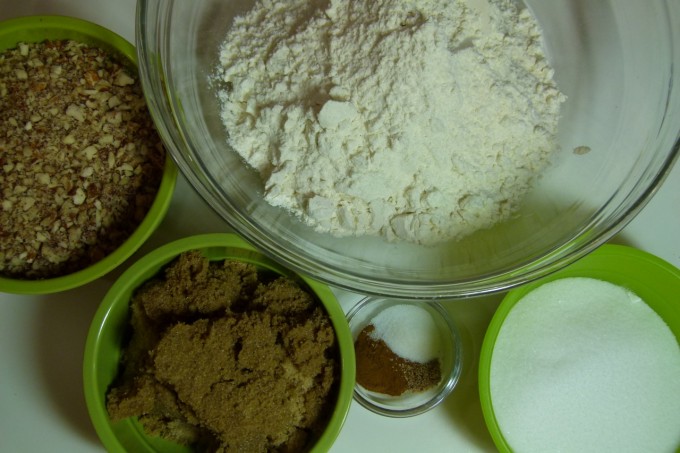
  • 7 oz All-Purpose flour
  • 3 oz brown sugar
  • 3 oz sugar
  • 1/4 tsp cinnamon
  • 1/4 tsp salt
  • 2/3 cups ground nuts (I used half almonds and half pecans)
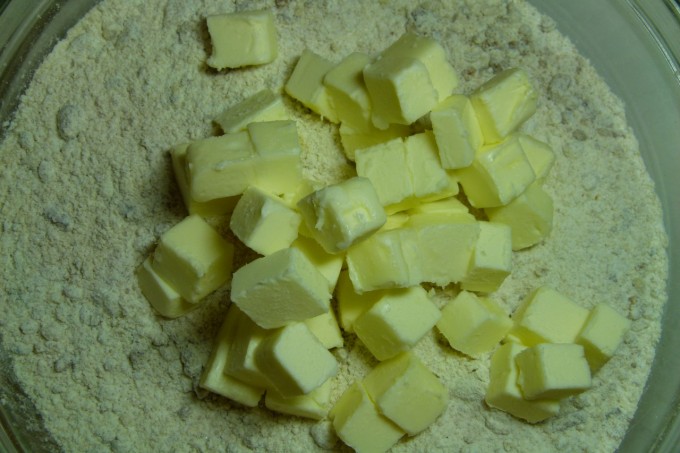
  • 6 oz cold butter, cut into cubes
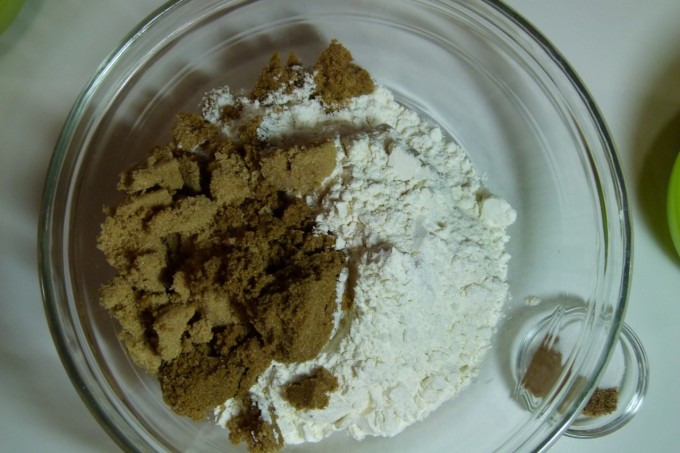
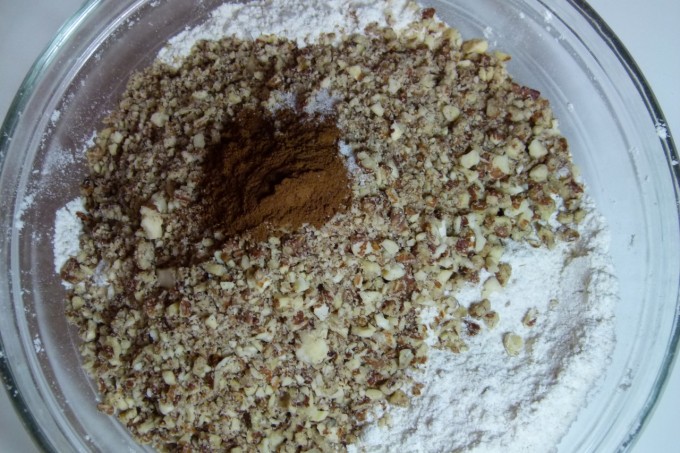
  • Stir the dried ingredients together.


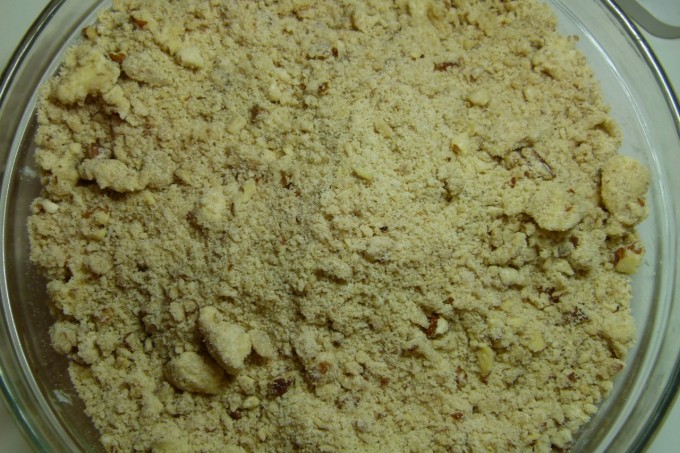
    Add the butter and mix in with your fingers. As the butter warms up, the mixture will begin to come together with a crumbly, but not sandy texture.


    Store in freezer until ready to be baked.

    Firm Crust American Pie Dough

    For an 8- or 9-inch single pie shell. Recipe from Cook’s Illustrated, September, 1996.

    Ingredients

  • 1-1/4
 cups unbleached all-purpose flour , plus extra for dusting dough
  • 1/2 
teaspoon table salt
  • 1 
tablespoon granulated sugar
  • 4 
tablespoons unsalted butter, chilled, cut into 1/4-inch pieces
  • 3 
tablespoons vegetable shortening, chilled
  • 3–5 
tablespoons ice water

    Instructions

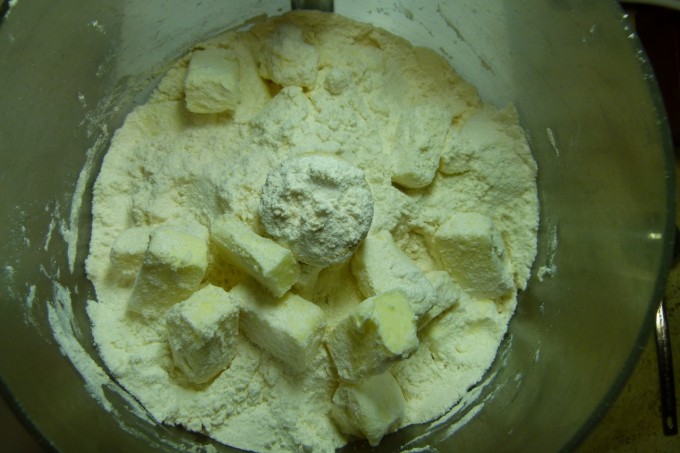
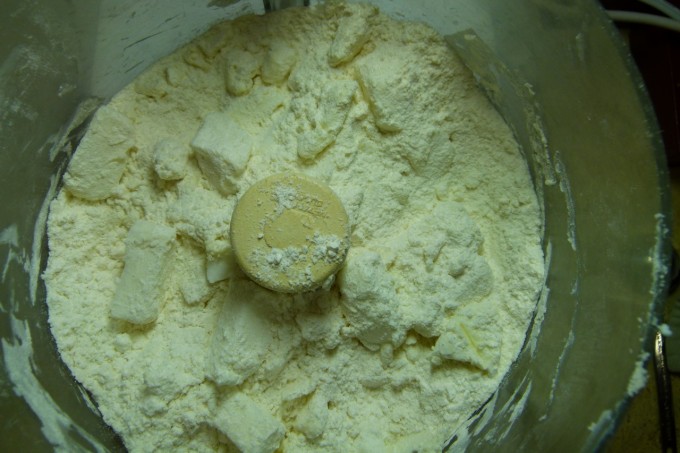
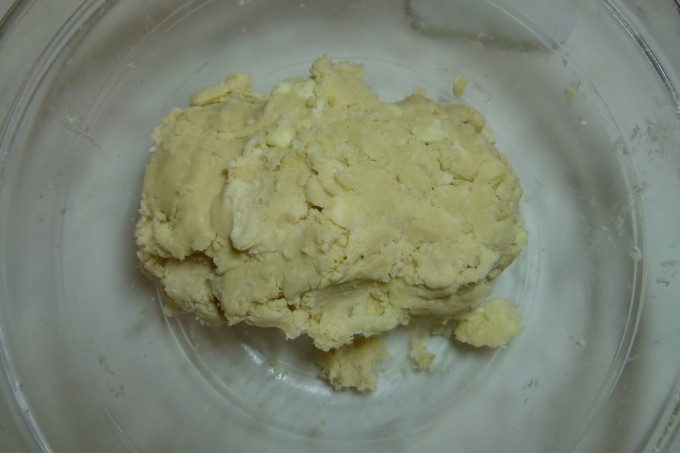
    Mix flour, salt, and sugar in food processor fitted with steel blade. Scatter butter pieces over flour mixture, tossing to coat butter with a little of the flour. Cut butter into flour with five 1-second pulses.


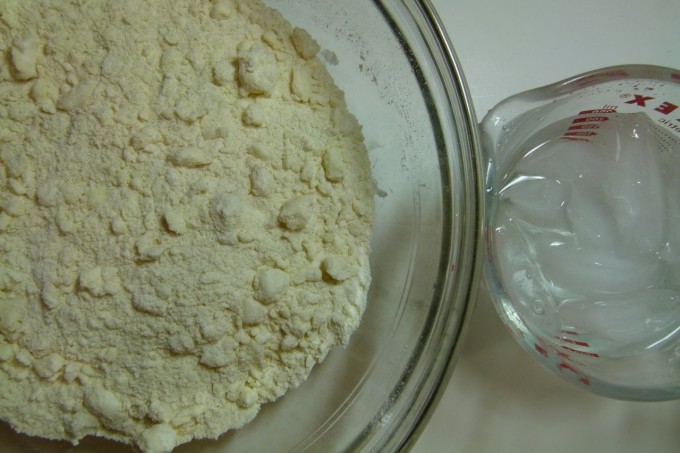
    Add shortening and continue cutting in until flour is pale yellow and resembles coarse cornmeal, with butter bits no larger than small peas, about four more 1-second pulses. Turn mixture into medium bowl.


    Sprinkle 3 tablespoons ice water over mixture.


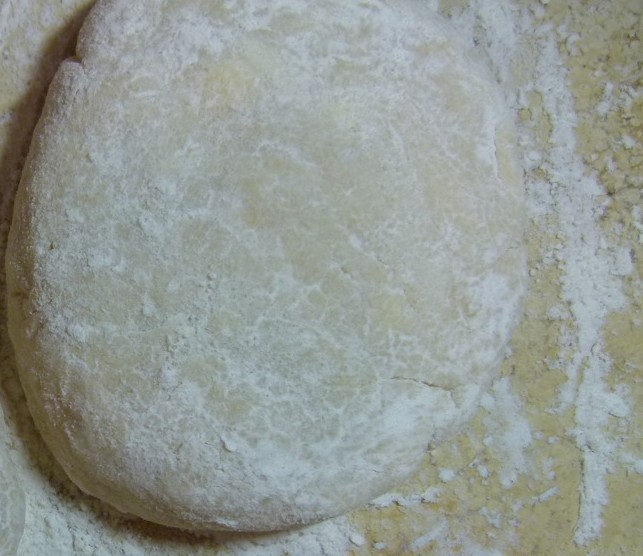
    With blade of rubber spatula, use folding motion to mix. Press down on dough with broad side of spatula until dough sticks together, adding up to 2 tablespoons more ice water if it will not come together. Shape into ball with hands, then flatten into 4-inch-wide disk. Dust lightly with flour, wrap in plastic, and refrigerate at least 30 minutes before rolling.


    Refrigerate for at least one hour or up to two days.

    Remove from refrigerator 10 minutes before rolling and preheat oven to 325o. Roll dough out to a circle large enough to fit into a 9″ tart pan with removable bottom with just a little overhang. Press into tart pan with your fingers and trim any excess and piece any empty spots or tears. Line your pie shell with parchment paper and fill with pie weights or dried beans. Bake for 12 minutes. Remove weights and parchment and bake for another 8-10 minutes until just turning golden brown. If necessary, cover the edge of the crust to prevent it from over-browning.


    For Pie Filling


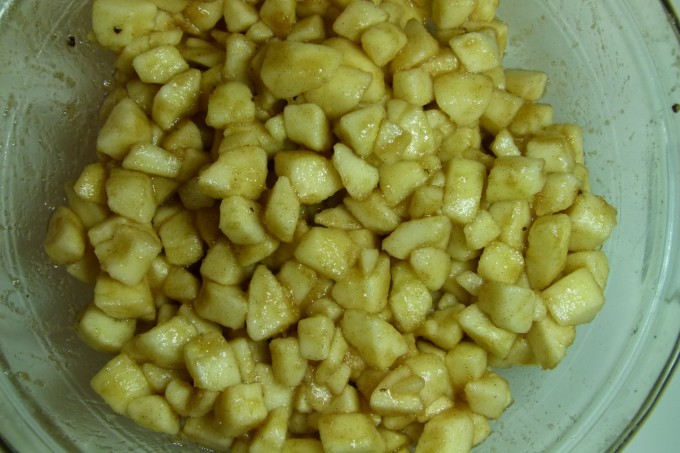
    Peel the pears and halve them from stem to stern. Use a paring knife to cut out the interior stem and a melon baller to remove the core. Cut into a large dice.

    Increase the oven temperature to 350o. Pour the lemon juice over the diced pears and toss to coat.

    In a bowl combine the sugar, cinnamon, nutmeg, and salt and whisk to combine. Put the seeds from the vanilla bean in the sugar mixture, and using your fingers or the palms of your hands, rub the sugar to get the vanilla beans to separate and mix evenly throughout the sugar mixture. Add the fresh grated ginger and do the same thing. This will turn the sugar mixture wet and sandy.

    Add the sugar mixture to the pears and with clean hands toss to evenly coat the pears with the sugar mixture.


    Fill the pre-baked tart crust with the prepared pear mixture, mounding slightly in the center and evenly distributing the pears around the crust.


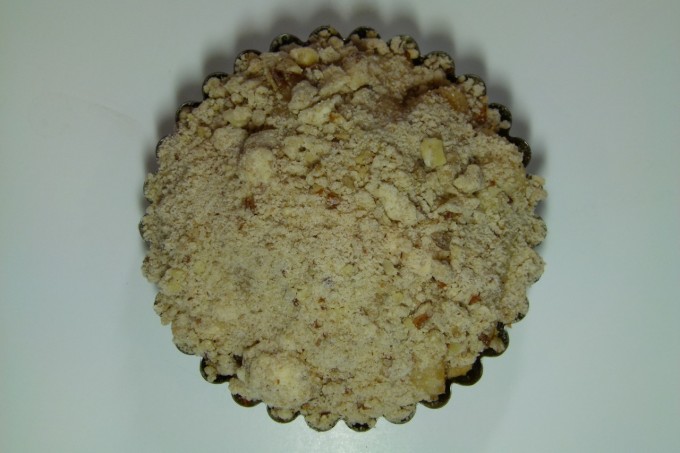
    Take the nut topping out of the freezer. You may need to break it up a bit with a fork. Sprinkly the mixture evenly over the pear filling. You may not be able to get all of the topping onto the tart – I had leftovers. Press the mixture slightly into the crust.


    Bale at 350o, turning once half-way through baking, until golden brown all over, about 50-60 minutes.
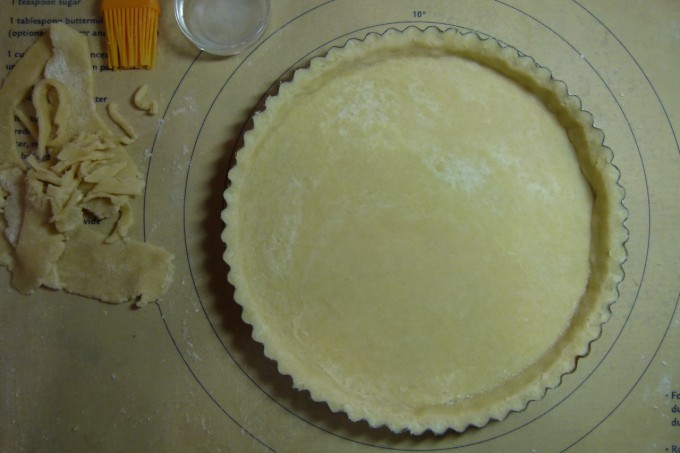


    This is really best served barely warm from the oven, but definitely is best served at least the day made. It still tastes good the next day or after that, but the crust will get soggy. Pears are so moist. Don’t forget the vanilla ice cream!


    Print This Recipe Print This Recipe