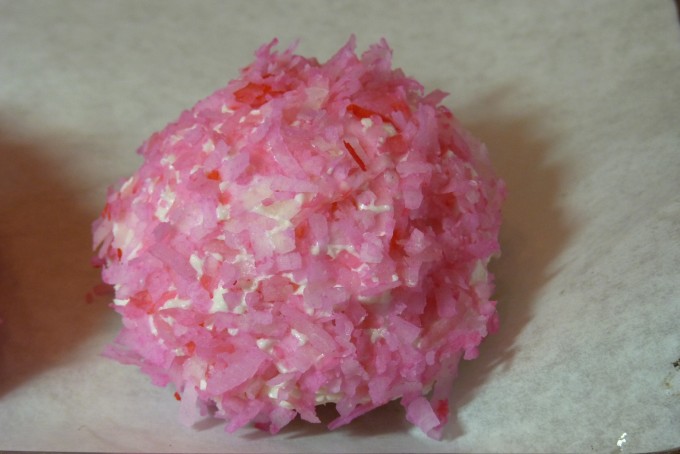
I loved Hostess Coconut Snowballs as a kid. I didn’t get to eat them very often, but they were always a real treat when I got them.

Since my coconut cake is one of my favorite desserts, I decided to try and remake the old classic Hostess Snowballs in a more adult version. I’m quite certain mine also had a whole lot less chemicals in them that the Hostess variety – I think the shelf life on those things is l like 6 months or something scary like that!
This recipe does require one piece of special fairly expensive equipment; half-round silicone baking molds. Luckily I made these for an event that I could write them off to my husband’s business. They can be purchased at a professional baking supply store. I ordered mine online at J.B. Prince. They only came in a full-sheet pan size which is so large that only professional restaurants have ovens that big. I simply cut the thing in half and they fit onto my half-sheet sized pans perfectly.
Starting with the same recipe I use for my coconut cake which I originally posted on March 7th, 2010 you will follow the cake directions exactly as shown in that original post. However, when your batter is done you will pour it into a pastry bag fitted with a large plain round tip. This is how I filled the silicone molds and found it easy and neat. You could also just use a spoon or spouted measuring cup as well.
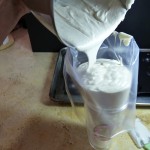
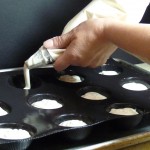
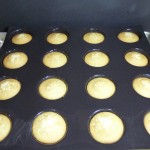
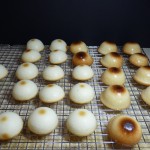
Place the silicone molds onto your baking sheet. They are very flexible so make sure that they are sitting as flat and straight as possible. Fill each mold about 3/4 full with the batter and bake until lightly golden brown, about 10-14 minutes. You don’t want to let them get too brown on top. The molds are small and if you overcook them they will get dry.
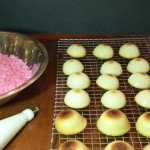
When done remove from the oven and allow to cool for a few minutes before lifting the silicone mats off of the sheet pans and placing on a wire rack to finish cooling. When cool you simply push them out of the silicone pans and they easily release.
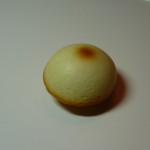
My kids had a great time with the way they came out. For some reason they all had dark brown tops so from then on we called them “coconut boobies’.
You will need less buttercream for these than you would for the original cake, so although the ingredients stay the same, use the following ingredient measurements.
Coconut Buttercream
4 large egg whites
1 cup granulated sugar
pinch table salt
1 pound unsalted butter (4 sticks), each stick cut into pieces, softened but still cool
1/4 cup cream of coconut
1 teaspoon coconut extract
1 teaspoon vanilla extract
Following the original recipe on the link (above) to make the icing.
For the coconut topping you will need one 14 oz. bag of sweetened shredded coconut. My preferred brand for this is Baker’s brand as I find it much moister than other brands I’ve tried. Pour the coconut into a large bowl and with your hands toss it around and break apart any clumps. Using some pink paste food coloring if you have it, if not use liquid food coloring, and put a small amount on a toothpick or the tip of a knife and brush it onto the coconut. Using your (clean) hands toss the coconut around rubbing it together to get the coloring to evenly distribute and color the coconut. You can add more if it’s not pink enough. Keep working it together with your hands until you’ve got the color you want and all of the color is evenly distributed. You also don’t have to make them pink; make them red for Valentine’s Day or green for St. Patrick’s Day.
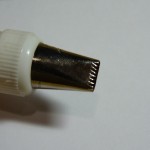
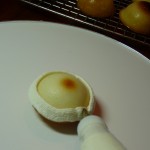
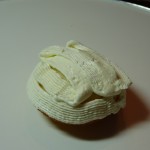
Now place your icing in a pastry bag with really any tip I used a rather flat one with a serrated top but any smaller tip will do. If you don’t have a pastry bag, then you can ice them by hand with a knife or small spatula. Holding them carefully on the edges you want to get a fairly even coating of icing around the entire half-round.
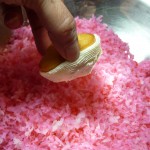
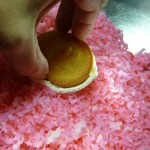
Then, holding the cake as close to the edges as possible you want to place it into the colored shredded coconut. You want to push it in a little to get the icing evenly distributed and the coconut evenly covered. Roll it around a bit until you’ve got it all covered in the coconut.
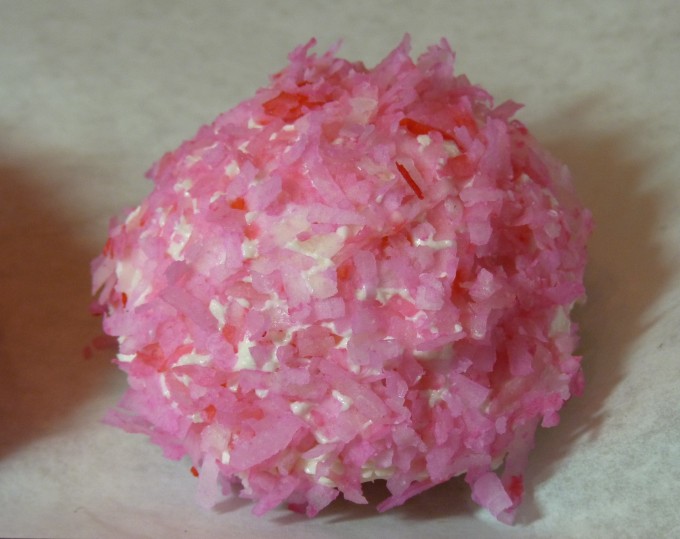
These were so amazingly delicious. They were soft and coconutty and so much better than the hostess variety.
They were a little complicated to make, but if you’ve got an upcoming event or party that calls for a special dessert hors d’oeuvre this is definitely a dessert that both kids and adults enjoyed.
 Print This Recipe
These are so good, you will probably eat at least five of them. That’s what happened to me each time I ate one, it turned into five. At least…