In the last Craft post I showed you the first part of how I made my new zinc topped work table for my office. I got up to installing the zinc top. Now I have to walk you to finishing the top up, distressing it and finishing it properly.
If anyone is inclined to give a project like this a shot, I highly suggest you look through the how-to videos that Rotometals has. That is the only source I used when I made my top and it worked out OK for me. I show a lot of photos because I want to show you all of the steps, but all in all this table probably took me 2 days to make of concentrated 8 hour days. It was a very satisfying project though because it yielded something that is so beautiful and useful.
Just to refresh your memory, when I decided to make my own table I started with this industrial cart:

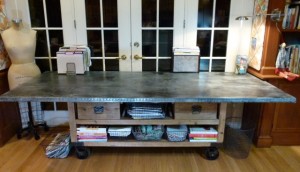
And my finished zinc topped table looks like this:
I purchased the .027″ thickness ‘soft’ zinc that Rotometals recommended for this project, but I was surprised at how long it took to hammer down the edges of the table. I used a rubber mallet, and in order to do it properly, it just took some time and patience, and lots of hammering. Perhaps the arthritis in my shoulder made it seem harder than it really was. Because of the arthritis, I knew I had to finish this in one day because the next day I wouldn’t be able to lift my arms, so I had a lot to do.
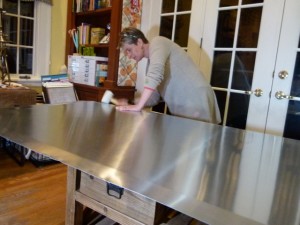
Use a rubber mallet to slowly hammer down the sides.
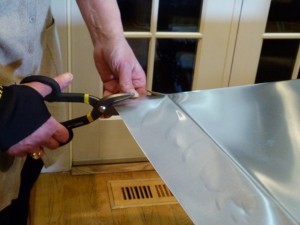
You have to cut the corners with metal snips to get a clean corner edge.
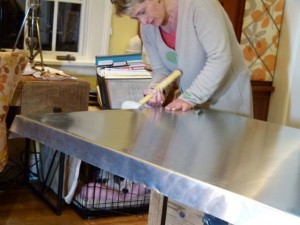
Here the top edge has been hammered down all around.
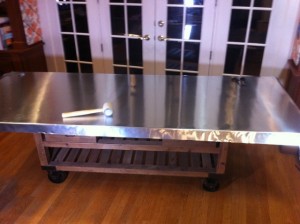
All of the edges hammered down, but they can still be hammered down further before nailing.
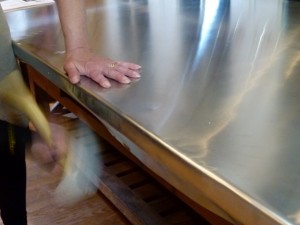
Then I went back around and hammered the bottom edge of the zinc sheet under the tabletop.
I knew I wanted to use a nailed edge, so I marked off where I wanted the nails along every side before I started nailing the galvanized nails in.
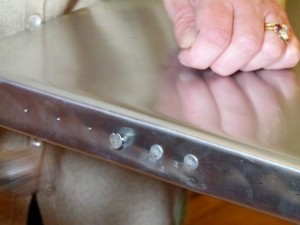
Measure and hammer in galvanized nails to edge.
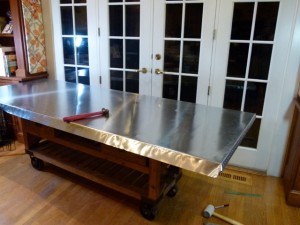
I nailed both ends first before I nailed the long sides down.
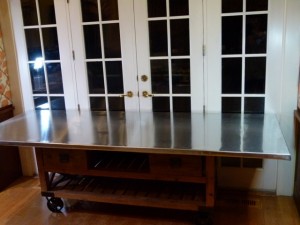
The front edge is hammered down and under and I've marked off where the nail holes will go.
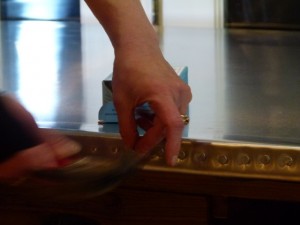
Hammer down the long sides after you've hammered nails into the short ends of the table.
Once you’ve got all of your edges nailed down, you’ll want to go around and nail the zinc to the underside of the table, but you don’t have to nail as close together as you did for the decorative edge – you’re just trying to secure it to the table.
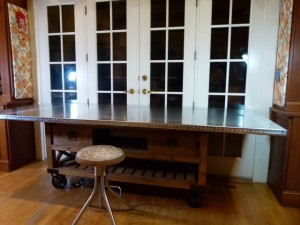
Finished top with nailed edge.
It looks great. I managed to finish it in the wee hours of the night thankfully because my arthritic shoulders were sore the next morning and my arms were tired from all the hammering. The shiny surface looked great, but I knew I wanted to put a distressed surface on it. It was quickly proven why this was a good idea.
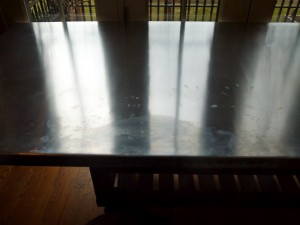
Evan sat to do some homework at the table, and this is what the surface looked like when he was done — covered in greasy dirty fingerprints, and his hands really weren't all that dirty.
Rotometals had a good video tutorial on how to do different kinds of distressed surfaces to zinc. Most were created using a diluted solution of water and Cupric Sulfate, which they sell. Those dirty fingerprints convinced me pretty quickly that a distressed top would be great.
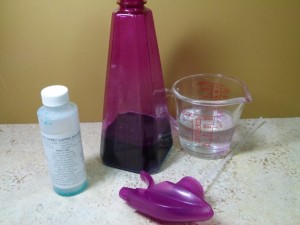
I mixed the distressing cupric sulfate with water and put it into a spray bottle.
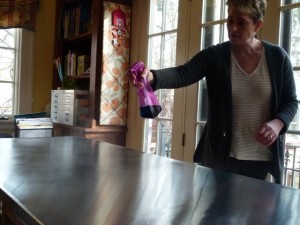
I sprayed the distressing liquid evenly on the table top and edges.
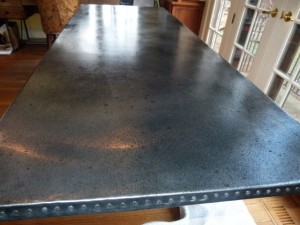
I sprayed fairly even coverage of distressing liquid, but applied it slightly heavier to random areas.
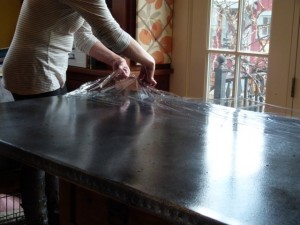
Quickly lay plastic wrap over surface of table, overlapping edges of plastic wrap to keep the solution wet longer. Try not to smudge the liquid too much, A helper at the other end holding the plastic wrap tight as you lay it down is key.
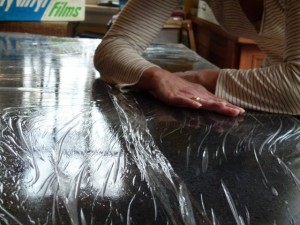
Try to get as many air bubbles out as possible so the plastic wrap lays directly on the table surface and the distressing liquid.
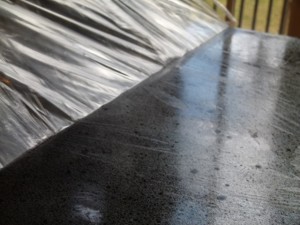
Peel off the plastic wrap when it's either looks the way you want it to and you don't want it to darken any further, or the distressing liquid has dried, because it won't darken any further once it's dried.
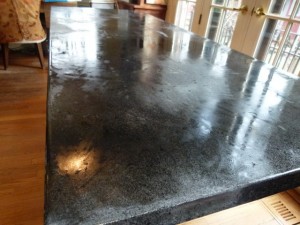
This is what it looks like when I removed the plastic wrap but isn't completely dry yet.
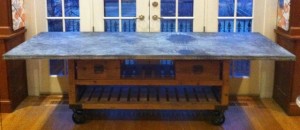
Here it is with the distressed finish complete and dry.
Rotometals says you can finish it with a lacquer sealing spray that they sell, or you can use a clear wax sealer that they also sell. For whatever reason I decided to use both methods. It seemed to work. I liked the way the paste wax finish looked, but I wanted the extra durability of the spray finish. I was a bit worried that the wax finish would prevent the spray from adhering, but it seems to be fine.One important thing to remember is if you need to clean the surface off before you apply the wax or lacquer spray, just use a dry cloth! Water or any other liquid products will smear the finish at this point until it’s sealed.
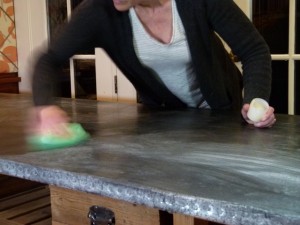
First I applied I thin layer of the clear wax sealer.
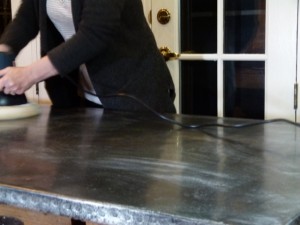
Then I buffed the waxed surface with a lambswool buffer.
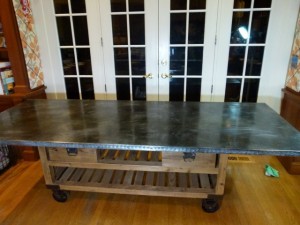
The clear wax finish has been applied and buffed. I could stop here but of course I didn't.
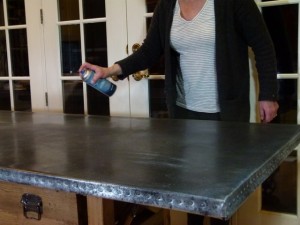
Then I applied the clear lacquer sealer.
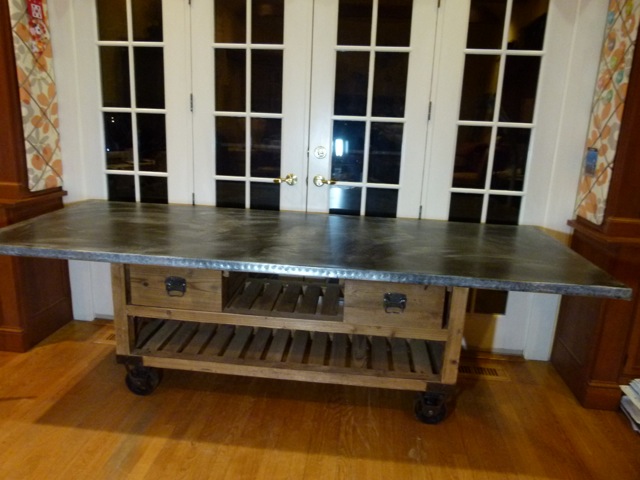
Finally it's finished and beautiful if I do say so myself.
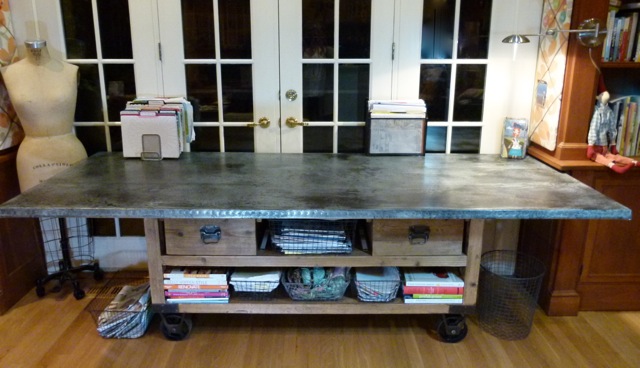
And here is the table as it looks today. The drawers and bins are perfect for storing papers and other things. It's the perfect work table for me, and I didn't see anything like it in my hunting. It also has enough overhand all around that it could easily be used as a dining table should the need arise.
These instructions are so great! I feel like I was right there the whole time you were making this table. It’s amazing what you (personally) can make when you can’t find what you are looking for or it’s just way too expensive and you can’t justify the cost. UNbelieveable. Great job!
Wow! This is seriously impressive. I am constantly amazed at your skill and bravery. It turned out so nicely and will be a fantastic work space. By the way, while I’m here I must say that your animals have SUCH lovely homes – I think they’re prettier than my own 🙂
Kindly,
Jenny