I promised this post a long time ago. Sorry it’s taken so long.
A major part of my new office space is the zinc topped table I made. I didn’t set out to make my own work table. I spent weeks looking around for one that fit my needs. Nothing was perfect and everything was very expensive. Just to prove to myself I didn’t dream that up, I went back to one of the stores I had looked in today and took some pictures with my phone of some of the tables they had. All of them were beautiful, but I simply wasn’t willing to pay that kind of money for a work table. Heck, I’m not willing to pay that kind of money for a dining room table that my entire family would use every day.
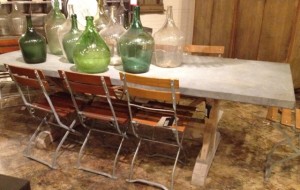
$4,295. This one was pretty simple. No decorative edges, plain top. Nice legs.
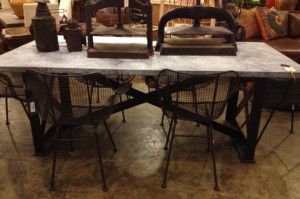
On sale for $4236 from $5295. It had great metal industrial legs and a simple but nicely distressd top. Not nearly as big as I needed.
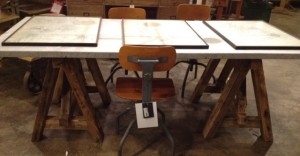
On sale for $3599 from $4495. I love sawhorse legs on a table, and this had an interesting cement top. The surface was too rough to make a good work surface though.
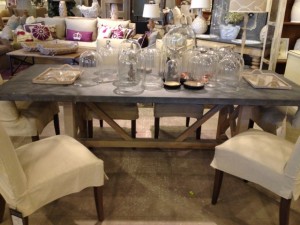
On sale for $3499 from $6500. This table was a better size, but it was just so plain - and expensive.

On sale for $2949 from $4000. I liked the industrial nature of this table and the heavy top, but again it was too small for my needs.
Finally in frustration I went home and did some research on the internet. I found a great site called Rotometals and they had a whole series of YouTube videos that showed you how to install your own zinc top.
“What the heck?” I thought to myself.
“I can do that.”
So I did.
I went back out shopping, but this time I was looking for some kind of an industrial style cart that I could use as a base for the tabletop I would build on top of it. I finally found one I loved. It cost more than I wanted, but I loved how functional it would be as a work table; with drawers and open shelving I could store baskets of papers and things right below my work tabletop. I loved it.
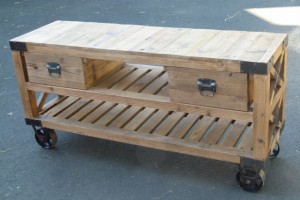
This is the industrial cart I decided to use for the base. It had rolling wheels that worked great.
I bought the zinc sheet and all of the supplies I needed from them, with shipping, for $241. The plywood sheets I used to form the tabletop over the base, along with galvanized nails and other supplies I didn’t already have cost me $105, and the base cost me $900 . For a total of $1246, which was more than I was hoping to spend, but a lot less than I could have spent, I was able to make a table exactly the way I wanted that fit perfectly in the space I had. This is what it looks like.
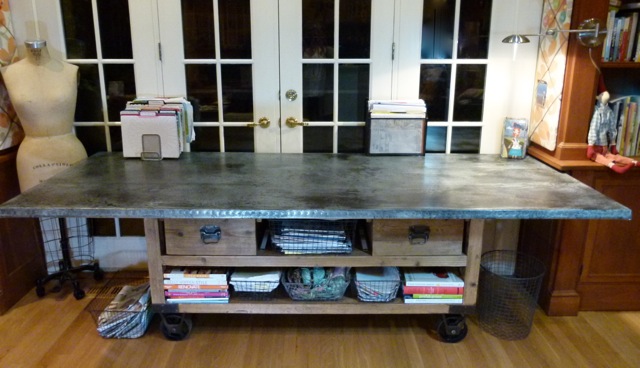
The finished table.
I had taken a round table out of my “office” area that we bought years ago as a “game” table. Occasionally the kids would sit at it, but generally it was just piled with papers and half-finished projects. And although I would be pushing the table right up against the french doors in the room, the reality is that in the 14+ years since we renovated the family room we have used those doors 2 times a year – to bring the Christmas tree in and to shove it back out after Christmas. I figured we could live without it and use another door from now on.
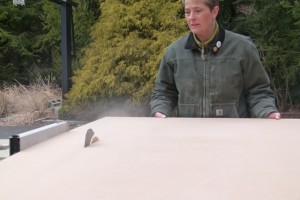
Cutting the plywood to size on my table saw.
I was a little limited in size by the dimensions of a standard sheet of plywood. Eight feet was as long as I could go, but that was really perfect for my needs. The kind of zinc sheet I needed only came in sheets 40″ wide and I wanted to make sure I had enough to wrap around and under the edges of the table, so I made the top 36″ wide. If I’d had a wider zinc sheet or felt skilled enough to seam two pieces together, I might have made it a few inches wider.
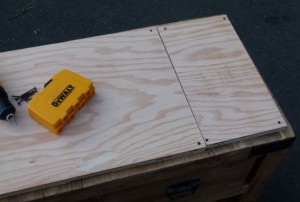
I pieced together two scraps to build up the base just a tad so it would be the right height.
I was given a list by Rotometals of things that could be used as a base for a zinc top and things that couldn’t be used. There were quite a lot of woods that were not acceptable, including larch, oak, chestnut, red cedar, Douglas fir, white cedar, and all woods with a pH < 5. Several of my friends at the local lumberyard were consulted on this conundrum and we went back and forth on whether MEDEX plywood or MDO plywood would be best. To get the tabletop thickness that I wanted along with the stability I needed, I ended up using two layers; the bottom layer is 1/2″ AC Fir plywood, and the top layer is 3/4″ MEDEX plywood. I’m not positive that it met the requirements they gave me, so I sure hope my table doesn’t disintegrate any time soon.
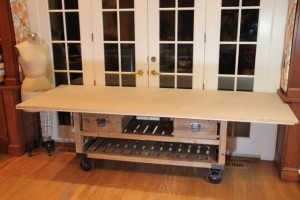
Plywood sheets cut to size on top of base.
Then I had to bring everything inside to finish it. Let me tell you, those sheets of MEDEX plywood are heavy. I had to bring them in alone and was balancing them on these two tiny dollies I have; what a nightmare. Get help. I checked to make sure it fit properly where I wanted it, and carefully measured around the table to make sure the base was perfectly centered underneath the tabletop. Then around the outer edge of the table I screwed the layer of plywood to the layer of MEDEX plywood. On the inside I used long screws to securely screw the tabletop to the base.
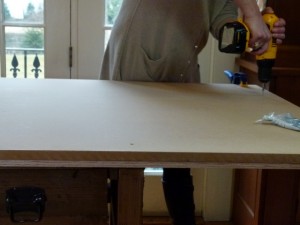
Screw the plywood sheets together around the outer edge and the top to the base along the inside.
Then I wiped the surface down removing all dust and applied this nasty smelling calk glue that I bought directly from Rotometals. I spread it with a putty knife all around the tabletop and edges into a smooth layer and let it cure for the recommended time.
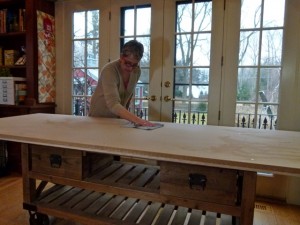
Clean surface completely of dirt and dust with a barely damp cloth.
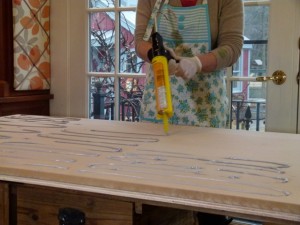
Apply adhesive with a calk gun. Wear protective clothing and gloves.
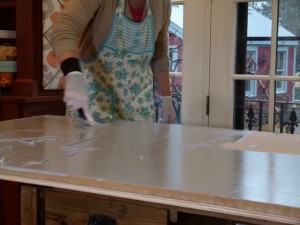
Spread adhesive with a putty knife all over tabletop and edges. Allow to cure.
Then it was time to roll out the zinc sheet onto the tabletop. For this I enlisted the help of the twins. I had to make sure I was rolling it evenly down the table, that I had the same amount of overlap on each side, and that I rolled it as tightly to the surface as I could.
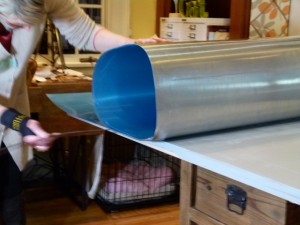
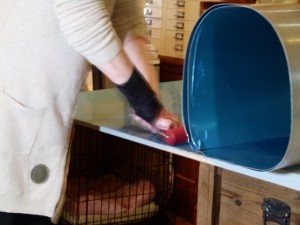
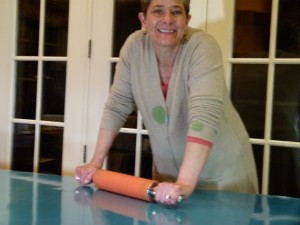
My silicone rolling pins were very handy in getting good contact between the glued table surface and the zinc sheet.
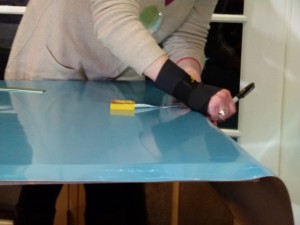
There was probably 18" of excess at the end after unrolling the sheet, so I measured and marked the same length that overhung the other 3 sides.
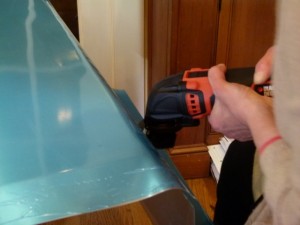
A cut the excess off with a tool I have that can do it, but you can just as easily (well, almost as easily) use straight tin snips.
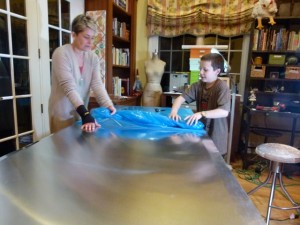
Then we pulled off the protective film. Please note I did not hurt my right hand (in the brace) making this table - I hurt it in my sleep - and had to wear this for weeks. I think I would have rather hurt it making the table. Getting old sucks.
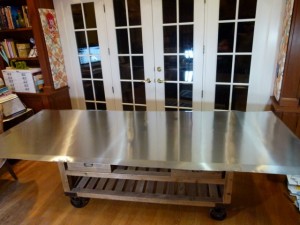
My shiny new zinc tabletop, but I had a lot more to do.
There was still a lot more for me to do, but this post is getting a little long. I’ll show you the rest of the steps in my next Craft post. Pin It
Wow – I am very impressed! I don’t know anything about zinc – is this a preferable work surface for a particular reason – or is it the aesthetics of it?
It’s a popular surface on tables right now, but it was appealing to me for a couple of reasons. I like the look of it, and properly sealed it would be a great work surface. It’s smooth, easy to clean, a great surface for sewing because unlike the wood table I’m used to working on, I don’t have to worry about sticking my pins into the table surface, and if I ever really ruin the surface somehow – spilling paint or something, I can easily sand it down and refinish it.
the table is amazing… what a project! it’s lovely.