In my (slow) continuing effort to give my kids “art classes”, this week’s class was on linoleum printing. I figured by the time I paid for three kids to take an art class, and factoring in the time involved in getting them there and back once a week, I could literally buy all of the supplies, teach them myself, have some quality time with the kids, and give them a little taste of all kinds of artistic mediums. Plus then we’d own all of the supplies and could use them again whenever we wanted. Now I am not an artist. I have very little training at all except in photography, and there it is minimal. However, I do know how to do a lot of things, and what I don’t know I can usually figure out. That is, except, when it comes to drawing and painting; I can’t do that to save my life.
I thought every school taught linoleum printing, but my friend Cyrena was over last night and I was showing them to her and she said she’d never done it before. I loved this when I was a kid, and it’s even better now! The linoleum we used back them was really hard and almost dangerous to cut. They have this new stuff out there that works essentially the same, but is SO much easier to cut. You can still get the old-style-hard-to-cut linoleum, but who would want it? The tool used is exactly the same as it was 40 years ago. I will say now after trying both the pink Speedy Carve and the ivory Speedy Cut that I much preferred the pink Speedy Carve. It was harder to trace the design onto, but neater to cut. The Speedy Cut seemed to almost crumble a little.
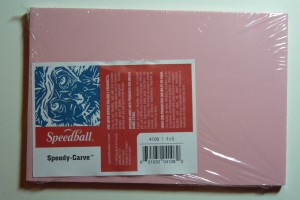
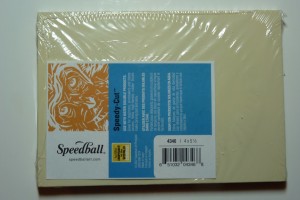
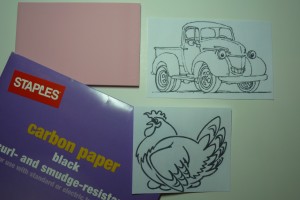
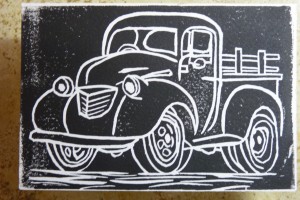
Having learned the hard way with my first “class” in encaustic wax painting, this time I did a little research ahead of time and came up with examples that I printed out of what linoleum cutting could look like, and then searching images on the internet, I came up with a few ideas for each child that I thought they would enjoy trying. Then, after each child had picked out the designs they wanted to do (they had two pieces of 4″ x 6″ Speedy Carve each), I taped the image onto the Speedy Carve with a piece of carbon paper underneath it. The kids traced the design onto the Speedy Carve. You had to trace really really hard for some reason to get the design to show up, and we finally discovered that a ball-point pen seemed to work best for this. This truck was the one I tried in advance of “class” to make sure everything worked as I planned.
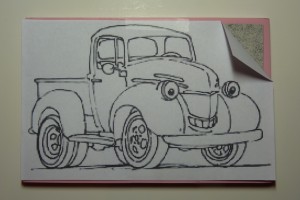
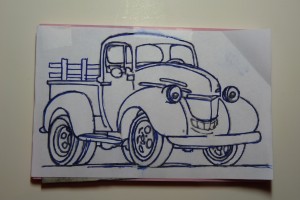
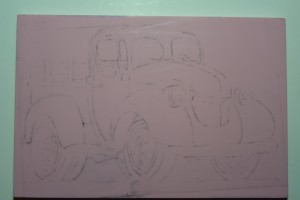
I have to say the kids really get into these classes. It’s great to see them learn something new and enjoy it so much.

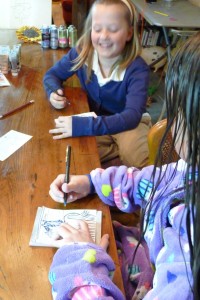
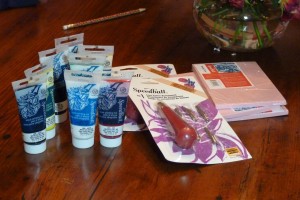
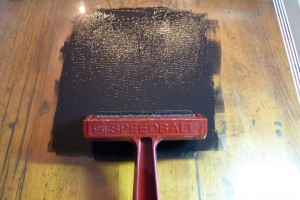
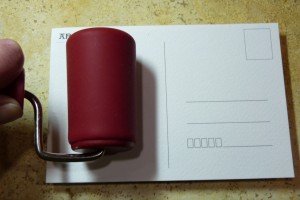
The tool is easy to use. It comes with 5 different cutting tips that are interchangeable, and you can store them in the screw-off top of the cutter when not in use. You’ll also need a “brayer”, which is what you roll the ink onto your cut linoleum, ink (there are specific ink for this available at good art supply stores or on-line), You’ll also need a sheet of plexiglass to roll the ink onto the brayer with. I used an old refrigerator shelf (that also doubles as my makeshift light table) and it worked great. You’ll either need a second brayer to run the ink onto the finished design, but I just used a small pastry roller I had and it worked just fine. A good flat work surface is essential, or if you don’t have that then use some wood cutting boards.
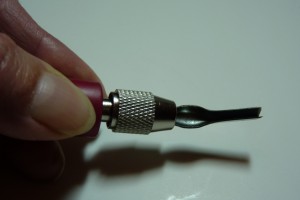
The cutting of the design is the easy part. Pick the cutting tip that seems like the best fit for the design, and you may have to change tips several times for one design. There’s a small point V-shaped tips, a larger v-shaped tip, and two sizes of more rounded tips. There’s another straight cutting tool that I have yet to find a use for.
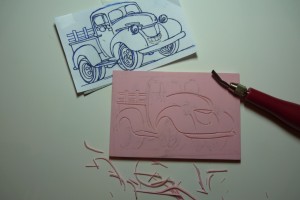
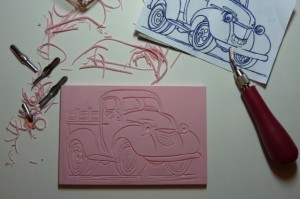
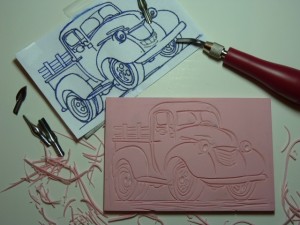
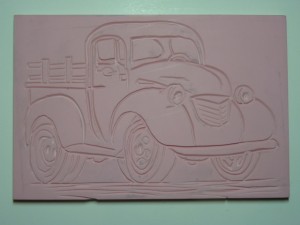
Here are some of the designs in various stages of cutting
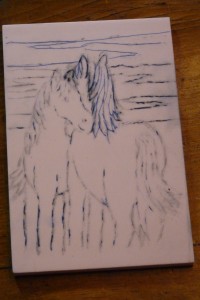
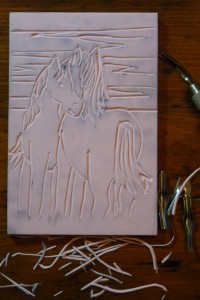
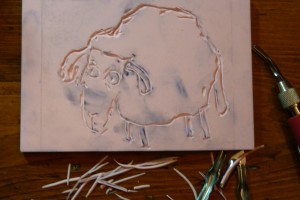
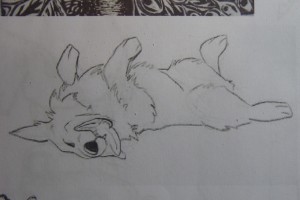
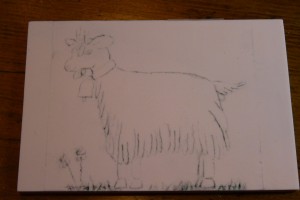
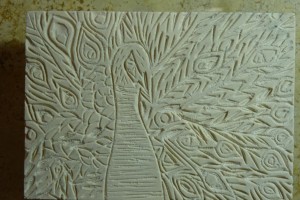
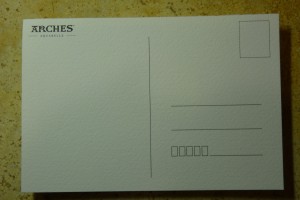
When everyone had their designs cut out we got out the old glass refrigerator shelf, the ink, brayer and silicone pasty roller. I’d purchased a package of blank art postcards and a pack of art blank fold-over cards at the art store for us to use. You squish some ink onto the glass or plexiglass surface and roll the brayer over it until you’ve got a nice even coverage on the brayer. Then, with the linoleum laying on a flat surace you’ll roll the ink onto the linoleum until you get an even layer of ink al over the lino. Then, carefully placing the postcard or fold-out card onto the design, keeping it as straight and centered as possible, (and making sure we were doing it in the right direction on the card on not upside-down), we then placed the lino on a hard, flat surface and using the pastry roller I pressed firmly all over the deisgn and quickly and carefully peeled off the paper or card. Lay printed card on a flat dry surface util completely dry, which should only take 20 minutes or so.

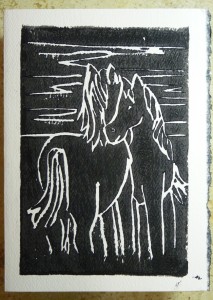
And these are the final results!
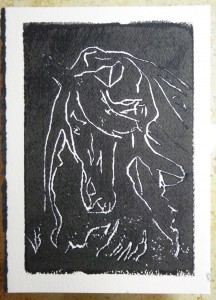
India’s two horse prints. The second one really needed to have deeper lines cut, but she can go back and do that still and print it again.
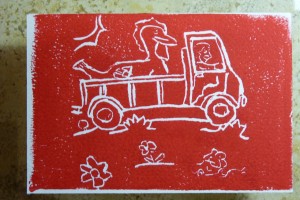
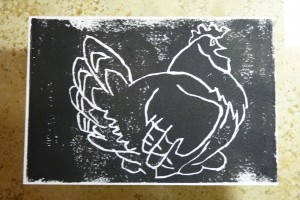
Evan’s two prints were of a farmer with a large chicken in the back of his truck and a chicken laying on eggs.
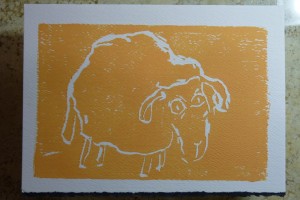
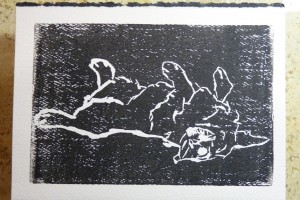
Maia’s prints were of a cute sheep and a corgi laying on his back.
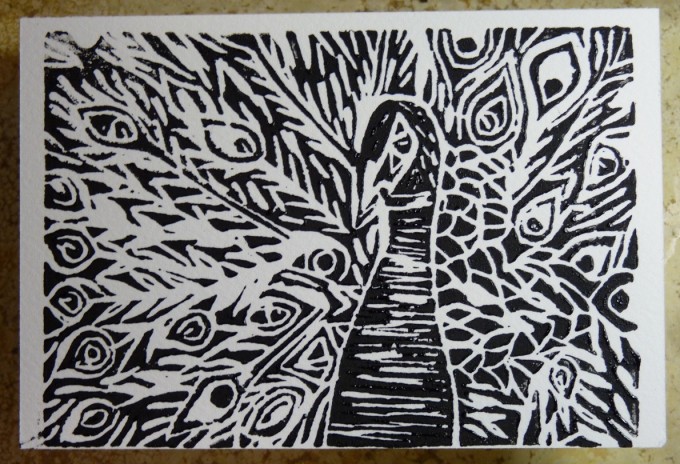
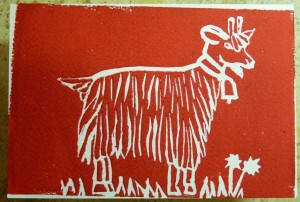
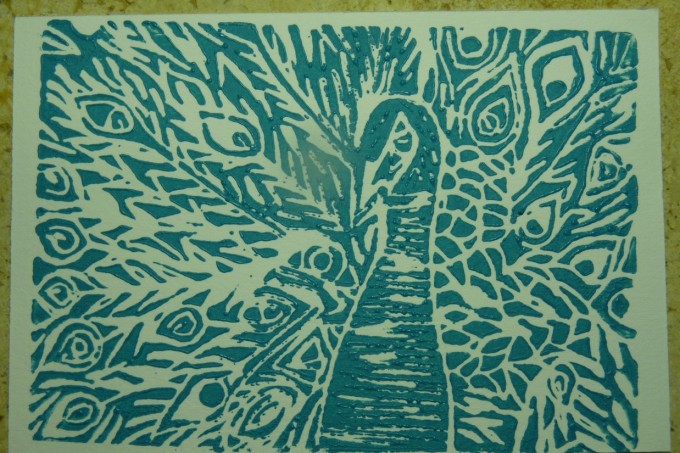
And here’s my final prints. The first one is the truck that was my test run project, the second one is a goat and the third one was a complicated peacock.
We all loved this project and are very pleased with the results. Cyrena said I should do some and sell them as packaged note cards. I’ll get right on that in my spare time.
This was a really cool project to see in person and thanks for the cameo role in your post. This brought back a great memory I shared with my mom when I was a little girl. We didn’t have much money for fancy christmas cards so my mom came up with the idea to melt crayons on an old electric griddle. The crayons sort of melted together and made a “groovy” melted pattern (this was the 70’s after all). We then took white paper and transfered the melted crayon on to it and let it dry, cut it into shapes, and glued it to the back of construction paper folded as “cards” and voila! Instant Christmas cards! I think the kids will have great memories of making things like this with you. I know I did with my mom.