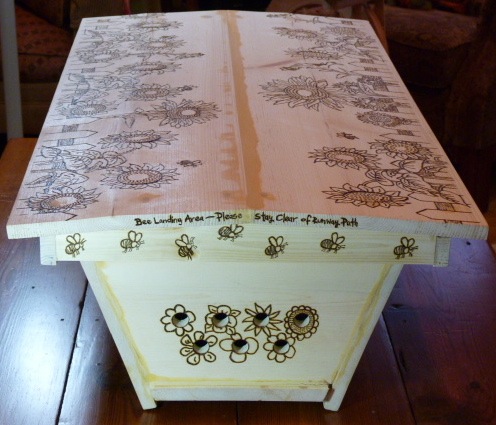
I made this hive all by myself. Every measurement, every board cut, screw screwed, hole or crack filled and sanded, and burned all of the artwork with my woodburning tool. I absolutely love it.
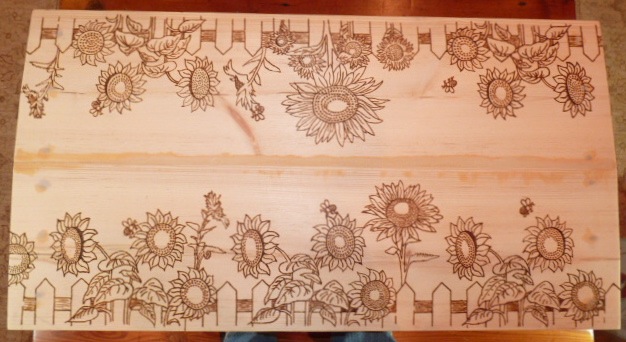
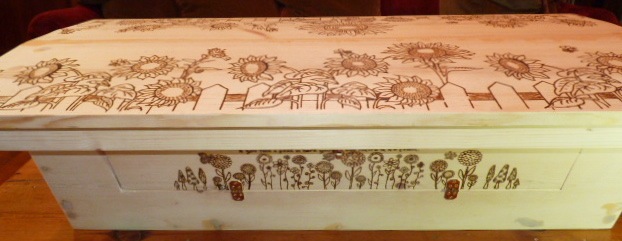

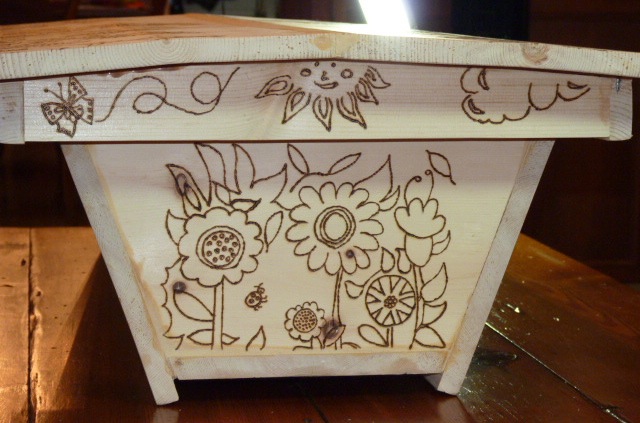
The only thing left to do is varnish the outside. In hindsight I probably should have made it out of cedar and then that wouldn’t have been necessary, but with a couple of coats of good varnish she’ll be all set for the outdoor weather and a new colony of bees this spring. That, along with the additional colony I’m going to add to my current hive (which is a two-colony top bar hive with only one colony in it now as I started it late in the season last year) I’ll have three colonies. So exciting.
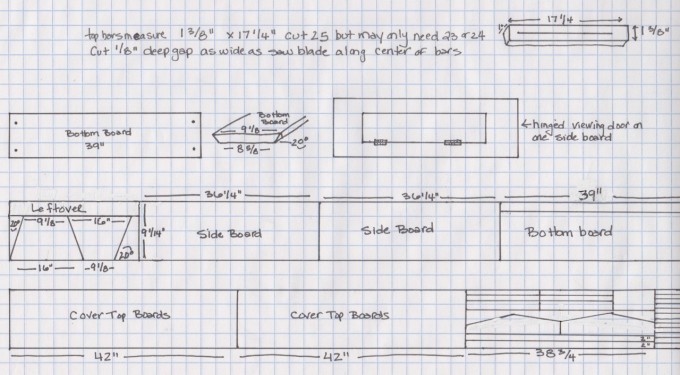
Now it’s not perfect. The pine had a pretty bad warp in it that I used, so there were some adjustments needed and wood filler required to accommodate that. I used a pattern from a top bar hive book called Top Bar Hive Construction by Daniel Garber. Now in reading back over the book reviews of this booklet (it’s really more of a booklet than a book) on Amazon to link it, I see some pretty bad reviews. It was a pretty rudimentary booklet with pretty rough plans. Since I already have a top bar hive and understood how it works and am familiar with woodworking I didn’t have any problems with it. I did draw out my own plans before I started, working off the measurements from this book. One day I’ll draw up some better plans and post them.
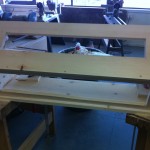
I seemed to have so little time in my days lately to fit visits to the Woodworkers Club (where I did most of the cutting and assembly work of the hive) that one particular day, when I’d finally managed to get all the pieces finally cut out and had very little time available, I glued and screwed everything together before I realized that I hadn’t cut out the viewing window or bottom board hole. While I managed to work around that and still get them done, it would have been a lot easier (and neater looking) to do that before I assembled it. Stupid mistakes that were caused by rushing. Something one should never do when woodworking. It was a really good learning process for me and now think it will be much easier to assemble future hives than it was to construct this one. A hearty thanks goes out to all the people at the Woodworkers Club that helped me along the way.
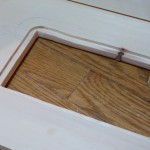
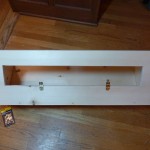
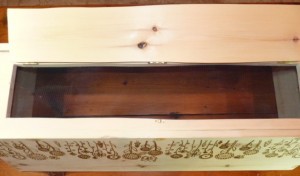
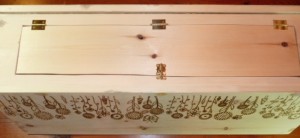
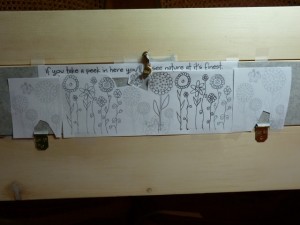
I did make a few adjustments to the plans in this booklet though. First of all I added a viewing window. I’ve heard about these and just thought that would be the coolest thing to have. It will enable me to open up this “door” to a window of clear plexiglass and watch the bees working without disturbing them. You need to have this as a hinged door though because you would not want to leave that clear window exposed. All of that natural light and heat would not make the bees happy and I suspect would disrupt their natural processes.
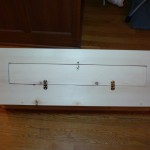
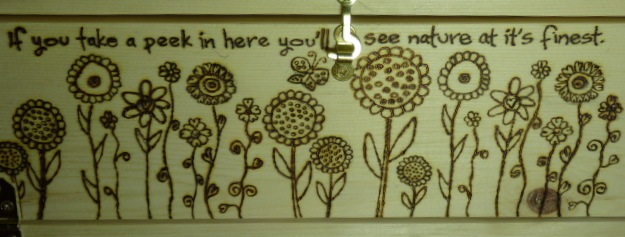
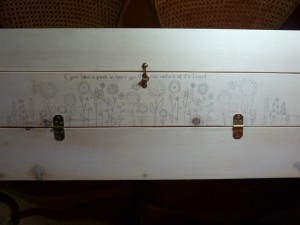
And then I had to add the artwork. Somehow I came up with wording that seemed just perfect for it.
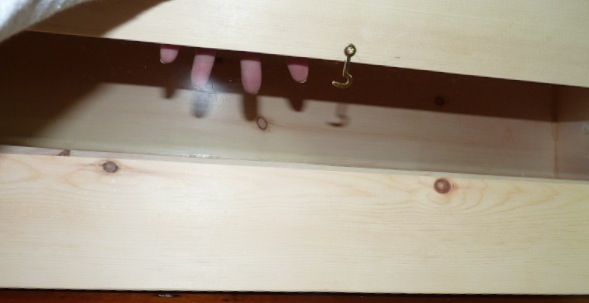
I also added two additional things. First, since I had such a problem insulating for the winter this year with
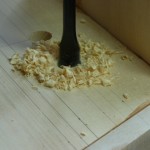
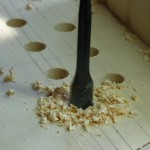
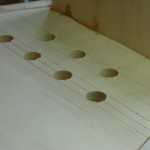
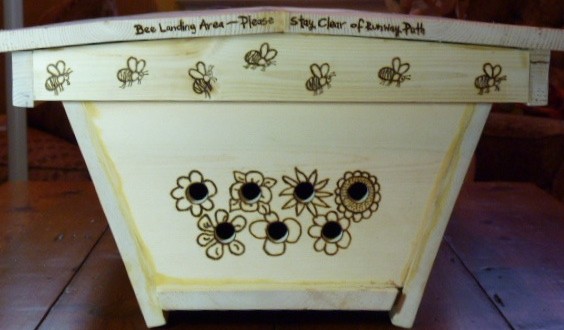
Now I had a big debate with myself about the hive entrance. There are different schools of thought on this. Some like a single long entrance at the bottom of the front of the hive, the current one has 7 holes at the front of the hive, but this book I have called The Barefoot Beekeeper is a big advocate of 7 side entrance holes. I really can see his point in having them on the side, and was going to do the hive with side entrance holes, but I new where I wanted to place this hive, and with that knowledge I knew that the viewing window should be on the left side of the hive and the entrance should be on the front. The next hive I make will have side entrance holes on one side and the viewing window on the other side. There are specific measurements that should be used for these holes and they are 3/4″ big that I sanded well after drilling.
Of course I couldn’t stop there. I made each entrance hole look like a flower, and then added a humorous saying on the lid with some bees. The saying is kind of true though – you really always want to stand to the side of the hive entrance as blocking their path is not a good idea.
I took all of my artwork off of the internet, and really mixed different artworks together to make it my own. I print it out, and then using carbon paper and a sharp pencil I trace the design onto the wood. This then becomes my pattern for the woodburning. I got a lot of practice with this when I made my friend Kelly’s wedding trunk.
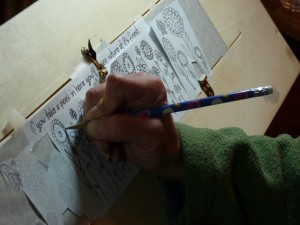
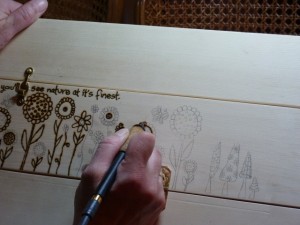
Whenever I did this (which was usually late at night) I had a fan pointing directly at me to blow the smoke away as I worked. Dispersing the smoke I felt also seemed to diminish the possibility of setting off the smoke alarm. This kind of woodburning doesn’t cause all that much smoke, but it’s irritating if it gets in your eyes, and would be a pain in the ass if your smoke alarms started going off. I did go to bed feeling something like a smoked ham for quite a few nights.
This was a terrific project for me. I learned a lot, made something that is going to provide a home for a colony of bees for me, and had so much fun doing it.
If you have any questions or comments just leave them here and I’ll answer them or help in any way I can.
sending this link to Clarke’s sister now. She’ll love it.