Pear, Apple, Fennel & Cheddar Pizza

You might have read about the amazing meal my sister and I had recently at Leon’s Full Service in Decatur, Georgia. One of the appetizers I had (that’s right folks, I had more than one), was a flatbread with apple butter, grilled fennel, apple slices and cheddar cheese. It was amazing. Sweet and savory. Unexpected. Delicious. I was worried that it would taste like anise, but the grilling must do something to the fennel, because it just gave the pizza a wonderful flavor and a little crunch.

I set out to re-create this while on vacation in Wyoming with Amanda’s help. I decided I wanted to try a pear butter instead of an apple butter. This was purely aesthetics on my part; I didn’t like the dark brown colors of the apple butter I was finding at the stores, but I came across a beautiful pear butter.
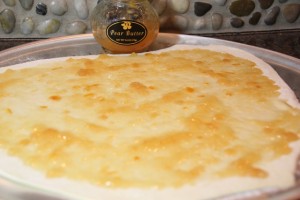
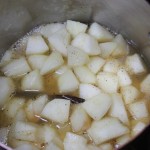
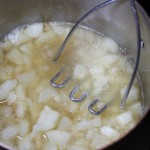
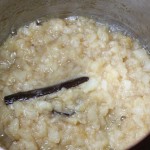
Of course when I went to make it here at home for this post I couldn’t find any pear butter, so I had to make my own. It was easy and really delicious. I put the seeds from 1/2 a vanilla bean in a heavy, non-reactive pot with some seeded, roughly chopped peeled ripe pears and a little apple cider and reduced, mashed, reduced, and reduced some more until almost all of the liquid evaporated. I did not add any sugar as it was for this savory pizza and my pears were nice and ripe, but if I were making it to preserve it, I would have added some sugar. I would only make your own if you can’t find it in the stores ready-made or if you’re planning on making a bunch to can at the same time.
Now the dough was interesting. I found the recipe from Bobby Flay on Food Network’s website. Lots of the people that left comments noted that the dough was very wet. When I made the dough in Wyoming (altitude of 6329 feet), and I made it twice, the dough was absolutely perfect; not too wet at all. When I made the dough in Connecticut (sea level), the dough was almost too dry and hard. It was fine after it rose, but I did consider adding some liquid back into it when I first finished it. My point here is pay attention when you’re making it. It was a lovely dough though and easy to work with and roll out. I’d recommend it for any pizza or flatbread recipe.

Flatbread

Recipe courtesy Bobby Flay

Prep Time: 15 min, Inactive Prep Time: 4 hr

Serves:  4 individual flatbreads or 1 large flatbread

1 1/2 cups warm water (105 to 110 degrees F)
1/2 teaspoon active dry yeast
4 cups all-purpose flour
1 teaspoon salt
2 tablespoons olive or canola oil, plus more for bowl

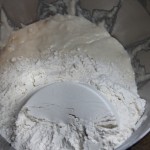
Mix water and yeast in a large bowl and let stand 5 minutes to proof. Gradually pour in 2 cups of the flour and stir to incorporate. Mix for about 1 minute to form a sponge. Let stand, covered, for at least 1 hour.
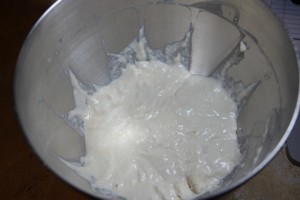

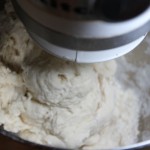
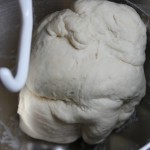
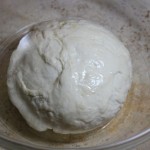
Put sponge in the bowl of a stand mixer. Using the dough hook, add the salt and oil, then add the flour, 1/2 cup at a time, to form a dough. Remove from bowl and knead. Place in a clean oiled bowl and let rise, slowly, about 2 1/2 hours. Divide dough into 4 balls, let rise again for 1/2 hour, and then roll out as desired.
Pear, Apple, Fennel & Cheddar Pizza

Recipe by Crafty Farm Girl, January, 2012

1 recipe flatbread dough
pear butter, either store-bought or home-made
1 large, crisp apple, peeled, cored & thinly sliced (I used Honeycrisp)
Fennel bulb, cleaned, outer leaf removed if necessary, thinly sliced & grilled
Some tender ends of fennel stalks
chopped walnuts
sharp white cheddar cheese, grated (don’t get extra-sharp)
cornmeal (to dust pizza pan with)
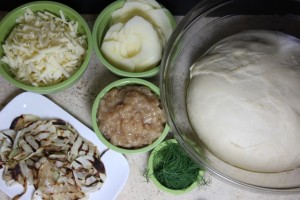
Mis en Place. I, of course, forgot the walnuts.

You can cook your pizza on a pizza stone if you have one (put it in the oven before you pre-heat your oven), or on a metal pizza pan, or just on a baking sheet as I did. Dust the pan lightly with cornmeal to prevent sticking. If you are using a pizza stone, then turn a baking sheet over and dust the underside of the pan with the cornmeal. You can easily slide the pizza off the back of the pan onto the heated pizza stone from there. Preheat the oven to 475o F. Allow oven to preheat completely before putting pizza in.

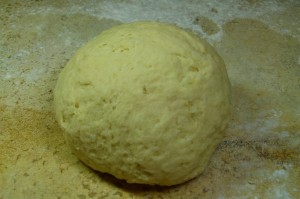
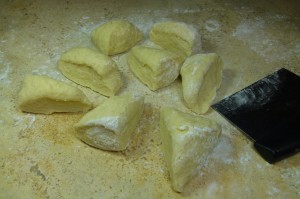
Once your flatbread dough is ready, and depending on whether you want two large flatbreads or 4 smaller ones, (or you can save and freeze some of the dough to use another time), divide your dough. On a lightly floured surface roll out dough until thin. Move dough to prepared pizza pan.

Spread a thin later of the pear butter over the entire pizza crust using an offset spatula, leaving the edges clear.
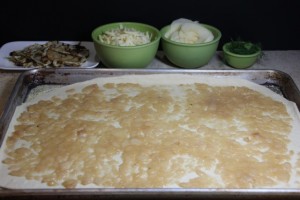
Evenly distribute grilled fennel around pizza.
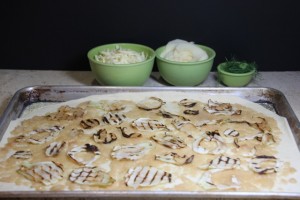

Now of course I forgot the walnuts this time, but don’t you forget them, because they add an important flavor to the pizza! I have a picture of that part from one of the Wyoming pizzas.
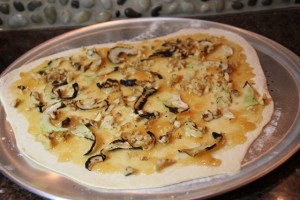

Then evenly distribute the apple slices around the pizza.
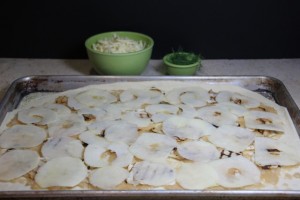

Sprinkle the cheddar cheese around just short of the edge of the pizza.
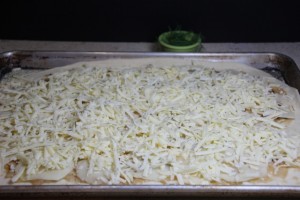

And finally add some of the tender fennel greens around on top of the cheese.
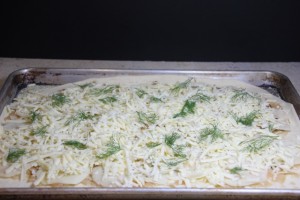

Put pizza into preheated oven (or slide off pan onto pizza stone), and bake until cheese is just beginning to brown a little, about 6-12 minutes. This time will vary a lot on pan or pizza stone and individual ovens.

Pear, Apple, Fennel & Cheddar Pizza

Slice using pizza wheel or large knife and serve immediately.

If you’re in the mood to try something a little different, you’ll be pleasantly pleased with the outcome of this pizza.

Print This Recipe Print This Recipe Pin It
The Last Supper • Asian-style Chicken Noodle Soup

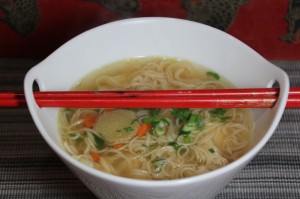
As I madly ran around Friday night trying to finish last minute preparations for my crack-of-dawn departure for my road trip, I did manage to at least make one more meal for my family. I’d made some home made chicken stock on Thursday, and that evening I took that out of the fridge, skimmed off the fat that had collected on the surface, and re-heated it on the stove.


Of course as we sat at the table eating it the kids acted like it was the last meal they would EVER be eating with me, like I was abandoning them forever to go and join the circus or something.

You can easily use store-bought chicken broth and chicken to make this too. You can also add any other ingredients you’d like to it — maybe some mushrooms or chopped bok choy. I used the ingredients I had on hand, and so can you.

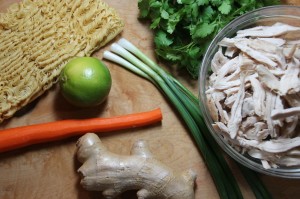
Assemble all of your ingredients.

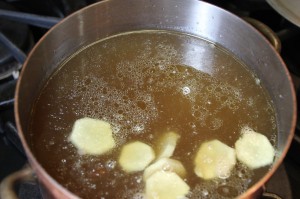
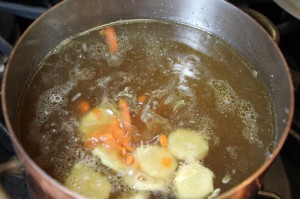
To the simmering broth I added some medallions of peeled ginger (from a 1″ piece).

Add some medallions of peeled ginger.

And then I added some finely diced, peeled, carrots.

Add some finely diced, peeled, carrots.

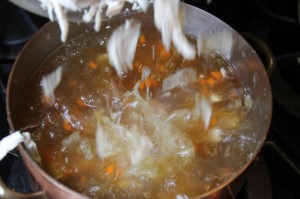
I let that simmer for about 10 minutes, and then added the shredded chicken I’d reserved from making the stock.

Add the shredded chicken.


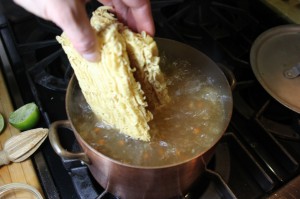
Let that simmer for a few minutes until the stock comes back to a simmer, then turn the heat up to medium-high. Add the chinese egg noodles (they look like ramen noodles, but without the seasoning packet; you can find them in the asian-food section of the grocery store). Let that come to a boil and separate the noodles as they soften using two forks.

Add chinese egg noodles to boiling stock.


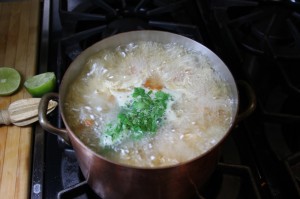
Working quickly, as you don’t want the noodles to overcook, add some chopped cilantro to the stock and stir to combine.

Add some chopped cilantro and quickly stir to combine.


Quickly plate the soup into individual bowls, distributing the chicken evenly with tongs. Serve while piping hot.

Ricotta & Chive Gnocchi


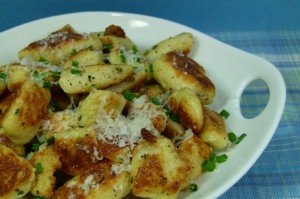
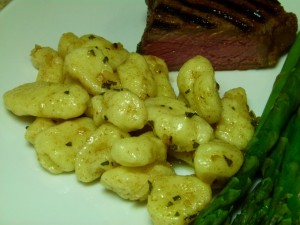
I recently posted gnocchi in a brown butter sage sauce that was delicious. That was the first time I’d made gnocchi in probably 25 years. It was fun! When I was at my local library for the lecture by The Beekman Boys for their new 1802 Heirloom Cookbook, I saw that Amanda Hesser and Merril Stubbs were going to be there this coming Monday promoting their new cookbook Food 52. I had never heard of this book (trust me, I own enough cookbooks already), but Erin, one of the librarians at the library, was explaining the book to me, so I checked it out on Amazon. It was really highly reviewed, so I decided to order a copy and bring it with me to the Library. I kind of liked getting out of the house at night!
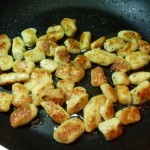
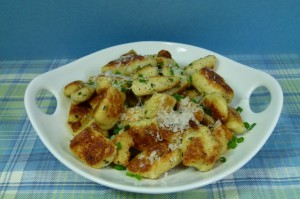
There were so many delicious recipes in the book that I can’t wait to try, but while Amanda was home from college this weekend she was really looking for some of Mama’s comfort food. She asked me to make meatloaf’s for her that we froze and she took home in her suitcase. Apparently one fell out of her carry-on onto the kid  sitting next to her who exclaimed “sick!”.  She also had me make my spicy hummus, which she took home in small containers, and she made some of the chocolate chip cookies I recently posted to bring down to her friends, too. We decided this gnocchi recipe should be the first one we tried. They were terrific. The crust from frying them after you boil them made them extra yummy. I added

Ricotta and Chive Gnocchi

Recipe from The Food 52 Cookbook by Amanda Hesser & Merril Stubbs. Adapted (slightly), by Crafty Farm Girl, November, 2011.

Serves four to six

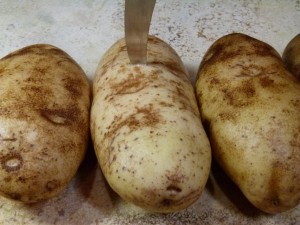
3 Russet potatoes
2 Eggs
1 c. ricotta
1/2 cup grated parmesan
1/3 cup chives
2 cups Flour (making sure you have extra on hand for rolling them later)
6 tablespoons butter
6 tablespoons olive oil
Kosher salt & pepper

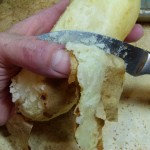
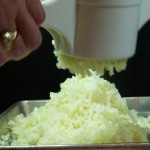
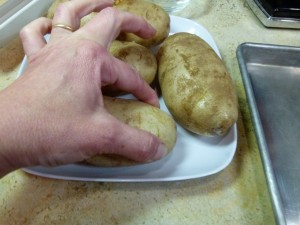
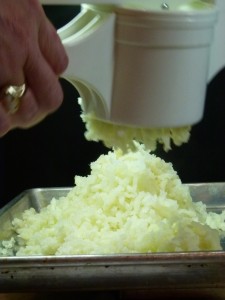
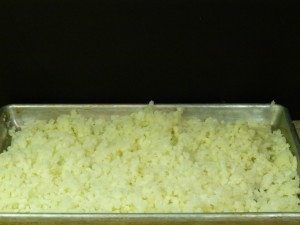
Bring a large pot of water to boil and add the russet potatoes. Boil for 45 minutes, draing the water through a colander, and let the potatoes cool. Following what I learned from the earlier gnocchi recipe, I peeled and riced the potatoes carefully while still hot and spread them out to cool on a rimmed baking sheet. Discard the skins.


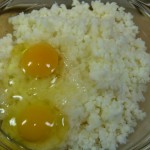
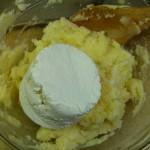
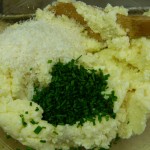
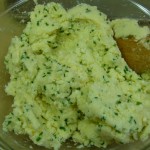
Once the potatoes have cooled down, add the eggs and stir into the mixture. Once the eggs have been incorporated, stire in the ricotta, parmesan, and chives.


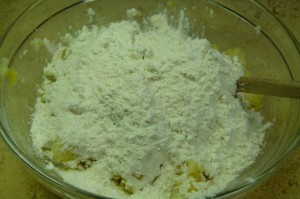
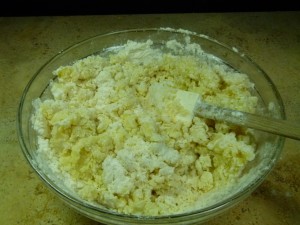
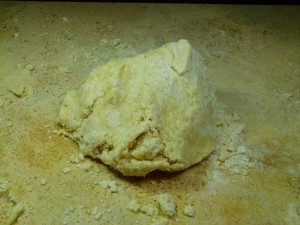
At this point, the mixture should be very thick, but it needs to be thick and maliable as dough. Add the flour and stir together until you get that consistency. I found this easiest to do by turning the mixture out onto a clean work surface and kneading it until it came together. Continue kneading, flouring the work surface as necessary, until it’s more dough-like and doesn’t stick to everything in sight. Cut the dough into 4 pieces.


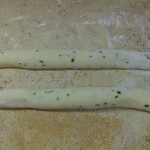
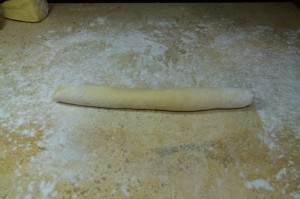
Begin rolling the dough, a section at a time, with your hands as if you’re forming a large snake. I found it easiest to cut the coil into two pieces about half-way through to make it easier to work with. Continue rolling until you form rolls that are no bigger than a quarter in circumference. (Any bigger and you’ll have difficulty cooking them.) I probably made mine about the size of a nickel around.


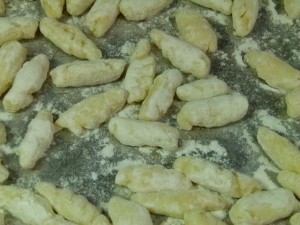
From the skinnier rolls, take a knife or pinch off little sections and roll them around in the palm of your hand to make the gnocchi. You may need to continue dredging them in a little flour as you go, which is fine. Set all the finished gnocchi on a large plate to the side. I found it easiest to cut all the gnocchi, and then I went and rolled each one to form a more evenly rounded shape.


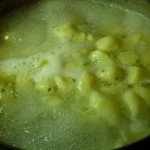
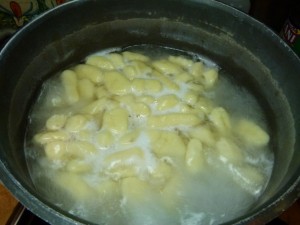
Once all the gnocchi have been formed. Dump them into a boiling pot of hot, salted water. Boil the gnocchi for five minutes to ensure their centers are nice and dense. (They will automatically start popping up to the top of the pot once they’re cooking, but make sure you give them a little extra time in the water.)


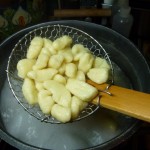
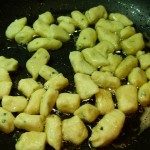
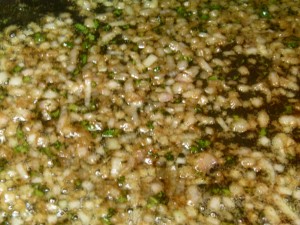
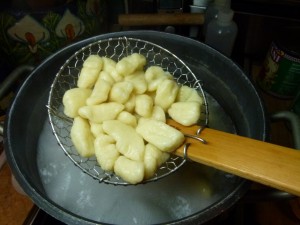
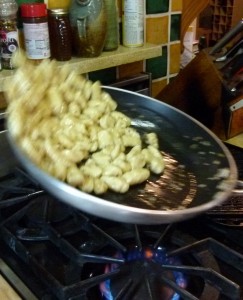
Drain the boiled gnocchi through a colandar or remove from the boiling water with a strainer. Then, in a very large saute pan over medium high heat, add two tablespoons of oil and butter. Add just enough gnocchi to the pan where they have enough space to get a light, brown crust around them. I seasoned them with salt and pepper in the pan. Add more oil, butter, and gnocchi when the first batch is done. When plating the gnocchi, lightly season them with a little kosher salt, parsley, or extra chives and some grated parmesan.


Print This Recipe Print This Recipe

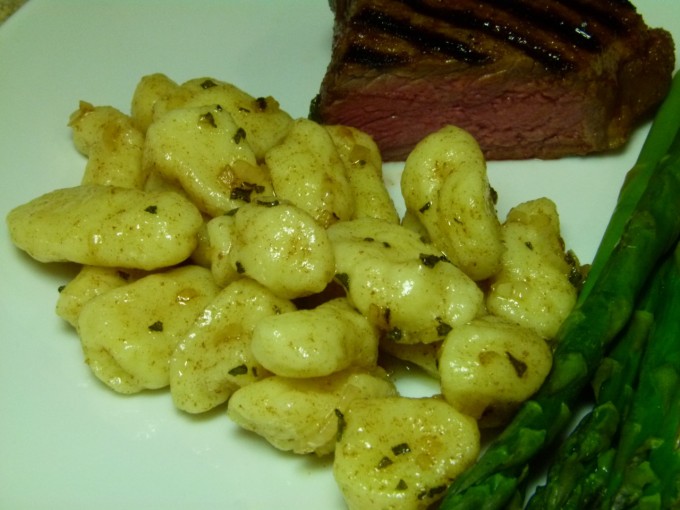
Potato Gnocchi with Browned Butter and Sage

I haven’t made gnocchi in years, but I saw this recipe on the cover page of CooksIllustrated.com last weekend and decided it was time to make it again. I love brown butter sage sauce. There’s a great short tutorialright now on the cover page of Cook’s Illustrated.com that shows you step-by-step exactly how to cook these gnocchi. It’s really quick and shows you all the steps to get it right. I made them twice now in 2 weeks. The first time I was in the middle of like 5 other things so the potatoes rested a little long after coming out of the oven. I don’t think it affected their flavor or texture, but I think it made the rolling of them a little more difficult. The second time I was just concentrating on the gnocchi, and made the dough with hot, riced potatoes that I cooled on the pan for 5 minutes as the recipe called for, and the dough was much easier to form.

Potato Gnocchi with Browned Butter and Sage

POTATO GNOCCHI WITH BROWNED BUTTER AND SAGE

Original recipe from Cook’s Illustrated, published September 1, 2011.

Serves 2 to 3 as a main dish, or 4 to 6 as an appetizer

Making gnocchi is simple: Cook the potatoes; peel and mash; knead the cooked spuds into a dough with a minimum of flour; shape; and boil for a minute. And yet the pitfalls are numerous (lumpy mashed potatoes, too much—or too little—flour, a heavy hand when kneading, and bland flavor). We wanted a foolproof recipe for impossibly light gnocchi with unmistakable potato flavor. Baking russets (streamlined by par-cooking the potatoes in the microwave) produced intensely flavored potatoes—an excellent start to our gnocchi base. To avoid lumps, which can cause gnocchi to break apart during cooking, we turned to a ricer, which gave us a smooth, supple mash. While many recipes offer a range of flour, which ups the chances of overworking the dough (and producing leaden gnocchi), we used an exact amount based on the ratio of potato to flour so that our gnocchi dough was mixed as little as possible. And we found that an egg, while not a traditional ingredient, tenderized our gnocchi further, delivering delicate, pillow-like dumplings.

For the most accurate measurements, weigh the potatoes and flour. After processing, you may have slightly more than the 3 cups (16 ounces) of potatoes required for this recipe. Discard any extra or set aside for another use.

Ingredients

Gnocchi

  • 2
 pounds russet potatoes
  • 1
 large egg , lightly beaten
  • 3/4
 cup plus 1 tablespoon (4 ounces) all-purpose flour , plus extra for the counter
  • 1 
teaspoon plus 1 tablespoon salt
  • Sauce

  • 4 
tablespoons unsalted butter , cut into 4 pieces
  • 1
 small shallot , minced
  • 1 
teaspoon minced fresh sage
  • 1 1/2 
teaspoons lemon juice
  • 1/4
 teaspoon salt
  • Instructions

    FOR THE GNOCCHI: Adjust oven rack to middle position and heat oven to 450 degrees. Poke each potato 8 times with paring knife over entire surface. Microwave potatoes until slightly softened at ends, about 10 minutes, flipping potatoes halfway through cooking.


    Transfer potatoes directly to oven rack and bake until skewer glides easily through flesh and potatoes yield to gentle pressure, 18 to 20 minutes.

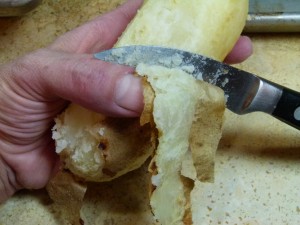
    Holding each potato with potholder or kitchen towel, peel with paring knife. Process potatoes through ricer or food mill onto rimmed baking sheet.


    Gently spread potatoes into even layer and let cool for 5 minutes.


    Transfer 3 cups (16 ounces) warm potatoes to bowl. Using fork, gently stir in egg until just combined. Sprinkle flour and 1 teaspoon salt over potato mixture. Using fork, gently combine until no pockets of dry flour remain.


    Press mixture into rough ball, transfer to lightly floured counter, and gently knead until smooth but slightly sticky, about 1 minute, lightly dusting counter with flour as needed to prevent sticking.


    Line 2 rimmed baking sheets with parchment paper and dust liberally with flour. Cut dough into 8 pieces.


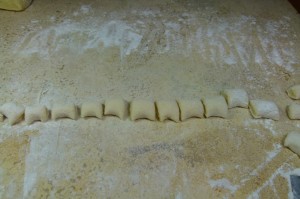
    Lightly dust counter with flour. Gently roll piece of dough into ½-inch-thick rope, dusting with flour to prevent sticking. Cut rope into ¾-inch lengths.


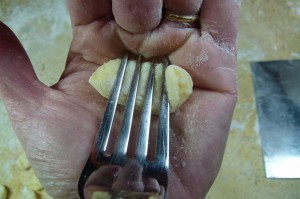
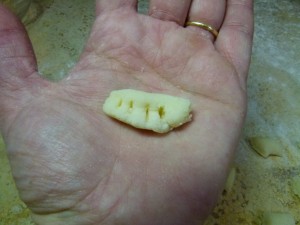
    Holding fork with tines facing down in 1 hand, press each dough piece cut side down against tines with thumb of other hand to create indentation. Roll dough down tines to form ridges on sides. If dough sticks, dust thumb or fork with flour.


    Transfer formed gnocchi to sheets and repeat with remaining dough.

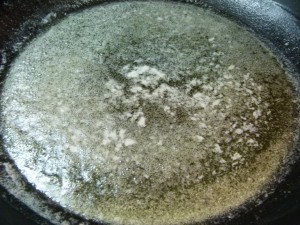
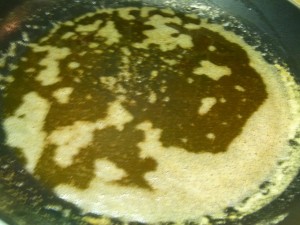
    FOR THE SAUCE: Melt butter in 12-inch skillet over medium-high heat, swirling occasionally, until butter is browned and releases nutty aroma, about 11/2 minutes.


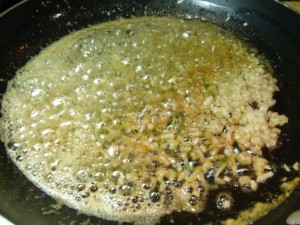
    Off heat, add shallot and sage, stirring until shallot is fragrant, about 1 minute. Stir in lemon juice and salt; cover to keep warm.


    Bring 4 quarts water to boil in large pot. Add remaining 1 tablespoon salt. Using parchment paper as sling, gently lower gnocchi from 1 sheet into water and cook until firm and just cooked through, about 90 seconds (gnocchi should float to surface after about 1 minute).


    Using slotted spoon, transfer cooked gnocchi to skillet with sauce. Repeat with remaining gnocchi. Once I put the gnocchi into the skillet I turned the heat back on to mediun-high to rewarm the sauce briefly. Gently toss gnocchi with sauce and serve.


    Potato Gnocchi with Browned Butter and Sage


    Print This Recipe Print This Recipe

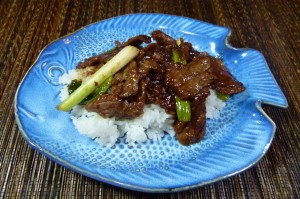
    Mongolian Beef

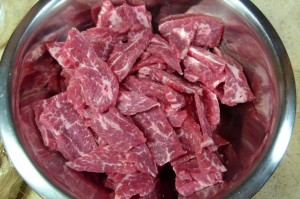
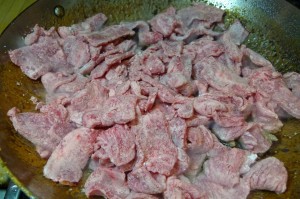
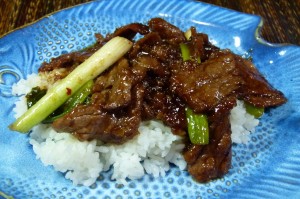
    I saw this recipe on Pinterest the other day and tried it that same night. It was one of those days where I was running all afternoon to doctor’s and soccer games, and it came together pretty quickly. I used  flank steak and cut it diagonally against the grain. I think it’s important to use a good cut of meat  for this to not be tough and chewy.
    The original recipe only served 2, so I adjusted everything up and while it fed our family of 5, I would say that it would serve 4, since my kids don’t eat much. *Also, she had 1/2 teaspoon of red pepper flakes for spicy. I doubled that and ours was pretty spicy, but my red pepper flakes were very fresh. If you don’t like things very spicy, adjust down to 1/2 teaspoon or less.This was really good and I’ll definitely be making it again. 

    Mongolian Beef

    Original recipe from Pink Bites. Altered by Crafty Farm Girl, November, 2011.

    Serves 4

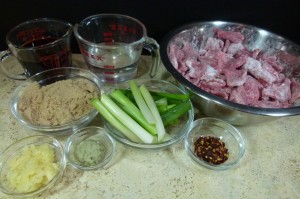
    You will need:

    •  1-3/4 to 2 lbs. of flank steak, thinly sliced on the diagonal
    • 1/2 cup of cornstarch
    • 4 tablespoons of canola oil, divided
    • 1 tablespoon of grated ginger (1-1/2″ piece)
    • 2 tablespoons of chopped garlic (about 6 large cloves)
    • 3/4 cup of water
    • 3/4 cup of soy sauce (I use low sodium)
    • 3/4 cup light brown sugar
    • 1/2-1 teaspoon of red pepper flakes*
    • 6 large green onions, sliced crosswise into thirds

    Prepare the meat:

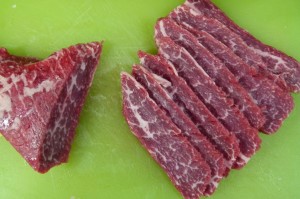
    Since this was a large steak, I cut it in half horizontally. To ease the slicing, I stuck it in the freezer for about 45 minutes. Slicing slightly frozen meat thinly is so much easier than slicing raw meat. Forty-five minutes to an hour is enough time that it slices well, but any slightly frozen parts will thaw quickly.


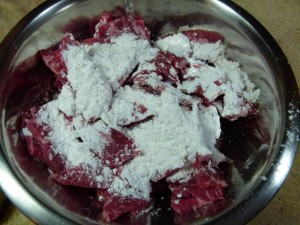
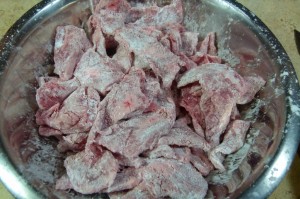
    First, make sure the steak slices are dry (pat them dry) and mix them with the corn starch. Using your hands or a spoon, move them around to make sure all pieces are coated. Place beef slices in a strainer and shake off excess corn starch.


    Make the sauce:


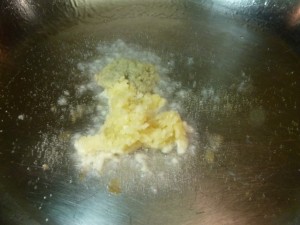
    Heat half of the oil in a large wok or large flat-bottomed skillet at medium-high and add the garlic and ginger.


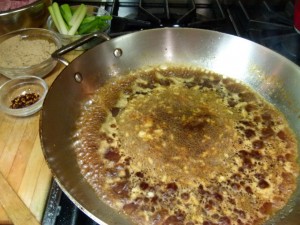
    Immediately add the soy sauce, water. Be careful, mine made a terrible sputtering mess when the soy sauce hit the hot pan, so work quickly.


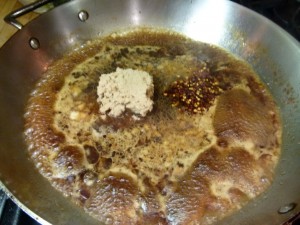
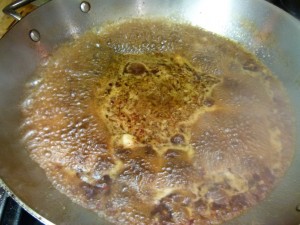
    Quickly add the brown sugar and pepper flakes. Cook the sauce for about 2 minutes and transfer to a bowl. Don’t worry if the sauce doesn’t look thick enough at this point. The corn starch in the beef will thicken it up later.


    Cook the meat and assemble dish:

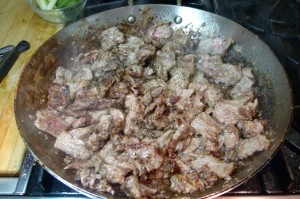
    Turn the heat up and add the remaining oil to the wok or skillet. You may want to cook the beef in two batches. I probably should have. Add the beef and cook, stirring until it is all browned (this is a quick thing).


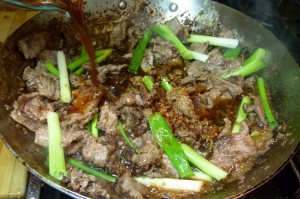
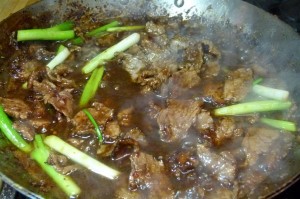
    Add the green onions to the beef and cook very briefly while stirring, about 30 seconds. Pour the sauce back into the wok and let it cook along with the meat. Now you can choose to cook it down and reduce the sauce or leave it thinner.


    Serve it hot with rice.


    Print This Recipe Print This Recipe

    Roasted Potato Sticks with Rosemary and Lemon

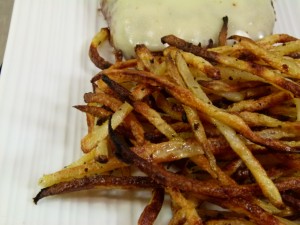
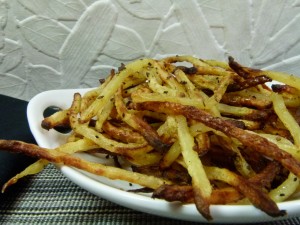
    My kids don’t eat french fries at home very often, so when I saw this recipe for potato sticks I thought it would be a fun one to try. They loved them, and they were the perfect accompaniment to our cheeseburgers. I liked the seasoning on them, taking them a step beyond your normal french fry.

    Roasted Potato Sticks with Rosemary and Lemon

    Roasted Potato Sticks with Rosemary and Lemon

    Recipe from Fine Cooking Appetizers (Special Party Issue, Fall, 2011), altered slightly by Crafty Farm Girl, November, 2011.

    Rinsing the potatoes under cold water not only removes any dirt from the peel but also removes starch from the potatoes for crisper potato sticks. Be sure to dry them well.

    * I am not a big mustard fan, so I chose to use salad dressing instead. I think any mustard, salad dressing or even BBQ sauce would work well here.

      • 3 medium Idaho potatoes, washed & scrubbed (about 1-1/4 pounds total)
      • 3 tablespoons olive oil
      • 1-1/2 tablespoons Dijon mustard, salad dressing or BBQ sauce*
      • 1 tablespoon minced fresh rosemary
      • 2 teaspoons finely grated lemon zest
      • 2 tablespoons fresh lemon juice
      • Kosher salt and freshly grated ground black pepper

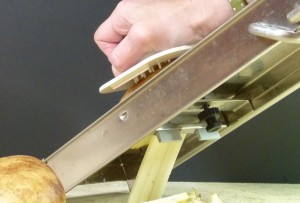
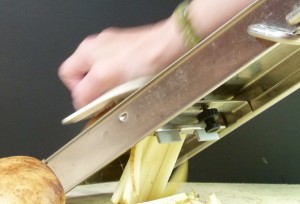
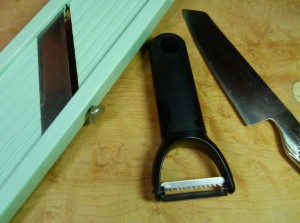
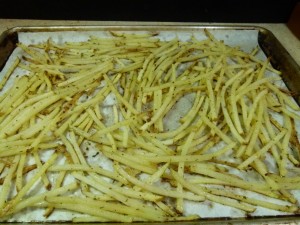
    Arrange racks in the upper and lower thirds of the oven and heat the oven to 450o F. Slice the potatoes on a sharp angle into 3/8-inch slices. Stack them and slice into 3/8-inch thick sticks. Or, you can use a V-slicer, Mandoline, or a mandoline-style peeler like I did.

    A plastic mandoline, hand julienne peeler, or a good, old-fashioned knife work too.

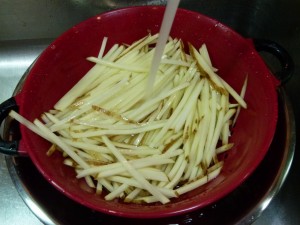
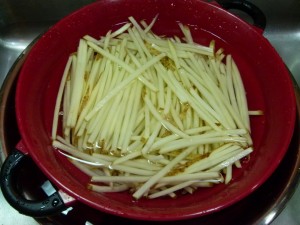
    Put the potatoes in a colander set inside a slightly larger bowl. Rinse the potatoes in cold water, pouring off the water in the bowl several times until it’s clear. Let the potatoes stand in the cold water for 5 minutes.


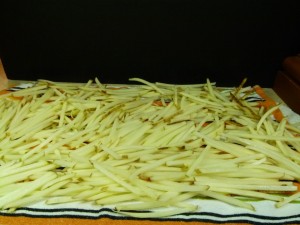
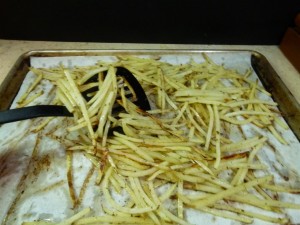
    Drain and shake off excess water and spread the potatoes on 2 large baking sheets lined with 2 layers of paper towels. Cover with a few more paper towels and let dry. (I used clean dishtowels instead of paper towels, and after about 5 minutes they were remarkably dry.)


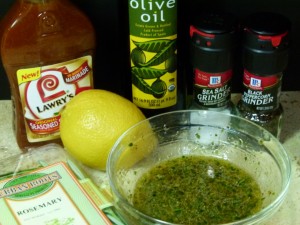
    In a medium bowl, combine the olive oil, mustard or other sauce*, rosemary, lemon zest and juice, 1-1/2 teaspoons salt, and ¼ teaspoon pepper in a small bowl and whisk well until blended.


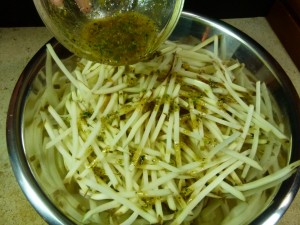
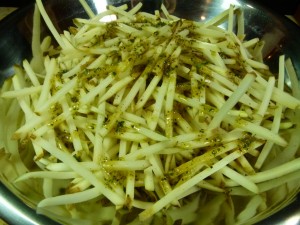
    Transfer the potato sticks to the bowl (discard the paper towels if you used them, and obviously don’t toss them with the dishtowels, either) and toss until each piece is well coated.


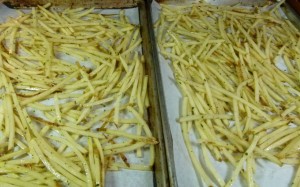
    Spread the potatoes on the baking sheets in a single layer. Drizzle with any remaining herb mixture.


    Bake the potato sticks until browned on the bottom, about 10 minutes. Turn them with a spatula, spread into a single layer, and bake for 5 minutes, turn again until browned and tender, another 5-10 minutes.


    Sprinkle with more salt, if you like, and serve immediately.


    Print This Recipe Print This Recipe

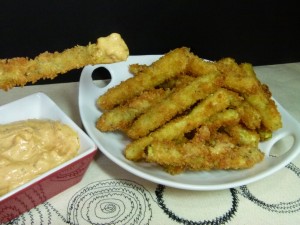
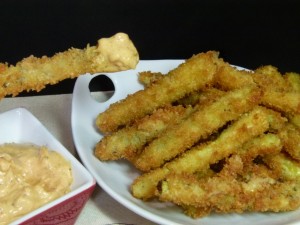
    Asparagus Fries with Smoked Paprika Aïoli

    My kids are not huge asparagus fans, and I’m actually not crazy about them if they’re not cooked just right. When I saw this recipe a) I thought my kids would like them and b) I thought they’d be a great party appetizer. With the holidays coming up, I thought I’d give them a whirl. I know, I know; breading and frying the asparagus sort of takes away from the whole ‘healthy vegetable’ thing, but whatever. You don’t have to feed my kids.


    The kids came about as close to loving asparagus as they’re ever going to come. And Jim, who is so spoiled by all of my good cooking that I usually don’t get more than a “that was good”, raved about these things.

    Asparagus Fries with Smoked Paprika Aïoli

    I got this recipe from Fine Cooking’s Special Party Issue “Appetizers” issue, fall 2011. Originally From Fine Cooking, Issue #110, pp. 61

    Serves 6

    For the Aïoli

    4 large cloves garlic, unpeeled
    2/3 cup mayonnaise
    1 Tbs. extra-virgin olive oil
    1 tsp. smoked paprika
    1 tsp. fresh lemon juice, more to taste
    Kosher salt and freshly ground black pepper

    For the Asparagus Fries

    3 cups vegetable oil
    2 large eggs, beaten
    1 medium lime, juiced
    3/4 cup unbleached all-purpose flour
    Kosher salt and freshly ground black pepper
    1 cup panko
    1 lb. thick asparagus spears, trimmed, peeled, and halved crosswise

    Make the Aïoli

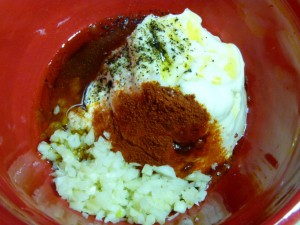
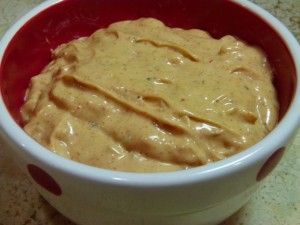
    Put the garlic in a small saucepan, add cold water to cover by least 1/2 inch, and bring to a boil over high heat. As soon as the water boils, drain and repeat the process once more. Rinse the garlic with cold water to cool and then peel and mince the cloves. In a medium bowl, whisk the poached garlic with the mayonnaise, olive oil, smoked paprika, and lemon juice until smooth. Add more lemon juice, salt, and pepper to taste. Refrigerate for at least 1 hour to meld the flavors.


    Make the Asparagus Fries

    In a 3-quart saucepan fitted with a candy thermometer, heat the oil over medium-high heat to 375°F.

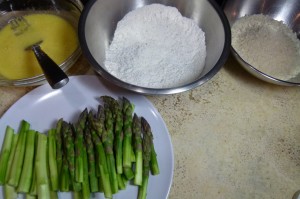
In a small bowl, whisk the eggs with the lime juice and 2 Tbs. water. Put the flour on a small plate and season generously with salt and pepper. Put the panko on another small plate.


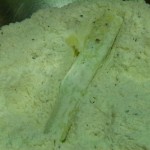
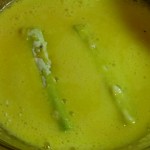
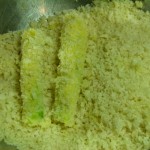
    Dredge the asparagus in the flour and shake off any excess. Dip the asparagus in the egg mixture and then the panko to coat.


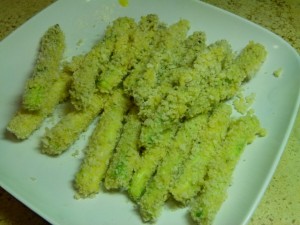
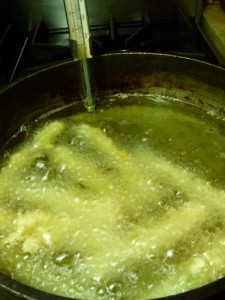
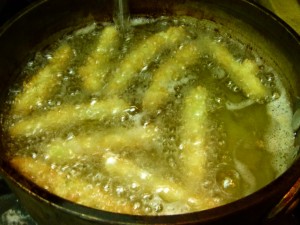
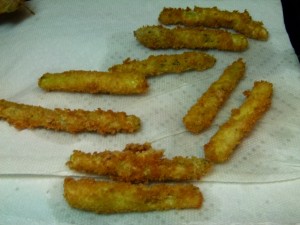
    Working in batches, fry the asparagus until golden-brown, about 3 minutes. With a slotted spoon, transfer to paper towels to drain briefly.


    Sprinkle with salt and serve with the smoked paprika aïoli.


    Nutrition information (per serving):  Calories (kcal): 340; Fat (g): 33; Fat Calories (kcal): 290; Saturated Fat (g): 4.5; Protein (g): 4; Monounsaturated Fat (g): 11; Carbohydrates (g): 10; Polyunsaturated Fat (g): 15; Sodium (mg): 460; Cholesterol (mg): 60; Fiber (g): 1


    Print This Recipe Print This Recipe

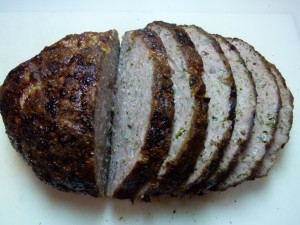
    Meatloaf

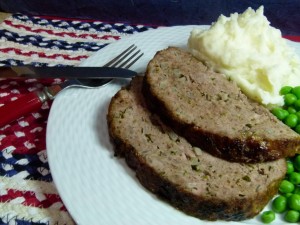
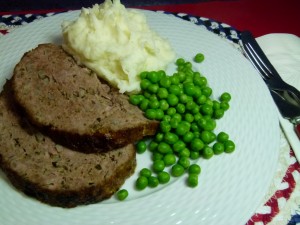
    Meatloaf, mashed potatoes & peas. The all-American meal.

    I realized this weekend that I hadn’t made meatloaf in ages. I made some today, and I always make a double recipe so there’s an extra one for the freezer for another meal.

    The ultimate comfort food for me and my family. My recipe comes straight from my mother, and it’s more like a really large swedish meatball than some of the more American-style meatloaf’s I’ve had. There’s no ketchup in the recipe. It’s not covered in BBQ sauce or bacon. It’s delicious to us. I always serve it with mashed potatoes and peas. One of my favorite ways to eat it is as leftovers. I warm a slice in the microwave and put it on tasted rye bread. Yummm.

    Meatloaf

    Yield: 2 meatloaf’s that should serve 6-8 people.

      • 2 pounds ground beef
      • 3 pounds meatloaf mix (ground beef, pork & veal)
      • 1 cup very finely chopped parsely (I grind mine in the food processor)
      • 1-3/4 cups finely diced onion
      • 3/4 cup Italian seasoned breadcrumbs (I use Progresso)
      • 1 teaspoon salt
      • 3/4 teaspoon ground black pepper
      • 1/2 teaspoon seasoned salt
      • 2 eggs
      • 1/4 cup heavy cream

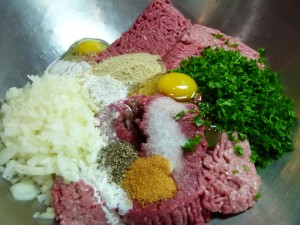
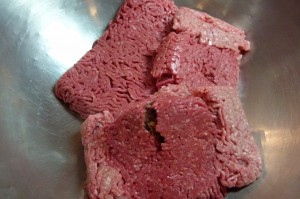
    Preheat oven to 350 degrees. Add the ground beef and meatloaf mix to a very large bowl.


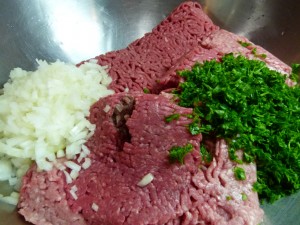
    To this add the parsley and onion.


    Then add the breadcrumbs, salt, pepper, seasoned salt, eggs, and heavy cream.


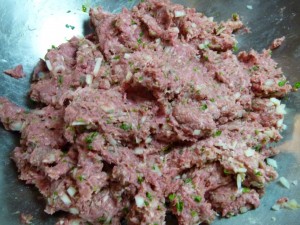
    Wash your hands well, roll your sleeves up, and dive into the bowl with both hands. Mix it, mash it, squish it between your fingers.


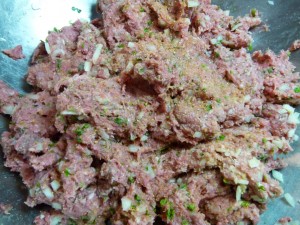
    Season with a little more seasoned salt and pepper to taste.


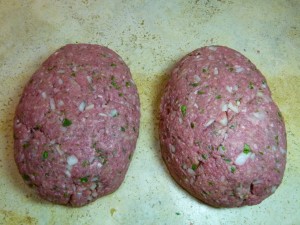
    Divide the mixture in two as evenly as you can, and shape them into loaves.


    Now I put one in a baking pan and wrap the other carefully in plastic wrap, label it, and stick it in the freezer for another day. If you’re feeding a crowd and want to use the whole recipe, still form two loaves. One giant meatloaf probably wouldn’t cook properly — the inside would still be raw and the outside would be dry.

    Bake on the center rack for 75 to 90 minutes, or until the center reaches a temperature of 165 degrees. Remove from oven, cover with foil, and let rest for 10 minutes. Slice and serve immediately.


    Print This Recipe Print This Recipe

    Pork & Scallion Potstickers


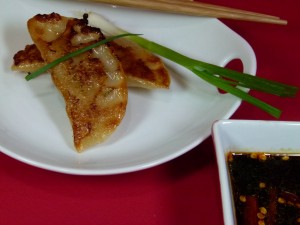
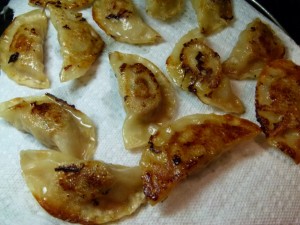
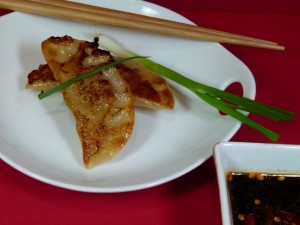
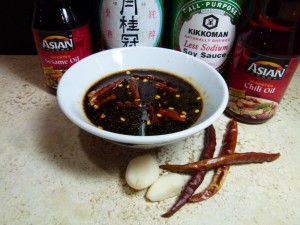
    My kids adore potstickers, or fried dumplings. I decided to make my own the other day for a treat. I’ve made them before, but not that they’d remember. I found this old Gourmet recipe on Epicurious that seemed to get rave reviews, so I went with that one. The dipping sauce was probably the best dipping sauce I’ve ever had. I changed it a little bit as I like my dipping sauce with grated ginger in it and more on the spicy side, but I loved the fact that it didn’t have any vinegar in it.

    Pork & Chive Dumplings

    Original recipe from Gourmet, October, 2008, adapted slightly by Crafty Farm Girl, October, 2011

    Yield: serves 8 as appetizer servings

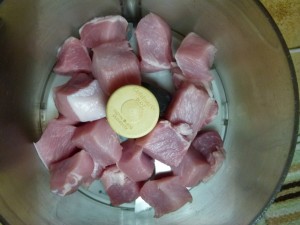
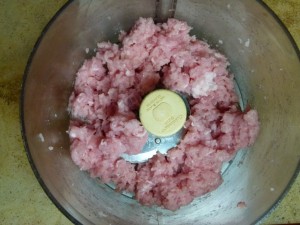
    I wasn’t all that thrilled with the ground pork available at the grocery store, so I bought some organic, pasture raised pork chops and ground them in the food processor to combine with the ground pork.


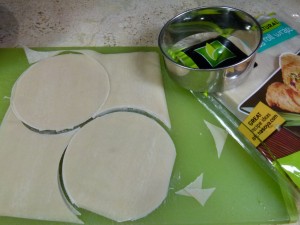
    I could not find dumpling wrappers, so I bought egg roll wrappers and cut them into circles.


    • 1/2 pound fatty ground pork
    • 1/2 tablespoon Shaoxing wine or sake
    • 1/4 teaspoon Asian sesame oil
    • 1/2 teaspoon Vietnamese chile-garlic sauce
    • 1-1/2 teaspoons finely grated peeled ginger
    • 1/4 teaspoon rice vinegar (not seasoned)
    • 2 teaspoons soy sauce
    • 1/2 teaspoon kosher salt
    • Pinch of white pepper
    • 3 tablespoons finely chopped cilantro stems
    • 3 tablespoons finely chopped flowering chives, flat Chinese chives (garlic chives), or scallions
    • 24 to 30 round dumpling wrappers (preferably with egg)


    Accompaniment: Lantern dumpling sauce, recipe below

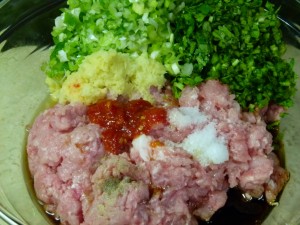
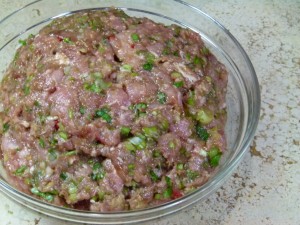
    Combine all ingredients (except cilantro stems, chives, and wrappers) in a large bowl, then stir in cilantro stems and chives. Set bowl in a larger bowl of ice to keep chilled while forming dumplings.


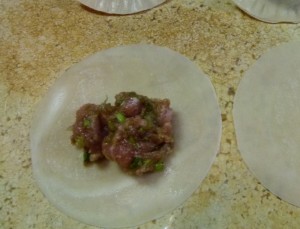
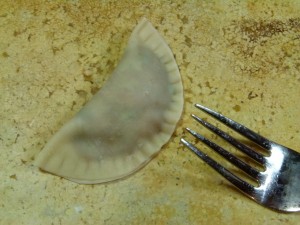
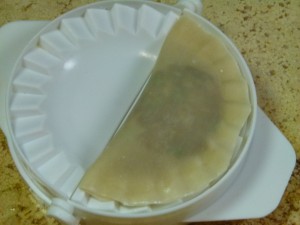
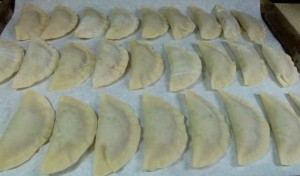
    Place a slightly rounded teaspoon of filling in center of a wrapper and moisten area around filling with water. Fold in half to form a crescent and press to seal.


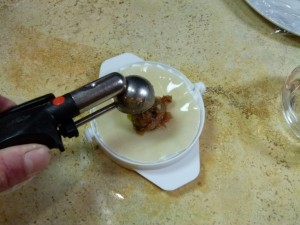
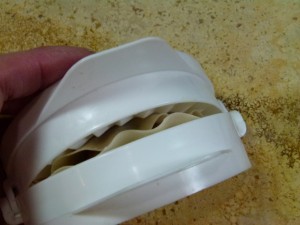
    Alternatively, if you have a dumpling maker, you can use that to form your dumplings.


    Repeat with remaining filling and wrappers, placing on a parchment-lined baking sheet and covering tightly with plastic wrap when finished until ready to cook.


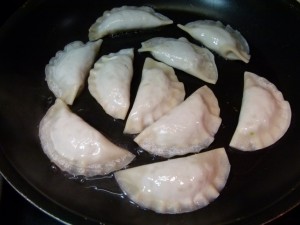
    In a large non-stick skillet place 2 tablespoons of water and 1 tablespoon of vegetable or canola oil over medium heat and add dumplings to pan. Try not to have any edges touch or they may stick together, but get as many in the pan as you can. Reduce heat to low, cover, and let steam for about 5 minutes, shaking the pan every minute or two to keep them from sticking.


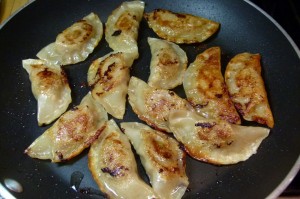
    When the water has evaporated after about 5 minutes, uncover pan, add another tablespoon of oil, and continue to cook, shaking pan occasionally to keep from sticking, until the dumplings are brown on one side. You can remove them from the pan now, or if you prefer, turn them and brown on the other side as well.


    Remove the dumplings when finished briefly to a paper towel-covered plate, and then serve hot with dipping sauce.


    Cooks’ note: Dumplings can be formed (but not cooked) 2 hours ahead and chilled; or 1 month ahead and frozen on a tray, then transferred to a freezer bag. Cook frozen dumplings in 3 or 4 batches, 7 to 8 minutes per batch.

    Lantern Dumpling Sauce

    From Gourmet, October, 2008, adapted slightly by Crafty Farm Girl, October, 2011

    The rich flavors of the pork and chive dumplings shouldn’t be drowned out by a heavy sauce. This quick one is all you need.

      • 1/2 cup soy sauce
      • 1/3 cup water
      • 1/2 tablespoon sake wine
      • 1/8 teaspoon Asian sesame oil
      • 1 garlic clove, smashed3 (2-inch) dried red chiles, wiped clean and cut into thirds
      • 1/2 teaspoon grated ginger
      • 1/4 teaspoon hot chile oil
      • 1/8 teaspoon sugar

    Stir together all ingredients and let stand at room temperature at least 2 hours and up to 2 days.


    Print This Recipe Print This Recipe

    Fried Mashed Potato Cones & Rings


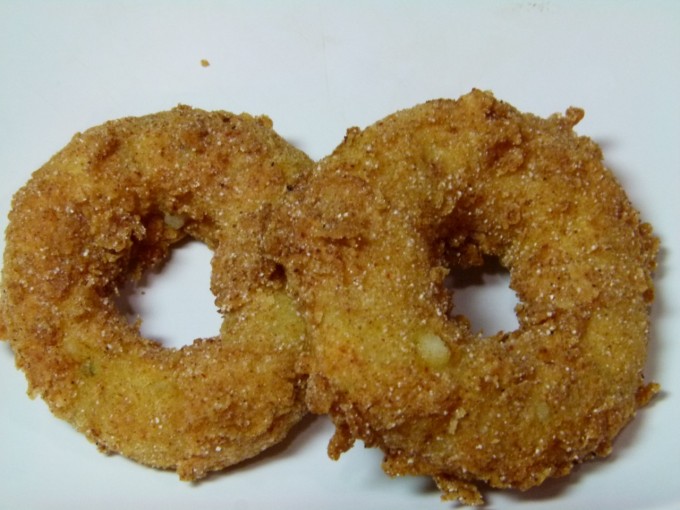
    So there was this awesome looking Pin on Pinterest last week of these potato rings: mashed potatoes rings dredged in seasoned flour and deep fried.

    Be still my heart.

    There is this local deli called Garden Catering that has this lunch special of white meat chicken nuggets and what they call Potato Cones. They’re little cones of mashed potatoes that are fried. The kids and I get them for a treat every once in a while (when Jim’s not looking, and I’m feeling thin enough to justify a meal of fried foods.)

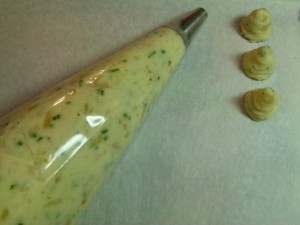
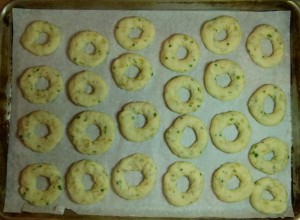
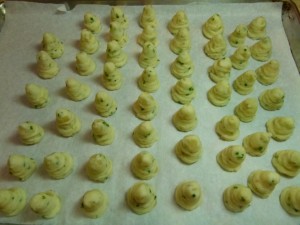
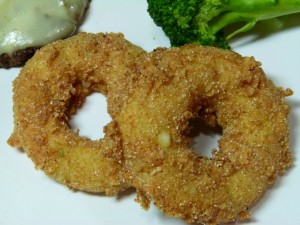
    This recipe looked pretty close to re-creating those potato cones. I tried them yesterday. I made cones and rings. However, the original blog, Spoon Fork Bacon, formed the rings by smoothing the mashed potato mixture out on a sheet pan, freezing it, and then cutting out the rings. It seemed that you could have a lot less waste by simply putting the mixture into a pastry bag and piping them out into rings with a plain tip, so that’s what I tried. I think it worked fine and there was no waste. She also served them with a home-made buttermilk ranch dressing. Since me and my kids are all a bit weird about sauces, we skipped that. We don’t eat our potato cones with sauce, so why should we eat mine with sauce?
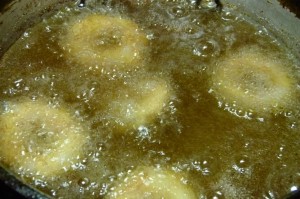
    I have to admit my photos aren’t that great. These weeknights with the kids’ school schedules are a little nuts. By the time I get home I’m practically throwing food in a pan — even if it’s all been prepped ahead of time. I will also admit to my oil being too hot…I went out to lock up the farm while it was heating and all the animals were being complete knuckleheads so it took much longer than expected. I think the proper temperature oil would have greatly improved their appearance.

    She stresses two things she discovered while making them: 1) the importance of having the potatoes completely coated; no holes please, or the mashed potatoes will pour out of the holes once they hit the oil. 2) the importance of the rings being frozen solid before entering the oil. I also found that the seasoning with salt was absolutely essential. You might even want to add a bit to the seasoning mix; I think I will next time.

    Potato Rings with Homemade Buttermilk Ranch Dipping Sauce

    Original recipe from Spoon, Fork, Bacon. Modified slightly by Crafty Farm Girl, October, 2011.

    Makes 32-40

    Ingredients:
    3 large russet potatoes, cleaned peeled and chopped into large pieces
    1/3 cup plus 2 tablespoons heavy cream
    ¼ cup unsalted butter (½ stick), softened
    ½ caramelized yellow onions, chopped
    3 tablespoons chives, thinly sliced
    2/3 cup  all purpose flour
    1/3 cup rice flour
    2 tablespoons garlic powder
    1 tablespoon onion powder
    1 tablespoon smoked paprika
    2 eggs, lightly beaten
    salt and pepper to taste
    2 quarts vegetable oil
    buttermilk ranch sauce:

    1/2 cup light mayonnaise
    ¼ cup low-fat buttermilk
    1 ½ teaspoons fresh lemon juice
    2 tablespoons flat leaf parsley, minced
    1 tablespoon chives, thinly sliced
    1 teaspoons dill, minced
    ½ teaspoon dry mustard
    salt and pepper to taste

    Directions:
    1. Place the potatoes in a large pot and fill with water.
    2. Bring to a boil on medium-high heat and cook until the potatoes are fork tender, a20-25 minutes.
    3. Drain the potatoes into a colander and pour back into the pot. Mash with a potato masher or a ricer, as I used.


    4. Pour the cream and butter over the potatoes and mash with a potato masher until smooth (Add more cream 1 tablespoon at a time, if needed).


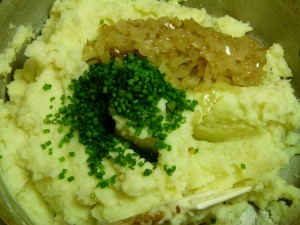
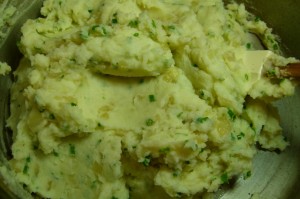
    5. Fold in the caramelized onions and chives until fully incorporated. Season with salt and pepper and stir.


    6. put the potato mixture into a large pastry bag fitted with a large plain round tip. I used a #806 tip.
    7. Now pipe the mixture onto parchment-lined baking sheets into either rings or cones, depending on which shape you desire — or both. You can space them closely together. I found I had to smooth down the ‘point’ of the cones a bit when I was done. When finished, loosely cover with plastic wrap and freeze completely, 4-6 hours.


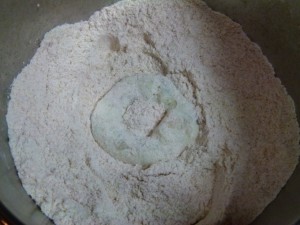
    8. While the potato shapes freeze, place both flours, garlic powder, onion powder and smoked paprika into a shallow dish and stir together until fully combined. Set aside.
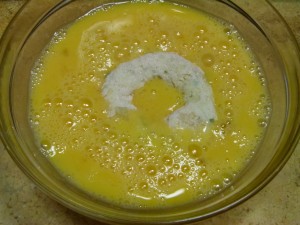
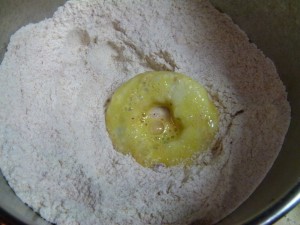
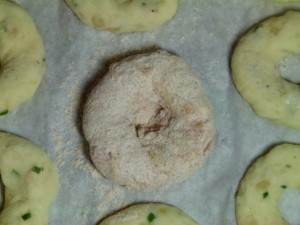
    9. Dip the potato rings into the flour mixture followed by the egg mixture and finally again in the flour mixture (make sure the rings are completely coated).


    10. Place the coated rings onto a clean, parchment-lined sheet pan and place back in the freezer and allow the rings to re-freeze completely, 1/2 an hour to an hour.


    11. Once the potato rings are frozen, preheat the oil, in a large pot, to 375°F.
    12. While the oil heats up, place the ingredients for the dipping sauce into a mixing bowl and whisk together. Season with salt and pepper.
    13. When the oil is hot, carefully drop a few of the rings into the oil and fry for 4-6 minutes or until golden brown.


    14. Drain onto a large plate lined with paper towels and season with salt with pepper.
    15. Repeat with the remaining potato rings and serve immediately with the dipping sauce.

    Fried Mashed Potato Rings


    Print This Recipe Print This Recipe