Archives for January 2011

Nothing Goes to Waste

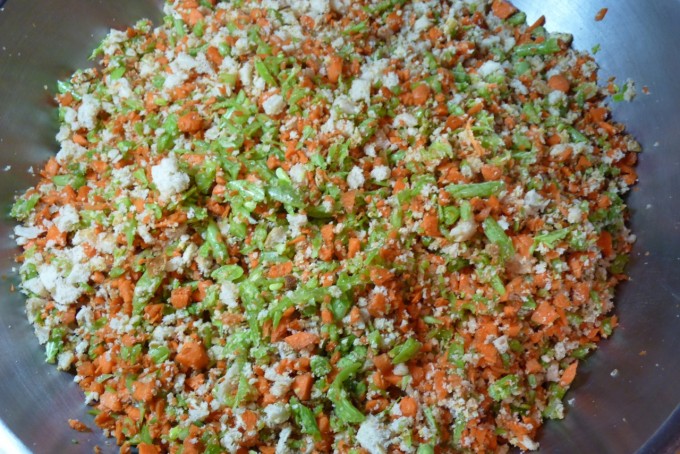
The final product of processed vegetables and bread

One of the great things about having chickens and goats is that you nothing goes to waste. When I’m cooking dinner at night or cooking for a blog post all vegetable and fruit scraps, broccoli stalks, vegetable & potato peelings all go into a bowl for the animals. Every week of so I go through my vegetable & fruit drawers in the fridge and the bread storage area in the pantry and pull out those things that are past their prime. I don’t use moldy bread, but if I’ve bought a new loaf of bread or english muffins and still have some of the old at home, I’ll use that. I also never use really rotten fruit or veggies. In this example I had a big bag of string beans that I’d never gotten around to cooking that were a little bit slimy (I washed them before using) as well as three bags of carrots – 2 of which were getting a little hairy and old looking.

I pull out my cuisinart, chop things up a bit, and pulse them in the food processor to make delicious chicken and goat food. It’s especially nice for them at this time of year when there’s not many bugs around and certainly no green grass to nibble on with all the snow we’ve gotten lately.
Slightly slimy, but washed green beans

A little hairy but perfectly good carrots
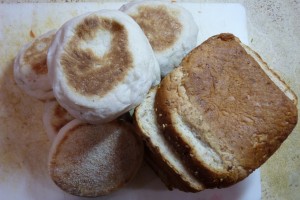

Old english muffins and whole grain bread

I chop things up. Now if I just had goats I would make it much coarser than I do. But since Melina & Cissy are a little on the heavy side, I like to grind mine pretty fine so they have to work harder to eat it. Plus with their pregnancies I don’t want them getting any fatter than they already are! For chickens it needs to be ground pretty fine. You’d be amazed at the size of some things I’ve seen a chicken fit down it’s throat, but I prefer to not make them do this.
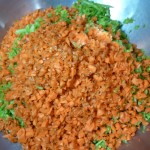
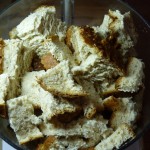
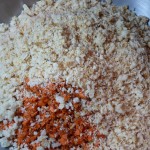
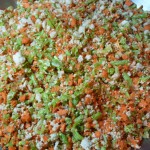
I usually get quite a large bowl of finished feed, so I’ll just stick it in the fridge and once or twice a day take a bowl of it out and throw it around for them.

Everyone comes running when they see me, hoping that I might have some yummy treat for them.
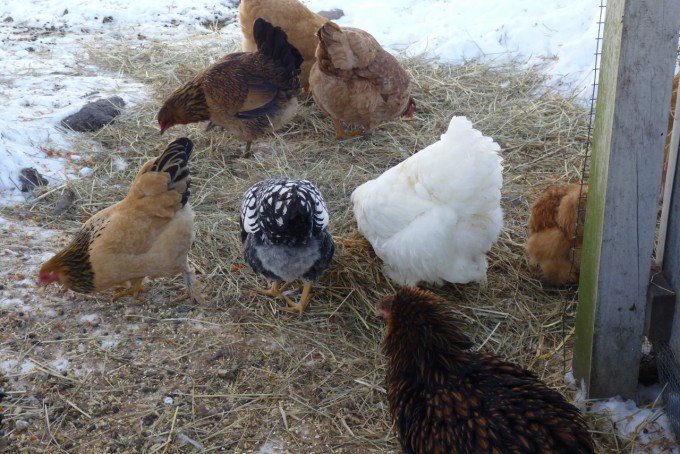
Delicious
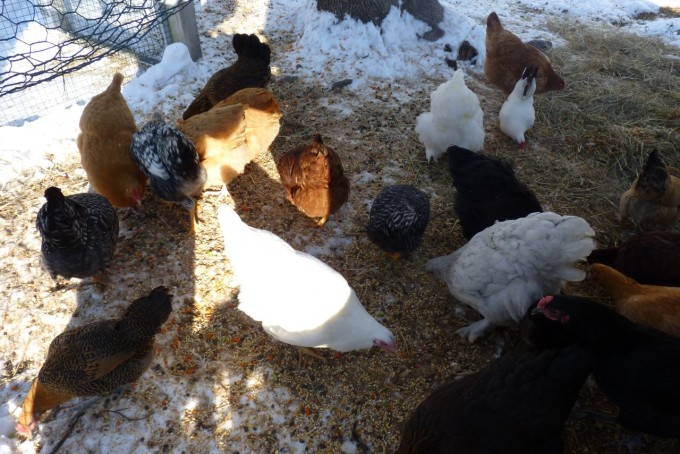

Yummy Treats on a Cold Winter Day
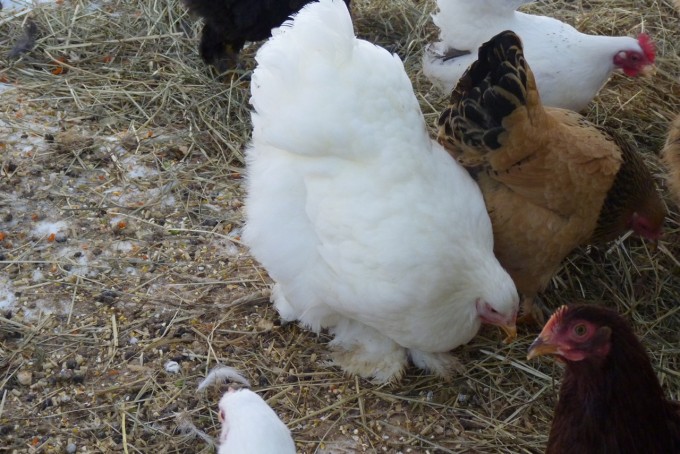

Isn't She Beautiful?
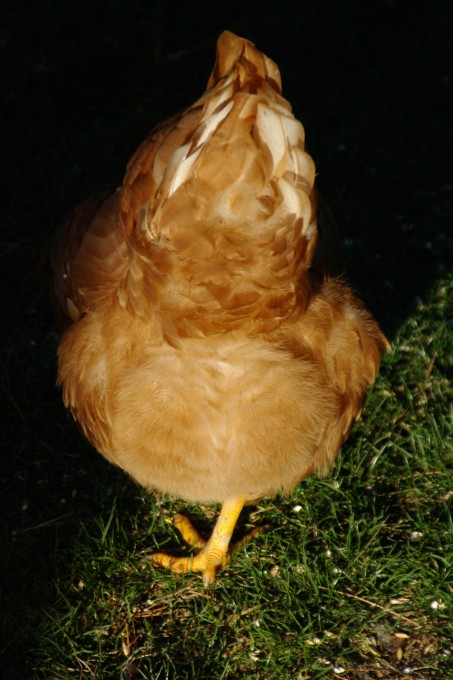
Sun Shining on a Fluffy Chicken Butt

Sun Shining on a Fluffy Chicken Butt

Red Barn with an Apple Tree

I took this photo in Vermont a few years ago when I took Jim away for a birthday surprise.

Infinity Scarf

I’ve seen a lot of people wearing these great looking scarves around lately that kind of twist around their necks and seemed to be one piece. I even found a knitting pattern for one to try, but of course messed it up within the first row or two and gave up (anything beyond a simple scarf or hat and I’m lost when it comes to knitting). The other day I got an email from Craftstylish and there was a pattern for making an infinity scarf (although they called is a Mobius scarf as well).

This was super easy to make, didn’t require a lot of fabric and can be done with so many different fabrics – a soft fleece, a sweater knit, faux fur, or I even made one for Amanda out of a bucle knit. The one issue I did run into is that the pattern called for the fabric to be 72″ long, and that is a very difficult length to find. I think if you want a lot of drape in your scarf you’d need it to be that long, but would probably have to piece to sections together to create that length.

What you will need:

  1. Marking Charlk and ruler
  2. a 72″ long x 21″ wide rectangle of fabric.
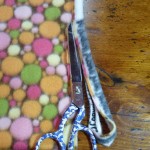
  3. Scissors
  4. Thread
  5. Sewing Machine

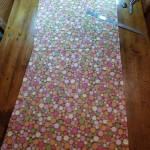
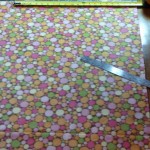
Cut a 72-inch-long by 21-inch-wide rectangle of fabric (see note above about fabric length). Since fabric at stores never seems to be cut quite evenly, I find it safer to order either 5/8 of a yard (22-1/2″) or 2/3 of a yard (24″) just to be safe. When you get the fabric home, lay it out in one long length and fold it in half to get it evenly on center. From that center point you can measure up 11-1/2″ and mark that along several places of your fabric length. Using a ruler draw that line across and cut to get an even 21″ length. The fabric I used for these photos was very straight on one end and quite en-even on the other so I just measured up 21″ and marked along that line.


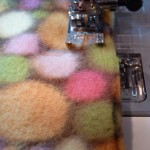
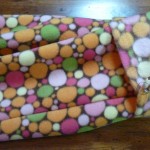
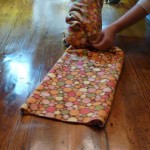
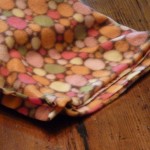
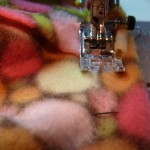
With right sides together and long edges aligned, fold the scarf in half. I cut off the manufacturer’s printed edge too. I also pinned the edges together. Especially with a thicker fabric like a fleece I find the fabric tends to ‘creep’ as you sew and this helps prevent it. machine-sew the long edge with a 1/2-inch-wide seam allowance.

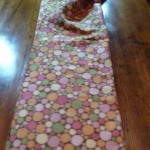
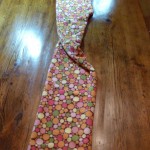
Add a twist. Turn the scarf right side out. Twist one end of the scarf to add a kink in the design.


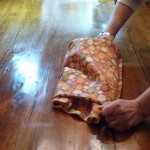
Join the short ends. Fold the scarf in half by pulling it over itself as shown with right sides together and the short raw edges aligned. It will look like a long tube with the fold at one end and the raw edges at the other. Machine-sew around the raw edges with a 1/2-inch-wide seam allowance, leaving a 4-inch-long opening.


Finish the scarf. Turn the scarf right side out through the opening. Hand-sew the opening shut.


Make your scarf as long or as short as you like. Wrap it a few times as shown, or wear it long and loosely draped. If you only use a 60″ length of fabric though you won’t have much of a choice about that – you can get two loops around your neck, but depending on the weight and thickness of fabric you choose, there won’t be too much “loose draping going on”.

Excuse Amanda's appearance here - it was about 10:00 on the night before she was leaving to go back to school from Christmas break and had been packing all day.


Excuse Maia's appearance here - she was on her way to bed when I threw this thing over her neck that I'd just finished sewing. Her hair was so dry and staticky she was practically electricfied.

My Retro Egg Cartons


When I attended the 3rd annual Young Farmer’s Conference in December  one of the most interesting classes that I attended was called “Designing and Running an Animal Welfare Approved Pastured Egg Operation”. It was a really interesting presentation and you can get Animal Welfare Approved certificates for the following species:  Chickens, hogs, beef cattle, dairy cattle, meat sheep, dairy sheep, meat goats, dairy goats, turkeys, ducks & bison. Having this label certifies that you raise your animals only on pasture or range and that you treat your animals with respect and compassion. It is also USDA approved. The organization charges nothing for their services. Once they determine that your farm – big or small – fits their criteria they will come out and audit your farm. If your farm meets their requirements they will help you with label design and any other materials that you require and help you every step of the way.

There is significant data that shows that people are willing to pay more for something that they know is humanely raised, even if it ends up on their dinner table. I’m a meat eater. I don’t see that changing any time soon. However, I am willing to pay more money for a product that I know was raised in a humane way and slaughtered compassionately (is that an oxymoron?). And don’t fool yourself when you’re buying your eggs in the grocery store and reach for the “free range eggs”. The USDA guidelines for free-range eggs is that “the chickens have a door that allows them access to the outside.” At a large-scale factory farm in a barn with thousands of chickens one door might allow them the ‘opportunity’ to go outside, but that doesn’t mean that they’ll have access to grass, weed seeds or insects; It may only be a concrete slab. For chickens to produce the most healthful and flavorful eggs and meat, they need to be able to eat a variety of green plants, seeds and bugs. Unfortunately, you can’t always tell how the chickens live by reading the package in a store. I’d encourage you to find a local farmer who raises poultry on pasture. You can read more information on this on Mother Earth News. One day (if you don’t own your own chickens), pick some up at your local farmer’s market and compare it to your normal run-of-the-mill grocery store egg. Look at the difference in the yolk color. factory farmed eggs’ yolks are a very pale yellow. Fresh pasture-raised eggs are a vibrant orange color. pastured eggs we offer have more beta carotene, vitamin A, vitamin E and Omega-3’s and less cholesterol and saturated fat than factory farm eggs

One of the lovely presenters at this class was a woman named Georgia who owned Kinderhook Farm in Ghent, New York. She was so enthusiastic about her farm and the program. She raises laying chickens, beef cattle and sheep on a 100% grass and legume diet and all of her animals are Animal Welfare Approved. She was currently working on adding meat chickens to her operation. Her farm is definitely someplace I will visit this spring to see how she runs everything.

She had on display the egg cartons that she was using for her eggs that she sold directly from her farm store. They were apparently a retro design of an old-style egg carton and I just loved the different shape. I thought they would stand out from other cartons. She bought them on EggCartons.com so I of course ran home and ordered some.


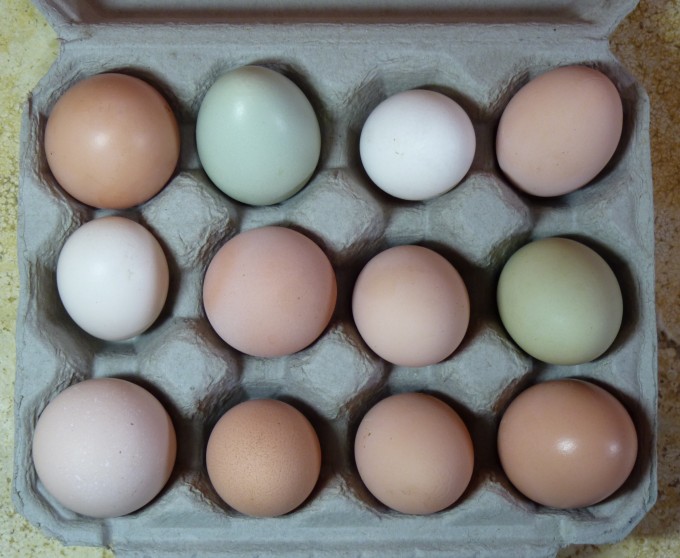
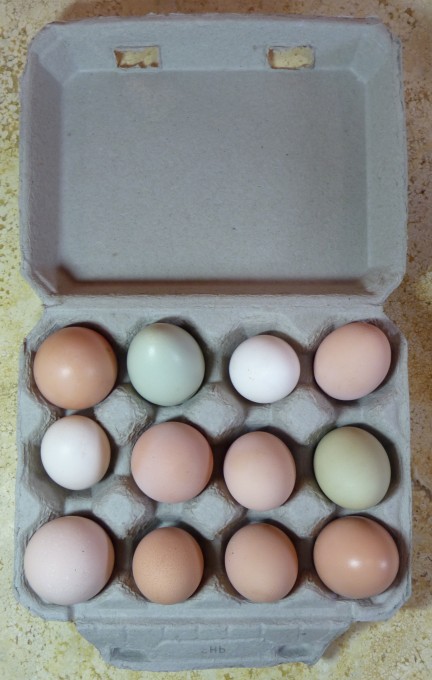
By this summer I will be selling my eggs. I’ve got 27 female chickens that are laying (although it’s always pretty slow in the winter months). Come April or so I’ll be drowning in eggs and am excited to be able to offer them for sale finally. The big question that I haven’t figured out the answer to is how to package them. I have a fair amount of bantam chickens that lay tiny eggs, and the rest of the chickens lay what would be considered “large” eggs by egg classification standards in colors of white, brown and varying shades of blue. I will most likely do some as mixed boxes of varying size eggs and some of just small bantam eggs. They certainly all taste the same.


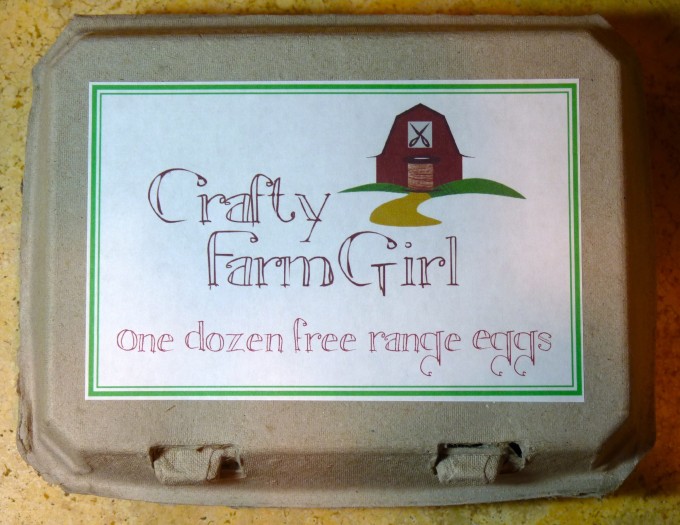
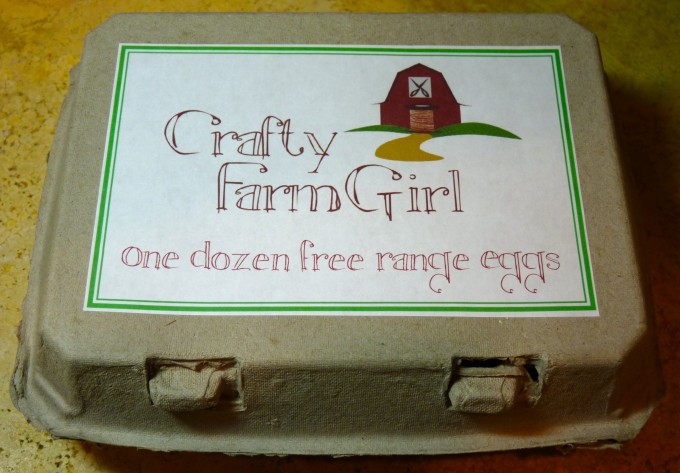
This is the design I came up for a label. This is just a rough idea as I’m not sure what the proper wording should be yet.

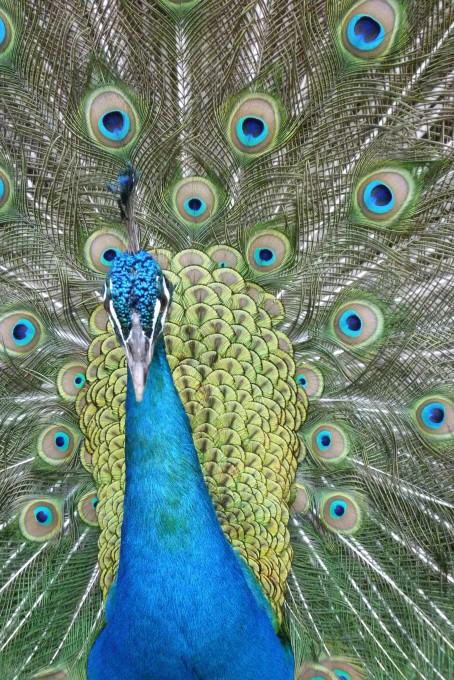
Peacock in Costa Rica

A Peacock in Costa Rica

It’s Who I Am

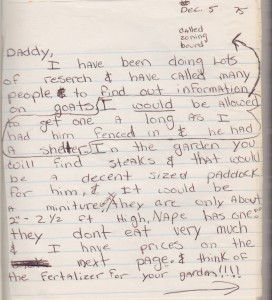
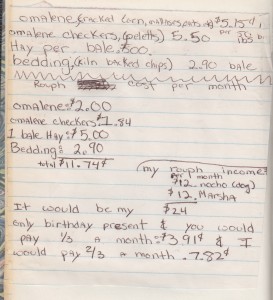
Below is an actual scan of diary pages of mine from when I was 12 years old. I was living with my father at the time and we weren’t on the best of terms so our therapist (whom I despised) recommended that we keep a journal with each other. When I wanted to discuss something with him I would write it down and leave it on his pillow. He would write back to me and leave the journal on my pillow. All these years later I would still prefer to write down my feelings regarding a difficult issue than to discuss so it face to face. I’m getting better at it, but it’s taken a long time.


When I read this now I am horrified at how bad my english and grammar was at 12!

But, the point is is that at 12 years old I had, on my own, called the zoning board in Stamford (where I grew up) and gotten zoning permission to own a goat where we lived. On my own I called feed stores and researched the cost of feed and hay. I had researched breeders. All of this was presented to my father in this journal that we kept.

There was no response to this entry in our journal to show you, so I’m guessing he just told me no directly to my face — no goat for me.

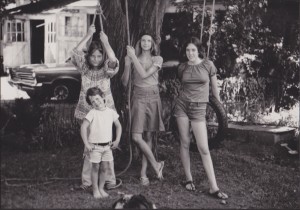
I’m on the left with my stepbrother in front of me, my sister in the middle and our friend Hilary on the right


All through my childhood I loved animals. We always had a dog, but they were mutts that my grandmother would pick up and bring to us (whether we wanted them or not). We had a vicious pekinese named Fancy forever. We had a dachsund that peed on the floor all the time named Rocky. We always had a cat or two. Back in those days there were no leash laws, so pity any dog that wandered too close to my house. I would snatch him up and carry him home and beg to keep him. I never was allowed to of course, as they already had one and just happened be walking by the house. This happened time and time again.

I also had a lot of other animals. I had rabbits, guinea pigs, a pair of mice that turned into a family of mice with babies that turned into multiple families with babies. I think by the time I got rid of them all the count was up to 76. I had finches for a long time. I loved the quiet peeping noises they made and they would lay little eggs for me occasionally but would never sit on them. I had doves that made the most delightful cooing noise (which was probably why I was so smitten with Carrie, our injured pigeon last year).

About 10 years ago I proposed getting some chickens to Jim. I’d wanted chickens for years. We had an old playhouse out in the yard that the kids never used that would be perfect as a chicken coop. I would do all of the work in taking care of them.

Jim told me no. We would not be having any chickens.

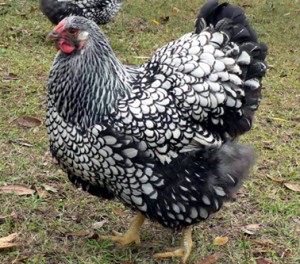
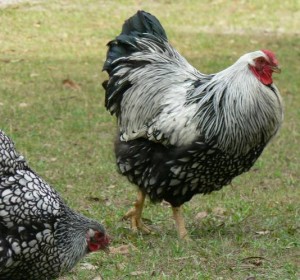
I ordered 25 day-old chicks from Murray McMurray hatchery anyway. I picked Silver Laced Wyandotte’s because they were beautiful and were good egg layers.


I knew what I was doing was wrong. Jim had said no. (By the way, we’re working on that whole ‘getting approval’ situation – and the ‘me going behind his back and doing things anyway’ through therapy) I carefully cut boards to fit into the windows of the chicken coop to hide the fact that there was a heat lamp with baby chicks in there. I got away with it for a few weeks before Jim figured it out — then the feathers really flew.

I got to keep the chickens in the end, and true to my word Jim does not have to care for them. He’s even come to grown quite fond of the chickens over the years and really loves the fresh eggs. He enjoys having watching them wander around the yard looking for tasty bugs and they have an odd habit of going up and pecking on his home office door, like they want to come in.

I wish i’d kept count of how many chickens we’ve actually had over the years. We’ve lost so many to predators. We’ve lost chickens to dogs, fox, raccoons, possum, skunks and who knows what else. Sometimes we’ll lose one. Sometimes we’ll lose many. It was heartbreaking at first, and it still is, but I have learned it up to the circle of life and have gotten a bit of a farming mentality about it.

I was born an animal lover. I’m going to explore a little bit of what’s happened along the way and how that’s evolved in coming posts.

Coconut Snowballs

I loved Hostess Coconut Snowballs as a kid. I didn’t get to eat them very often, but they were always a real treat when I got them.


Since my coconut cake is one of my favorite desserts, I decided to try and remake the old classic Hostess Snowballs in a more adult version. I’m quite certain mine also had a whole lot less chemicals in them that the Hostess variety – I think the shelf life on those things is l like 6 months or something scary like that!

This recipe does require one piece of special fairly expensive equipment; half-round silicone baking molds. Luckily I made these for an event that I could write them off to my husband’s business. They can be purchased at a professional baking supply store. I ordered mine online at J.B. Prince. They only came in a full-sheet pan size which is so large that only professional restaurants have ovens that big. I simply cut the thing in half and they fit onto my half-sheet sized pans perfectly.

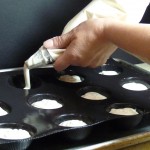
Starting with the same recipe I use for my coconut cake which I originally posted on March 7th, 2010 you will follow the cake directions exactly as shown in that original post. However, when your batter is done you will pour it into a pastry bag fitted with a large plain round tip. This is how I filled the silicone molds and found it easy and neat. You could also just use a spoon or spouted measuring cup as well.


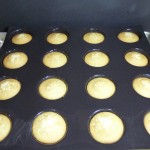
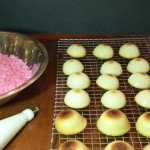
Place the silicone molds onto your baking sheet. They are very flexible so make sure that they are sitting as flat and straight as possible. Fill each mold about 3/4 full with the batter and bake until lightly golden brown, about 10-14 minutes. You don’t want to let them get too brown on top. The molds are small and if you overcook them they will get dry.

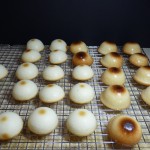
When done remove from the oven and allow to cool for a few minutes before lifting the silicone mats off of the sheet pans and placing on a wire rack to finish cooling. When cool you simply push them out of the silicone pans and they easily release.

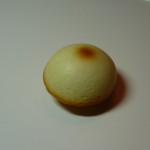
My kids had a great time with the way they came out. For some reason they all had dark brown tops so from then on we called them “coconut boobies’.


You will need less buttercream for these than you would for the original cake, so although the ingredients stay the same, use the following ingredient measurements.

Coconut Buttercream

4 large egg whites
1 cup granulated sugar
pinch table salt
1 pound unsalted butter (4 sticks), each stick cut into pieces, softened but still cool
1/4 cup cream of coconut
1 teaspoon coconut extract
1 teaspoon vanilla extract

Following the original recipe on the link (above) to make the icing.

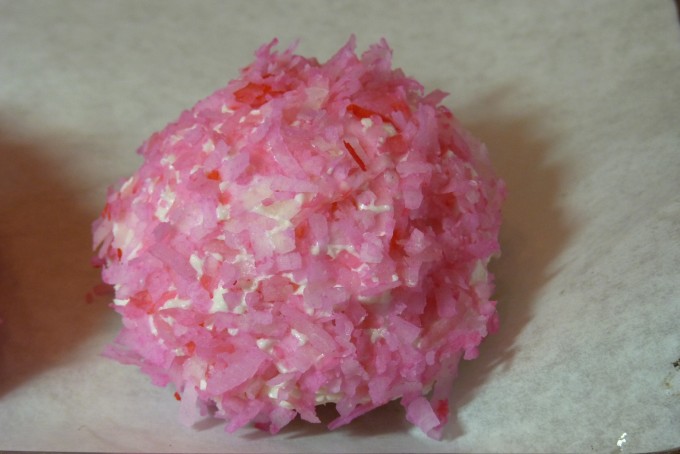
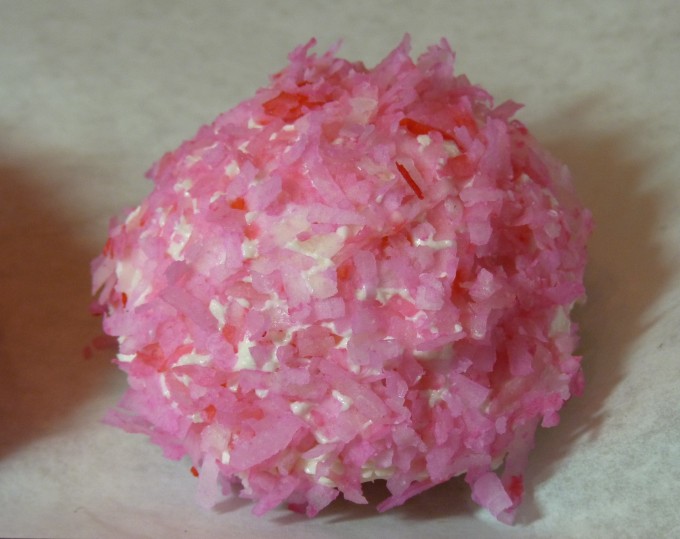
For the coconut topping you will need one 14 oz. bag of sweetened shredded coconut. My preferred brand for this is Baker’s brand as I find it much moister than other brands I’ve tried. Pour the coconut into a large bowl and with your hands toss it around and break apart any clumps. Using some pink paste food coloring if you  have it, if not use liquid food coloring, and put a small amount on a toothpick or the tip of a knife and brush it onto the coconut. Using your (clean) hands toss the coconut around rubbing it together to get the coloring to evenly distribute and color the coconut. You can add more if it’s not pink enough. Keep working it together with your hands until you’ve got the color you want and all of the color is evenly distributed. You also don’t have to make them pink; make them red for Valentine’s Day or green for St. Patrick’s Day.


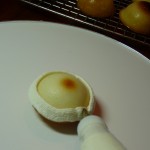
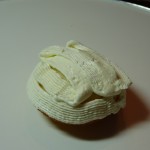
Now place your icing in a pastry bag with really any tip I used a rather flat one with a serrated top but any smaller tip will do. If you don’t have a pastry bag, then you can ice them by hand with a knife or small spatula. Holding them carefully on the edges you want to get a fairly even coating of icing around the entire half-round.


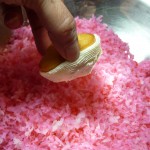
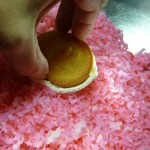
Then, holding the cake as close to the edges as possible you want to place it into the colored shredded coconut. You want to push it in a little to get the icing evenly distributed and the coconut evenly covered. Roll it around a bit until you’ve got it all covered in the coconut.


These were so amazingly delicious. They were soft and coconutty and so much better than the hostess variety.
They were a little complicated to make, but if you’ve got an upcoming event or party that calls for a special dessert hors d’oeuvre this is definitely a dessert that both kids and adults enjoyed.

Print This Recipe Print This Recipe

Sunset in the Badlands

A Stunning Sunset in The Badlands National Park in South Dakota

This photo was taken on The Crafty Farm Sister’s Great Plains Road Trip last May. You can read all about that day of the trip if you click here.

Cocktail Party Flowers

Because I’m not quite right in the head, or because I felt like I’d never have a life after having twins, right after they were born I signed myself up for the certificate course in floral design at the New York Botanical Gardens. It took a year of part-time courses and an internship at a floral shop to complete, but I did it. I was pretty good at it too.


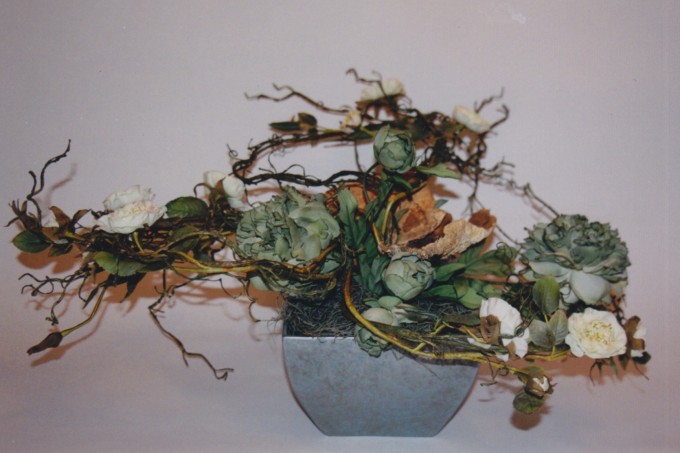
Once I graduated I even attended a TeleFlora class in Oklahoma City for a several day course for professionals taught by a woman named Hitomi Gilliam who is one of the most well-known floral designers in the industry known for her very unusual, asian-inspired arrangements. I have a preference for non-traditional arrangements, so I really enjoyed the course and learned a ton. Here are some of the arrangements I either made at the course or after from what I learned.


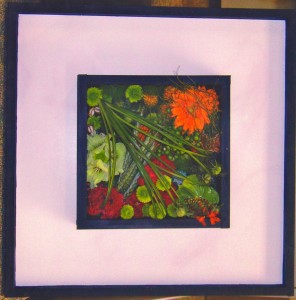
A Framed Arrangement I Created


While I never worked at a flower shop, I did freelance arrangements for parties and events and had regular clients that I delivered to. I finally decided that the money I was making didn’t justify the time I was putting into it and gave it up. I still, however, really enjoy doing it.

There was a wholesale flower market in the next town that I’d used since way back when I worked for Martha Stewart. Basically they eliminated the need for local professionals to trek into the New York flower markets. If you had special flower needs you could order them in advance, but they always had a large assortment of standard flowers available at the ready.

So, for the cocktail party in November I of course planned on doing the flower arrangements as well as all of the cooking myself. Two days before the party I headed up to the wholesale market so I would have the necessary time to prep them and have the blooms open to perfection. Imagine my dismay when I discovered that they’d gone out of business! I can guess that the recession hit the floral business pretty hard — it was hard enough to make money in that business when things were booming. I felt bad for all of my friends there and wonder what they are doing now. Flowers were all they knew. They had all worked there as long as I’d been going there, which now that I think back on was for over 20 years!

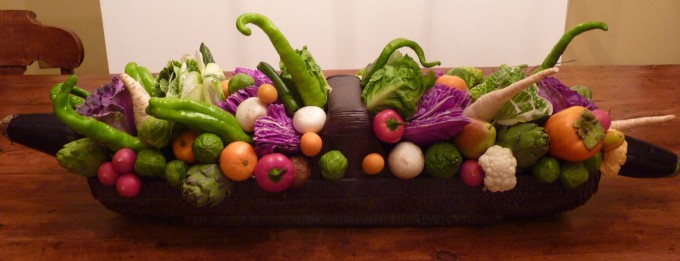
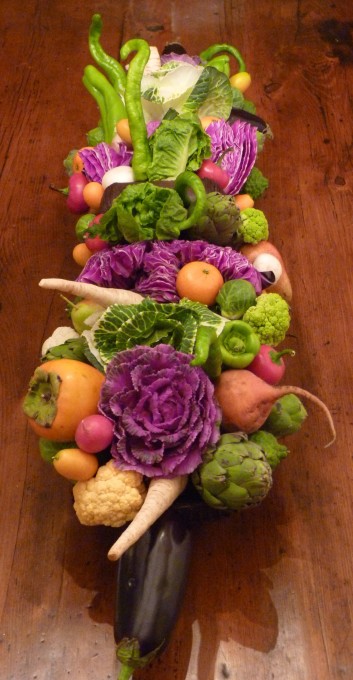
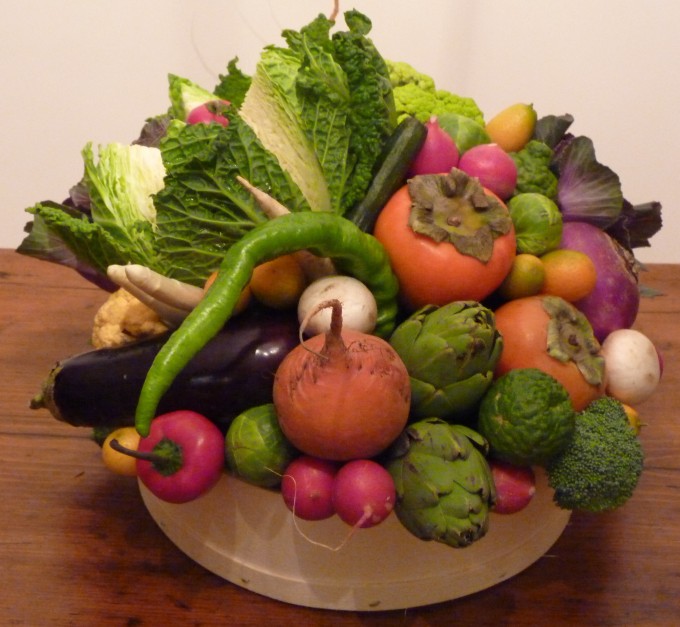
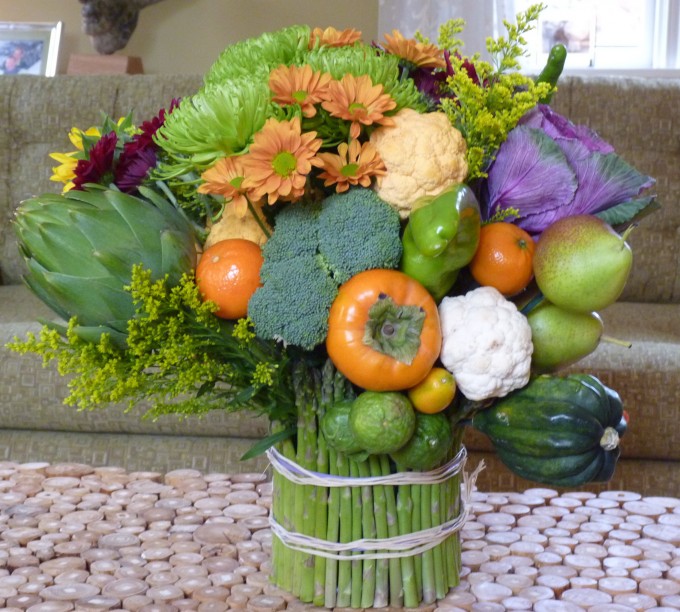
Now I am stuck with no flowers, and I wasn’t going to go to a retail florist to buy them as it would be prohibitively expensive to create the things I had planned. I quickly decided that I would change to vegetable and fruit arrangements. I love working with alternative things like that in arrangements. I did buy a few flowers to use, but primarily they were done with vegetables.

Making a traditional arrangement when you know what you’re doing is pretty easy. You start with your main flowers, then fill in with “filler” flowers and greenery. Not very time consuming. The quality of the flowers has a lot more to do with the beauty of an arrangement than the time it takes to assemble them.

Not so I quickly discovered with arrangements made entirely of vegetables and fruit. While I’ve made many arrangements that had vegetables or fruit in them, these were, with the exception of a few flowers I’d purchase, entirely made from fruits and vegetables. Every vegetable had to be wired or hot glued onto a floral pick and the assembly time was huge. However, the final arrangements were quite lovely.


They were fun to make, but extremely time-consuming. Which probably explains why half of the hors d’oeuvres I’d planned didn’t get made; I simply ran out of time.