Professional framing is SO expensive, yet I love the look of a custom frame job. Unless it’s something really unusual or you are looking for an unusual frame, I’ve found it’s really easy to create a custom look on your own.
I bought these two prints of a rooster and a nest off of Etsy. I love how they are printed on real pages from an old dictionary. I wanted them framed for my one-day-it-will-be-built office. I bought two off-the-shelf frames from my local Joann’s Crafts store and then I went to the art supply store and bought a few pieces of art paper that I thought might work well with the two prints. I had a bunch of matting material from a mis-order a few years ago, so I didn’t need that, but you’d need a large piece of either matting board, really high-quality poster board (you might need a few layers if you used this) or foam core. You’ll also need a good spray glue like Super 77, a sharp exacto knife, a straight-edge or ruler, and a cutting mat.
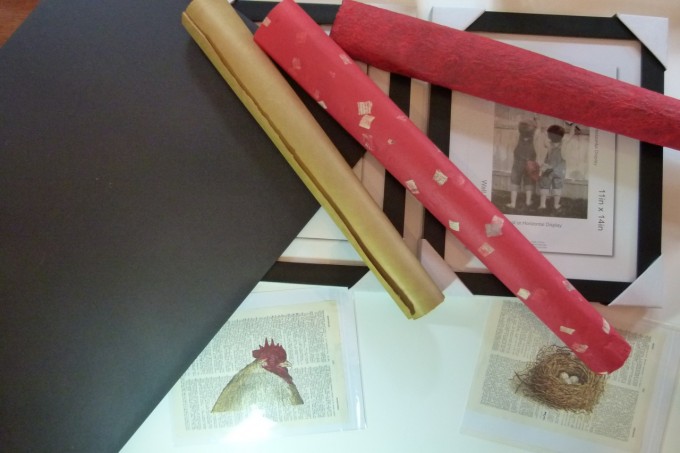
First take the frame apart. Then I just take the cardboard that’s in the frame and use that as a guide to cut my own mat. (Note that if it’s not cut to a size that fits well to the inside of the frame you’ll have to measure it and cut it out that way.) Lay it out on the matting material, trace it with a pencil, and then use your straight-edge and knife to cut it out. Now you need to measure how large an area you need to cut out to frame your print. In my case it was 8″ wide by 5 1/8″ tall.
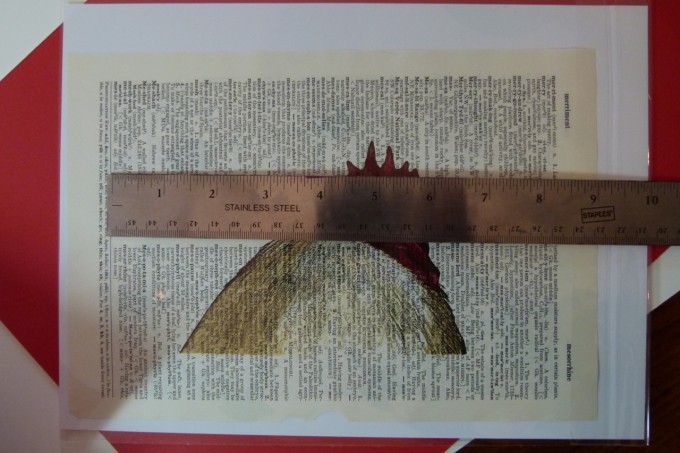
I measured the mat to get the exact center and drew the center lines lightly on the mat. Then I measure out from the centerpoints to get the correct mat opening perfectly on center. Cut this opening out with your straightedge and knife as well.
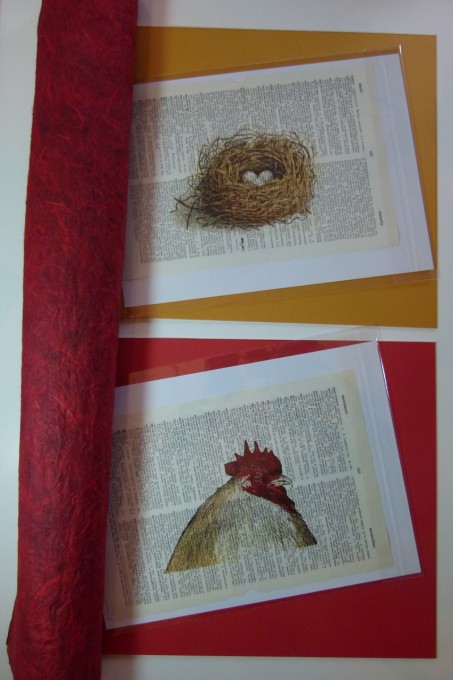
Lay all of the items out and choose what paper you like best and cut the paper so you have at least an inch of overhang around the edge of the mat. Then lay your mat on the wrong side of the paper and cut out the opening for the print leaving a fairly large border of paper. This just makes it easier than cutting it later when it’s covered with sticky glue. Also cut a length of the same paper about 1-1/2″ x 6″ long.
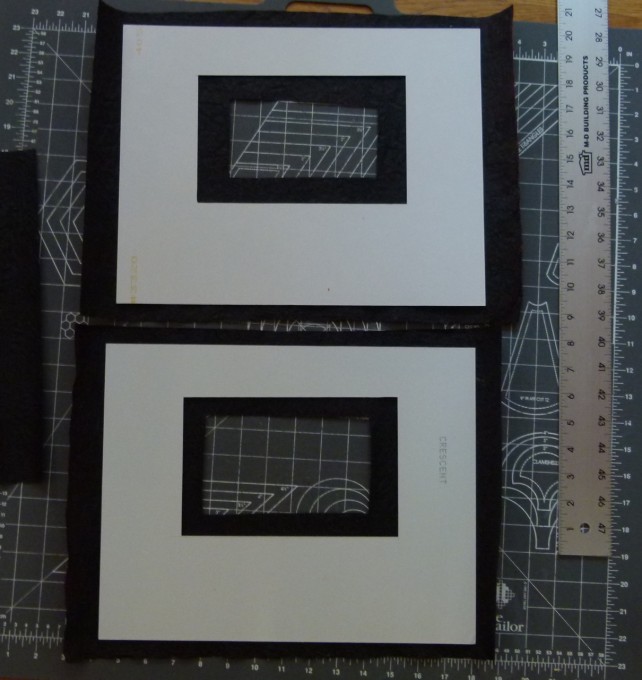
In a protected area spray the glue on the wrong side of the art paper to coat well. First, cut the small piece of art paper into 8 strips of about equal length. Wrap these strips at the corners of the prints. Then, starting on one end and smoothing as you move up, adhere to art paper to the mat. Use your exacto knife to cut into the corners of the art paper in the print opening and fold these flaps to the back of the mat.
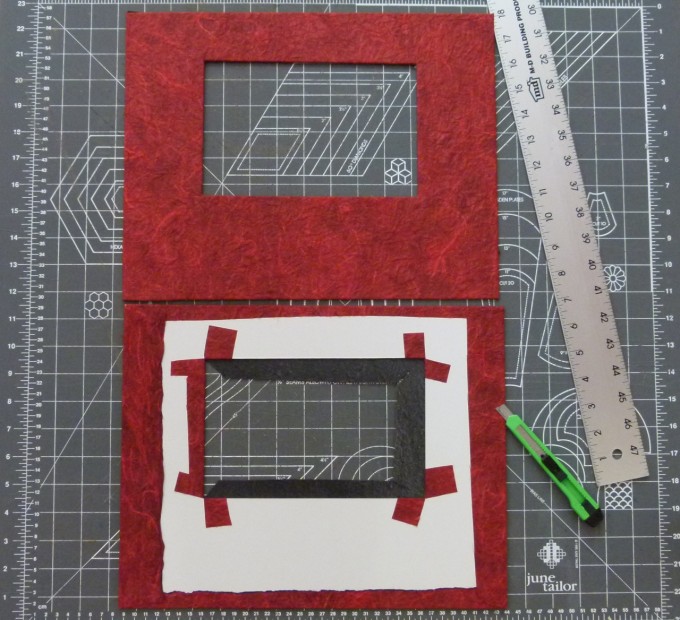
Place your print in the back of the mat and tape it down when you’ve got it positioned correctly. Using a lint-free cloth and glass cleaner, clean your frame glass really well. Insert the mat and print into the mat and reassemble the frame.
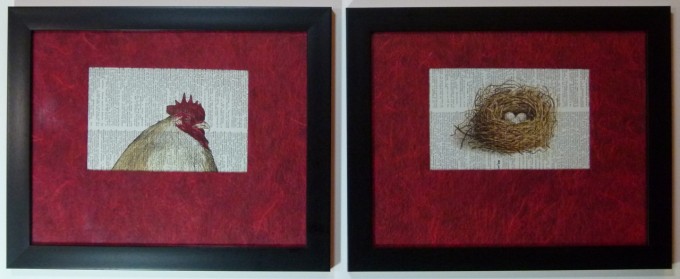
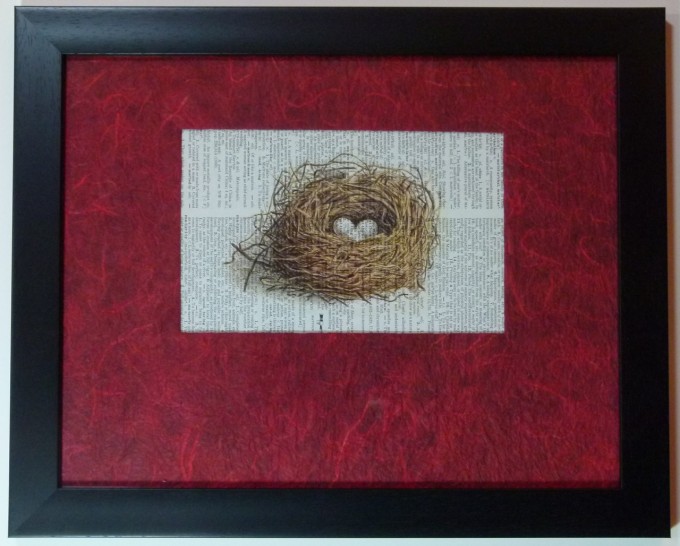
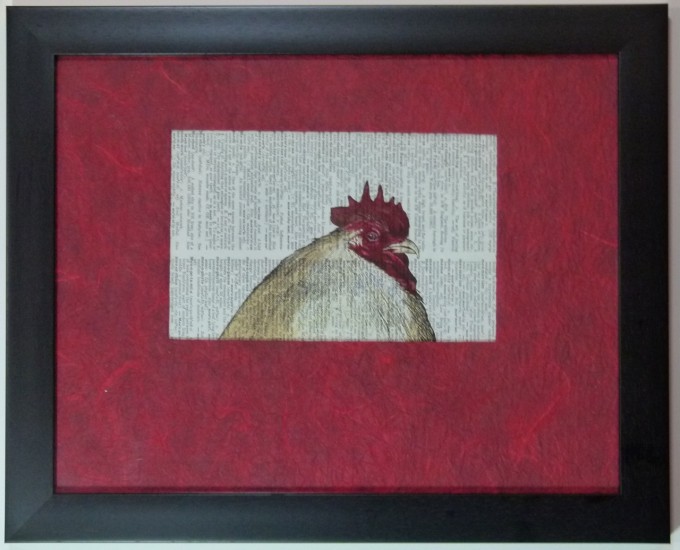
Unfortunately this chicken was printed slightly off so I had to choose between having the dictionary words straight or the chicken straight. It's hard to notice though.
It’s that easy. Professional looking matted prints for a fraction of the price.
Speak Your Mind