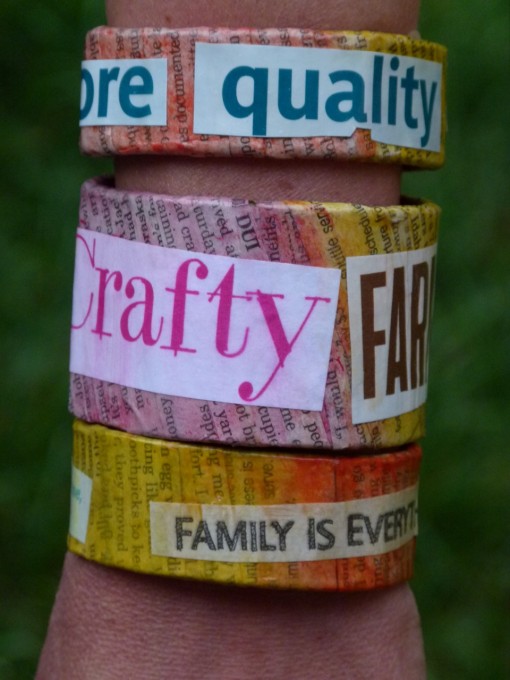
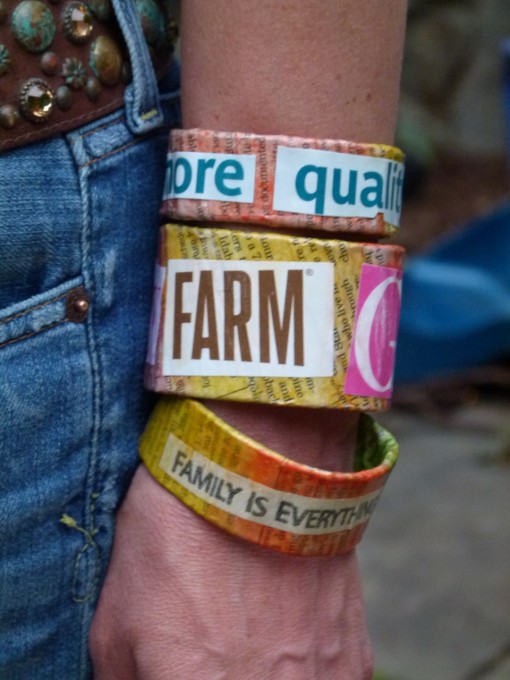
In an effort to find ways to keep my bored girls entertained these days, I entered ‘teen craft projects’ on Pinterest and came across the instructions to make these cute bangle bracelets on Alma Stoller’s blog. They looked easy enough and I happened to have all of the supplies on hand. I did, however, go out and buy more supplies in duplicate as I now plan on sending each girl off to camp with the necessary supplies for her and her cabin-mates to make their own. It seemed like a great project for a rainy day.
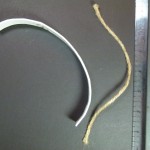
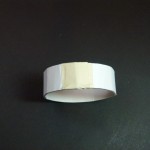
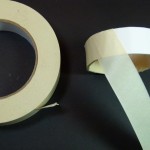
I took posterboard and cut it to three different widths, 1″, 1-1/2″, and 1-3/4″. You can cut them to any width you want your bracelets to be. Then I took a piece of string and scrunched my hand up like I was trying to get a tight bangle bracelet on and measured that distance, cutting the string to that length. I used this string to measure how long to cut the posterboard strips. Starting at one end, gently bend the strip into a circle. The posterboard I used was quite thick, so it did some cracking, but I found that doing it gently this way worked best. Then, using good-quality masking tape, take a piece a few inches long, and holding the strip together to form the bracelet, keeping the seam as tight as possible, wrap the masking tape around the seam several times to join it tightly together. I never did figure out how to keep it from getting that slight “teardrop” shape at the seam joint, but it wasn’t too bad. Then, using longer strips of masking tape, maybe 5″-8″ long (depending on the width of your bracelet), carefully wrap the entire bracelet in masking tape, covering the cardboard completely and tightly sealing each strip to the cardboard with your fingernail if needed.
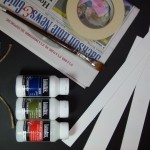
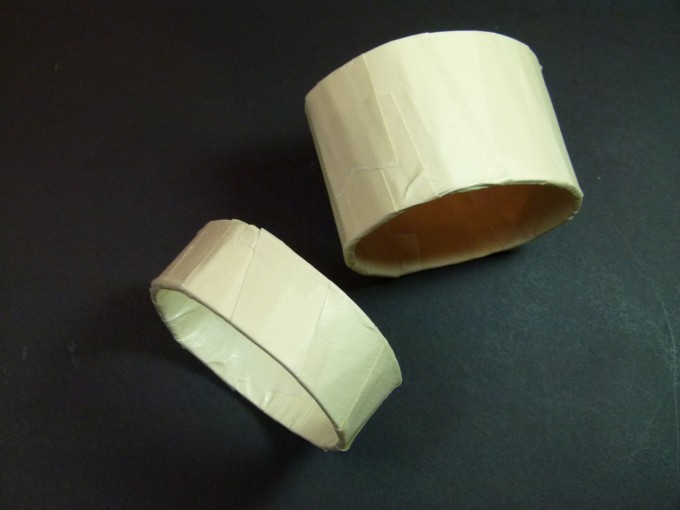
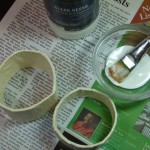
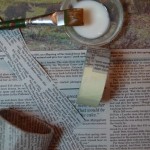
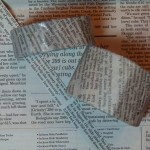
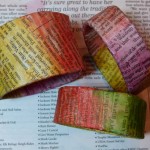
Paint the masking tape-covered bracelet with a goat of gesso and let it dry completely. When the gesso is dry, cut strips of newspapers, paint an area of the bracelet inside and out with gel medium and then paint a strip of newspaper on both sides with the gel medium and carefully wrap the newspaper strip around the bracelet, gluing it down to the bracelet as you go along. Once the strip is completely wrapped around, apply another light coat of gel medium and move on to the next area with the next strip. Completely cover the bracelet in this fashion and give it a final coat of gel medium and allow to dry thoroughly. When the bracelet is dry you can paint it. I wanted the newspaper to show through the paint, so I used watercolors, but you can use craft paint for an opaque look or water the paint down for a more transparent color.
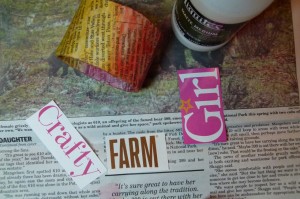
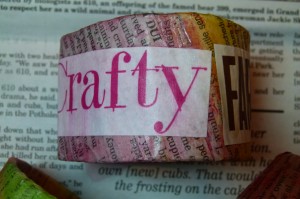
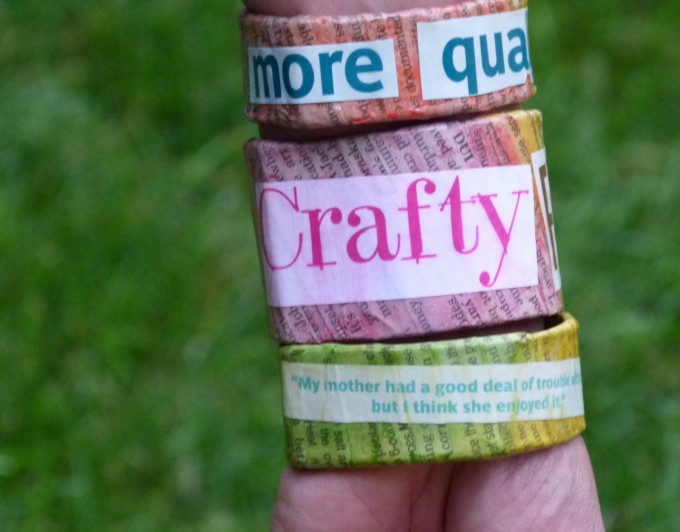
I went through magazines to cut out words or phrases that I liked. You can use magazines, newspapers, or print your own off the computer. Remember thought that if you are printing off the computer the ink will probably run when you apply the gel medium. I had to print out the ‘Crafty’ for my largest bracelet, and the pink ink did run a bit. I don’t mind the way it looks though. Using the gel medium again, ‘glue’ the words or phrases onto your bracelet, pressing them down onto the bracelet to make sure they are adhered well and applying a final layer of gel medium. Allow to dry completely before applying your finish coat. I propped them up on the necks of bottles so they dried evenly all around.
Once the gel medium is completely dry, apply the finish coat of gloss medium, Diamond Glaze or resin. Allow to dry thoroughly.
That’s all there is too it. Now you (or your kids) will have unique bracelets to wear all summer long.
 Print This Recipe
Speak Your Mind