Two summers ago I took a quilting class at the little fabric store in Jackson, WY. With the long winters in Wyoming, a lot of women quilt to pass the time I guess. I was a complete novice, but I learned the basics. And, since I guess everybody else in town already knew how to quilt, I was the only one that signed up for the class, so I got private instructions for the whole day!
By far the best thing I took away from that class though was learning about The Big Board ironing board. It’s a large, rectangular ironing board that you stick on top of your current ironing board that makes a much larger surface. Apparently it’s big with quilters, but I’d never seen or heard of such a thing. How brilliant was that?
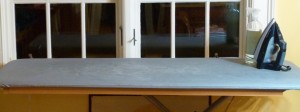
My big board ironing board is just about permanently set up in the eating area of my kitchen.
I’m a bit of an ironing fanatic. I hate my clothing to be wrinkled. Since I normally wear jeans and t-shirts it’s not a huge problem, but I often iron those if they sat in the dryer too long before being folded. I do not like wrinkly clothing. Not on me, not on my kids, and especially not on my sheets. I’m one of those freaks that will iron my sheets if they need it, and I always iron my pillowcases.
So, when I saw this Big Board all I could think of was how much more sheet I could fit on the board at a time, therefore making the entire process take less time. I needed to have one of these. They explained at the fabric store that you could order one directly from Big Board Enterprises for $129.95 complete with pad and cover and shipping, or they had a carpenter that made them locally for a little bit less. Since I needed mine in Connecticut a lot more than I needed one in Wyoming, I measured the one they had and made one at home myself. It was easy and cheaper than buying one. However, I did need to buy the cotton pad and silicone cover still. They had them in the store to purchase, but you can get them off the website. They’ll cost you $76.00 which includes shipping, so the actual board is only costing you about $55. You need to figure if the time and expense of making it yourself is worth it vs. ordering one already assembled.
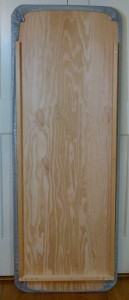
It’s basically a 22 x 59 piece of high grade plywood with three boards placed under it to keep it from sliding around the ironing board. The Big Board’s inside railings are 16″ wide, which fit any standard ironing board. You cover the plywood with a cotton pad and put the silicone ironing cover over those.
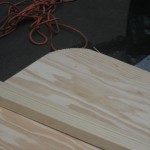
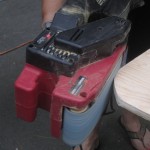
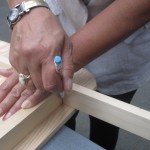
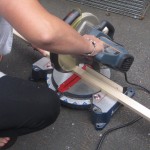
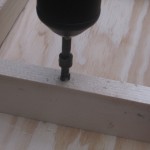
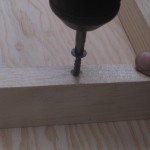
I cut my 1/2″ thick plywood 59-1/2″ long and 22″ wide. I rounded all of the corners and sanded them smooth. I think I have an extra-wide ironing board, but you’ll want to measure the width and length of your current ironing board and install the smaller lengths of board to the underside of the plywood so the board fits within the space with just a little extra room — you don’t want to have to wedge the big board onto the ironing board, nor do you want it too loose. Using boards that measured 1-1/2″ x 3/4″ (does that make it a 1×2?), I cut them to the required lengths, pre-drilled screw holes to prevent splitting, and screwed them onto the plywood. I ended up with a space on each side between the wood and the end of the board of 1″ on each side and 3-1/4″ on top, but as I said, I think I have an extra-wide ironing board.
When you’ve got the boards screwed on you’ll place your pad and cover on your board and you’re done. Place it over your existing ironing board and you’ve got a great, Big Board now. They’re also great to create a quick, large crafting worktop too.
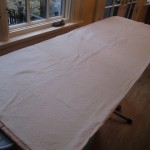
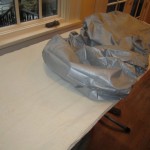
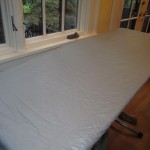
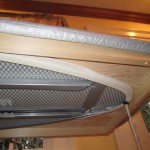
The only time I find that I have to remove the Big Board is if I’m ironing very fitted button-down shirts. The square shape doesn’t work very well with those. Other than that, I find it better for all of my ironing needs than a traditional board.
My ironing board is pretty much a permanent fixture in the corner of the eating area of our kitchen. I do not have the luxury of having a laundry room, so unless I want to iron in the windowless dank laundry room in my basement it’s going to have to stay that way for now. At least with the big board, I’m looking at the board more than I’m standing at it these days. However, when I need to clean up a bit for company, my Big Board cover easily stores behind the door of my pantry along with my regular ironing board.
I don’t know how I lived without my Big Board all of my life.
Thanks for the tutorial. I will be making one of these for my quilting.
Stephanie