Disclaimer: No trees were killed or injured in the making of this dresser.
I’ve been cleaning out my garage. I mean really cleaning out the garage. We have a two car garage that we’ve never parked our cars in. Not in 15 years. First there were lots of strollers, then there were lots of tricycles, not there’s lots of bikes, sporting equipment, cans of chicken and goat food, and 15 years of accumulated junk. If it doesn’t serve a real anduseful, regular purpose, it’s being donated, thrown out, or given away.
Because of this cleaning I have finally reached, way at the back of the garage, this dresser that I recovered to make it look like an Adirondack-style dresser.
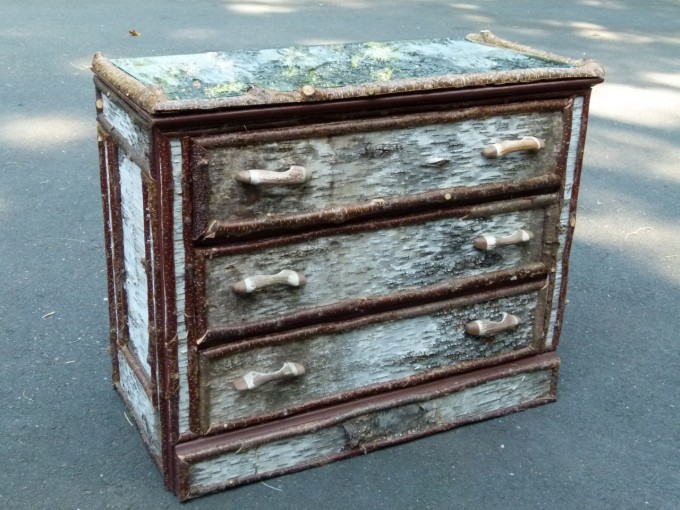
I don’t know how I got the idea to try this quite a few years ago, but one summer when we were up at my husband’s family camp house in Maine I picked out an old dresser that was in the house. It was really ugly and didn’t work very well. The drawers were sticky and it was painted this awful salmon color. I stuck that in the car to bring back home. Then I went out for a walk in the woods. There are lots of woods there, and in those woods there are lots and lots of fallen birch trees. I took a sharp, strong knife with me, and when I found a good tree that had some pretty bark on it in good condition, I would cut a seam down the bark and literally peel it off the trunk. This is quite easy to do on a birch tree, but even easier to do if it was in some state of decay. You don’t want just the top layer, either. You want to get down a little so you’ve got a few layers of bark, but not so thick that it’s not pliable.
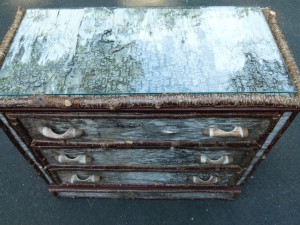
I had glass cut to fit the top of the dresser.
While you’re out there in the woods, bring a small saw along with you and cut lengths of straight felled saplings, or straight branches off larger fallen trees. Cut all of the smaller branches and leaves off of these branches and with a table saw, cut them in half horizontally. These are the branches you will “trim” the dresser with.
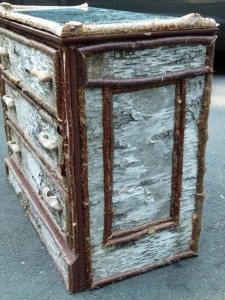
Once I had enough bark peeled to cover the top, sides and front of the dresser I took it all home, stacked in as neat a pile as I could, and laid some heavy boxes on top so the bark would dry nice and flat. I left it like that for quite a while — probably a month or so, before I started.
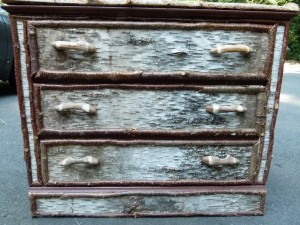
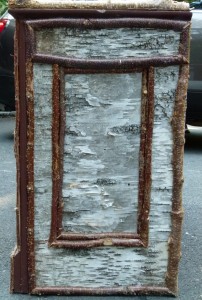
When you’re ready to start, take your now flat and dry pieces of bark and give each piece a careful but thorough shaking to get rid of any dirt. If you have a soft dust brush you may want to clean with that too. Start with your larger sections, like the top and sides, and figure out the pattern that you are going to use for the trim. I didn’t really have a plan or drawing for this, but just did it as I went along and then followed the first design on the rest of the dresser.You’ll need a miter saw for this or a hand saw with a miter box. I nailed the branches on with small trip nails.
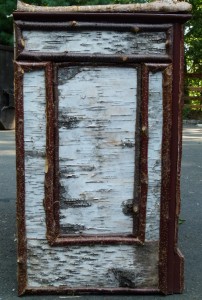
Rarely did I have pieces of bark big enough for the space I needed, but I found I could easily piece together, overlapping the seams slightly, and you really didn’t notice it.
I also went around and painted the parts of the dresser than were still showing, like up around the top edge as it meets the drawer base, and around the base of the dresser. I used a dark brown wood and it really blends in with the bark and branches and is hardly noticeable.
I removed the original wood knob drawer pulls and found some deer antler pulls on the internet. I think they look perfect with it.
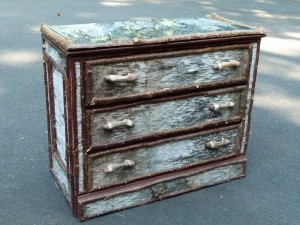
This was a great project that wasn’t difficult, yet the satisfaction level is high because I think it looks so great. It was a lot cheaper to make than the ones I’ve seen at craft shows. Using salvaged materials the only expense I had was for nails, drawer pulls and the glass for the top. My husband will gladly chime in on how long this project took me to finish. It’s not that it was complicated, but it was out in the garage and was really being done for fun and not out of necessity. Out of sight out of mind. I am glad that I finally finished it, and that I’ve finally dug it out from the back of the garage. Now I’ve just got to get it back up to Maine!
One day I’d like to try this with a desk on a much more refined scale.
The photos just don’t do it justice but enough to know it’s still a cool piece of furniture.