Archives for February 2011

My Baby’s 21 Today

Twenty one years ago today I gave birth to Amanda.


When I did a post on “My 10 Favorite Things” a few months ago I knew that she would notice that she was not on that list. She of course brought it up the first visit home from school after that post. I knew when I was writing that post that Amanda required her own list.

I was 27 years old and Mike and I had been married about a year and a half when she was born.

Just to end the curiosity, here’s our wedding photo.
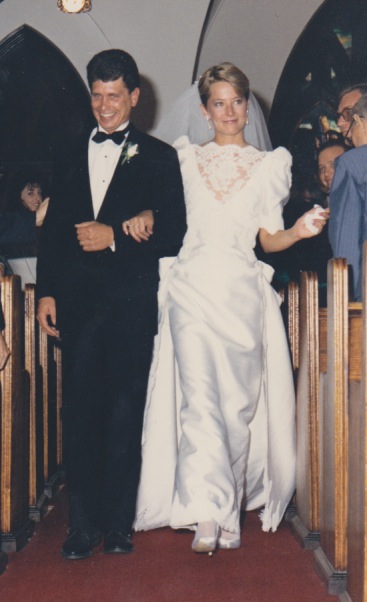
My wedding day to Amanda's dad. My mom made that dress. Literally finished it the morning of the wedding.


After 40 hours of labor and less than 24 hours after delivery they sent me home with this beautiful little bundle of joy. I had absolutely no idea what to do with her. Unfortunately becoming a new mom doesn’t come with an instruction manual.
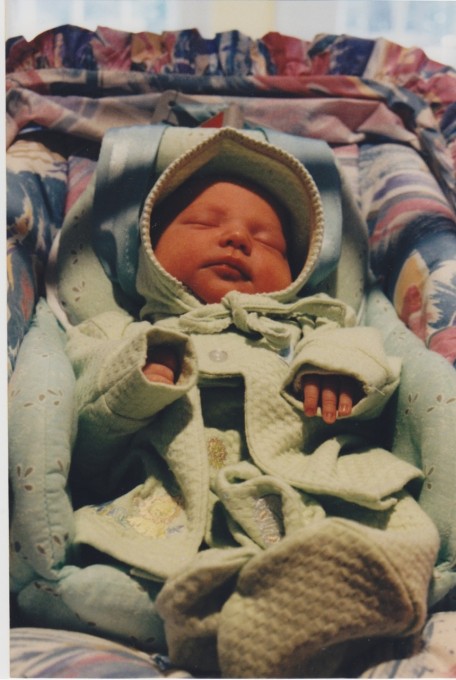
 

I’m deaf in one ear, so I sleep with ‘my good ear down’. It’s very quiet that way — like wearing those Bose headphones — but it’s not very good for allowing an exhausted new mom to hear her baby crying. Mike had to poke me awake when she started crying, and that first night I ended up sleeping on the floor of her bedroom since I was then so worried that I wouldn’t hear her when she needed me. She slept in a moses basket propped between two kitchen chairs next to my bed after that night for the next few weeks.

Mike literally went to work the day after I brought her home from the hospital and from then on it was trial by fire.

You can take all the lamaze classes or new parenting classes or read every book on the subject, but nothing really prepares you for the reality of being a new mom. I learned from my mistakes and she survived. I had my own parenting philosophies.

I nursed her exclusively and learned the hard way to introduce a bottle of formula early. I waited too long to do this and therefore she would not drink formula. Period. Ever. My nipples cracked and bled. I can now say however, after nursing four children on them, that my nipples are officially bulletproof. You could probably hang bowling balls from them and it wouldn’t hurt. I also nursed her way past what was appropriate or acceptable.

She was my life then when she was young. Mike and I barely had two nickels to rub together. He worked constantly (he was, and still is, in the film business and was working on the original “Law & Order”, which had just been put on the air). If I had some freelance job to do as a food stylist or doing some consulting on teaching people how to use their Mac’s, she came along. She came everywhere with me and did everything with me and was extremely attached to me; just ask anybody that had to watch her cry when we were separated. She cried like we’d cut her arm off.

I love all of my children desperately. And I love them all differently. I’m not saying that I love Amanda more than I love my other three children, but I have lived 8 more years with her than I’ve had with any of my other children. We also went through a lot together. We went through a divorce together. We went through a new marriage and transitioning to that new life together. We have always been extremely close.
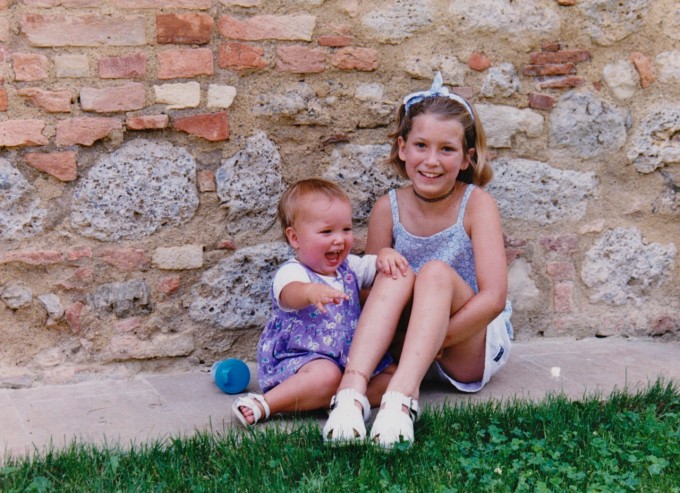
This is Amanda when she was 8 and India was probably 9 months old on vacation in Italy

When I decided to divorce Mike I was so very fortunate to get a job as a graphic designer for a very small firm in Stamford. My terrific boss allowed me to come to work after Amanda got on the bus every day and I left in time to be there every afternoon when she got off the bus. I worked from home late into the night to compensate for this. When Amanda was sick or had a day off that I didn’t, he allowed me to bring her to work with me and she would quietly play in the corner drawing, or use an extra computer to do something on that.


Being a parent is the hardest job you’ll ever have. We made it through the teenage years and we still love each other.You always try to improve on the mistakes you feel were made in your own childhood. Who knows if we succeed. Amanda has done a few things that have almost broken my heart with pain. But she’s done a lot more things that have almost burst my heart with pride.

So no, I didn’t mention Amanda in my Top Ten list because she deserved one of her own.

My Top 10 Favorite Things About Amanda

1. She still cries every time she leaves me to go back to school.
2. That she still would rather go on vacation with her mom for Spring Break than go away with her friends.
3. The way she smells me or pets me when we’re standing in line somewhere.
4. The way she looks in her glasses
5. How quirky she is and how she embraces that in herself
6. How hard she works in school and how well she does and what a great nurse she is going to be
7. How she visits her grandparents frequently when she’s home
7. How she sends me silly pictures of her cat
9. That she loves to go on long drives to take pictures with me and is always up for a road trip
10. How open and honestly we communicate. She’s one of my best friends.

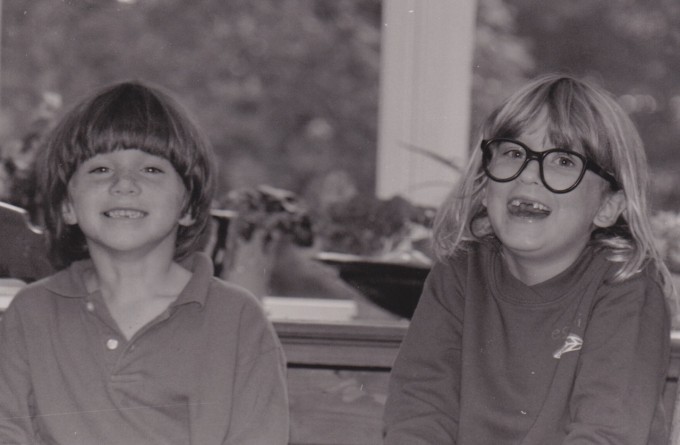
This is Amanda and her friend Shannon in probably 2nd grade. She wore these fake plastic glasses with no lenses for probably a year. Those kind that had a rubber nose attached to them? She tore off the nose and wore those glasses everywhere. Little did she know by 8 she'd be wearing real glasses for the rest of her life.

Happy birthday baby.
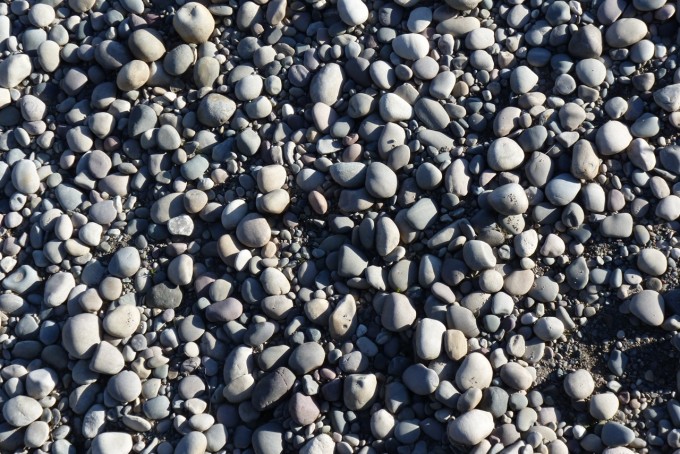
Snake River Rocks

When my sister and I were in Wyoming this May picking up Eleanor, my newly restored vintage travel trailer, for our Crafty Farm Sisters Road Trip, I took this photo along the banks of the Snake River.

You can read more about Eleanor’s restoration (my 1957 Kenskill Travel Trailer), or about the Crafty Farm Sisters’ Road Trip where my sister and I drove from Wyoming to Connecticut in May of ’10 or the Crafty Farm Girls’ Summer Road Trip where I drove back to Wyoming with two of my daughter’s and our trust dog Bullet in June of ’10 in my old site archives under the Thoughts section.

Just looking back through these posts to set the links brought back so many memories of so many good times.

I Made My New Top Bar Beehive!


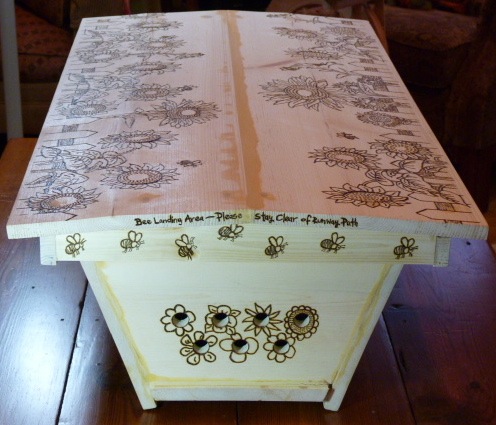
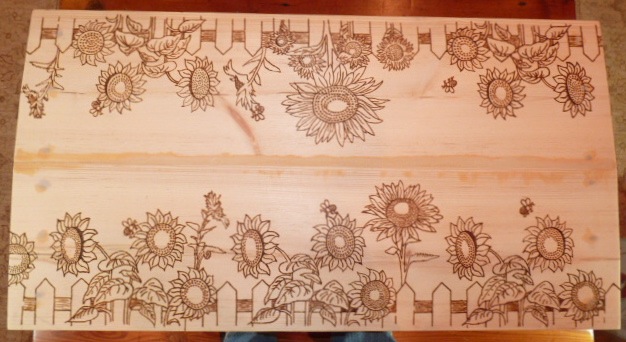
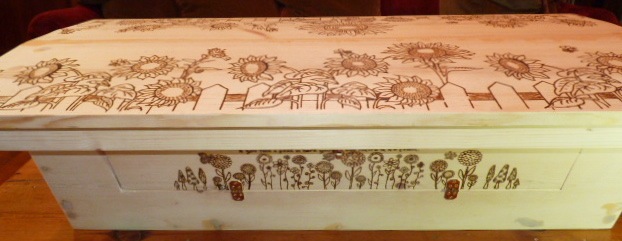
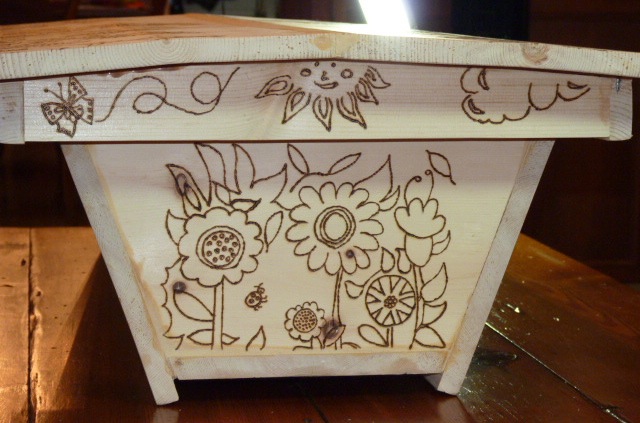
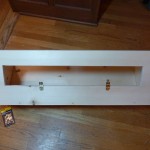
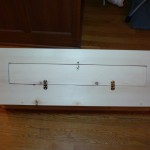
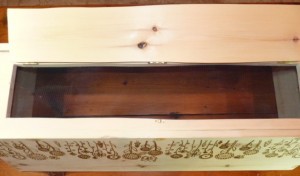
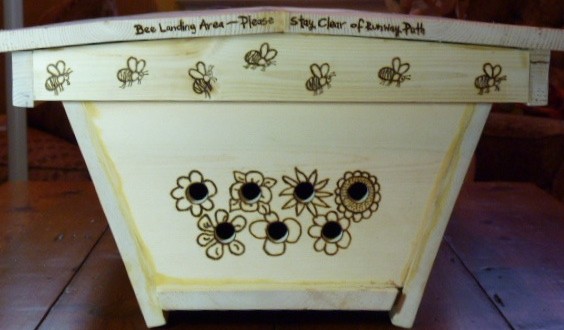
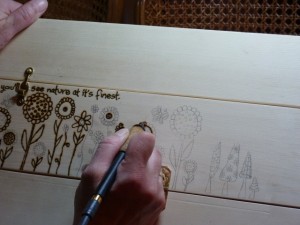
I made this hive all by myself. Every measurement, every board cut, screw screwed, hole or crack filled and sanded, and burned all of the artwork with my woodburning tool. I absolutely love it.

The only thing left to do is varnish the outside. In hindsight I probably should have made it out of cedar and then that wouldn’t have been necessary, but with a couple of coats of good varnish she’ll be all set for the outdoor weather and a new colony of bees this spring. That, along with the additional colony I’m going to add to my current hive (which is a two-colony top bar hive with only one colony in it now as I started it late in the season last year) I’ll have three colonies. So exciting.

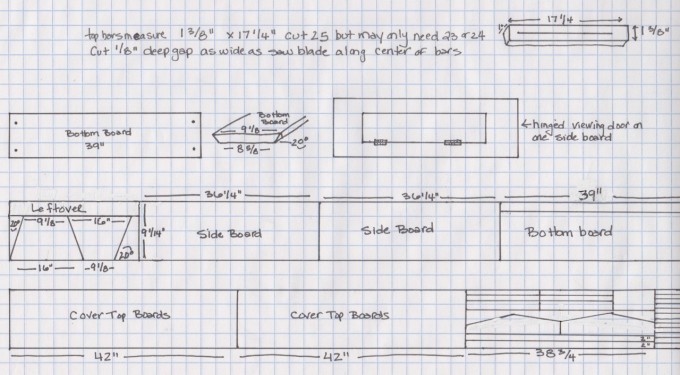
Now it’s not perfect. The pine had a pretty bad warp in it that I used, so there were some adjustments needed and wood filler required to accommodate that. I used a pattern from a top bar hive book called Top Bar Hive Construction by Daniel Garber. Now in reading back over the book reviews of this booklet (it’s really more of a booklet than a book) on Amazon to link it, I see some pretty bad reviews. It was a pretty rudimentary booklet with pretty rough plans. Since I already have a top bar hive and understood how it works and am familiar with woodworking I didn’t have any problems with it. I did draw out my own plans before I started, working off the measurements from this book. One day I’ll draw up some better plans and post them.


I seemed to have so little time in my days lately to fit visits to the Woodworkers Club (where I did most of the cutting and assembly work of the hive) that one particular day, when I’d finally managed to get  all the pieces finally cut out and had very little time available, I glued and screwed everything together before I realized that I hadn’t cut out the viewing window or bottom board hole. While I managed to work around that and still get them done, it would have been a lot easier (and neater looking) to do that before I assembled it. Stupid mistakes that were caused by rushing. Something one should never do when woodworking. It was a really good learning process for me and now think it will be much easier to assemble future hives than it was to construct this one. A hearty thanks goes out to all the people at the Woodworkers Club that helped me along the way.
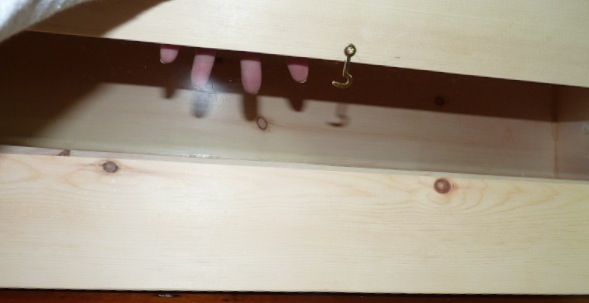
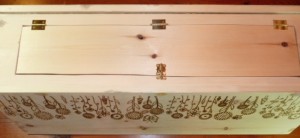
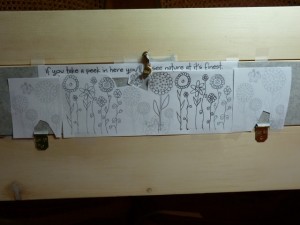
I did make a few adjustments to the plans in this booklet though. First of all I added a viewing window. I’ve heard about these and just thought that would be the coolest thing to have. It will enable me to open up this “door” to a window of clear plexiglass and watch the bees working without disturbing them. You need to have this as a hinged door though because you would not want to leave that clear window exposed. All of that natural light and heat would not make the bees happy and I suspect would disrupt their natural processes. 

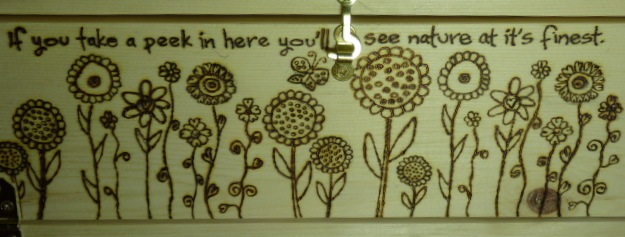
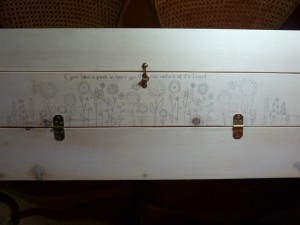
And then I had to add the artwork. Somehow I came up with wording that seemed just perfect for it.


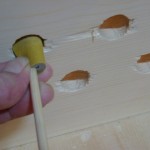
I also added two additional things. First, since I had such a problem insulating for the winter this year with all of the honey that the bees had made in the lid of the hive this summer, I made a much smaller slope to the roof ridge in hopes of eliminating this problem. But should it happen again, I kept the wood that I cut out in the bottom board for the screening and air flow during the summer and replaced it with hinges with a latch on it, so during the summer I will leave it open for proper air flow, ventilation and varroa mite fallout, but in the winter I can just close it up with some cardboard or burlap to protect from moisture problems and keep the bees nice and warm for the winter months.


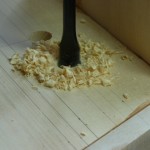
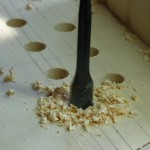
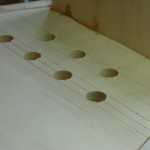
Now I had a big debate with myself about the hive entrance. There are different schools of thought on this. Some like a single long entrance at the bottom of the front of the hive, the current one has 7 holes at the front of the hive, but this book I have called The Barefoot Beekeeper is a big advocate of 7 side entrance holes. I really can see his point in having them on the side, and was going to do the hive with side entrance holes, but I new where I wanted to place this hive, and with that knowledge I knew that the viewing window should be on the left side of the hive and the entrance should be on the front. The next hive I make will have side entrance holes on one side and the viewing window on the other side. There are specific measurements that should be used for these holes and they are 3/4″ big that I sanded well after drilling.


Of course I couldn’t stop there. I made each entrance hole look like a flower, and then added a humorous saying on the lid with some bees. The saying is kind of true though – you really always want to stand to the side of the hive entrance as blocking their path is not a good idea.


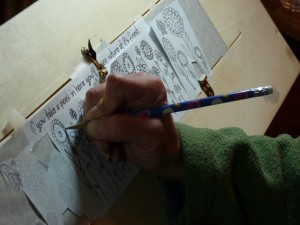
I took all of my artwork off of the internet, and really mixed different artworks together to make it my own. I print it out, and then using carbon paper and a sharp pencil I trace the design onto the wood. This then becomes my pattern for the woodburning. I got a lot of practice with this when I made my friend Kelly’s wedding trunk.


Whenever I did this (which was usually late at night) I had a fan pointing directly at me to blow the smoke away as I worked. Dispersing the smoke I felt also seemed to diminish the possibility of setting off the smoke alarm. This kind of woodburning doesn’t cause all that much smoke, but it’s irritating if it gets in your eyes, and would be a pain in the ass if your smoke alarms started going off. I did go to bed feeling something like a smoked ham for quite a few nights.

This was a terrific project for me. I learned a lot, made something that is going to provide a home for a colony of bees for me, and had so much fun doing it.

If you have any questions or comments just leave them here and I’ll answer them or help in any way I can.

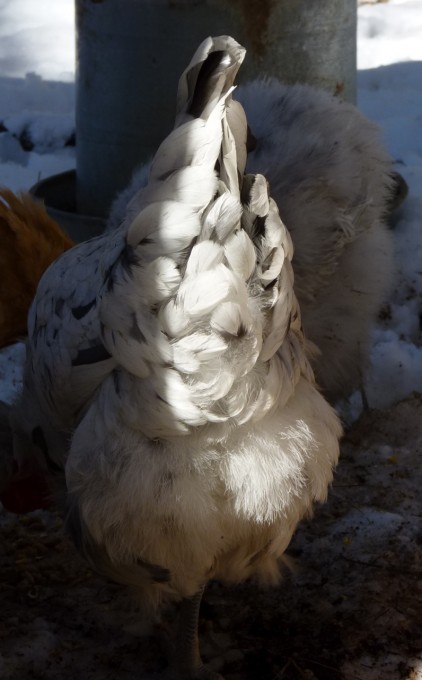
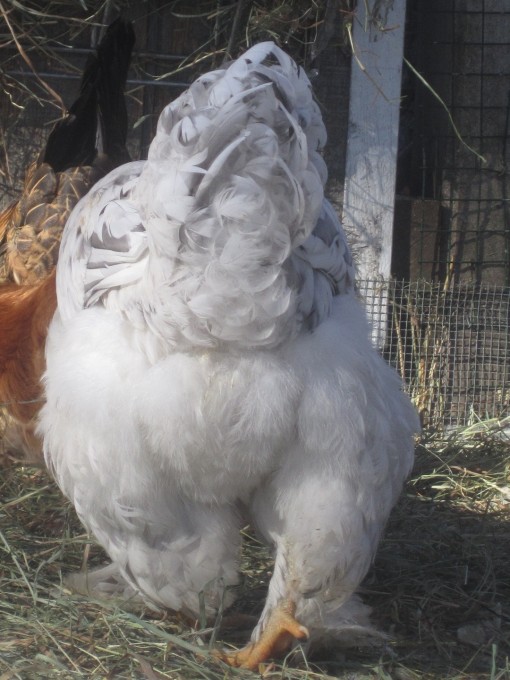
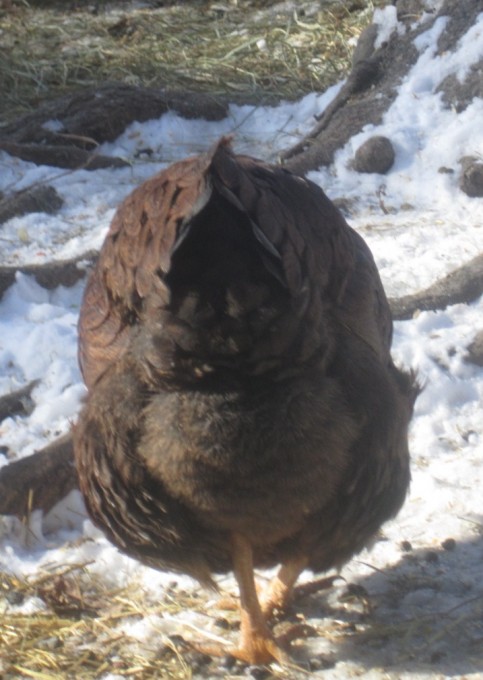
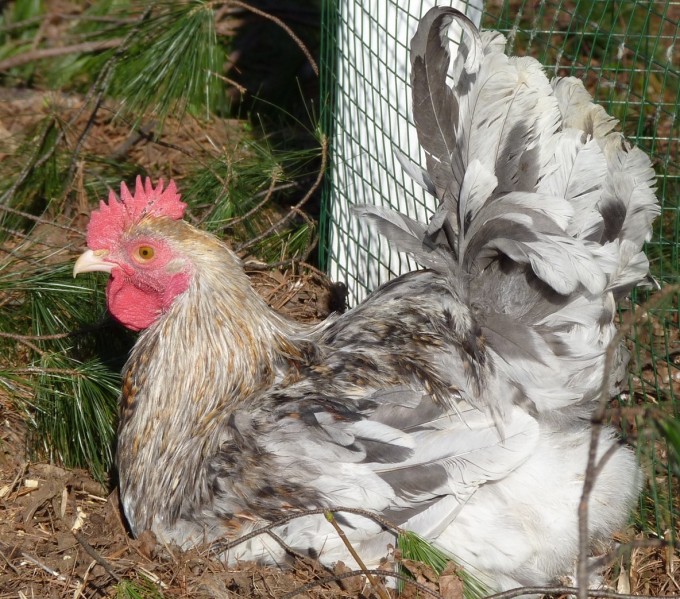
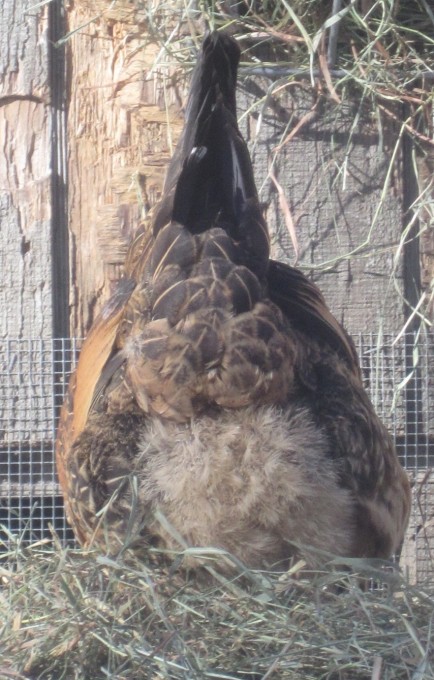
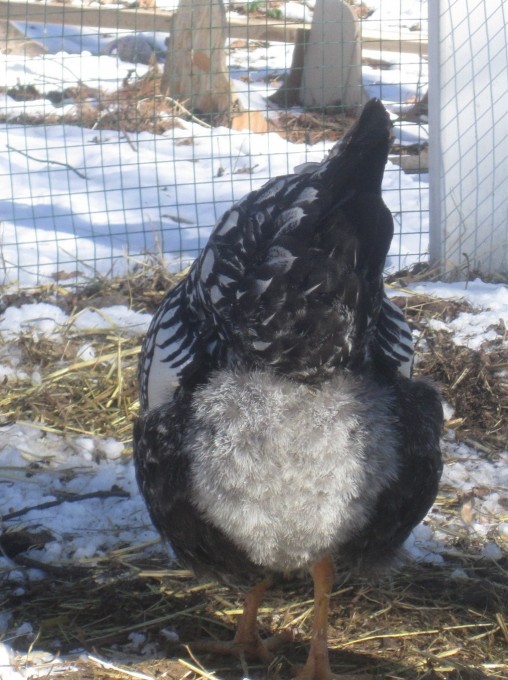
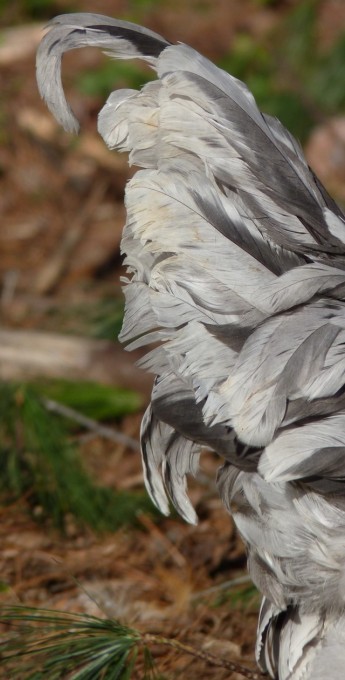
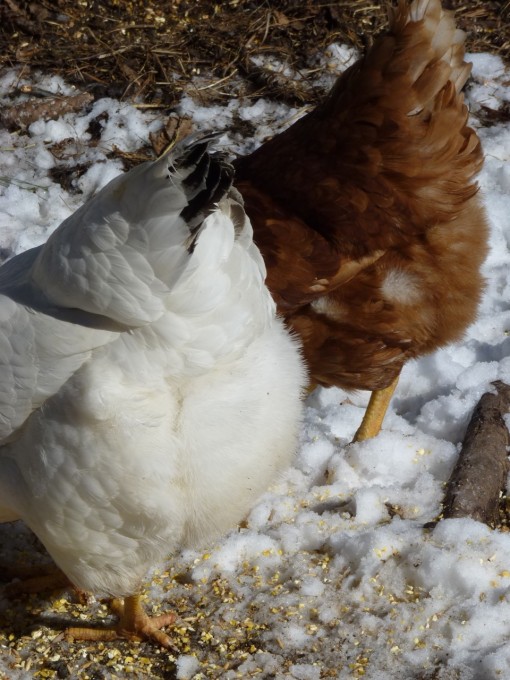
A Tribute to Fluffy Chicken Butts

This one’s for you, Lisa.

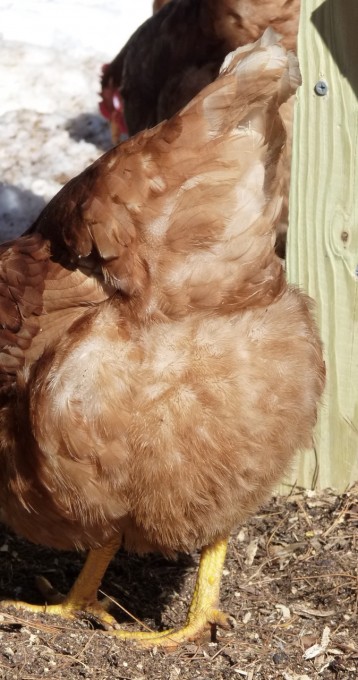
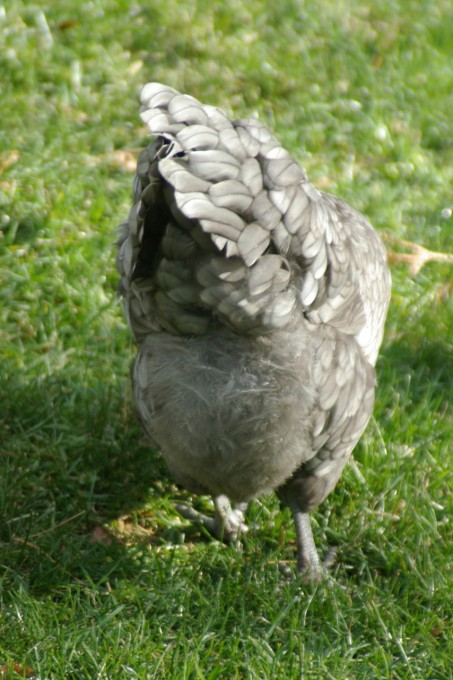
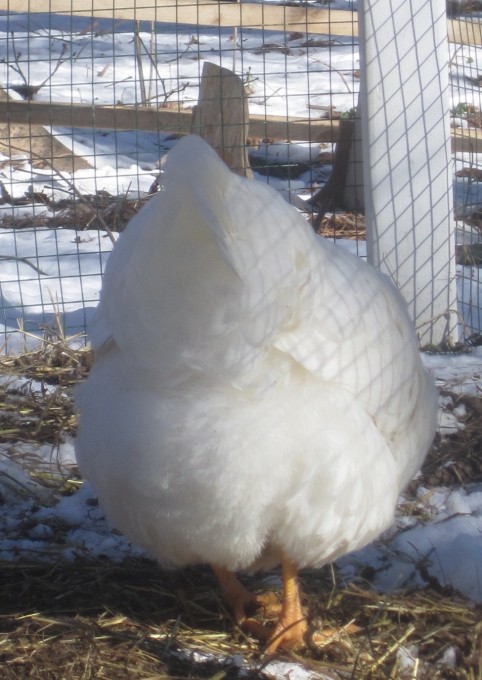
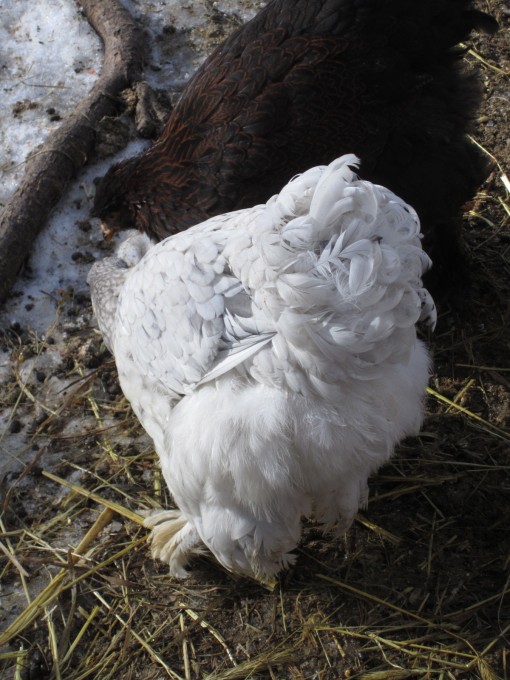
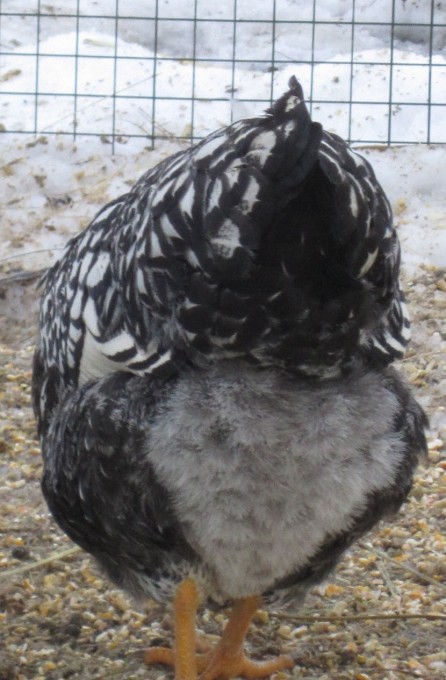
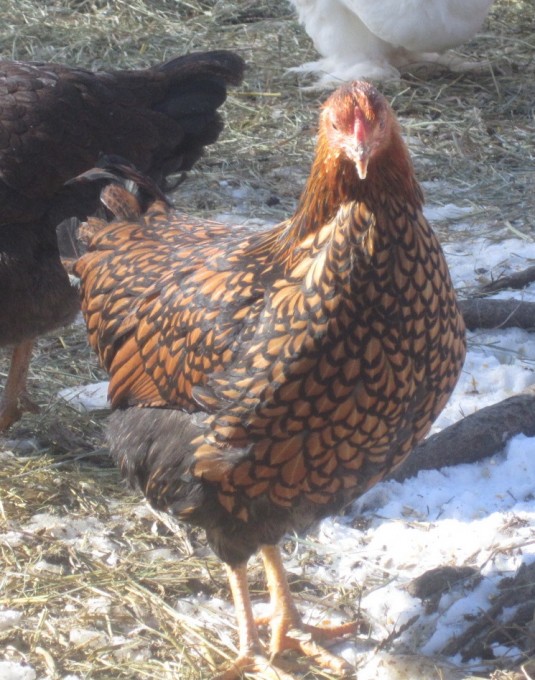
I love chickens, and one of my favorite things about chickens (besides the eggs) are their wonderful fluffy butts. Their tops are covered in their big beautiful feathers, but the bottom is full of the most lovely, downy feathers. I said in a post last year that I just felt like sticking my head in there because it was so beautiful and fluffy. I’m sure that sounds disgusting to most, and I haven’t actually done it, but if you could see a fluffy chicken butt shining in the sun I can almost guarantee you’d feeling like doing it too.


Just take a look here and maybe I can convince you.


She was simply too much of a lady and would not let me photograph her bottom.


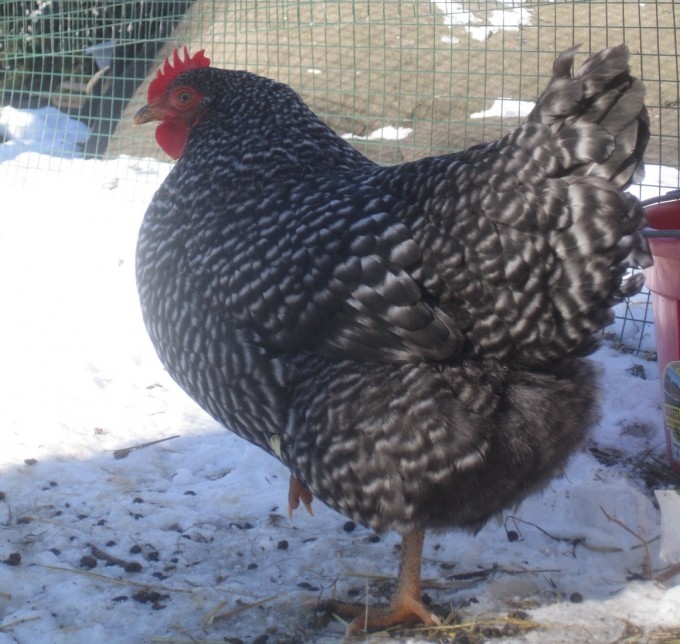
This is the first time I have ever had barred rock chickens. I have two of them now. They are such classic looking chickens and are very good layers.

Hopefully I’ve convinced you by this point of the loveliness of fluffy chicken butts. If you live locally and would like to come over and stick your face into one, just give me a call. It’s almost an irresistible thought when you look at them. Well, maybe just for me.

Roasted Smashed New Potatoes

Published November 1, 2010 in Cook’s Illustrated. Adapted by Crafty Farm Girl 2011.

Serves 4 to 6

This recipe is designed to work with potatoes 1½ to 2 inches in diameter; do not use potatoes any larger, but you can use slightly smaller ones. It is important to thoroughly cook the potatoes so that they will smash easily. Remove the potatoes from the baking sheet as soon as they are done browning—they will toughen if left too long. A potato masher can also be used to “smash” the potatoes.

INGREDIENTS

  • 2 pounds small Red Bliss potatoes, scrubbed
  • 8 tablespoons extra-virgin olive oil
  • 1 teaspoon chopped fresh thyme leaves
  • Kosher salt and ground black pepper
  • INSTRUCTIONS

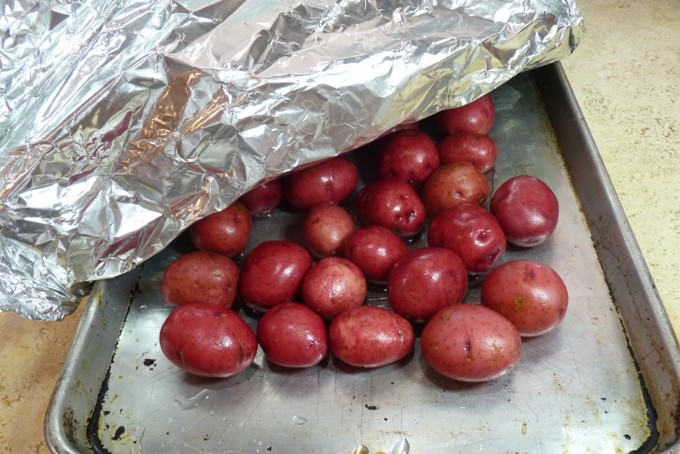
    Adjust oven racks to top and bottom positions and heat oven to 500 degrees. Arrange potatoes on rimmed baking sheet, pour ¾ cup water into baking sheet, and wrap tightly with aluminum foil.


    Cook on bottom rack until paring knife or skewer slips in and out of potatoes easily (poke through foil to test), 25 to 30 minutes. Remove foil and cool 10 minutes. If any water remains on baking sheet, blot dry with paper towel.

    Now here’s where I varied from the recipe.

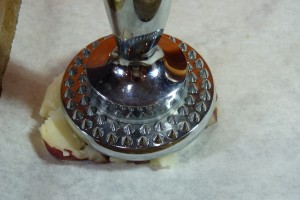
    First I found that the original 6 tablespoons of olive oil was not sufficient, so I’m calling for 8 tablespoons here – you may find you need even more. I think my potatoes were smaller than the ones they used in their recipe. They also rolled the potatoes in the olive oil before smashing them, but I did not see that this was necessary. The way that they “smashed” the potatoes in their recipe was to “space potatoes evenly on baking sheet and place second baking sheet on top; press down firmly on baking sheet, flattening potatoes until 1/3 to 1/2 inch thick”.

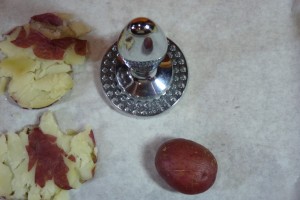
    I thought that I would have much more control over the “smashing” if I used the flat side of my meat tenderizer. You can use a potato masher or a mallet covered with saran wrap if you don’t have one. I also found that once I smashed the potatoes I needed two parchment-lined baking sheets to fit them all.

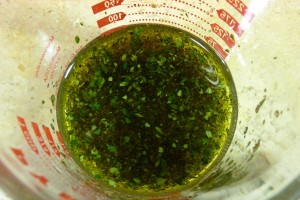
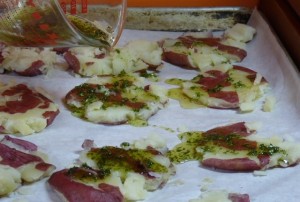
    I mixed the olive oil and chopped thyme leaves together and drizzled them over the potatoes, then seasoned generously with salt and pepper.

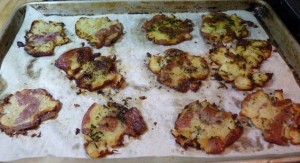
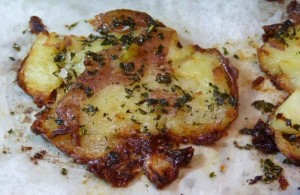
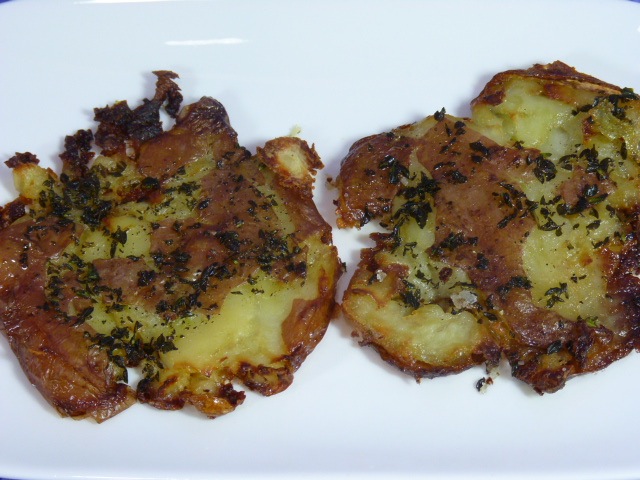
    Change oven rack positions to lower middle and upper middle racks. Roast potatoes for 15 minutes, then rotate pans front to back and switch their positions. Continue to roast until well browned, 20 to 30 minutes longer. Serve immediately. I do think you’re going to need to pay attention to them in the oven, regardless of the timer. A lot of the timing is going to depend on how large the potatoes are and how thick or thin you smashed them.


    My kids loved these things and were fighting over them. My husband liked to have roast chicken on Sunday nights. The kids get sick of it so I don’t do it all the time, but this added an exciting new twist to the normal Sunday roast chicken dinner that had everyone happy. You could easily serve these as an appetizer at a party too, although I might throw a little chopped cooked bacon on top of them to just add a little something more.

    Print This Recipe Print This Recipe

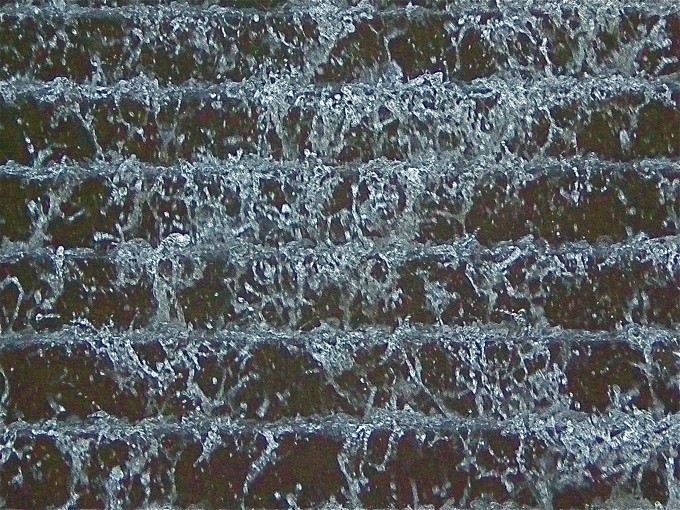
    Lexington Fountain

    In downtown Lexington, Kentucky there is this beautiful large fountain. This close-up shot is kind of cool I thought.

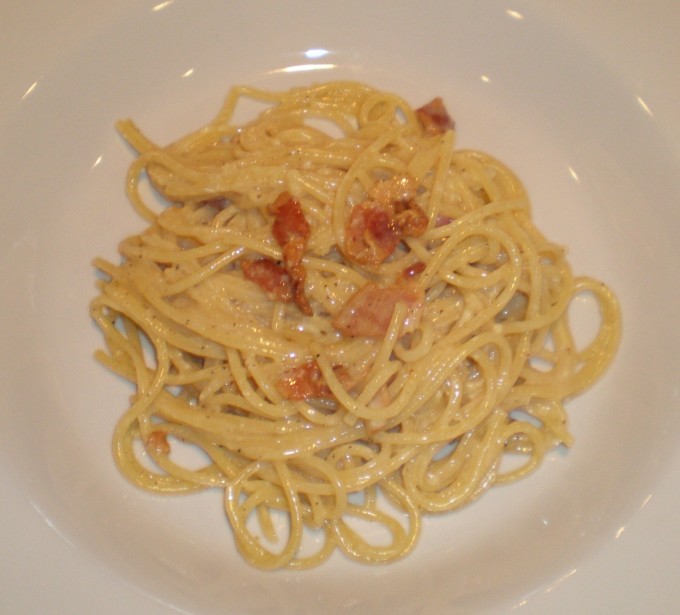
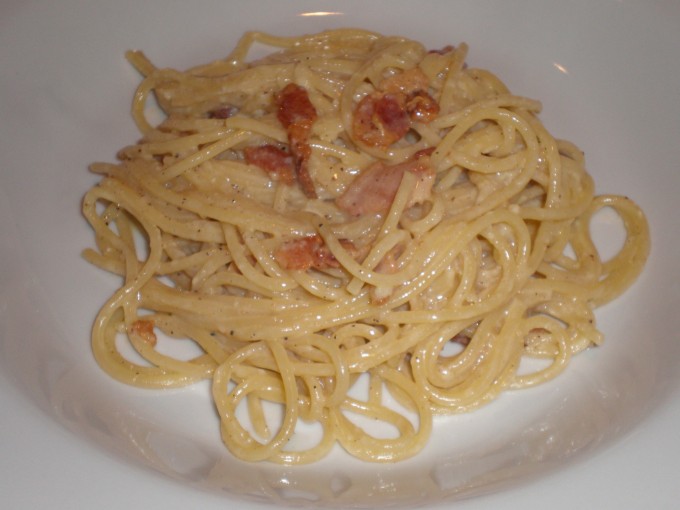
    Spaghetti Alla Carbonara

    Spaghetti Alla Carbonara is my barometer for a good restaurant. If it’s on the menu and it looks like it’s done the way carbonara is supposed to be done I’ll order it. Inevitably I am disappointed – even at that terrific restaurant in Salt Lake City I keep talking about! They had carbonara on the menu and it seemed like it was just the way I like it. That was what I ordered for my main course after those amazing pequillo peppers stuffed with beef short ribs. I even got into a big discussion with our server about how correct carbonara is so hard to find and blah blah blah. It was disappointing. I wanted India’s beef stroganoff, but she wouldn’t trade.

    Then in looking through my archives for some Foodily.com work I needed to do as one of their Brand Amabassadors I realized that somehow I’ve never actually posted the recipe for my carbonara!

    Well folks, here you go.

    I cannot take credit for this recipe. It is straight out of Cook’s Illustrated Magazine and the only thing I change in the recipe is that I add more bacon than their recipe calls for. You can never have enough bacon in a recipe to me.

    This, my friends, is what spaghetti carbonara should be like. It should not have any cream in it. It should be full of flavor and have raw — yes raw — eggs in it. The heat of the hot pasta cooks the eggs slightly. I use my own eggs so I don’t ever have to worry about salmonella or things like that. I will caution you though when making this do try to find locally-sourced free-range eggs just to be on the safe side.

    Spaghetti Alla Carbonara

    Original recipe published by Cook’s Illustrated Magazine, September, 2001. Altered slightly by Crafty Farm Girl, ©2011.

    Serves 4 to 6

    Add regular table salt to the pasta cooking water, but use sea salt flakes, if you can find them, to season the dish. We like the full flavor they bring to the carbonara. Note that while either table salt or sea salt can be used when seasoning in step 3, they are not used in equal amounts.

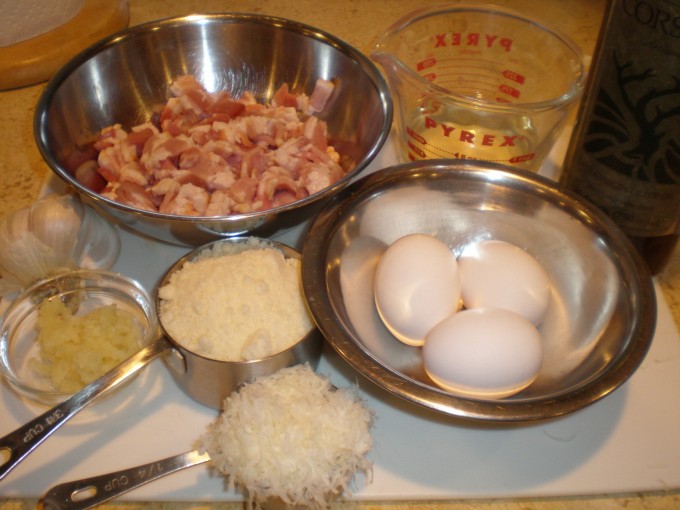
    Assemble all your ingredients before cooking. This is essential for this recipe.

    INGREDIENTS

    • 1/4 cup extra-virgin olive oil
    • 3/4 pound bacon, slices halved length-wise, then cut crosswise into 1/4-inch pieces
    • 1/2 cup dry white wine
    • 3 large eggs
    • 2 ounces Parmesan cheese, finely grated (3/4 cup)
    • 3/4 ounce Pecorino Romano cheese, finely grated (about 1/4 cup)
    • 3 small cloves garlic, pressed through garlic press or minced to paste
    • 1 pound spaghetti

    INSTRUCTIONS

    Adjust oven rack to lower-middle position, set large heatproof serving bowl on rack, and heat oven to 200 degrees. Bring 4 quarts water to rolling boil in large Dutch oven or stockpot.

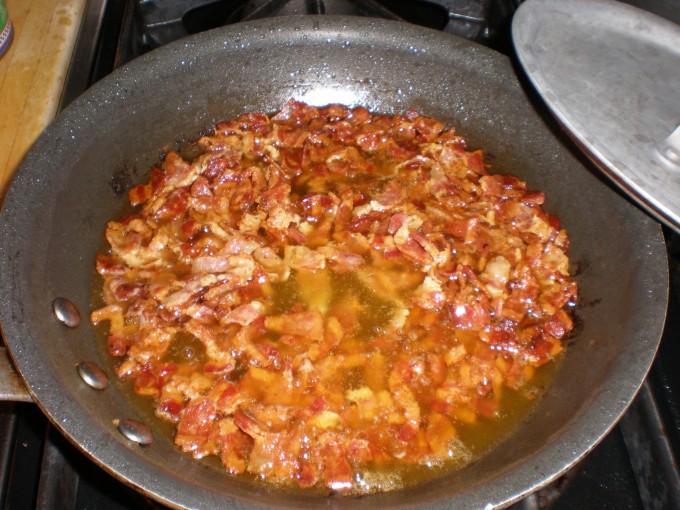
    While water is heating, heat oil in large skillet over medium heat until shimmering, but not smoking. Add bacon and cook, stirring occasionally, until lightly browned and crisp, about 8 minutes.

    Add wine and simmer until alcohol aroma has cooked off and wine is slightly reduced, 6 to 8 minutes.

    Once bacon is slightly crisp add the wine and reduce slightly

    Remove from heat and cover to keep warm. Beat eggs, cheeses, and garlic together with fork in small bowl; set aside.

    When water comes to boil, add pasta and 1 tablespoon table salt; stir to separate pasta. Cook until al dente; reserve 1/3 cup pasta cooking water and drain pasta for about 5 seconds, leaving pasta slightly wet. My little trick here is to stick the 1/3 cup measure right in the colander in the sink. That way you won’t forget to reserve that 1/3 cup of pasta liquid. Transfer drained pasta to warm serving bowl; if pasta is dry, add some reserved cooking water and toss to moisten. Immediately pour egg mixture over hot pasta, sprinkle with 1 teaspoon sea salt flakes or 3/4 teaspoon table salt; toss well to combine ( I use kitchen tongs to do this). Pour bacon mixture over pasta, season generously with black pepper, and toss well to combine. Serve immediately.

    Timing is everything in making this dish. Have all of our ingredients assembled. If possible warm our plates or bowls before serving to keep pasta hot longer. You want to get this dish from tossed and completed directly onto the plate and into our mouth as quickly as possible.

    I’d love to know if you try this and what you think. It’s one of my all-time favorite meals.

    Print This Recipe Print This Recipe

    Maia Wrapped in a Beach Towel

    This ranks right up there with one of my favorite photos taken. We were down in Spring Lake, New Jersey wrapping up my Aunt Eleanor's estate. My kids had never swum in the "real" ocean before — the kind with real waves — and they were in heaven. The color in this photo and my quirky little Maia's face. Beautiful.

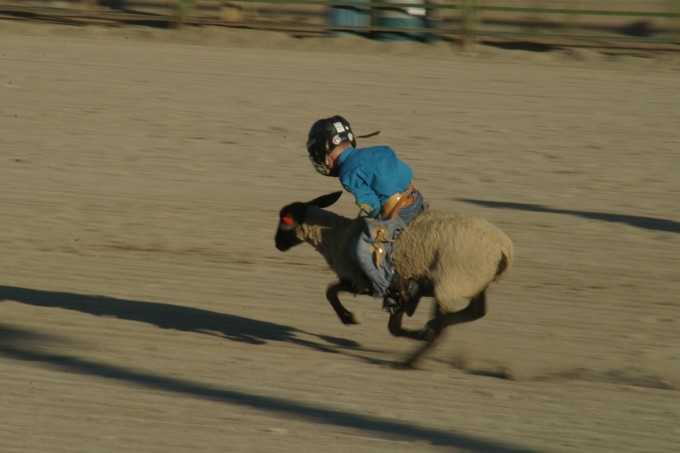
    Mutton Busting

    Start 'em early. That's the way it is out west. One of my favorite rodeo events at the big summer rodeo in Jackson is Mutton Busting where kids ride sheep. Evan wanted to do it two years ago and at 8 he was already too old - by then they're riding young bulls. See below regarding that.

    They take their bull riding and bronc busting seriously out west. Like I said above, at the local rodeo you see tiny little kids (boys and girls) in full cowboy outfits being plopped down on sheep and shot out of the chute to do mutton busting. Some of the poor little buggers are crying their eyes out in fear before it even starts, and that’s kind of mean and sad. By the time they’re 8 they’ve advanced to young steers and I imagine by the time they’re 16 they’re riding the real deal – mean, unbroke, raised-for-bucking bulls or broncs. My friend Randy was a bronc busting cowboy for many years and long trail rides aren’t possible for him anymore from all the broken bones and injuries he’s sustained.

    However, that didn’t stop me from slapping my young boy on a young steer with Randy’s help these past two summers. Unfortunately I don’t have video of the first year’s ride, which was pretty good. For his birthday this past year I got him a rodeo protective vest and a used hockey helmet on eBay (trying to be at least a little safe here). If you’re looking for a good chuckle you can check out the video of the two rides from this summer. The chatter in the background is me and my daughters Amanda and Maia. The uncontrollable laughter is me. I still laugh out loud when I watch it. Except maybe in the second one when he gets kinda trompled. Does that make me a bad mom? Hey, he was smiling when it was over.

    My video capabilities leave much to be desired in comparison to my photographic capabilities.

    Evan Rides a Yearling Bull #1

    Evan Rides a Yearling Bull #2 – Lyle Lovett we called him – the nastiest cow at the ranch this past summer with a curly hairdo that made him look like Lyle Lovett.

    Making Terrariums

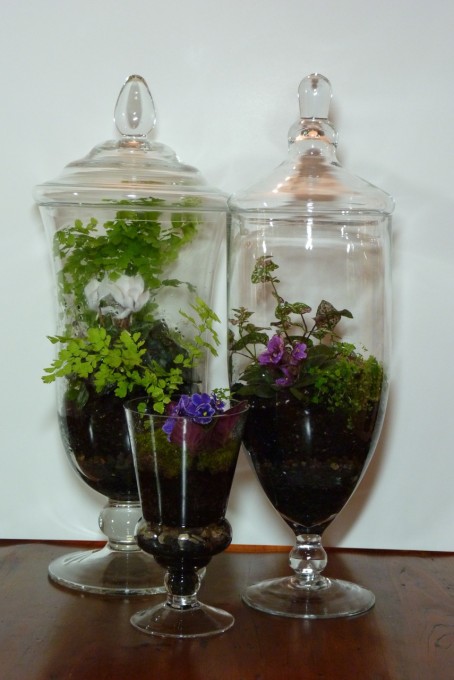
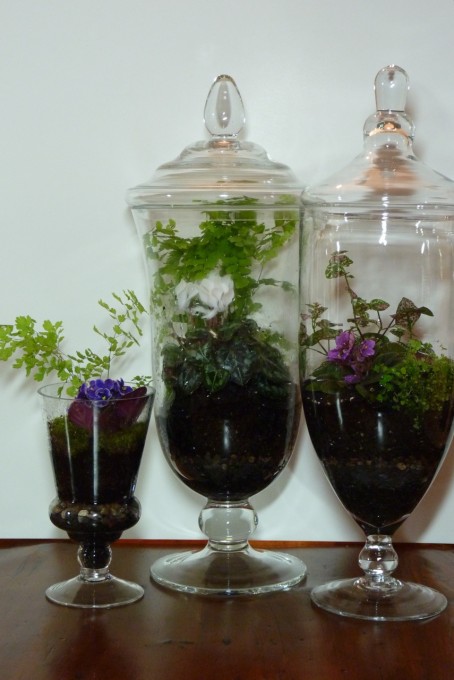
    One of Jim’s Christmas gifts this year was homemade terrariums. He loves indoor plants, but isn’t always very good at taking proper care of them. Terrariums are nice because, if they are enclosed (with a lid or have a glass cloche over them) they create their own moisture and pretty much take care of themselves.


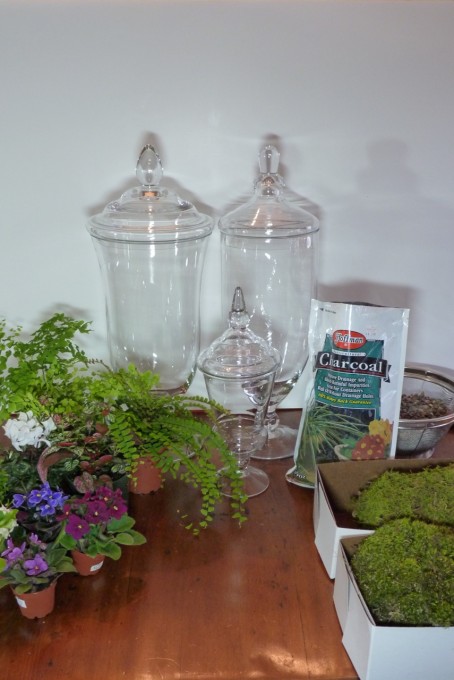
    First I started at my favorite store, Home Goods. There I found some great containers – even these really big ones – for less than $20 each. Then I headed to the local gardening center and found a great assortment of smaller terrarium-suited plants, like ferns and orchids, live moss and other moisture-loving flowers. I also bought some small pebbles that I washed carefully in a colander, charcoal (not the kind you use in your grill, but the horticultural kind you’ll find at a gardening center), and some good-quality potting soil.


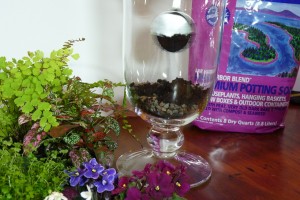
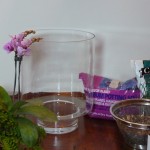
    Wash your containers and dry them out carefully and assemble all of your “ingredients” on a large work area.

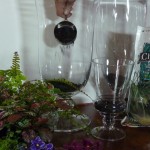
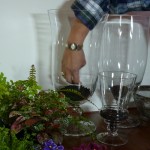
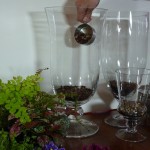
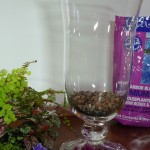
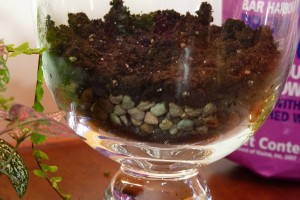
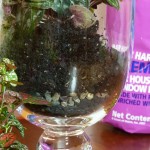
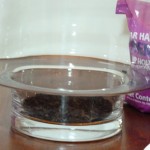
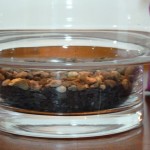
    Start with a layer of the horticultural charcoal at the base of the container. The charcoal is pretty dusty, so pour it into the container as carefully as you can. You only need a thin layer of this. With your hands smooth out the charcoal so it is evenly distributed at the base of the container. Then add a slightly thicker layer of the washed pebbles, and again smooth them out to an even layer with your hands.


    Then, again being careful to try and keep it off the sides of the container, place a thicker layer of the potting soil over the charcoal and pebble layers. Smooth out with your hands to form an even layer.

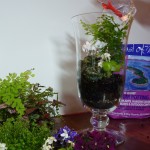
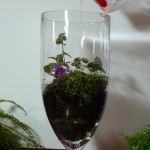
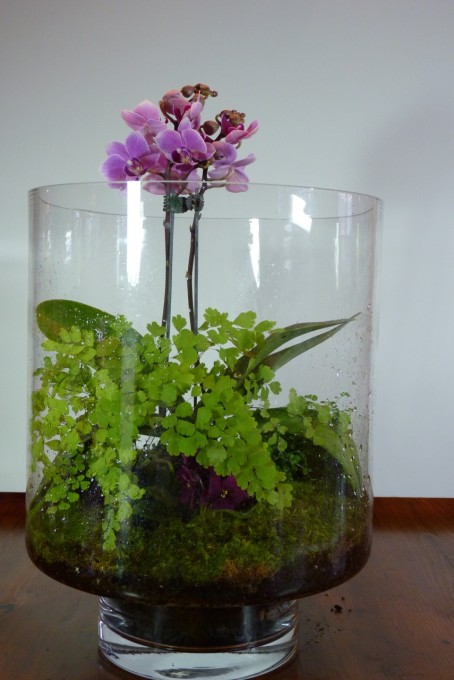
    Now it’s time to create your terrariums. I found even some of the tiny plants that I bought had to be split into two or even three sections to have them properly fit into the containers and still allow room for other plants, so don’t be afraid to divide plants up. When you have adequately filled and arranged everything to your liking carefully fill around the plants with more potting soil. I added live moss to cover the soil around the plants. This can be done by just tearing the moss into the sizes you need to work it in around the plants and fitting it together like a jigsaw puzzle. Then water, but be careful not to overwater and flood the container.


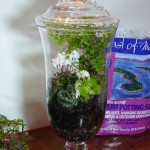
    Using a spray bottle filled with water I washed down the sides of the containers to get rid of any residue from the charcoal, pebbles or dirt. Now one container I got was a little too small for the height of the plants, so that one had to remain ‘lidless’, but I like the combination of lids and no lids.


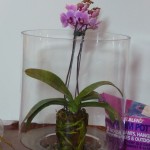
    I’d also bought a really beautiful orchid that was too tall or large for any of the containers I had, so off to Home Goods I went again and found the perfect one. This one did not have a lid either, but the size and shape were perfect.

    Assemble all your "ingredients" before starting.


    These were a pretty simple project that are doing really well in his office. The orchid, over 2 months later, still looks amazing. The lidded containers create this moist, humid environment and are thriving. The two with no lids are thriving too. If you’ve got a plant lover in your life, think about this for the next gift-giving occasion.