Here’s another recipe I found on the King Arthur Flour Catalog’s website. They looked so good I had to try them. I wish mine had gotten that big popped up top like there’s did in the picture, but they didn’t and they still tasted amazing.
The only thing I changed in the recipe was to add a little bit of their Sticky Bun Sugar along with the Baker’s Cinnamon Filling. Even though I didn’t add more than 2 tablespoons or so, I did seem to notice the difference in the buns.

caramel-nut cinnamon buns
Ingredients:
dough
- 1 1/4 cups lukewarm water
- 3 1/2 cups King Arthur Unbleached All-Purpose Flour
- 2 tablespoons grape seed flour, optional, for extra antioxidants
- 3 tablespoons Baker’s Special Dry Milk or nonfat dry milk
- 2 tablespoons sugar
- 3 tablespoons butter
- 2 teaspoons baking powder
- 1 1/4 teaspoons salt
- 2 teaspoons instant yeast
- 2 teaspoons Buttery Sweet Dough Flavor or vanilla extract
- 1 cup Baker’s Cinnamon Filling* mixed with 1/4 cup water
- 2 tablespoons Sticky Bun Sugar, optional
- 1 cup chopped walnuts, optional
- 1/2 cup caramel bits, optional
- *Or substitute 6 tablespoons butter, 1 cup brown sugar, and 3 tablespoons ground cinnamon for the Baker’s Cinnamon Filling mix and water (don’t add water if you make this substitution).
- 1/2 cup caramel bits, block caramel, or unwrapped vanilla caramel candies
- 3 tablespoons heavy cream or half & half
- ½ cup sugar
- 1/3 cup mint leaves, washed, dried and removed from stems
- Zest from 2 limes
- 1” piece of fresh ginger root, peeled, sliced and roughly chopped
- Juice from 1 lime
- 1 box prepared frozen puff pastry, thawed overnight in the refrigerator
- 2 1/2 cups Bing cherries, pitted and halved
- 1/4 cup granulated sugar
- 1 teaspoon lemon juice
- 1 tablespoon corn starch
- flour for rolling out the dough
- 1 large egg, beaten
- Turbinado sugar for sprinkling
filling
glaze
Combine all of the dough ingredients, and mix and knead them together — by hand, mixer, or bread machine — until you’ve made a soft, smooth dough.
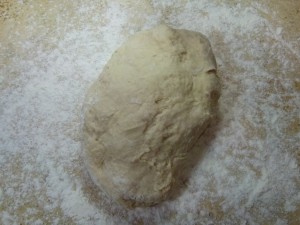
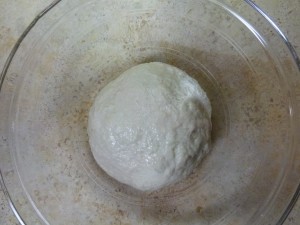
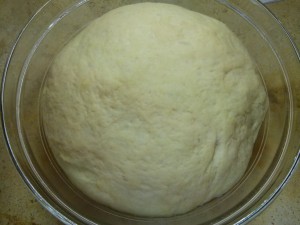
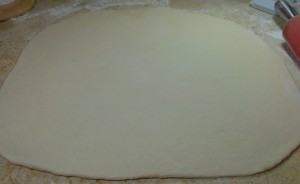
Gently deflate the dough, and roll it into an 18″ x 18″ square.
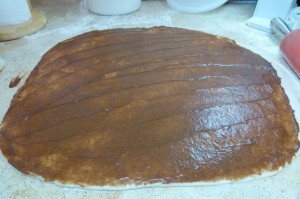
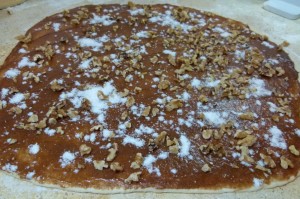
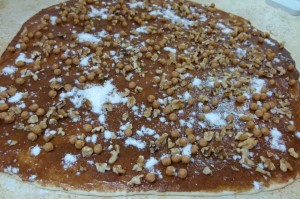
Spread with the prepared cinnamon filling, the optional sticky bun sugar, if using, then sprinkle with the chopped nuts and caramel bits, leaving an uncovered strip about 1″ wide along one side.
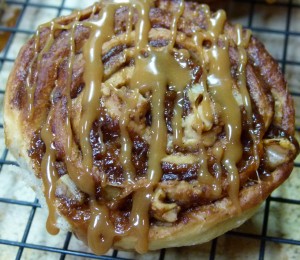
Roll into a log starting with a filling-covered end opposite the unfilled end. If you want the buns to pop like a corkscrew, as shown in the picture, roll the dough tightly, stretching the dough as you roll it up.
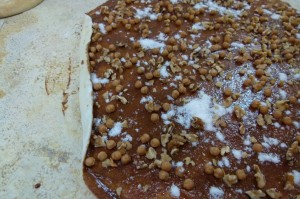
Slice the log into 12 pieces; if your knife sticks, dip it in hot water between cuts. Or use dental floss to cut the dough.
Place the buns in the prepared muffin pan, or space them on a baking sheet.
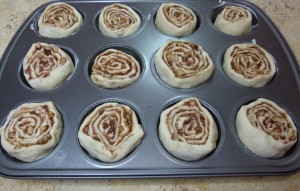
Cover, and let the buns rise until puffy, about 60 minutes. Towards the end of the rising time, preheat the oven to 350°F.

Bake the buns for 20 to 24 minutes, until they’re a light golden brown.

Remove them from the oven, and place on a rack to cool slightly, while you make the glaze.

Serve warm, or at room temperature.
Rustic Pasta & Bean Soup
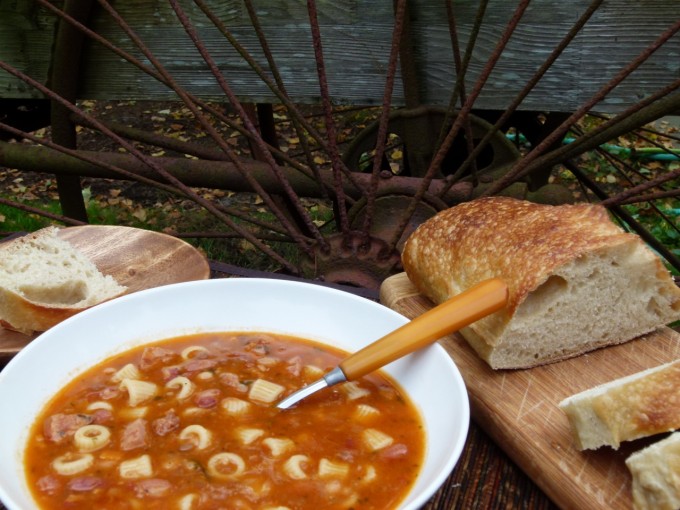 Evan wanted soup for dinner on Saturday night. My schedule wouldn’t allow me the time I needed then to make it for him, but on Sunday it did. I shopped for ingredients Saturday night and soaked the beans overnight so they were ready to use this morning.
I knew I wanted a rustic-style bean soup with pasta, but to make a meal out of it I wanted to add meat to it. I decided on a combination of meats, using Italian pancetta, smoked sausage and sweet Italian sausage. Because I used didn’t use huge quantities of any meat, none of them overwhelmed the soup.
For the beans I wanted a mixture, and decided on small white and pink beans combined. But to make it a little different I decided to also use Spanish pardina lentils. I’ve never used these before, but I believe they are like the small French green lentils that I love. They’re great because they keep their shape when cooked. What you have to remember about these lentils is that unlike a traditional lentil, a quick sauté helps to ‘seal’ them so they don’t explode when cooking. I’ve done that for this soup. You could also use some beluga lentils instead.
I used 1 teaspoon salt for the recipe, but did find it a little salty. I’ve eliminated the salt entirely, but adjust for taste and add it towards the end if you find it needs salt.
Rustic Pasta & Bean Soup
Ingredients:
¾ cup dried small white beans, picked over, soaked in water overnight, drained & rinsed
¾ cup dried pink beans, picked over, soaked in water overnight, drained & rinsed
3 tablespoons olive oil
5 oz. pancetta, sliced thick and diced
8 oz. sweet Italian sausage, casings removed
½ pound smoked sausage, such as smoked keilbasa or linguica, cut into small pieces.
1 medium-large Spanish onion, diced
2 medium carrots, peeled and finely diced
3 cloves garlic, minced or pressed
2-1/2 oz. Spanish pardina lentils or French green lentils, rinsed
3 tablespoons minced fresh flat-leaf parsley, divided
1 sprig fresh thyme
1 sprig fresh rosemary
4 fresh bay leaves of 2 dry
1 teaspoon salt
½ teaspoon freshly ground pepper
2 tablespoons tomato paste
4 canned whole plum tomatoes, roughly chopped (that’s 4 tomatoes, not 4 cans of tomatoes)
16 cups low-salt chicken stock
Rind from chunk of good-quality Parmesan cheese (optional)
7 oz. tubetti, macaroni or other small tubular pasta
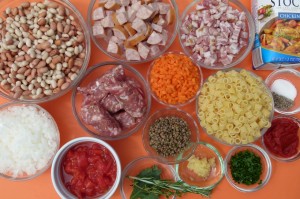
Have all of your ingredients prepped and ready before you start to cook. This soup goes together quickly once you get it started.
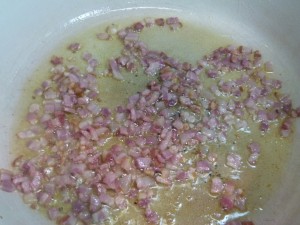
In a large Dutch oven over medium-high heat, warm the olive oil. Add the pancetta and cook, stirring frequently, until starting to brown.
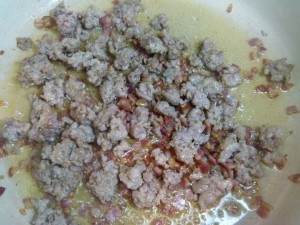
Add the sausage, breaking it up with your fingers as you add it to the pot. Stir frequently to cook evenly and break up pieces with your spoon.
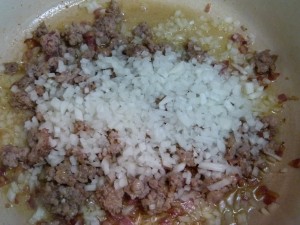
When the sausage has lost it’s pink color, add the onion, stirring to combine. Cook about 2 minutes, stirring occasionally, being careful not to brown the onion.
Add the garlic, stir, and cook another minute.
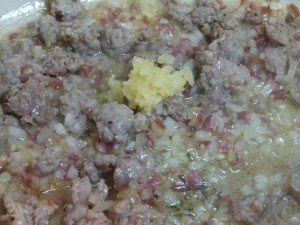
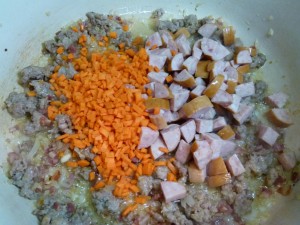
Add the carrots and smoked sausage and cook for a minute or two more.
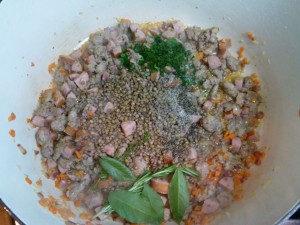
Add the lentils and herbs, stir to combine, and cook another minute to release flavors and seal the lentils.
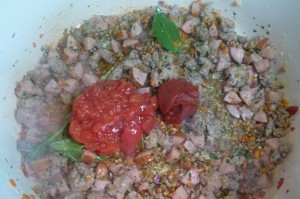
Add the tomato paste and chopped plum tomatoes and stir to combine.
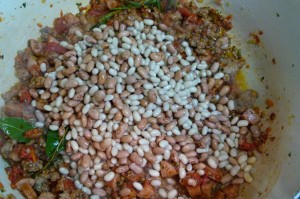
Add the soaked and rinsed beans and stir to combine.
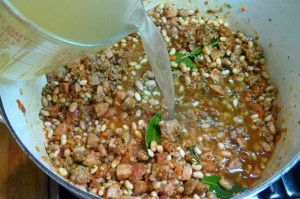
Add the chicken stock to the pot.
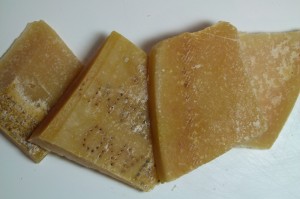
Add the Parmesan cheese rind (if using).
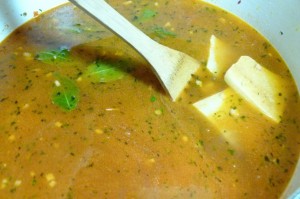
Note that we have not added the macaroni yet.
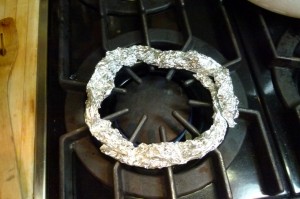
Reduce heat to the lowest setting. I like to put a ring of wadded tin foil under my pot to keep the simmer as low as possible. Cover pot and cook, stirring occasionally, until beans are tender, about 1-1/2 hours.
Remove parmesan rinds (if used) and bay leaves, rosemary and thyme stems. Adjust seasoning to taste and add salt if necessary and more pepper if desired.
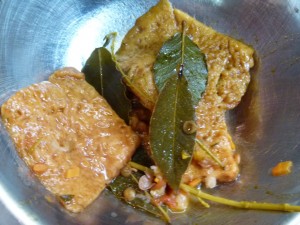
The parmesan rinds look pretty nasty when you remove them, but they've imparted a wonderful flavor into the soup.
If you are not going to be eating this soup right away, this would be your stopping point until you are ready to serve it. Refrigerate until ready to finish.
If you cook the pasta into the soup and don’t eat it right away, the pasta will start to get mushy. If don’t plan on eating all of the soup at once, but perhaps have some to extra to freeze, then take what you won’t need and put it in containers before you cook the pasta. You can add the pasta later when you re-heat that soup. For the remaining soup, your measuring of pasta does not need to be precise in any way. Just throw in however much you want in the soup, stir, cover, and cook for 15 minutes.
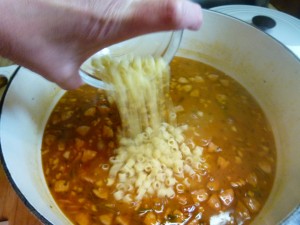
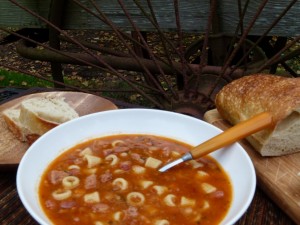
If soup is too thick, add more stock and thin as desired. Serve immediately with a good crusty bread.
Here’s the recipe again if you’d like to print it without all the photos.
Rustic Pasta & Bean Soup
Ingredients:
¾ cup dried small white beans, picked over, soaked in water overnight, drained & rinsed
¾ cup dried pink beans, picked over, soaked in water overnight, drained & rinsed
3 tablespoons olive oil
5 oz. pancetta, sliced thick and diced
8 oz. sweet Italian sausage, casings removed
½ pound smoked sausage, such as smoked keilbasa or linguica, cut into small pieces.
1 medium-large Spanish onion, diced
2 medium carrots, peeled and finely diced
3 cloves garlic, minced or pressed
2-1/2 oz. Spanish pardina lentils or French green lentils, rinsed
3 tablespoons minced fresh flat-leaf parsley, divided
1 sprig fresh thyme
1 sprig fresh rosemary
4 fresh bay leaves of 2 dry
1 teaspoon salt
½ teaspoon freshly ground pepper
2 tablespoons tomato paste
4 canned whole plum tomatoes, roughly chopped (that’s 4 tomatoes, not 4 cans of tomatoes)
16 cups low-salt chicken stock
Rind from chunk of good-quality Parmesan cheese (optional)
7 oz. tubetti, macaroni or other small tubular pasta
Have all of your ingredients prepped and ready before you start to cook. This soup goes together quickly once you get it started.
In a large Dutch oven over medium-high heat, warm the olive oil. Add the pancetta and cook, stirring frequently, until starting to brown. Add the sausage, breaking it up with your fingers as you add it to the pot. Stir frequently to cook evenly and break up pieces with your spoon. When the sausage has lost it’s pink color, add the onion, stirring to combine. Cook about 2 minutes, stirring occasionally, being careful not to brown the onion. Add the garlic, stir, and cook another minute. Add the carrots and smoked sausage and cook for a minute or two more. Add the lentils and herbs, stir to combine, and cook another minute to release flavors and seal the lentils. Add the tomato paste and chopped plum tomatoes and stir to combine. Add the soaked and rinsed beans and stir to combine. Add the chicken stock, 4 cups at a time, stirring after each addition. Add the Parmesan cheese rind (if using). Note that we have not added the macaroni yet.
Reduce heat to the lowest setting. I like to put a round of wadded tin foil under my pot to keep the simmer as low as possible. Cover pot and cook, stirring occasionally, until beans are tender, about 1-1/2 hours.
Remove parmesan rinds (if used) and bay leaves, rosemary and thyme stems. Adjust seasoning to taste and add salt if necessary and more pepper if desired.
If you are not going to be eating this soup right away, this would be your stopping point until you are ready to serve it. Refrigerate until ready to finish.
If you cook the pasta into the soup and don’t eat it right away, the pasta will start to get mushy. If don’t plan on eating all of the soup at once, but perhaps have some to extra to freeze, then take what you won’t need and put it in containers before you cook the pasta. You can add the pasta later when you re-heat that soup. For the remaining soup, your measuring of pasta does not need to be precise in any way. Just throw in however much you want in the soup, stir, cover, and cook for 15 minutes.
If you have stopped the cooking to serve it later, return the soup to a simmer and continue as above by adding pasta, cooking, and thinning if needed.
Fruit Salad with Mint, Lime & Ginger Sugar
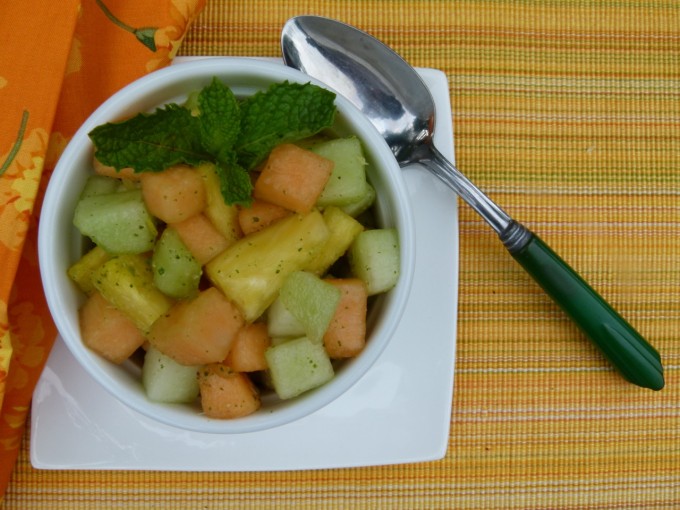
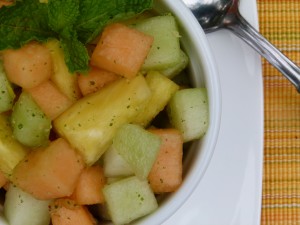
I’m not one to gush about a recipe that I’ve thrown together myself, but this fruit salad was great. Everyone that ate it closed their eyes and said “Wow, what is in this?”, and even my husband and kids said it was amazing. It’s really easy, too. The most time-consuming thing is prepping the fruit.
When I was grocery shopping last night all of the melons looked really good, and then there was a really big, ripe pineapple sitting on the shelf, so I picked that up as well. I had bought a tiny watermelon, but in the end decided that I didn’t need it in this fruit salad. You could certainly add watermelon, or really lots of different fruits; mango would be a great addition, as would papaya, or any other kind of melon.
I’ve read a recipe in the past that used a mint sugar, and I love mint with fruit so I thought that would be a good place to start. One of my favorite flavor combinations is lime and cantaloupe — I love to eat a half a cantaloupe that I’ve squeezed a lime into the center of. Try it! But rather than add different flavors separately, I thought that lime zest would also be good ground into the sugar. And once I tried that I thought the extra zing of fresh ginger, which I adore, would be the final ingredient to really make this sugar great. The combination of the mint, lime and ginger all work really well together.
This recipe made enough fruit salad to serve at least 12 or more people and would be a great thing to bring to a party or picnic.
Try it! Let me know what you think.
Fruit Salad with Mint, Lime & Ginger Sugar
Yield: 8-12 cups of fruit salad, depending on the size of your fruits
1 whole pineapple, peeled, cored and cut into pieces
1 whole large cantaloupe, halved, cored, skin removed and cut into small cubes
1 whole honeydew melon, halved, cored, skin removed and cut into small cubes
Sugar Mixture:
Place sugar and mint leaves in bowl of a small food processor.
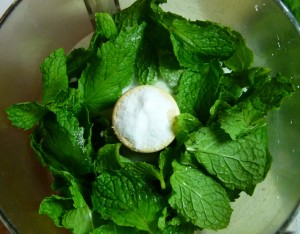
Pulse until mint is very finely chopped and sugar has turned green.
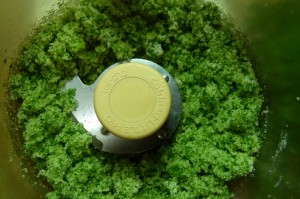
Add the lime zest and pulse again until lime zest is finely ground and sugar is a darker green.
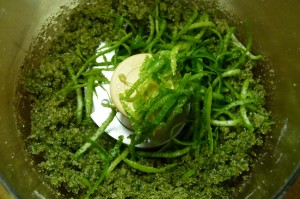
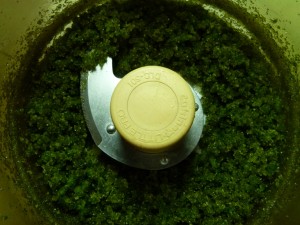
Add the chopped ginger and pulse again, scraping down bowl once and blending one final time.
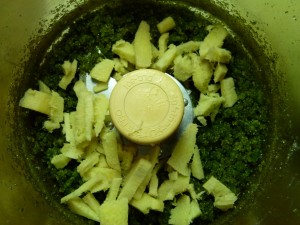
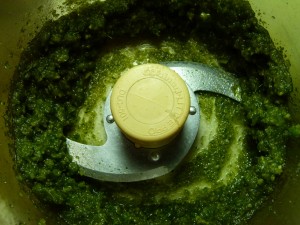
Add chopped pineapple to a large work bowl and top with about a tablespoon of the sugar mixture. Using clean hands, mix well until the sugar coats all the pineapple.
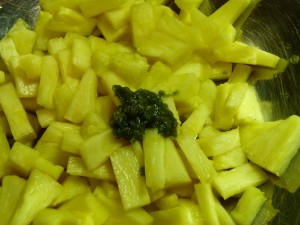
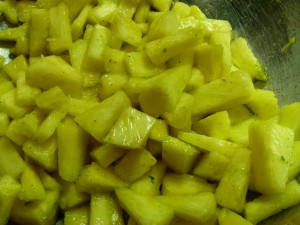
Add the cubed cantaloupe to the pineapple and again top with about a teaspoon of the sugar mixture. Mix well with your hands to combine.
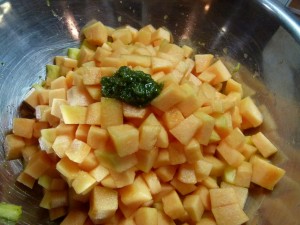
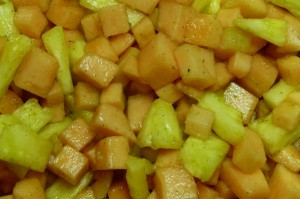
Add the cubed honeydew melon to the fruit and scrape all of the remaining sugar mixture onto the melon. Pour the lime juice onto fruit. Again, using clean hands, carefully toss the fruit to evenly distribute the sugar mixture.
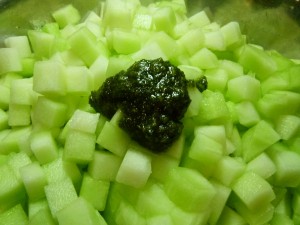
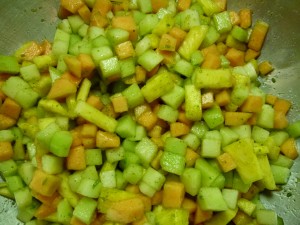
Garnish with fresh mint leaves and serve immediately, or keep refrigerated until ready to serve.
Crispy Corn Fritters with Fresh Cilantro
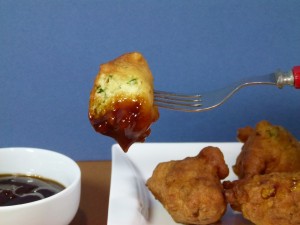
My oldest daughter has always loved Southern food, which may have contributed to her decision to go to college in Kentucky. I’ve got a trip planned to go down to Lexington to see her at the end of the month, and in typical fashion our plans are all revolving around the new restaurants she wants me to come try with her. There’s Alfafa’s that has the most delicious pancakes I have ever eaten along with cheese grits and country ham. I love to eat at Doodles, (which stole my idea of opening a place in an old garage) and serves “comfort food with a conscience”, serving local organic food whenever possible. They’ve got a terrific assortment of delicious offerings including Pigs and Puffs; four pieces of crisp bacon resting on top of four fluffy New Orlean’s style beignets. Yumm! Eating these inspired me to make my own, and you’ll find that post here.
I think I made fritters for the first time when I was in my teens. I made small donut-hole sized apple fritters. I loved them and they were so much better than the enormous fritters I found in stores around here. With local corn season in full swing here we’ve been eating some really great ears. I thought this recipe for corn fritters would be a good way to highlight this season’s corn. I got the recipe from a great cookbook I have by Williams Sonoma called Breakfast Comforts. The only thing I changed was to add a little more onion and cilantro. Isn’t everything better with more cilantro in it?
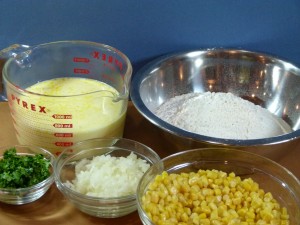
Crispy Corn Fritters with Fresh Cilantro
Makes about 24 fritters
Canola oil for deep-frying
1-1/2 cups all-purpose flour
2 teaspoons baking powder
1 teaspoon fine sea salt
1 cup whole milk
2 large eggs, beaten
1 cup fresh (or frozen) corn kernels
3 tablespoons minced yellow onion
3 tablespoons minced fresh cilantro
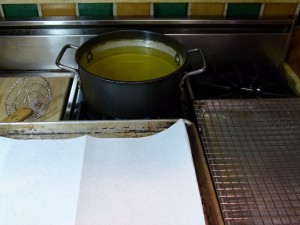
Pour oil to a depth of at least 3 inches into a large, heavy saucepan, preferably cast iton, and heat over high heat to 350 degrees F on a deep-frying thermometer. Preheat the oven to 200 degrees F. Place a wire rack over a rimmed baking sheet and place near the stove.
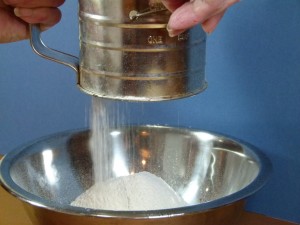
While the oil is heating, in a bowl, sift together the flour, baking powder, and salt.
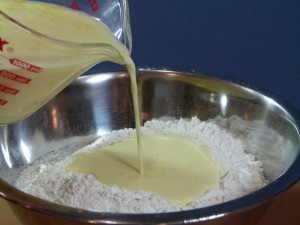
Make a well in the center of the flour mixture. In a separate bowl, whisk together the milk and eggs and pour into the well in the flour mixture.
Stir just until combined.
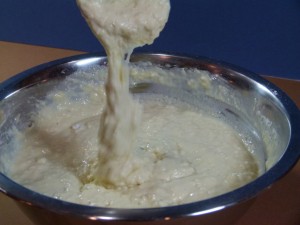
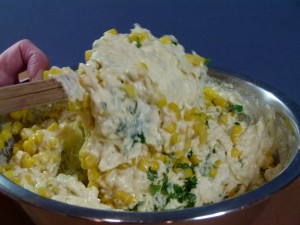
Gently fold in the corn, onion, and cilantro.
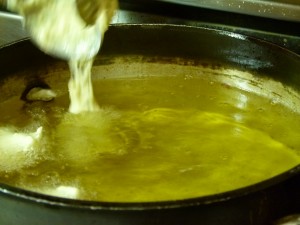
3. In batches to avoid crowding, add tablespoonfulls of the batter to the hot oil.
Deep-fry the fritters until golden brown, turning once at the halfway point, about 3 minutes.
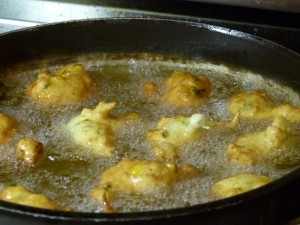
Using a wire skimmer or a metal slotted spoon, transfer to the rack and keep warm in the oven while you fry the remaining fritters.

Serve at once.
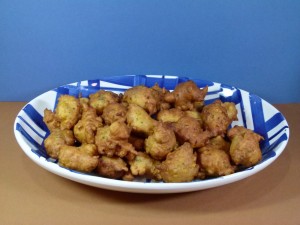
The original recipe called for serving the fritters with maple syrup, but we found barbeque sauce was a really great dipping sauce with them.
Mixed Berry & Peach Scones
I had bought these amazing black raspberries at the farmer’s market several weeks ago. Having no need for them at the time, I layed them out on a baking sheet and froze them IQF (Individually Quick Frozen). While the home method of doing this isn’t as quick as professionals do it using dry ice, the end result is the same — fruit that stays separated and easy to use right out of the freezer. If you were to stick the berry container in the freezer you would end up with one large clump of berries.
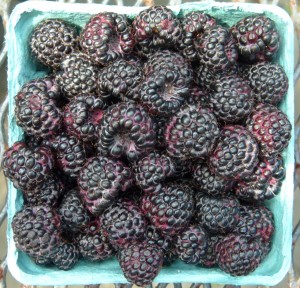
Black Raspberries
The same thing happened this week with some local blueberries I’d bought at the farmer’s market. Nobody was eating them (Evan must not have known they were in there), so I froze those IQF as well.
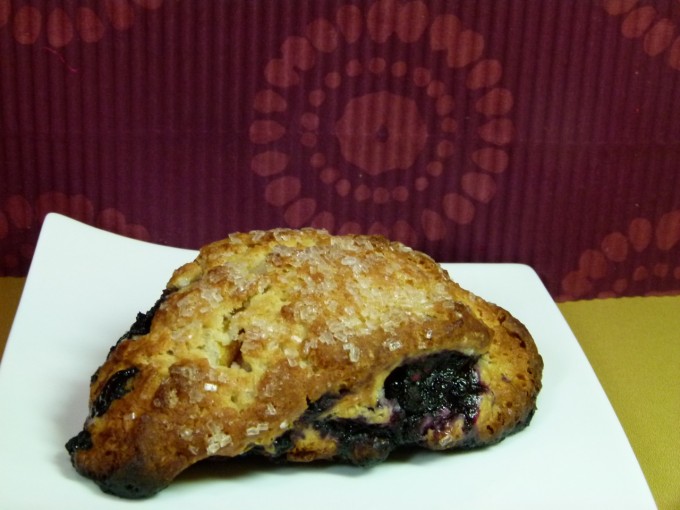
Then I remembered this scone recipe that I’ve often used. Delicious frozen berries are perfect for them. So I went to the store and bought some beautiful blackberries and a peach as well. I diced the peach into a small dice and, together with the blackberries, I froze those IQF as well.
Once everything was frozen I took everything out of the freezer and quickly tossed them together to combine. I put the 1-1/2 cups I needed for this recipe in a bowl, and the rest went into a ziploc freezer bag for later use. Bowl and bag went back into the freezer.

Frozen mixed berries and peaches
Mixed Berry & Peach Scones
Makes 8. Originally published July 1, 2007 by Cook’s Illustrated. Altered by Crafty Farm Girl, 2011.
It is important to work the dough as little as possible—work quickly and knead and fold the dough only the number of times called for. The butter should be frozen solid before grating. In hot or humid environments, chill the flour mixture and workbowls before use. While the recipe calls for 2 whole sticks of butter, only 10 tablespoons are actually used. Refrigerate or freeze leftover scones, wrapped in foil, in an airtight container. To serve, remove foil and place scones on a baking sheet in a 375-degree oven. Heat until warmed through and recrisped, 8 to 10 minutes if refrigerated, 16 to 20 minutes if frozen. See final step for information on making the scone dough in advance.
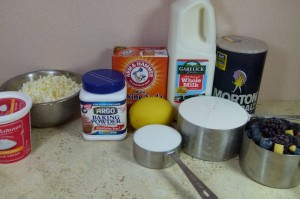
Ingredients
16 tablespoons unsalted butter (2 sticks), frozen whole (see note above)
1-1/2 cups fresh blueberries (about 7 1/2 ounces), picked over (see note)
1/2 cup whole milk
1/2 cup sour cream
2 cups unbleached all-purpose flour (10 ounces), plus additional for work surface
1/2 cup sugar (3 1/2 ounces), plus 1 tablespoon for sprinkling if you aren’t using the white sanding sugar
2 teaspoons baking powder
1/4 teaspoon baking soda
1/2 teaspoon table salt
1 teaspoon grated lemon zest
White sanding sugar (optional)
Instructions
Adjust oven rack to middle position and heat oven to 425 degrees. Score and remove half of wrapper from each stick of frozen butter. Following photo at left, grate unwrapped ends on large holes of box grater (you should grate total of 8 tablespoons). Place grated butter in freezer until needed. Melt 2 tablespoons of remaining ungrated butter and set aside. Save remaining 6 tablespoons butter for another use. Place blueberries in freezer until needed.
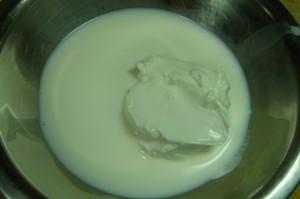
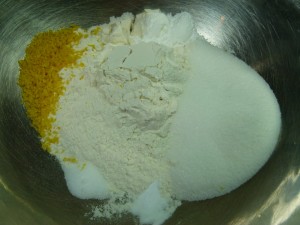
Whisk together milk and sour cream in medium bowl; refrigerate until needed. Whisk flour, 1/2 cup sugar, baking powder, baking soda, salt, and lemon zest in medium bowl.
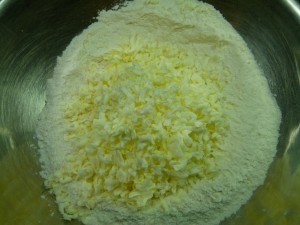
Add frozen butter to flour mixture and toss with fingers until thoroughly coated.
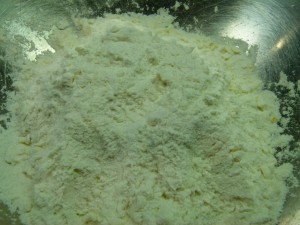
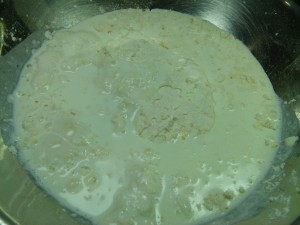
Add milk mixture to flour mixture; fold with spatula until just combined.
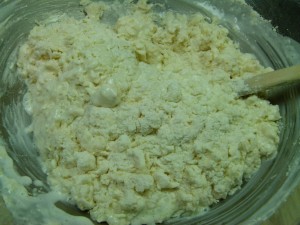
With rubber spatula, transfer dough to liberally floured work surface. Dust surface of dough with flour; with floured hands, knead dough 6 to 8 times, until it just holds together in ragged ball, adding flour as needed to prevent sticking.
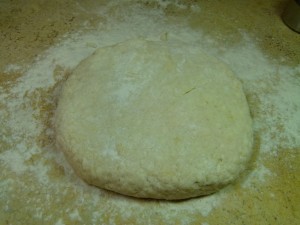
Roll dough into approximate 12-inch square. Following illustrations, fold dough into thirds like a business letter, using bench scraper or metal spatula to release dough if it sticks to countertop. Lift short ends of dough and fold into thirds again to form approximate 4-inch square. Transfer dough to plate lightly dusted with flour and chill in freezer 5 minutes.
Transfer dough to floured work surface and roll into approximate 12-inch square again. Sprinkle berry mixture evenly over surface of dough, then press down so they are slightly embedded in dough.
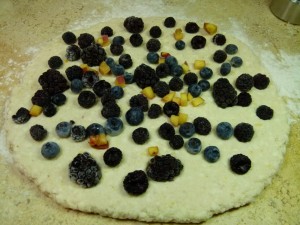
Using bench scraper or thin metal spatula, loosen dough from work surface. Roll dough, pressing to form tight log. Lay seam-side down and press log into 12 by 4-inch rectangle.
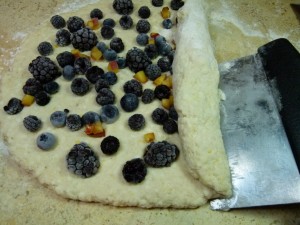
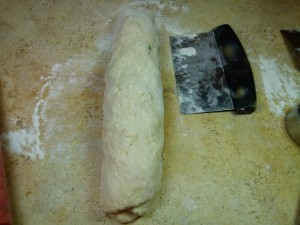
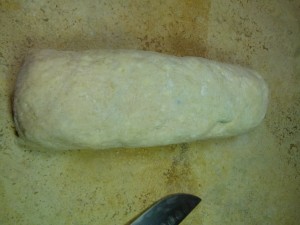
Push the dough at the ends and at any thick or thin points to make a more even log
Using sharp, floured knife, cut rectangle crosswise into 4 equal rectangles. Cut each rectangle diagonally to form 2 triangles and transfer to parchment-lined baking sheet.
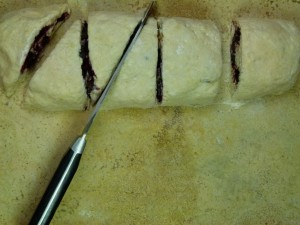
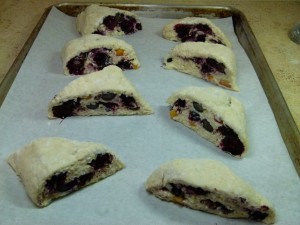
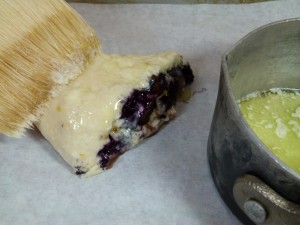
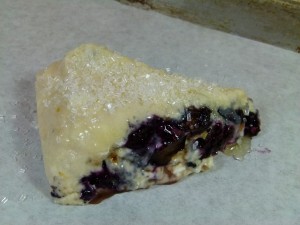
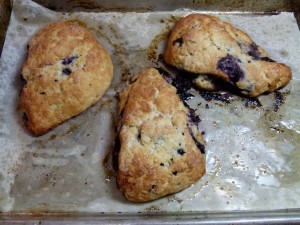
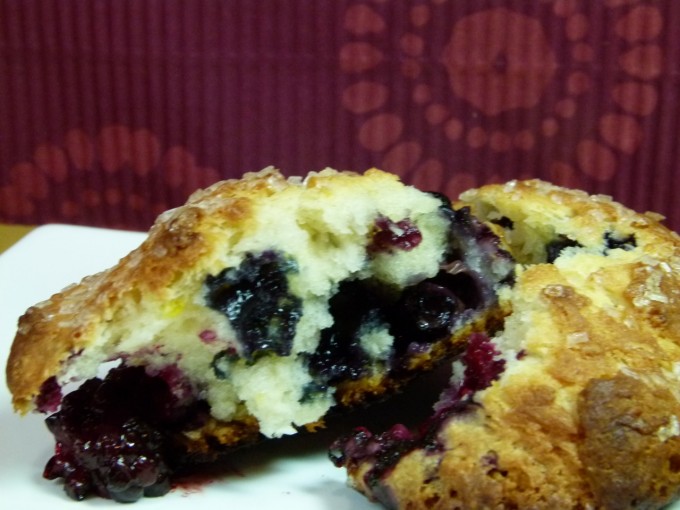
Brush tops with melted butter and sprinkle with sanding sugar or the remaining tablespoon sugar. Bake until tops and bottoms are golden brown, 18 to 25 minutes. Transfer to wire rack and let cool 10 minutes before serving.
To Make Ahead:
After placing the scones on the baking sheet, either refrigerate them overnight or freeze. When ready to bake, for refrigerated scones, heat oven to 425 degrees and follow directions in step 6. For frozen scones, heat oven to 375 degrees, follow directions in step 6, and extend cooking time to 25 to 30 minutes.
Strawberry Compote
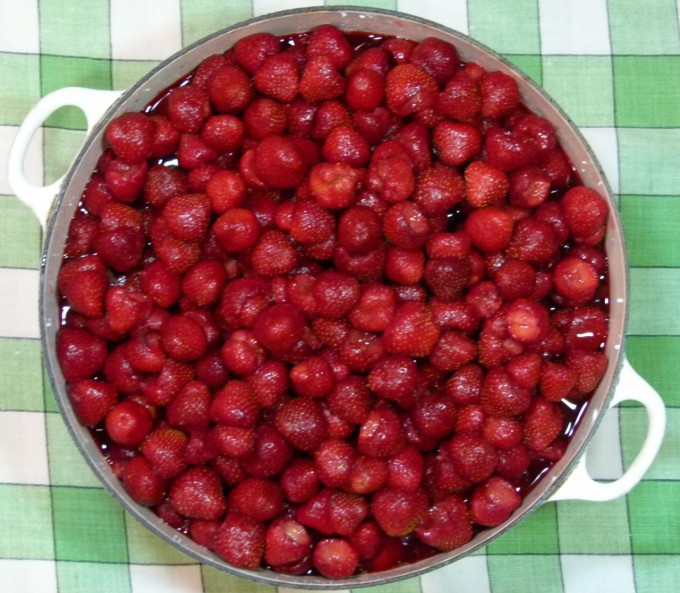
An enormous pot of freshly picked strawberries
I was just doing a rare cruise-around on the internet of some of my old and favorite blogs, and noticed that Molly Wizenberg of Orangette had a lovely piece called You Don’t Forget today about strawberry compote. I could relate so much with this post I just had to put a link to it here. Not only am I a fanatical jam-maker but not a jam-eater, I am crazy about strawberry compote. Yet for some reason, this particular product seems to mystify and confuse most people.
I just thought you might enjoy reading it today. Click here or the link above if you’d like to check it out.
Fresh & Easy Cherry Turnovers

I am not used to being in Wyoming so early in June. I’m more used to early July, when cherry season has started over in Idaho. I can usually drive over Teton Pass and find several farmers selling their fresh-picked cherries from the back of their trucks along the road. Given the weather they’ve had this winter and spring, I’m not sure when the cherries will be ripe this year — August?
However, I quickly copied this recipe from my Breakfast Comforts cookbook by Williams-Sonoma (which is a lovely breakfast/brunch cookbook) and stuffed it in my folder before I left, hoping to find some fresh cherries to make them with. Alas there were no Idaho cherries to be found, but there were some lovely ones at the grocers, so I decided to give them a try. They were light and delicious and the filling was perfect. Not too sweet, and the cherries still had some firmness to them as they are only cooked briefly. They were really easy to put together and I froze the leftovers for our next trip out there.
Please excuse the photo quality here. I am not quite as well set-up for food photography in Wyoming as I am in Connecticut.
Flaky Cherry Turnovers
Original recipe from Breakfast Comforts by Williams-Sonoma
Yield: 9 turnovers. Note: The original recipe called for the books’ Quick Puff Pastry. I decided to use ready-made puff pastry, which yielded 8 turnovers.
Have ready a stainless steel bowl set in a larger bowl of ice water. In a heavy, medium saucepan, combine the cherries, sugar, and lemon juice.
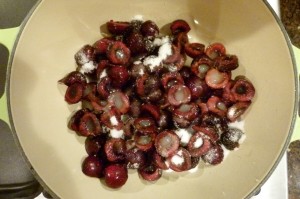
Cover and cook over medium-low heat, stirring often, until the cherries give off their juices and are tender, about 5 minutes. Taste and add more sugar, if desired (I added another tablespoon to mine).
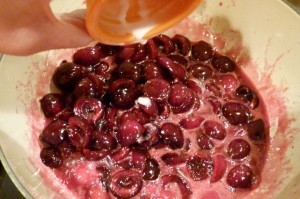
In a small bowl, sprinkle the cornstarch over 1 tablespoon of cold water and stir to dissolve. Stir in to the simmering cherry mixture and cook until thickened, about 30 seconds.
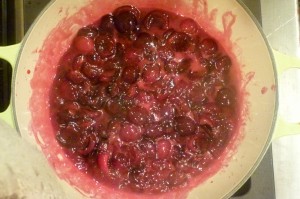
Transfer to the stanless steel bowl set in the bowl of ice water and let stand until chilled, about 20 minutes.
Line a rimmed baking sheet with parchment paper. Roll out the puff pastry, one sheet at a time, to approximately 10″ x 10″ square. Cut this into 4 equal 5″ squares, evening edges if necessary. Using a pastry brush, brush water lightly around the edge of the square. Place about 2 tablespoons of the chilled filling just off the center of a pastry square.
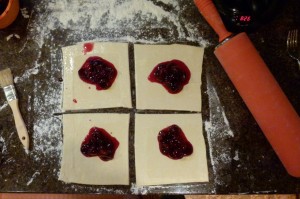
Fold the square in half diagonally so two points meet and enclose the filling. Using a fork, press and seal the edges closed.
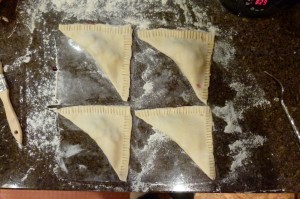
Place on the baking sheet. Repeat with the remaining pastry squares and filling. Refrigerate, uncovered, for 15-30 minutes. Repeat with remaining puff pastry sheet.
Preheat the oven to 375 degrees F. Brush the tops of the pastries with some of the beaten egg. Sprinkle the tops with the turbinado sugar.
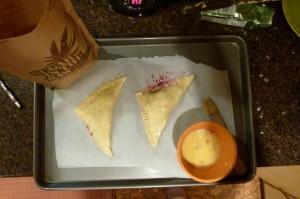
Bake until the turnovers are puffed and golden brown with no signs of uncooked dough, 20-25 minutes. Let cook on the baking sheet for 10-15 minutes. Serve warm or at room temperature.

Ribboned Asparagus Salad
Long after we stopped spending time in Point ‘O Woods on Fire Island during the summer Amanda would still go out for a week every summer to spend time with the friends she’d made there. She told me that one of her friends dads used to make this asparagus that was peeled into strips with a vegetable peeler almost every night and how much she loved it. When I saw Smitten Kitchen had a recipe for a salad like this posted the other day I had to try it.
I did not create this recipe or alter it at all from the original, I know. Weird. I was tired tonight and it’s been a very long week.
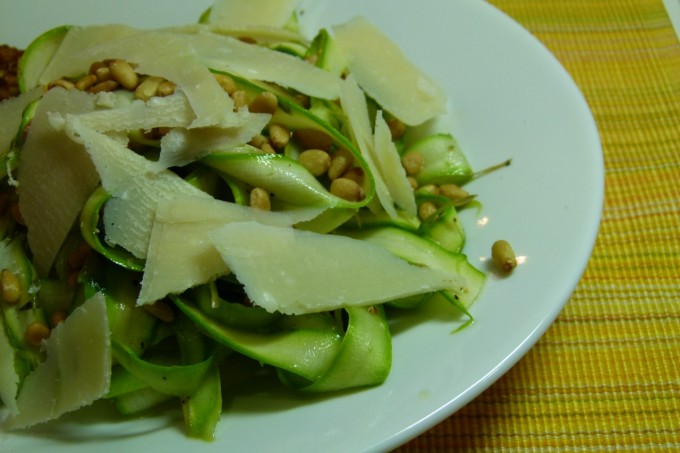
Ribbony Asparagus Salad with Lemon and Parmesan
From Smitten Kitchen who was Inspired by the Union Square Cafe
There are no exact measurements in this recipe. Everything is to taste, so taste as you go along to make sure you’re getting all the Parmesan, nutty, and lemony flavors you want.
1/4 cup pine nuts or sliced almonds, toasted* and cooled
1 pound asparagus, rinsed
1 lemon, halved
Olive oil
Coarse salt
Freshly ground black pepper
1 to 2 ounces Parmesan cheese
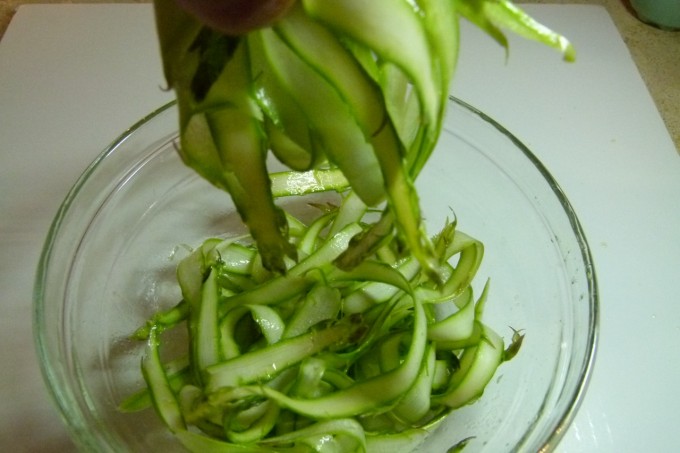
No need to snap off the tough ends of your asparagus. Lay a single stalk on its side on a cutting board. Holding onto the tough end, use a vegetable peeler (a Y-shaped peeler is easiest, but I’ve used a standard one successfully) to shave off thin asparagus ribbons from stalk to tip, peeling away from the tough end in your hand. Discard the tough ends once you’re done peeling (or feed them to the chickens and goats).
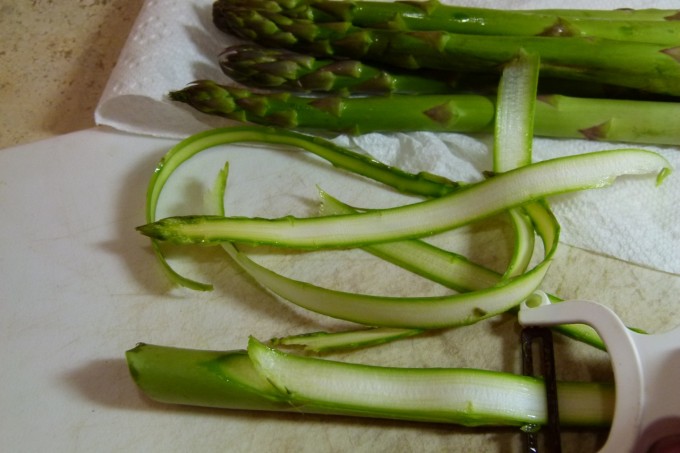
Gently pile your ribbons on a medium-sized serving platter.
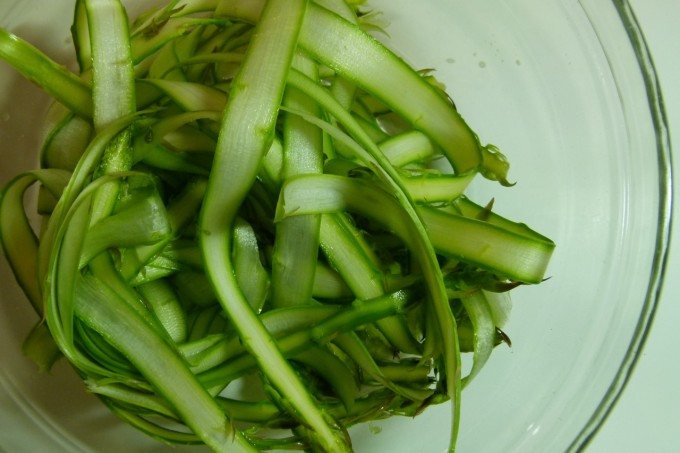
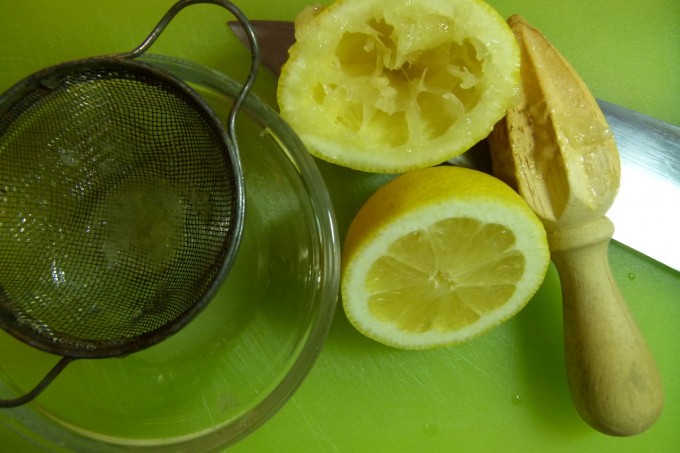
Squeeze some lemon juice over the asparagus,
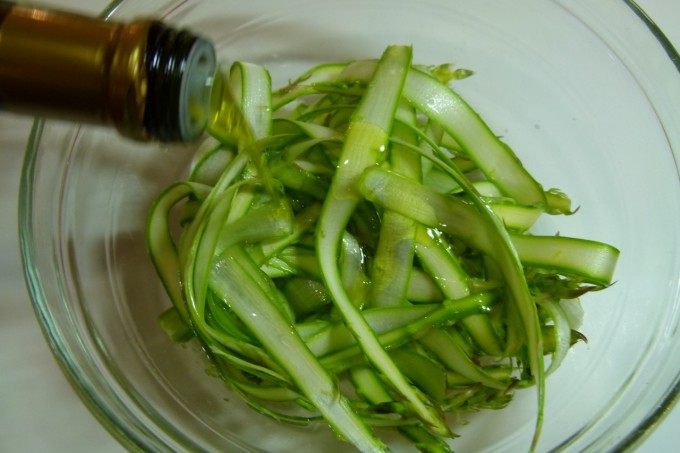
drizzle it with a bit of olive oil
and sprinkle it with salt and pepper.
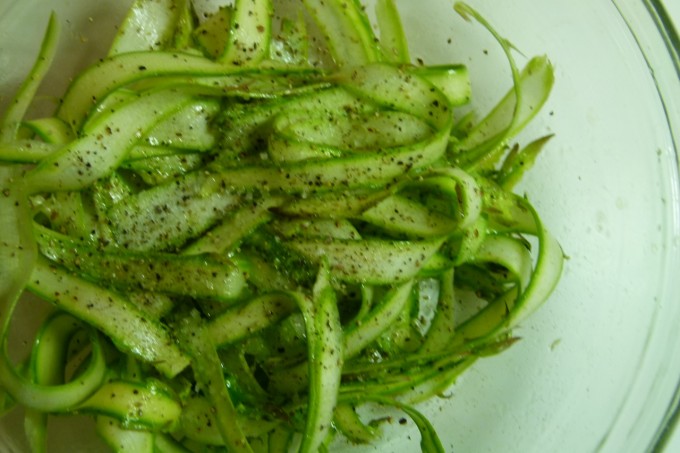
Toss gently.
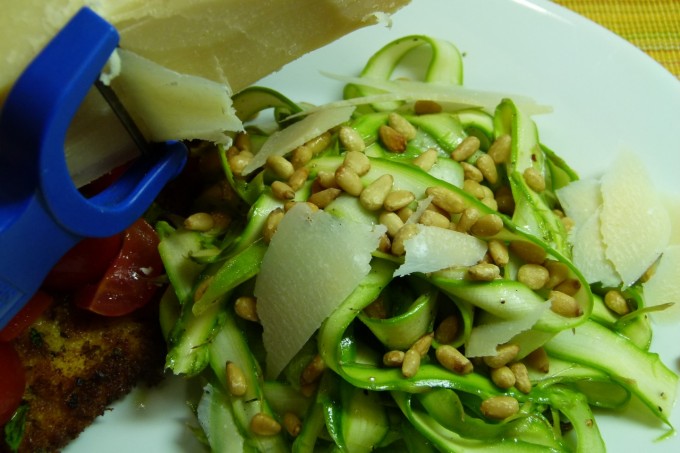
Then use your peeler to shave curls of Parmesan right off the block, over the asparagus. Sprinkle with some toasted nuts. Repeat with remaining asparagus, a third of the remaining bundle at a time. Eat immediately.
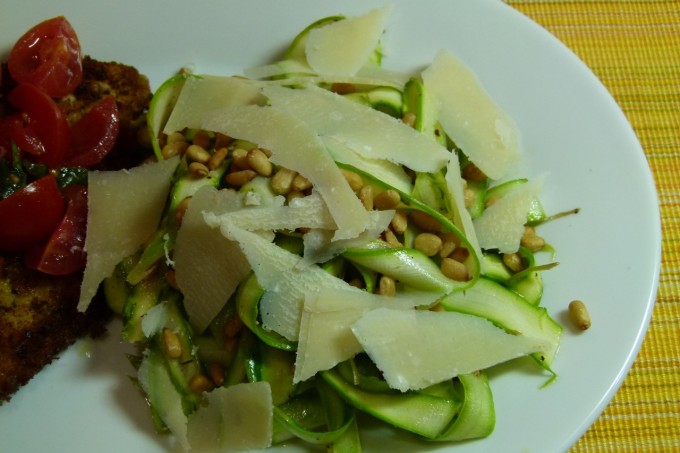
* I toast mine in a single layer on a baking sheet at 350 for 5 to 10 minutes. It’s really important, especially with pine nuts, that you stay close and toss them frequently because they love to burn, but if you move them around a bit, you can get a wonderful, even coffee coffee color on them and an intensely nutty flavor. It makes even unfancy nuts taste amazing.
 Print This Recipe
