Archives for September 2011

Sweater Covered Bangle Bracelets


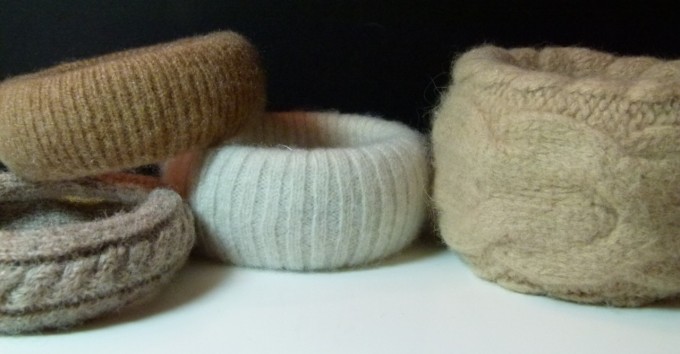
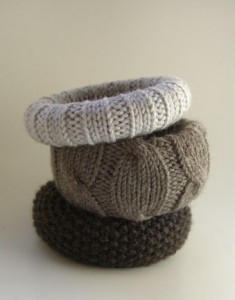
I saw this great pin on Pinterest.com the other day for these terrific looking knitted bangle bracelets by leftcoastknits.

Ravelry.com's knitted bracelet cuffs

Now I can knit, and I used to knit a lot, but I was I could never get beyond the basic knit and purl stitches. No complicated cables and rope stitches for me. And since I was usually knitting something for felting, that was all I needed to know. If you can do these fancy stitches, then just click the link to Ravelry.com and happy knitting!

For those less coordinated readers, you might want to try what I did with similar results to the Ravelry knit ones.

First I dragged the kids to the mall and went in search of cheap bangle cuff bracelets. The cheapest ones I could find were at Forever 21, so I picked up 4 of them in varying widths. It doesn’t matter how ugly they are since you’ll be covering it up.
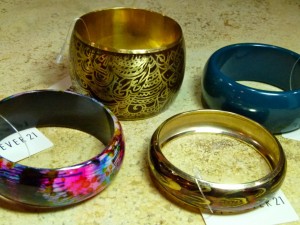
I’m always scouring the local thrift shops for inexpensive wool or cashmere sweaters for a few dollars a piece. Sometimes I’m lucky enough to find a good one that will fit Amanda and I send it down to her at college, but mostly I buy them to felt, so it doesn’t matter if it’s got a few moth holes or it’s already a little mis-shapen from an unexpected trip in someone’s washing machine. I throw them in the wash on the hottest setting and they naturally felt up and bind together. I’ve got a big project I plan on working on this winter with all of the sweaters I’ve been collecting and my new overlock sewing machine.

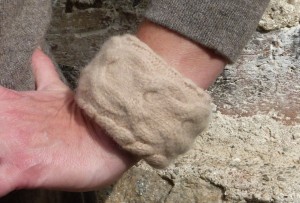
But in the meantime, I knew I had some great sweater scraps from previous projects that would be perfect for this project, so I pulled out some sweater pieces in the colors I had in mind, matching them to the bracelets. I had just picked up a nice wool cardigan at the thrift store that I’d felted already, and it had a nice small cable going down the front of it that would be perfect for the final bracelet.
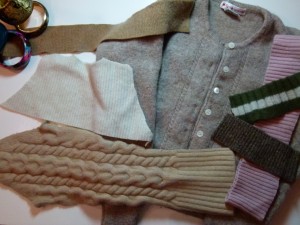
I matched up the bracelets with the sweater scraps.

Then I got my work area prepared. I needed fabric glue, (I used Beacon Adhesive’s Fabri-Tac glue, which worked really well), inexpensive or disposable brushes for the glue, (I buy these by the bag for my woodworking projects), good fabric scissors and some craft scissors.
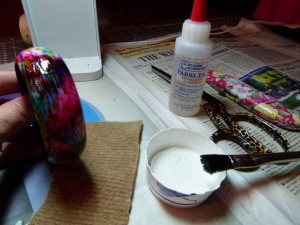
Gather all of the materials you'll need before you start. This glue dries quickly and you have to work fast.

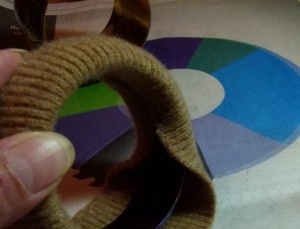
Then, once I decided which bracelet size was most appropriate for which sweater piece, I started. Taking the first bracelet and sweater piece, I made sure that the edge of the sweater piece was straight. Then I measured roughly for length by wrapping it around the bracelet and cutting the piece a little long. I did the same for the width – rolling the fabric inside the bracelet and cutting it a little long. My goal was to join the middle seams if possible inside the bracelet.
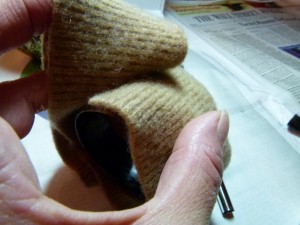

Then I started by applying glue on about half of the outside of the bracelet. At first I had put the glue in a paper cup to use, but I found that squeezing it directly onto the bracelet was easier. Lay the sweater piece on your work surface and, starting at the beginning of the glued area, roll the bracelet over the fabric, bring careful to keep the sweater straight as you roll.
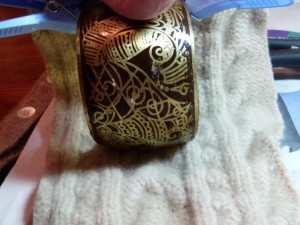

Repeat with the second half of the bracelet. When you get back to where you started, carefully cut the sweater so your end seams but together. You may need to apply a little extra glue to get a good, tight seam.
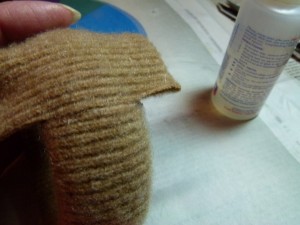

Now apply glue to the inside of the bracelet. I found this easiest to do one side at a time, and I did seem to have to trim a little triangle off of the seam corners to get it to fit properly. It’s OK if your seams don’t but together perfectly on the inside, but you don’t want them to overlap.

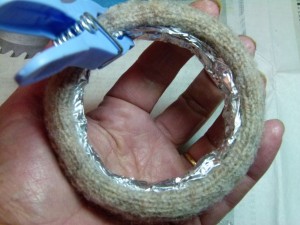
One of the bracelets wasn’t flat on the inside, but had a concave shape to it. For this one in particular I found it helpful in the short drying time to wad up some non-stick aluminum foil and press it into the center of the bracelet. Some clothespins were helping in keeping it in place while it dried. If you’re having trouble keeping any seam down you might want to try something like this technique.

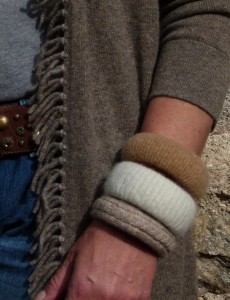
That’s it! I finished 4 bracelets in less than an hour. Now I’ve got some great bangles to wear with this new sweater I bought for fall.
Pin It

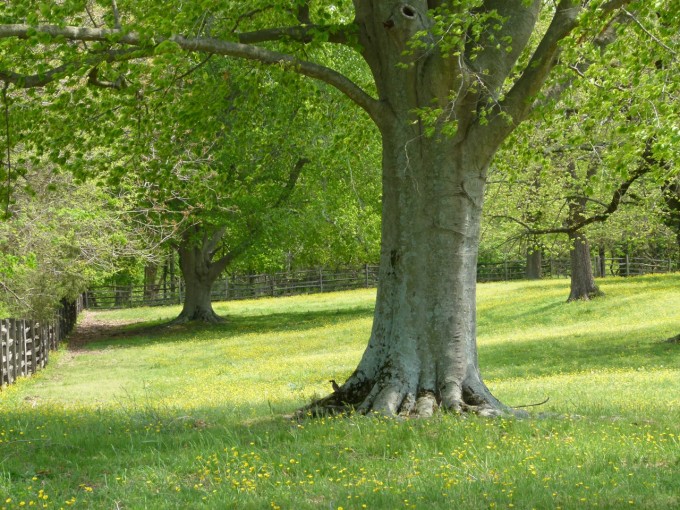
Field of Green

This lovely field was in Williamsburg, Virginia. I don't think the grass here in Connecticut is every quite that shade of green. Beautiful.

Every Town Needs a Little Trailer Trash

I live in a nice town. It’s what people refer to as a “commuting suburb”, as many of the men in this town (and some of the women) commute on the train into Manhattan for work (it’s about a 53 minute train ride to New York City.) People have nice houses. They drive nice cars. They wear nice clothes. The movie The Stepford Wives was filmed in the next town.

Stickers like this are extremely popular on the rear of cars around here.


If the people are feeling adventurous they might add a pet sticker.


And dog stickers are popular, often a Labrador Retriever.


These Nantucket, Massachusetts, stickers are popular, often multiple stickers are displayed to show how many years you have spent there.


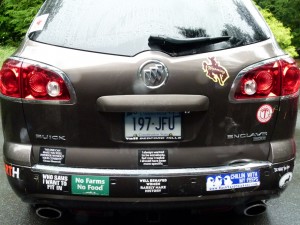
And then there’s the back of my car.

I would just like to point out that dent on the right was caused by my husband backing up into a tree last August. He promised to promptly fix it. This photo was taken 2 weeks ago.


I don’t know when I decided to become one of those crazy bumper sticker people. I don’t think it was a conscious decision. I just realized it was a way for me to speak my mind and not actually have to talk to people.

I’d picked up some new stickers in my travels over the last 6 months so I decided I would take a few off that I’d never fallen in love with and change things up. At the same time I could cover up that stupid un-repaired dent.


I love the back of my car. I love being able to say what’s important to me. I get a lot of friendly comments about my stickers and have had many a fine conversation with strangers about them that start chatting with me. I’ve had people stop to ask me specific questions about chickens and bees that I am more than happy to answer. And a lot of people love one of my favorite quotes “Well behaved women rarely make history.”

I’ve heard there’s some new craft machine out that you can make your own custom car decals with. I was thinking about getting one and cutting out 4 goats, 56 chickens, a couple of thousand bees and a dog and sticking them all over the back window just for laughs.

How the Chickens Do the Composting For Me

Since getting rid of bedding from chicken coops and goat stalls can be an issue for an urban farmer, I thought I’d show you what I do. Now there are two rules I’m governed by here in my town: I am not supposed to create a noise or a smell nuisance with my animals. If I do either of those things the neighbors would have a right to either say something or report me to the health/building department. While I’ve had a neighbor call regularly within the first day or two of a rooster starting to crow, I have never had a complaint about causing a smell nuisance.

Last week India and I cleaned out the goat stalls down to the rubber mats. I don’t find that I have to clean the goat stalls very often, but probably more often in the winter when they spend more time indoors. In the winter though, using the “deep litter” method really does help to keep them warm. I find with goats though, who are such hay wasters, that this method just sort of comes naturally, as all the hay that they toss around just naturally becomes a thin layer of clean bedding.

Armed with my pitchfork, big snow shovel and wheelbarrow, between both stalls I think I hauled 4 big loads of old bedding out of there.

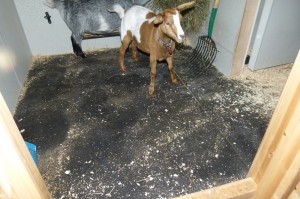
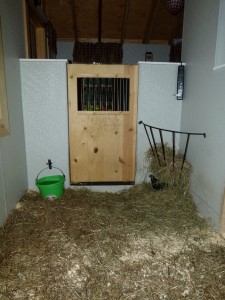
Cleaned down to the rubber mats, Princess Kate doesn't know what to think of her stall.

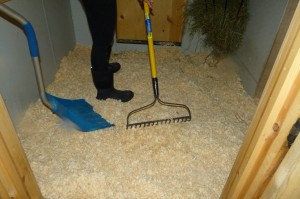
Pine shaving bedding forms the base layer.


Then a thin layer of straw goes over that. They'll put plenty of hay down in layers over time.


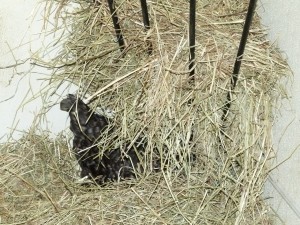
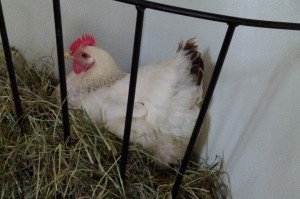
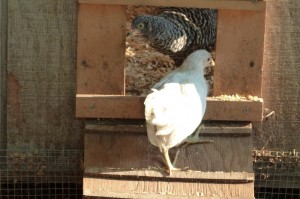
And yes, that is a fluffy chicken butt you see poking out from under the hay rack in the previous photo.


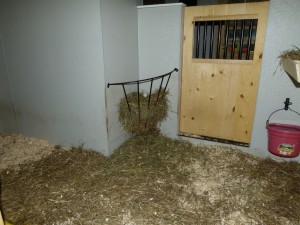
Melina & Kate's stall.

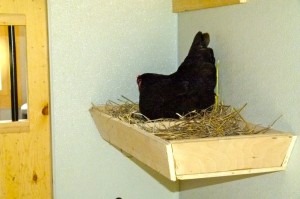
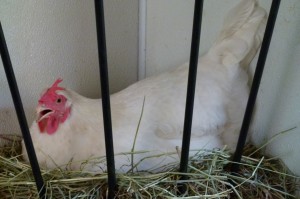
And this poor chicken is desperately trying to ignore me in there cleaning the stalls as she tries to lay an egg. She finally gave up and left, but came back as soon as we were done.


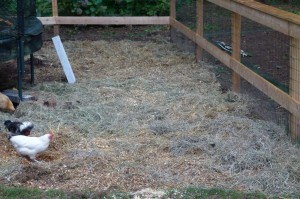
Now normally I have been putting this old bedding in a different area, but since it backs up to my neighbor’s house that just got put on the market to sell, I thought I’d be nice and start a new area. This time I chose the area surrounding the trampoline which doesn’t have any grass growing there. I dump the load out bit by bit as I move over the area and then spread it out with a rake into a somewhat even thick layer. Then I sit back and watch the chickens come running.


I rake the old stall bedding out into an even layer.


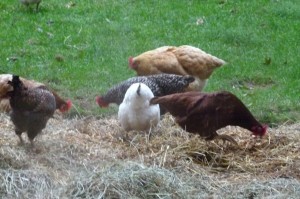
The chickens frantically scratch around looking for some delicious treat buried in the bedding.


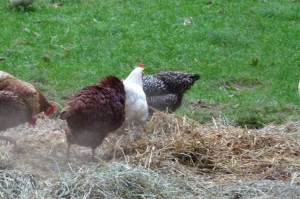
They're stirring up a dust cloud they're so busy scratching around.


Now I’ll try to remember to take a photo of that area in a few weeks so you can see how the chickens have naturally broken down the hay, straw and bedding. It’s really amazing; like it’s been chopped up by a mulching machine or something. Over time it will just compost right into the ground.

The ladies were just glad to have us out of the stalls so they could lay their eggs in their favorite spot - the goat's hay racks. This one is in Grace & Kiki's stall.


You can see how excited Melina, The Queen Grump, is about the clean stalls.

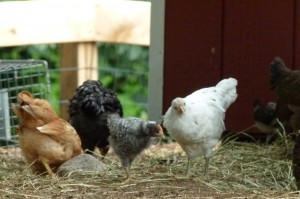
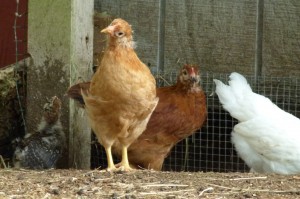
The adolescent chicks are getting very comfortable outdoors now. In a perfect world they will just naturally migrate to the new coop, but things never work that way for me. I'll probably have to drag them kicking and screaming.


Aren't they cute?


Of course if you only have a few chickens and a very small coop, you can just put your old bedding in a trash bag and put it out with the rest of the garbage. But if you have a garden that you let your chickens free-range in during the off-season, you might consider using this method as it’s great fertilizer and compost for the garden beds.

Texas Character

This house was down in San Antonio, Texas, on the outskirts of the lovely King Charles neighborhood. Clearly old and in disrepair, it still had such a graceful character. That enormous rusty sloping roof, the stucco walls, and simple posts holding up the porch. I absolutely loved this house.

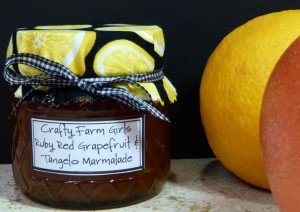
Ruby Red Grapefruit & Tangelo Marmalade


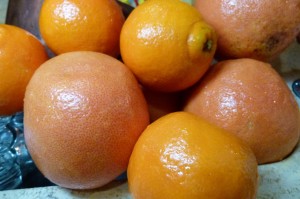
I don’t know if you’ve noticed, but ruby red grapefruits must have just come into season, because they are beautiful at the grocery stores around here. I decided I had to make some marmalade with them, as my marmalade supply for my Free Range Friday’s (when I sell my eggs and other things) is almost gone. They also had some lovely tangelos, so I decided to combine the two, more grapefruit and an accent of tangelo.

Now I’ve made marmalade all kinds of different ways, but I’ve decided the best way, although by far the most time-consuming, is to slice the thinly peeled rind, section the fruits, and put all of the leftovers in cheesecloth for the flavor and the natural pectin, but not to be a part of the actual marmalade. Lots of recipes call for chopping the entire citrus — pith, membranes and all, only removing the seeds. I’ve done it like this, and it is certainly easier, but if you don’t eat it when you’re eating the fruit normally, why would you want it in your marmalade?

Wash the fruit carefully.


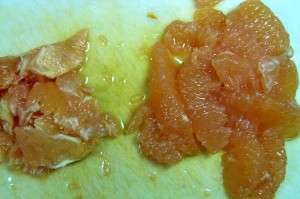
Section the fruit from the membrane and roughly chop. Save the membrane.


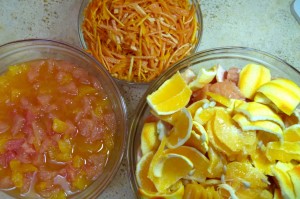
Thinly peel the rind off the fruit and slice thinly. Section the fruit by cutting between the membranes, remove seeds and roughly chop. Save all of the scraps, the white pith under the skin, the membranes holding the sections together, even the seeds. This will be used for the natural pectin in citrus to gel the marmalade.


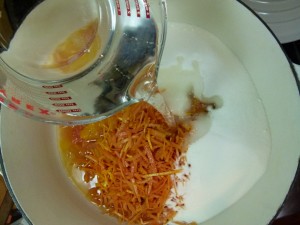
Fruit, rind, sugar and water is all that goes into marmalade. The ratio is 1:1:1; the weight of the fruit and rind together (in my case I had 3 pounds 4 oz. of rind and fruit), so I added 3 pounds 4 oz. sugar and 3 pounds 4 oz. of water.


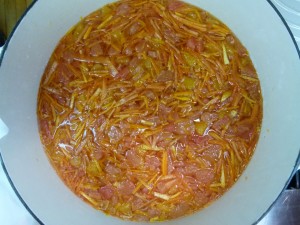
Stir to combine the ingredients and turn the heat on medium.


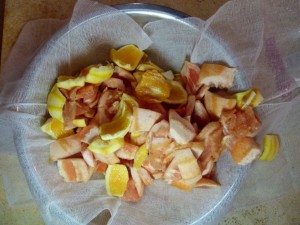
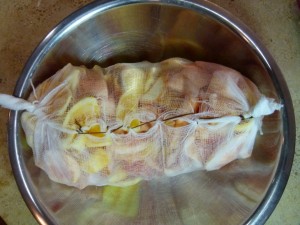
Put all of the citrus "scraps" into a double layer of cheesecloth. I had so much I laid the cheesecloth into a bowl and then poured the fruit in


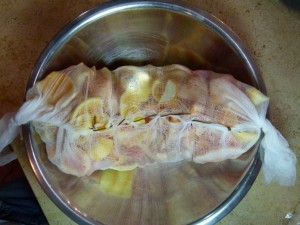
Since I had so much, I decided the best way to do this was to roughly sew up the middle section of the pectin bag. To just gather the ends would have had the scraps falling out of the sides.


Twist the ends of the cheesecloth bag tightly and tie a knot on each end with kitchen twine. Trim any excess cheesecloth from the ends past the knot.


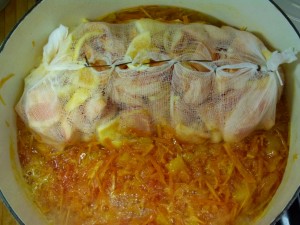
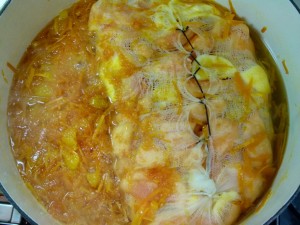
Stick the scrap bag into the pot. Try to squeeze it over onto one side and push the fruit away from it as you are inserting it into the pot.


Bring mixture to a strong boil on high heat, with lid off, until the peels are soft and cooked through, about 20-25 minutes..


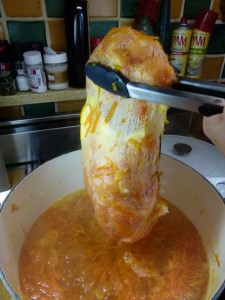
Turn the flame off under the marmalade, remove the pectin bag, letting it drain as much as possible. Place bag in a large work bowl and allow to cool. Once it's cool enough to handle, lift it above the work bowl and tightly squeeze the bag, starting at the top, allowing the remaining juices and pectic to flow down into the work bowl. Discard the pectin bag when done.


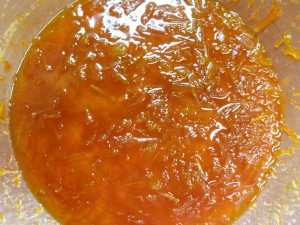
Place the pectin you've gotten from the bag back into the marmalade mixture, return to a medium-high heat and stir often while boiling until it reaches a temperature of 119-220 degrees on a candy thermometer. ladle finished marmalade into clean, sterilized jars, wipe rims clean with a damp cloth, place sterilized lids on, and process in a hot water bath for ten minutes.


3 pounds 4 ounces of rind and fruit, lots of time and effort, and I yielded 8-half pint jars of finished marmalade, But I feel that the flavor of the marmalade made in this traditional fashion, without all of the "extras" in there like pith and membrane, yields a much more traditional and flavorful marmalade.

Abandoned Beauty

An abandoned warehouse in Atlanta.

Bees on Honeycomb

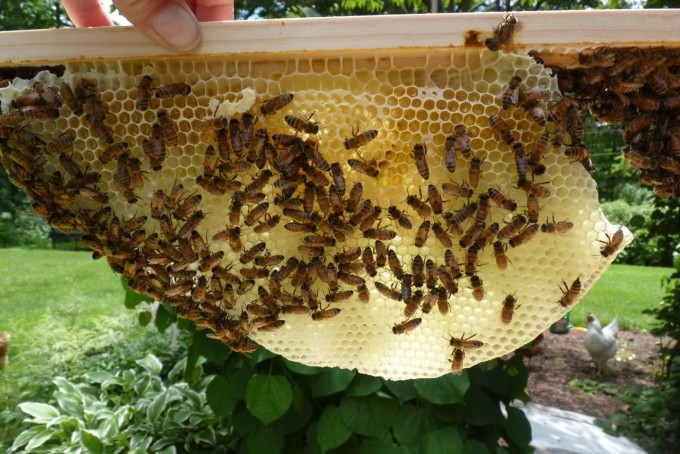
This photo is of my bees working on a fairly new comb they are building. You can see a bit of honey up in the top left and right of the comb. This will go to feed the brood as it is hatches from the lower area of the same comb later. The top bar hives that I use are completely natural and the bees form their combs free-form, without the wax sheets that are used in a more typical box hive. When you look at it up close, it is simply beautiful, and an incredible work of art.

The Adolescent’s Venture Out

I’ve been cooking and crafting like a crazy person this past week, so while I’ve been taking a lot of farm photos and doing a lot of farm chores, I haven’t have any extra time in my day to update you on the usual farm antics.

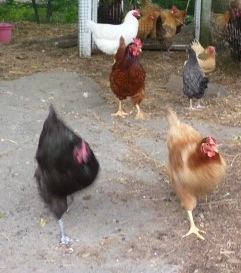
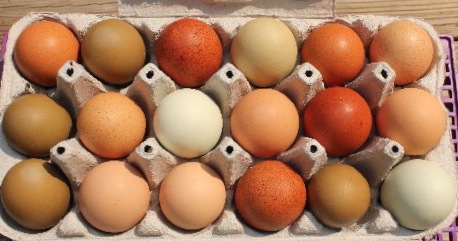
My friend Sue has a great variety of colored egg laying chickens. She sent me this picture the other day and I just had to show you how lovely they all are.I am DYING to get some of those olive egg layers!


I guess the biggest news this week was the adolescent and baby chicks finally got to stop looking longingly out the door and windows and got to go out in the real world. I knew it was supposed to get cooler later in the week, so on Tuesday I let them out for the first time. As is typical, they are very hesitant to try anything new at first, and not all of them came out the first day.

Wow! It's so big out here!


I'm scared!


Hey, it's not so bad out here. It smells better too!


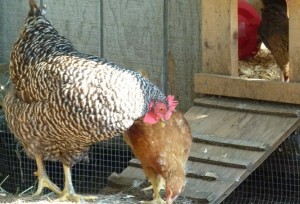
Watch the big barred rock hen. Chickens don't take to newcomers very well, and she doesn't know quite what to think of this little thing.


She's moving in from behind for a closer look.


And of course I missed the shot, but this is where she moves in for the head peck. Poor chick.


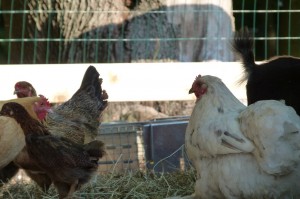
Paula Deen, my blue buff cochin, is giving the chicks her "angry eyes". They're scary.


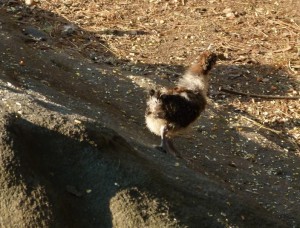
Here's one of the 5-week old chicks out enjoying the sunshine and open spaces.


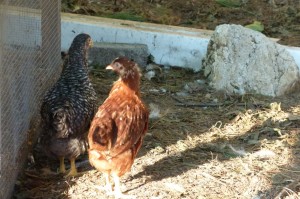
Friends tend to stick together for exploring.


In and out, all day long.


My trusty dog Bullet is the supervisor of farm antics, and he takes his job quite seriously.


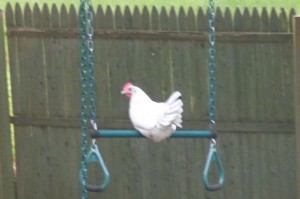
I caught this chicken on the swing this week. I had to take the picture through my window while I had the chance. Of course by the time I stepped outside to take another one she'd hopped down, deciding that a swing isn't a very stable roost.


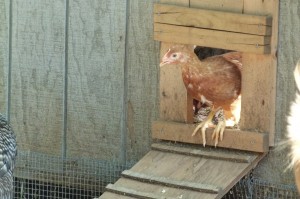
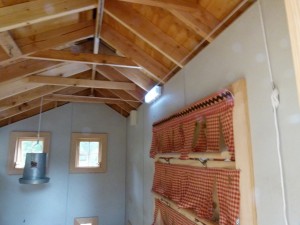
I had to rig up a pulley system in the chicken coop to raise their feeder during the day. Grace & Kiki are still small enough to squeeze in through the chicken door, and they sneak in there during the day to eat the chicken's food. I lower it again in the evening so the chickens can get to it through the night and early morning. Grace and Kiki and pissed.


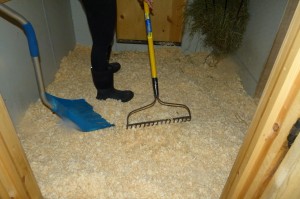
India and I cleaned out the goat stalls down to the rubber mats. Fresh pine shavings with a layer of straw over that.


I can't help but admire the entrance to the goat house every time I go in it. The goat house and chicken coop will get painted towards the end of the month.


There’s more to show and tell, but that’s enough for one post. Next I’ll try to remember to show you how I compost the old bedding when I clean out stalls or coops.

OMG I won!

I still can’t quite believe it, but thanks to all of your votes,  Crafty Farm Girl was chosen as the winner of the Country Living Blue Ribbon Blogger Reader’s Choice Award in the “Lifestyle” category!

I’m totally amazed and so thankful to all of my readers, friends, and family that voted for me. And if you happen to be one of those people that got assaulted on the street by my sister to vote, then I’ll apologize for her — she was so excited that I’d been nominated she practically shouted it from the rooftops!

So THANK YOU.

You can see all of the winners in each category here.