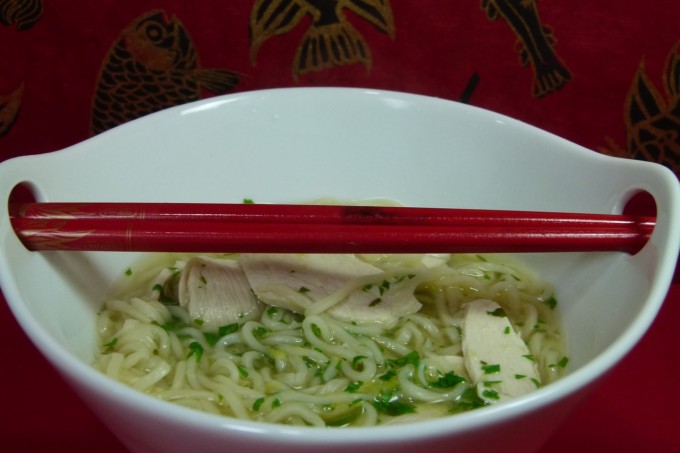
Lemony Chicken Noodle Soup with Ginger, Chile & Cilantro

Lemony Chicken Noodle Soup with Ginger, Chile & Cilantro

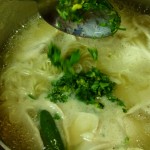
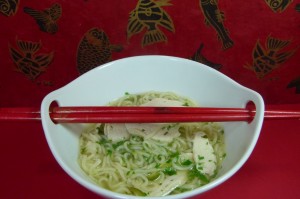
When we get our first hint of cooler weather I all of a sudden have an uncontrollable urge to cook like a madwoman. I’ve cooked a bunch of things this week, but soup has been really compelling. First was the curried carrot soup in the previous post, and now is a delicious, and pretty quick, chicken noodle soup with an Asian twist to it. Once the prep work was completed, the soup was cooked, start to finish, in maybe 10 minutes!

My twins were away on a school trip, my husband was away on a bike trip, and Amanda’s back at college, so it was just India and me. A strangely quiet house for a mom used to chaos most of the time. India, however, is by far my pickiest eater, and I thought the fish sauce called for in here might throw her, so I opted to omit it. If you’ve got picky eaters you might do the same, but you will need to compensate by salting the soup. I also thought a good dose of pepper was a necessary addition, although white pepper might be more appropriate than black. Fish sauce varies in its saltiness from brand to brand. So it’s a good idea to prepare the soup with the modest amount specified in this recipe, and then at serving time, pass around the fish sauce so people can season their portions with a touch more if they wish.

The original recipe called for 4 oz. fresh Chinese egg noodles (they said to look in the produce section of your supermarket). While I have seen these in supermarkets many times before, of course there were none to be found at the market I was at today. I substituted a 5 oz. package of Japanese Curly Noodles (Chuka Soba), which looks just like the dried noodles you get in a package of ramen noodles. These seemed to work perfectly well, but I did cook them a little less than the fresh noodles called for.

Lemony Chicken Noodle Soup with Ginger, Chile & Cilantro

From Fine Cooking #77, p. 56, February 1, 2006. Altered (slightly) by Crafty Farm Girl, September, 2011.

Yields 7 cups, serves four.

1 lemon
1/4 cup chopped fresh cilantro
1 tsp. finely grated fresh ginger
2 serrano chiles, stemmed, halved, and seeded
6 cups homemade or canned low-salt chicken broth
5 oz. Japanese Curly Noodles (Chuka Soba), or 4 oz. fresh Chinese egg noodles
2 Tbs. fish sauce (preferably Thai Kitchen brand); more to taste (optional, see above)
1 boneless, skinless chicken breast half, cut into 1/4-inch-thick slices (this is easier if the chicken is partially frozen)
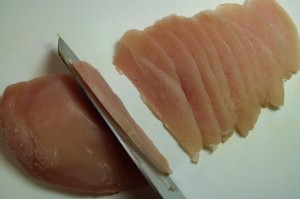
Chicken is so much easier to slice thinly if you partially freeze it first.
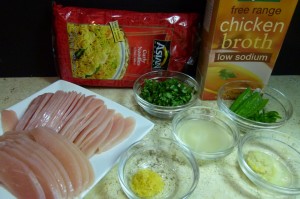


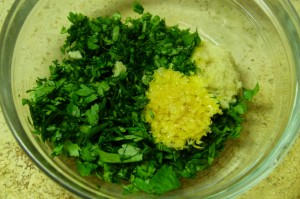
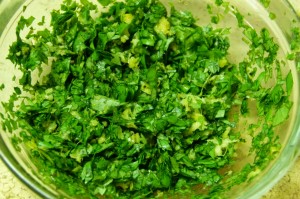
Finely grate 1 tsp. of zest from the lemon and put in a small dish. Add the cilantro and ginger, and mix together. Cut the zested lemon in half and squeeze it to obtain 3 Tbs. of juice. Thinly slice two of the chile halves crosswise.
In a large saucepan, bring the broth to a boil over medium-high heat. Add the lemon juice, fish sauce (if using), and the 2 remaining chile halves to the boiling stock. If you are using fresh Chinese egg noodles then you’ll add those now. If you are using the dried noodles, reduce the heat, cover, and simmer about two minutes. Add the noodles, cover, and cook the soup until the noodles are almost cooked, about 3 minutes.
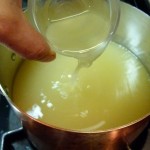
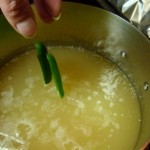
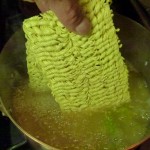
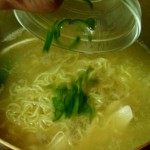
Remove the chile halves. Stir in the chicken and chile slices and return to a boil. separate the slices with two forks if necessary while they’re cooking. Remove the pan from the heat, making sure the chicken slices are just cooked through. Taste and add a touch more fish sauce, if you like. Divide the soup evenly among four serving bowls. Divide the cilantro mixture among the bowls, stir, and serve. (I did add a bit of the mixture to the pot of soup, and then divided the rest among the bowls of soup.)


Print This Recipe Print This Recipe

Lemony Chicken Noodle Soup with Ginger, Chile & Cilantro

From Fine Cooking #77, p. 56, February 1, 2006. Altered (slightly) by Crafty Farm Girl, September, 2011.

Yields 7 cups, serves four.

1 lemon
1/4 cup chopped fresh cilantro
1 tsp. finely grated fresh ginger
2 serrano chiles, stemmed, halved, and seeded
6 cups homemade or canned low-salt chicken broth
5 oz. Japanese Curly Noodles (Chuka Soba), or 4 oz. fresh Chinese egg noodles
2 Tbs. fish sauce (preferably Thai Kitchen brand); more to taste
1 boneless, skinless chicken breast half, cut into 1/4-inch-thick slices (this is easier if the chicken is partially frozen)

Finely grate 1 tsp. of zest from the lemon and put in a small dish. Add the cilantro and ginger, and mix together. Cut the zested lemon in half and squeeze it to obtain 3 Tbs. of juice. Thinly slice two of the chile halves crosswise.

In a large saucepan, bring the broth to a boil over medium-high heat. Add the lemon juice, fish sauce (if using), and the 2 remaining chile halves to the boiling stock. If you are using fresh Chinese egg noodles then you’ll add those now. If you are using the dried noodles, reduce the heat, cover, and simmer about two minutes. Add the noodles, cover, and cook the soup until the noodles are almost cooked, about 3 minutes.
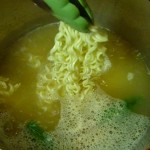
Remove the chile halves. Stir in the chicken and chile slices and return to a boil. separate the slices with two forks if necessary while they’re cooking. Remove the pan from the heat, making sure the chicken slices are just cooked through. Taste and add a touch more fish sauce, if you like. Divide the soup evenly among four serving bowls. Divide the cilantro mixture among the bowls, stir, and serve. (I did add a bit of the mixture to the pot of soup, and then divided the rest among the bowls of soup.)
Crispy Corn Fritters with Fresh Cilantro

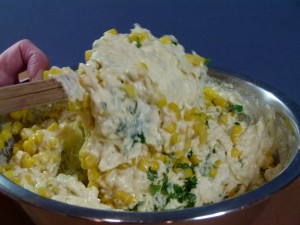
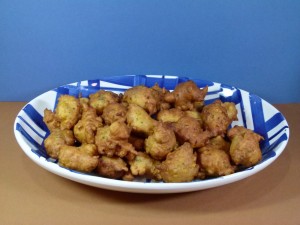
My oldest daughter has always loved Southern food, which may have contributed to her decision to go to college in Kentucky. I’ve got a trip planned to go down to Lexington to see her at the end of the month, and in typical fashion our plans are all revolving around the new restaurants she wants me to come try with her. There’s Alfafa’s  that has the most delicious pancakes I have ever eaten along with cheese grits and country ham. I love to eat at Doodles, (which stole my idea of opening a place in an old garage) and serves “comfort food with a conscience”, serving local organic food whenever possible. They’ve got a terrific assortment of delicious offerings including Pigs and Puffs; four pieces of crisp bacon resting on top of four fluffy New Orlean’s style beignets. Yumm! Eating these inspired me to make my own, and you’ll find that post here.

I think I made fritters for the first time when I was in my teens. I made small donut-hole sized apple fritters. I loved them and they were so much better than the enormous fritters I found in stores around here. With local corn season in full swing here we’ve been eating some really great ears. I thought this recipe for corn fritters would be a good way to highlight this season’s corn. I got the recipe from a great cookbook I have by Williams Sonoma called Breakfast Comforts. The only thing I changed was to add a little more onion and cilantro. Isn’t everything better with more cilantro in it?

Crispy Corn Fritters with Fresh Cilantro

Makes about 24 fritters

Canola oil for deep-frying
1-1/2 cups all-purpose flour
2 teaspoons baking powder
1 teaspoon fine sea salt
1 cup whole milk
2 large eggs, beaten
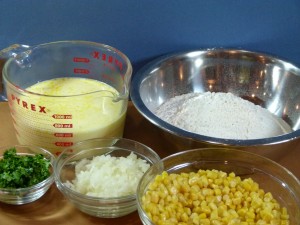
1 cup fresh (or frozen) corn kernels
3 tablespoons minced yellow onion
3 tablespoons minced fresh cilantro

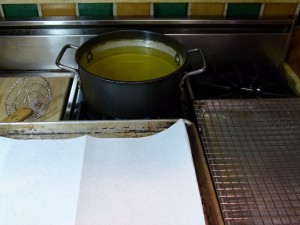
Pour oil to a depth of at least 3 inches into a large, heavy saucepan, preferably cast iton, and heat over high heat to 350 degrees F on a deep-frying thermometer. Preheat the oven to 200 degrees F. Place a wire rack over a rimmed baking sheet and place near the stove.


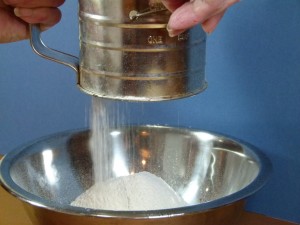
While the oil is heating, in a bowl, sift together the flour, baking powder, and salt.


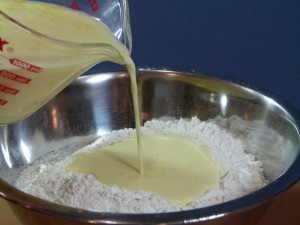
Make a well in the center of the flour mixture. In a separate bowl, whisk together the milk and eggs and pour into the well in the flour mixture.


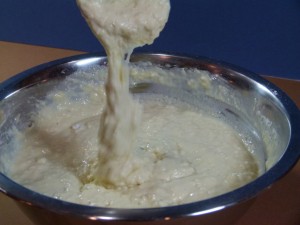
Stir just until combined.


Gently fold in the corn, onion, and cilantro.


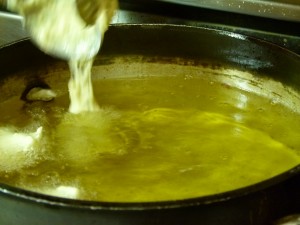
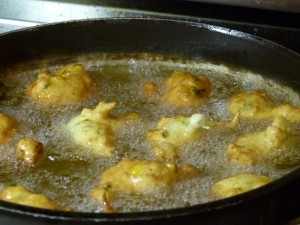
3. In batches to avoid crowding, add tablespoonfulls of the batter to the hot oil.


Deep-fry the fritters until golden brown, turning once at the halfway point, about 3 minutes.


Using a wire skimmer or a metal slotted spoon, transfer to the rack and keep warm in the oven while you fry the remaining fritters.


Serve at once.


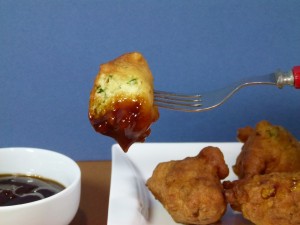
The original recipe called for serving the fritters with maple syrup, but we found barbeque sauce was a really great dipping sauce with them.

Beef & Potato Samosas

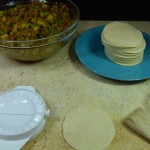
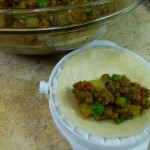
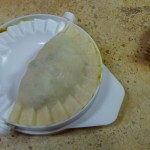
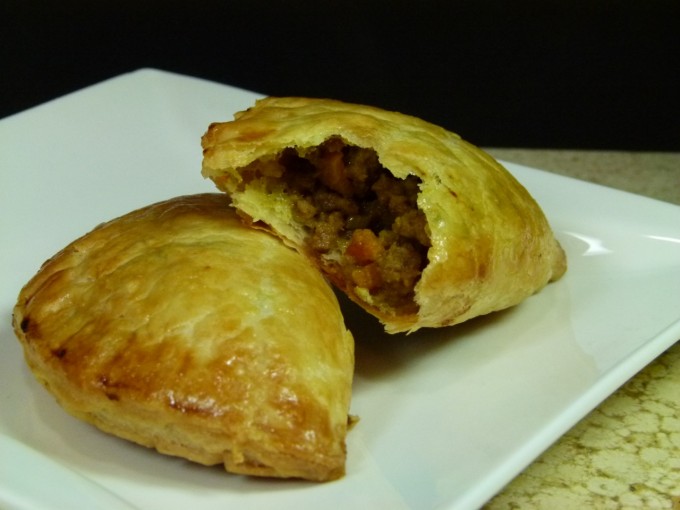
I needed to place an on-line order for some baking supplies with The King Arthur Flour Company last week. On the front page of their site was a delicious looking recipe for Indian samosas. For anybody that doesn’t know what a samosa is, it’s the Indian version of  the Spanish empanada. For whatever reason, they seemed like the perfect thing to make later that day. Their original recipe was just for a potato and pea samosa, but I wanted to make mine into a family meal so I added ground beef along with finely diced carrot and red bell pepper as well. They were really terrific and my kids loved them too. I also used canola oil to fry the vegetables in rather than the butter the original recipe called for. While samosas are typically fried, this recipe called for them to be baked in the oven, which is what I would have done anyway. The frying has never seemed necessary to me and just makes the crust heavy. This quick crust was flaky and tender and perfect in the oven. I also used a dumpling maker to make mine, but you can just as easily make them by hand and seal the crust closed with a fork.

Samosas with Quick Flaky Pastry

Original recipe from King Arthur Flour Company, adapted by Crafty Farm Girl, August, 2011

Hands-on time:  25 mins. to 35 mins., Baking time:  15 mins. to 20 mins., Total time:  60 mins. to 1 hrs 25 mins., Yield:  20 to 24 small samosas

Sriracha, aka Rooster Sauce can be purchased in larger grocery stores, or in Asian markets. It packs quite a punch so use it sparingly at first.

To make egg wash, whisk one egg with 1 teaspoon of water and a pinch of salt. Eggs in a carton, such as Egg Beaters, makes an excellent egg wash.

This recipe can be easily doubled to make more, and they freeze great. I made a double recipe and have the extras in the freezer for company or another meal.

Quick Flaky Pastry

2 1/2 cups King Arthur Unbleached All-Purpose Flour
1/2 teaspoon salt
1 cup unsalted butter, chilled
1/4 to 1/2 cup ice water

Filling

2 tablespoons vegetable or canola oil
1 cup diced onion
¼ cup finely diced carrot
2 cloves garlic, minced
1 teaspoons minced or grated ginger
¼ cup finely diced red bell pepper
1 teaspoon curry powder
1/2 teaspoon cumin, to taste
1 teaspoon turmeric
¾ pound 90% lean ground beef
2 cups peeled, cooked potatoes, drained and cubed
1 cup frozen peas
1/2 teaspoon Sriracha hot sauce, to taste (optional)
salt, pepper to taste
egg wash for brushing pastries

Directions

1) Combine the flour and salt in bowl of a food processor. Ising on/off pulses, cut in half of the chilled butter with a pastry blender until the butter/flour mixture resembles granola.

2) Dice the remaining butter and add to the butter/flour mixture in the bowl. Briefly pulse a few times until the new butter until it is the size of dried cranberries.

3) Pour contents of food processor into large metal bowl. You can flatten the larger butter pieces slightly with your fingers, creating leaves of butter coated in flour. Pour half of water over dough. Mix with a fork. Slowly add remaining water a bit at a time until it holds together when you squeeze a fist full of dough.

3) Pour out onto clean work surface and knead until dough comes together, about 30 seconds.

4) Divide the dough in half and press gently into 2 discs. You should still be able to see bits of butter in the dough. Wrap each disc in plastic wrap and refrigerate for 30 minutes. You can keep the dough in the fridge up to overnight if desired.

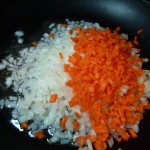
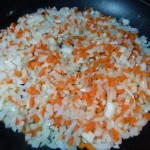
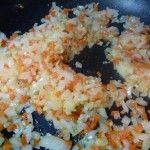
5) While the dough is chilling, prepare the filling. Heat the oil in a medium-sized saute pan. Add the onion & carrot, cooking for two to 3 minutes until the onions turn translucent. Add the garlic and ginger and cook 1 minute more. Take care not to burn the garlic.


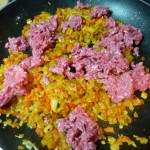
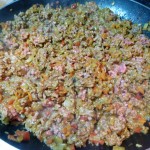
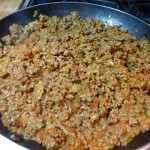
6) Add the red bell pepper, curry powder, turmeric and cumin and saute for an additional minute. Add the chopped meat to the pan and cook, breaking up in pan and turning to cook evenly.


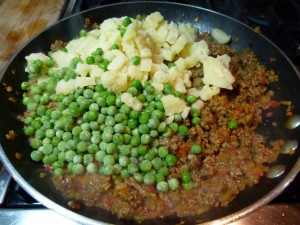
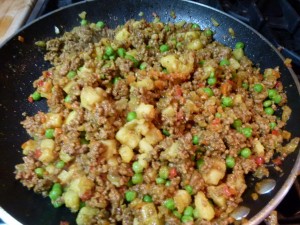
7) Add the diced potatoes and peas to beef and stir to combine and break up potatoes.

Eight) Taste the filling for seasoning, adjust with salt and pepper and Sriracha hot sauce if desired.

9) Allow the filling to cool to just barely warm. When you are ready to roll your dough, preheat the oven to 400°F and line two half sheet pans with parchment paper.

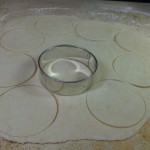
10) Working with one disc at a time, roll the chilled dough to 1/8″ thick. With a pastry brush, brush excess flour off surface of dough, and folding dough in half to expose the underside, brush flour off bottom of dough and then fold the other side over to expose the other half of underside of dough and brush excess flour off. Cut circles of dough with a sharp edged round 3″ cutter.


11) Brush the edge of each round lightly with water. If using, place dough into dumpling maker and place 2 tablespoons of filling onto each round. Close dumpling maker and press to seal edges. You may need to push filling down a bit with your finger as you start to close the dumpling maker. Carefully remove samosa and place on a parchment-lined baking sheet. If you are making the samosas by hand, and fold the dough into half moons. Use a touch of water to help seal the rounds if needed.


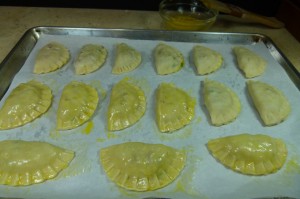
11) Brush each samosa with egg wash to coat. Bake for 15 to 20 minutes until deep golden brown. Serve hot just as they are, or with yogurt or sour cream for dipping sauce.


*the filling recipe is very generous. If you have leftover filling, it can be frozen for up to one month, or served in pita bread or tortillas for a quick lunch.

Roasted Smashed New Potatoes

Published November 1, 2010 in Cook’s Illustrated. Adapted by Crafty Farm Girl 2011.

Serves 4 to 6

This recipe is designed to work with potatoes 1½ to 2 inches in diameter; do not use potatoes any larger, but you can use slightly smaller ones. It is important to thoroughly cook the potatoes so that they will smash easily. Remove the potatoes from the baking sheet as soon as they are done browning—they will toughen if left too long. A potato masher can also be used to “smash” the potatoes.

INGREDIENTS

  • 2 pounds small Red Bliss potatoes, scrubbed
  • 8 tablespoons extra-virgin olive oil
  • 1 teaspoon chopped fresh thyme leaves
  • Kosher salt and ground black pepper
  • INSTRUCTIONS

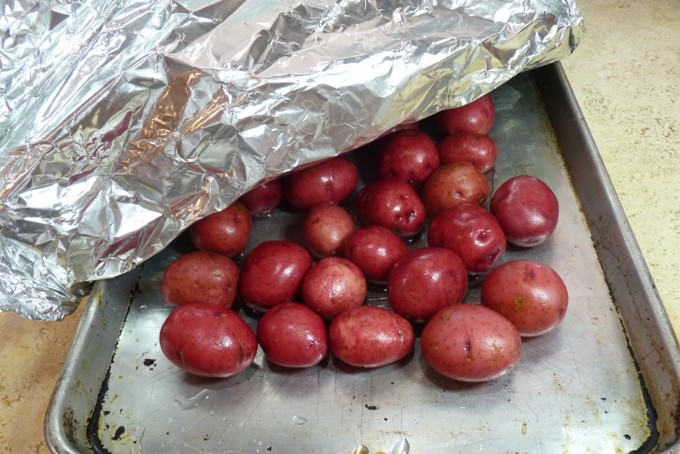
    Adjust oven racks to top and bottom positions and heat oven to 500 degrees. Arrange potatoes on rimmed baking sheet, pour ¾ cup water into baking sheet, and wrap tightly with aluminum foil.


    Cook on bottom rack until paring knife or skewer slips in and out of potatoes easily (poke through foil to test), 25 to 30 minutes. Remove foil and cool 10 minutes. If any water remains on baking sheet, blot dry with paper towel.

    Now here’s where I varied from the recipe.

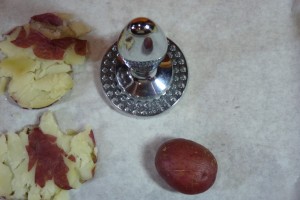
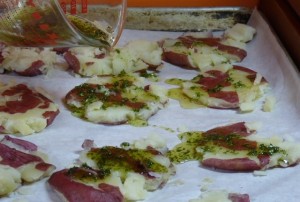
    First I found that the original 6 tablespoons of olive oil was not sufficient, so I’m calling for 8 tablespoons here – you may find you need even more. I think my potatoes were smaller than the ones they used in their recipe. They also rolled the potatoes in the olive oil before smashing them, but I did not see that this was necessary. The way that they “smashed” the potatoes in their recipe was to “space potatoes evenly on baking sheet and place second baking sheet on top; press down firmly on baking sheet, flattening potatoes until 1/3 to 1/2 inch thick”.

    I thought that I would have much more control over the “smashing” if I used the flat side of my meat tenderizer. You can use a potato masher or a mallet covered with saran wrap if you don’t have one. I also found that once I smashed the potatoes I needed two parchment-lined baking sheets to fit them all.

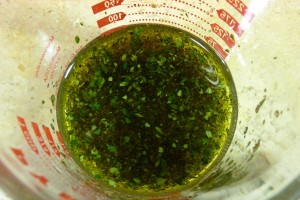
    I mixed the olive oil and chopped thyme leaves together and drizzled them over the potatoes, then seasoned generously with salt and pepper.

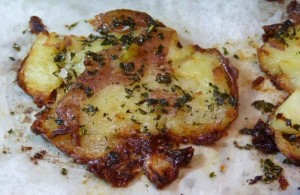
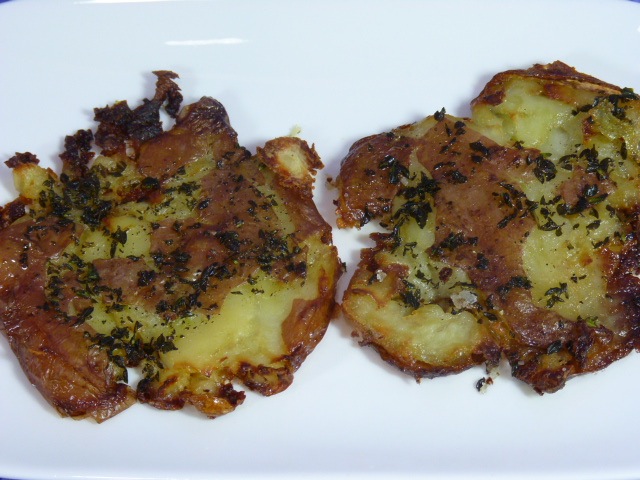
    Change oven rack positions to lower middle and upper middle racks. Roast potatoes for 15 minutes, then rotate pans front to back and switch their positions. Continue to roast until well browned, 20 to 30 minutes longer. Serve immediately. I do think you’re going to need to pay attention to them in the oven, regardless of the timer. A lot of the timing is going to depend on how large the potatoes are and how thick or thin you smashed them.


    My kids loved these things and were fighting over them. My husband liked to have roast chicken on Sunday nights. The kids get sick of it so I don’t do it all the time, but this added an exciting new twist to the normal Sunday roast chicken dinner that had everyone happy. You could easily serve these as an appetizer at a party too, although I might throw a little chopped cooked bacon on top of them to just add a little something more.

    Print This Recipe Print This Recipe

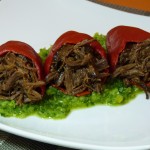
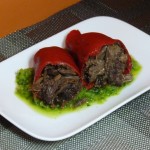
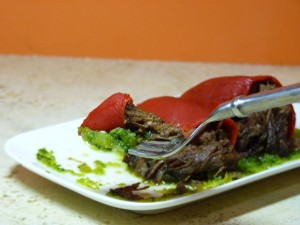
    Pequillo Peppers Stuffed with Braised Short Ribs on Sofrito


    For Christmas vacation I flew out to Wyoming with India, my 12-year old daughter, a few days earlier than the rest of the family as her vacation started earlier than everyone else’s did. We thought we’d go out and do a little Christmas preparation ahead of time.

    As can often be the case, flying into Wyoming in the winter can have it’s challenges. We got diverted Salt Lake City on the leg from Dallas to Jackson because of a storm, and then went back to Jackson only to circle for a few hours and still were unable to land. Diverted back to Salt Lake City for the night, this is an excerpt from an email I sent to my husband and a few friends at the end of this day:

    “Having one on of the longest days of my life I was not willing to wait in the ridiculously long line of people waiting for more information (that would no doubt turn ugly quickly on the poor American Airlines representatives that had absolutely no control over what had happened to us). I felt fortunate to have traveled enough with Jim to have learned the ropes of proper traveling. We immediately bypassed the long information-waiting line and I got Jim on the phone where he booked us a hotel room. While he was doing that I got on the “Open-Table” app on my iPhone and searched the area for the best local foodie restaurant and booked a reservation there. We took a cab to the restaurant content with a confirmed hotel reservation made by Jim.

    The restaurant made up for the whole day’s bad experiences. If you are ever in the Salt Lake City area you must go and eat at the Copper Onion. We sat at the ‘chef’s counter’ where we were right in front of the chefs watching them prepare all the meals and chatting with them. The food was off-the-hook delicious. I started with shredded beef short ribs stuffed in piquillo peppers on a sofrito sauce. Each bite was more delicious than the last and I literally felt like crying and the sheer deliciousness of it.”

    The email continued with the events of that day and the next day. But the point here is that I was bound and determined to re-create this little plate of deliciousness.

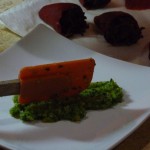
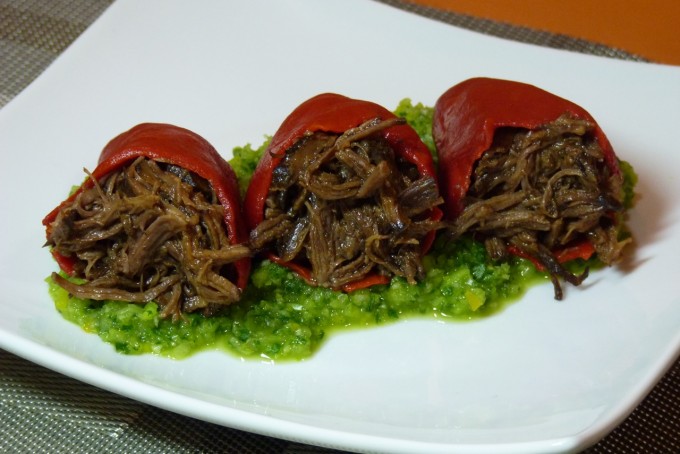
    Voila.

    Success.

    Deliciousness on a plate.

    I started with my Braised Beef Short Rib recipe.

    Then I found a sofrito recipe online that I adjusted a little bit.

    Then for fun I sent my husband out to the grocery store in search of a jar of piquillo peppers along with all of the ingredients listed in the original sofrito recipe. He did a good job for a man that rarely goes to the grocery store. However, some of the ingredients in the original sofrito recipe even had the mexicans working at the local Whole Foods shaking their heads having no idea what the item was, so I adjusted it to make it easier to shop for. Please also note that on the grocery list I requested a red bell pepper as the recipe indicated. Jim came home with a orange pepper. When asked about this he said that the sign above them said ‘red bell peppers’, so even though they were clearly orange, he bought it anyway. Hence, there’s a little more orange and a little less red that the properly sourced sofrito would have.


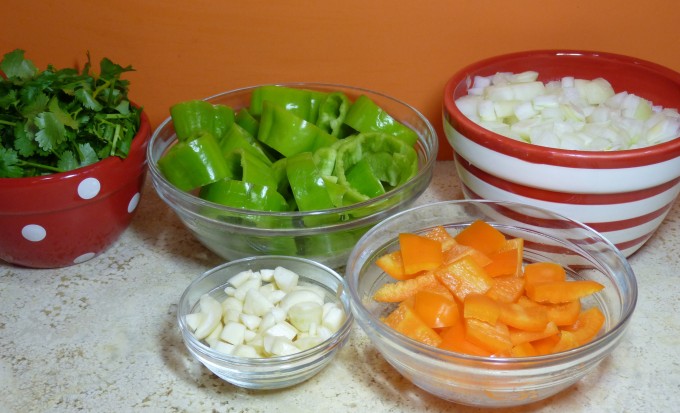
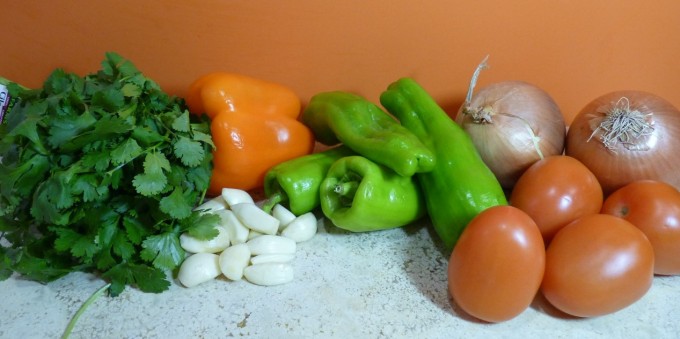
    Mise en place all of your ingredients.

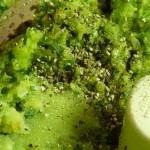
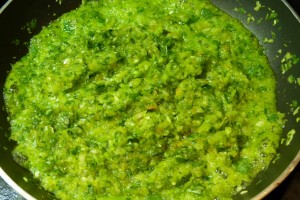
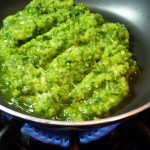
    I’m realizing as I’m putting this post together that the tomatoes are missing from the mise en place shot. Guess what? They’re also missing from the Sofrito! I don’t know where they went when I was preparing this, but I suppose that’s why my sofrito turned out so green! All of this goes to show that everyone makes mistakes. The sofrito was still delicious, but if you try it – add the tomatoes.

    Sofrito

    Original recipe by Daisy Martinez of DaisyCooks.com. Recipe adjusted by Crafty Farm Girl, January, 2011.

    Makes about 4 cups.

    • 16 to 20 cloves garlic, peeled
    • 2 medium Spanish onions, cut into large chunks
    • 4 Italian frying peppers or cubanelle peppers, cored, seeded & cut into large chunks
    • 1-1/2 large bunches cilantro, washed & dried
    • Pinch of cayenne pepper
    • 4 ripe plum tomatoes, cored and cut into chunks
    • 1 large red bell pepper, cored, seeded and cut into large chunksSalt & pepper to taste

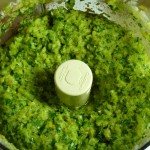
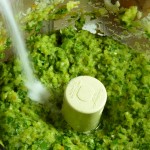
    Because I wanted the garlic chopped pretty finely, I added that first. In the work bowl of a food processor process until fairly finely ground. Add the onion and cubanelle or Italian peppers in the work bowl of a food processor until coarsely chopped. Add the remaining ingredients one at a time and process until smooth.


    The sofrito will keep in the refrigerator for up to 3 days. It also freezes beautifully. Freeze sofrito in ½ cup batches in sealable plastic bags.

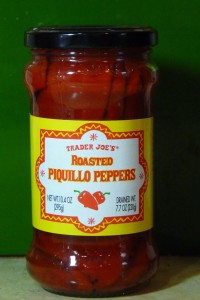
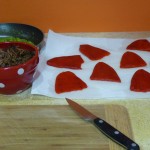
    Now to create the stuffed peppers. You’ll need a jar of piquillo peppers. Jim found them at Trader Joes, but I’m sure they’re available at most grocery stores that have a good selection of ethnic foods.

    Piquillo Peppers Stuffed with Short RIbs on Sofrito

    • 1 recipe Braised Beef Short Ribs.
    • Jarred Piquillo Peppers (Note: If you use the whole recipe of the short ribs you will probably require 2-3 jars of the piquillo peppers and will probably get about 20-26 stuffed peppers. If you just want a few appetizers, eat the short ribs for a meal and then use the leftovers to create some small plates. That’s what I did and I got about 8 stuffed peppers with the leftovers.)
    • Sofrito (above)
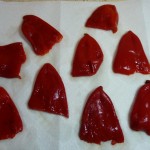
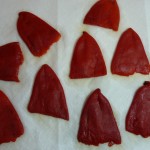
    Rinse and wash the peppers in cool water and drain & blot with paper towels to dry them.


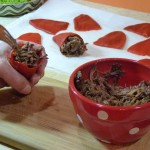
    Now I used the leftover shredded short ribs from the night before. Whether you make the short ribs just for this or use make a little extra of the recipe and use the extras for this dish, warm the shredded short ribs in the microwave, stirring occasionally until it’s heated through. I gently heated the sofrito in a pan — just enough to warm it up but not enough to dry out all of the juice. Get your plates ready. Then, take a pepper in your hand and open it up. With a fork take the short rib meat, a little at a time, and stuff it into the pepper. You want to stuff it in pretty hard to fill in nicely, but not so hard that you bust open the pepper.


    Lay the stuffed peppers as you finish them back onto the paper towels. When you have stuffed them all lay your plates out and lay down a bed of the sofrito. Place the peppers on the sofrito. Now, I would say that a man a serving of 3 stuffed peppers would probably be best. I way happy with two on my plate. The peppers are fairly large. One would be too few. Four would be too many. You be the judge.


    Now let me add here by that the time you’re done stuffing and plating, everything is going to be lukewarm if not cold. You could place the plates in a low oven (like 200 degrees F) for a little while, or what I did was to warm each plate in the microwave on power 7 for about 1-1/2 minutes.

    Deliciousness on a Plate

    Print This Recipe Print This Recipe