
This incredibly handsome basset hound was wandering loose by a country highway in Mississippi. It took all the restraint my sister and I had not to scoop him up into the car and take him along on the road trip with us.

This incredibly handsome basset hound was wandering loose by a country highway in Mississippi. It took all the restraint my sister and I had not to scoop him up into the car and take him along on the road trip with us.

I have two apple trees right outside my back door. They are Columnar apple trees, so they grow tall and straight unlike traditional wide apple trees. I moved them from my old house where I'd planted them before I married Jim, which would make them almost 20 years old now and at least 15 feet tall. Goats LOVE apple trees, so last year they took a real beating. So far this year they are looking amazing.
I promised this post a long time ago. Sorry it’s taken so long.
A major part of my new office space is the zinc topped table I made. I didn’t set out to make my own work table. I spent weeks looking around for one that fit my needs. Nothing was perfect and everything was very expensive. Just to prove to myself I didn’t dream that up, I went back to one of the stores I had looked in today and took some pictures with my phone of some of the tables they had. All of them were beautiful, but I simply wasn’t willing to pay that kind of money for a work table. Heck, I’m not willing to pay that kind of money for a dining room table that my entire family would use every day.
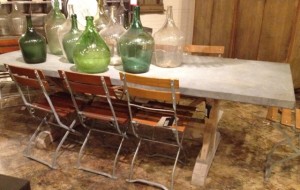
$4,295. This one was pretty simple. No decorative edges, plain top. Nice legs.
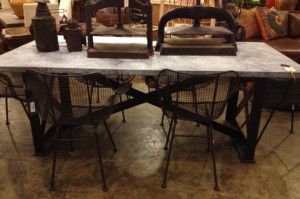
On sale for $4236 from $5295. It had great metal industrial legs and a simple but nicely distressd top. Not nearly as big as I needed.
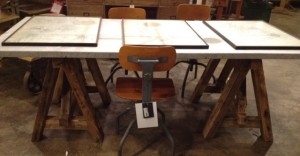
On sale for $3599 from $4495. I love sawhorse legs on a table, and this had an interesting cement top. The surface was too rough to make a good work surface though.
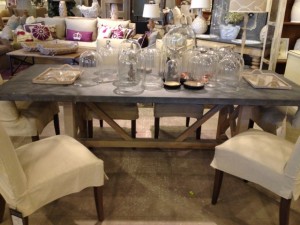
On sale for $3499 from $6500. This table was a better size, but it was just so plain - and expensive.
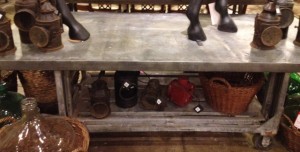
On sale for $2949 from $4000. I liked the industrial nature of this table and the heavy top, but again it was too small for my needs.
Finally in frustration I went home and did some research on the internet. I found a great site called Rotometals and they had a whole series of YouTube videos that showed you how to install your own zinc top.
“What the heck?” I thought to myself.
“I can do that.”
So I did.
I went back out shopping, but this time I was looking for some kind of an industrial style cart that I could use as a base for the tabletop I would build on top of it. I finally found one I loved. It cost more than I wanted, but I loved how functional it would be as a work table; with drawers and open shelving I could store baskets of papers and things right below my work tabletop. I loved it.
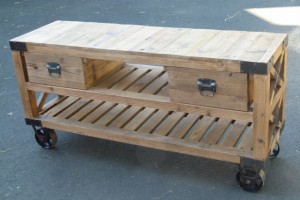
This is the industrial cart I decided to use for the base. It had rolling wheels that worked great.
I bought the zinc sheet and all of the supplies I needed from them, with shipping, for $241. The plywood sheets I used to form the tabletop over the base, along with galvanized nails and other supplies I didn’t already have cost me $105, and the base cost me $900 . For a total of $1246, which was more than I was hoping to spend, but a lot less than I could have spent, I was able to make a table exactly the way I wanted that fit perfectly in the space I had. This is what it looks like.
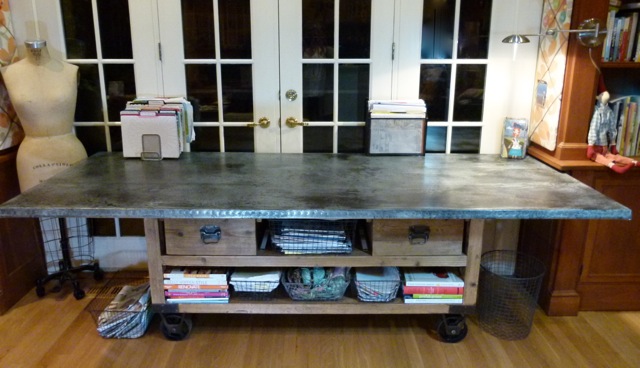
The finished table.
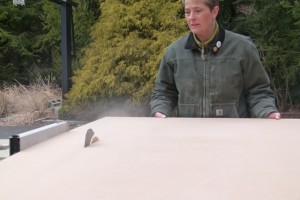
Cutting the plywood to size on my table saw.
I was a little limited in size by the dimensions of a standard sheet of plywood. Eight feet was as long as I could go, but that was really perfect for my needs. The kind of zinc sheet I needed only came in sheets 40″ wide and I wanted to make sure I had enough to wrap around and under the edges of the table, so I made the top 36″ wide. If I’d had a wider zinc sheet or felt skilled enough to seam two pieces together, I might have made it a few inches wider.
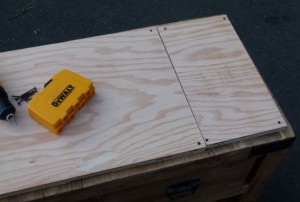
I pieced together two scraps to build up the base just a tad so it would be the right height.
I was given a list by Rotometals of things that could be used as a base for a zinc top and things that couldn’t be used. There were quite a lot of woods that were not acceptable, including larch, oak, chestnut, red cedar, Douglas fir, white cedar, and all woods with a pH < 5. Several of my friends at the local lumberyard were consulted on this conundrum and we went back and forth on whether MEDEX plywood or MDO plywood would be best. To get the tabletop thickness that I wanted along with the stability I needed, I ended up using two layers; the bottom layer is 1/2″ AC Fir plywood, and the top layer is 3/4″ MEDEX plywood. I’m not positive that it met the requirements they gave me, so I sure hope my table doesn’t disintegrate any time soon.
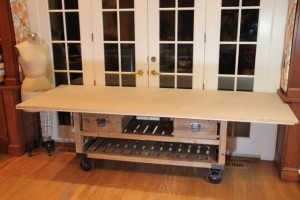
Plywood sheets cut to size on top of base.
Then I had to bring everything inside to finish it. Let me tell you, those sheets of MEDEX plywood are heavy. I had to bring them in alone and was balancing them on these two tiny dollies I have; what a nightmare. Get help. I checked to make sure it fit properly where I wanted it, and carefully measured around the table to make sure the base was perfectly centered underneath the tabletop. Then around the outer edge of the table I screwed the layer of plywood to the layer of MEDEX plywood. On the inside I used long screws to securely screw the tabletop to the base.
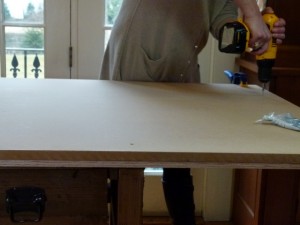
Screw the plywood sheets together around the outer edge and the top to the base along the inside.
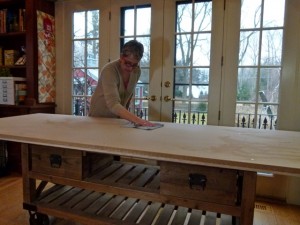
Clean surface completely of dirt and dust with a barely damp cloth.
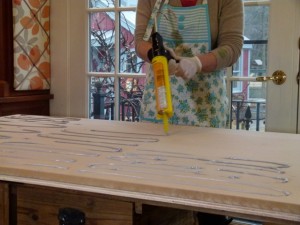
Apply adhesive with a calk gun. Wear protective clothing and gloves.
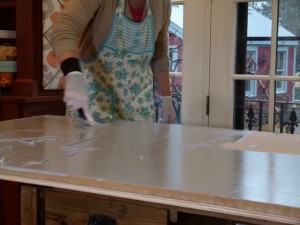
Spread adhesive with a putty knife all over tabletop and edges. Allow to cure.
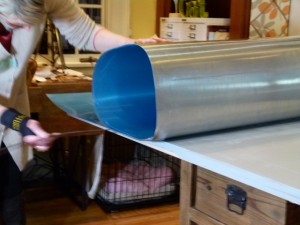
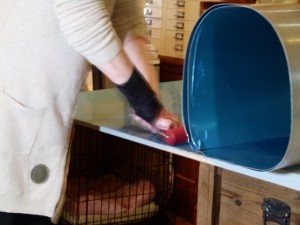
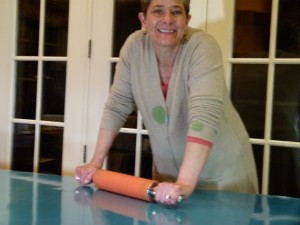
My silicone rolling pins were very handy in getting good contact between the glued table surface and the zinc sheet.
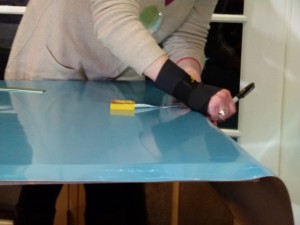
There was probably 18" of excess at the end after unrolling the sheet, so I measured and marked the same length that overhung the other 3 sides.
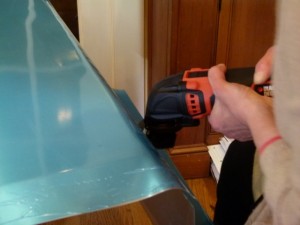
A cut the excess off with a tool I have that can do it, but you can just as easily (well, almost as easily) use straight tin snips.
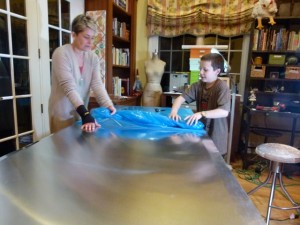
Then we pulled off the protective film. Please note I did not hurt my right hand (in the brace) making this table - I hurt it in my sleep - and had to wear this for weeks. I think I would have rather hurt it making the table. Getting old sucks.
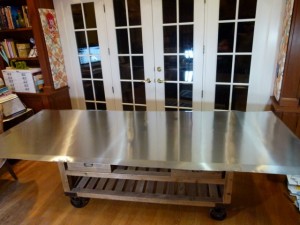
My shiny new zinc tabletop, but I had a lot more to do.
Since I’ve shown you what the morning routine looks like on the farm, I thought everyone might also enjoy watching what the dinnertime routine is like.
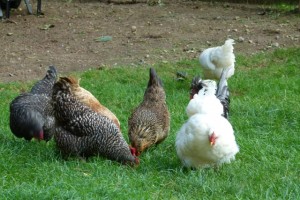
The goats and chickens were out free-ranging when Maia and I called them for dinner tonight. I have a certain whistle that I do for the farm, and when they hear it they come running from all corners of the yard. As I walk into the fenced area you’ll note a whole other bunch of chickens jumping the fence from the back neighbor’s yard where they’d been foraging in the woods. The groaning and grumbling you can hear towards the end is Maia; I had the goat’s food bowls in my hands, and she was being attacked by the goats (in an I’m hungry way – not in a dangerous way), who finally succeeded in knocking the bowl of chicken scratch grains and vegetables out of her hands.
I’ve been doing it for years now, but I don’t think I’ll ever get tired of watching them all run to me. It’s more dramatic when most of them are in the fenced area, because so many come running at once, but I always prefer to watch them running from all corners of the yard. If I have visitors over that haven’t seen it before it’s fun to watch their reaction — especially if they’re not animal lovers — always good for a laugh.
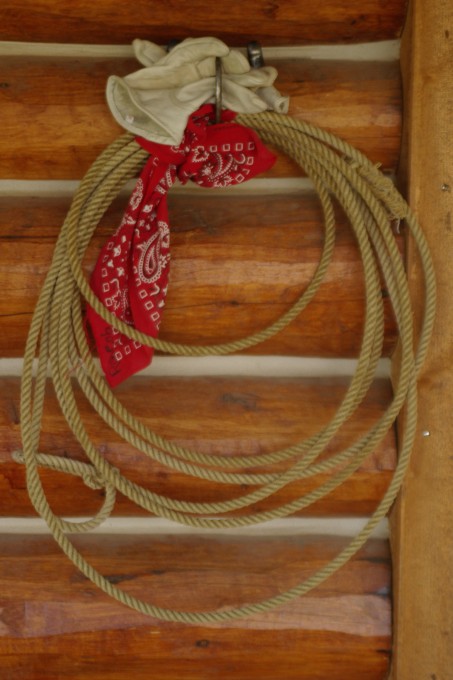
I took this picture 3 years ago, during India's first year at Teton Valley Ranch Camp. It was the end of the girl's season, and her roping rope and well-worn roping gloves were tied with her dirty bandana. The backdrop of the beautiful wood log cabin added to the beauty.
For some strange and unknown reason an issue of New York Weddings showed up in our mailbox the other day addressed to Amanda. Like most girls of 22, she’s already busy planning her perfect dream wedding on Pinterest, even though she’s not even engaged. And I happily pin things to my own Pinterest board entitled “Amanda’s Dream Barn Wedding”. I thought I’d send the magazine down to her at school, but was thumbing through it at dinner last night and they had some lovely food ideas in there. One of them was a waffle cone with whipped cream and berries and a salted caramel sauce. Wow. Did that look delicious.

I Googled the recipe and came up blank, but I did get a recipe for salted caramel sauce. Then I surfed around some more and discovered what seemed to be a good waffle cone maker that was currently on the market, and the rest I didn’t need a recipe for.
Now I realize not everyone is as stupid as impulsive as I am to will run right down to their nearest Kohl’s to buy a waffle cone maker, but I can always justify these things in my head with 4 kids and a bit of a farm stand/market here at my house. I’ll find a way for the thing to pay for itself. I got the Chef’s Choice Waffle Cone Maker and it worked like a dream. I used the recipe they had right in their instruction book, using the recipe they said made a lighter and more delicate cone.
This recipe I’m sure would be just as tasty with store-bought waffle cones.
Recipe from Epicurious, reprinted from Bon Appetit, May 2008
Combine sugar and 1/4 cup water in heavy medium saucepan. Stir over medium-low heat until sugar dissolves. Increase heat and boil without stirring until syrup is deep amber color, occasionally brushing down sides with wet pastry brush and swirling pan, about 10 minutes. Add heavy whipping cream (mixture will bubble vigorously). Stir over low heat until any caramel bits dissolve.
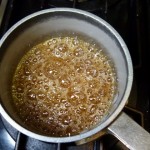
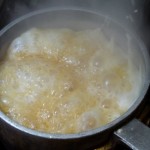
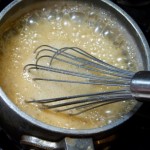
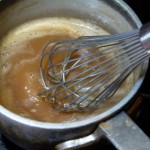
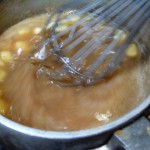
Remove from heat. Stir in unsalted butter and fleur de sel or coarse salt. Transfer caramel to small pitcher or bowl. Cool. DO AHEAD: Can be made 1 day ahead. Cover and chill. Stir over low heat just until warm enough to pour before using.

Recipe from Chef’s Choice
This batter makes a delicate wafer cone. Cake flour ensures the best results. If you use all-purpose flour, you may need to add a small amount of additional oil to the recipe.
Yield: About 8 cones (I got 7)
Preheat the WaffleCone Express™. Start with Color Control setting of 2 1/2 to 3, but change as necessary for best results.
Beat the eggs and salt in a small bowl with a fork until well blended. Beat in the sugar and beat until sugar is incorporated and the eggs have lightened in color slightly, about 1 minute. Stir in the oil. Add the cake flour and stir slowly until all flour is moistened. Beat another 15 seconds to incorporate the flour and remove all lumps. Stir in the vanilla extract.
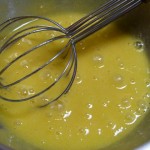

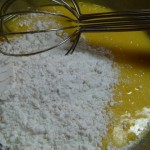
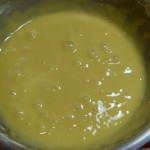
Spoon 2 tablespoons (1 ounce) of batter in the center of the iron. Bake for 1 minute then check for proper color. Cook and additional 5 to 10 seconds if necessary.
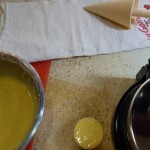
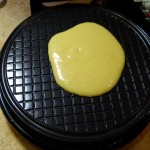
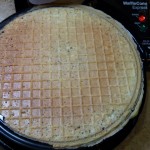
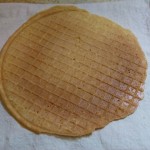
Quickly remove the waffle from the WaffleCone Express™ onto a clean cloth towel. If the waffle is too hot to handle with your bare hands, use the cloth to help lift and roll the waffle around the cone form. Hold the cone a few seconds to set its shape then place on a wire rack to cool.
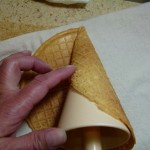

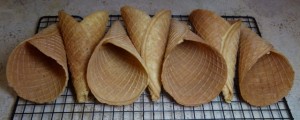
Wash the berries and dry on paper towels. Core and slice strawberries. Add all berries to a bowl and sprinkle with sugar. Toss gently to coat and refrigerate until ready to assemble.
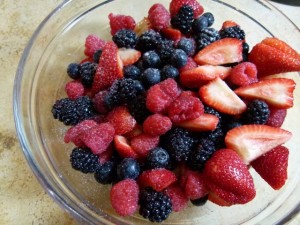
When you are ready to assemble the cones, whip the cream to fairly stiff peaks, adding confectioner’s sugar to taste, and vanilla extract. (I put my whipped cream in a pastry bag with a big star tip, but you can just spoon it into the cone if you’d prefer.)

Pipe or spoon whipped cream along the bottom of the cone, "spilling" a bit out onto the plate.
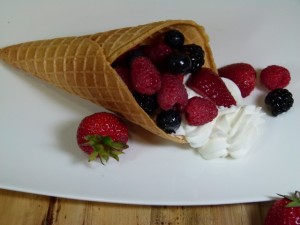
Spoon fresh berries into cone.

Drizzle cone, fruit and whipped cream with the salted caramel sauce.

 Print This Recipe
Pin It
Print This Recipe
Pin ItWe had beautiful weather this weekend, so I took advantage of it on Saturday and decided to make it a productive farm day. I let everyone out to free range for a while, then I hit them with the bad news – it was time for their worming and hoof trimming. I don’t worm my goats monthly, but on an as-needed basis. The guys I bought Princess Kate from at Whitmore Farm taught me about the FAMACHA eye color chart as an indicator of worms and was what they used for their large herds of Tennessee Fainting Goats and Katahdin Sheep. Upon researching it I discovered that sheep and goat are suffering resistance to treatment for worms due to the overuse. This FAMACHA chart has been proven to be a good indicator and is how I now treat my goats on an as-needed basis. However, the new spring grass growing virtually guarantees the need for a preventative worming. They don’t like the taste of it, but I think they enjoy putting on a show for me more than anything.
The hoof trimming, however, is another thing. I’ve never done it without assistance from a vet before, and after a futile first attempt, I decided I could finally put the milking stand to good use for this. Once I got their head’s locked in with plenty of food in the bucket, I didn’t have too much of a problem. Like trimming a dog’s toenails, you just have to be careful not to cut down too far, so you take off a little at a time.
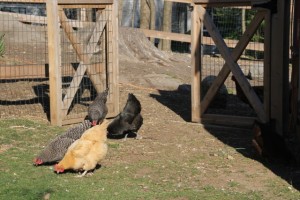
The gate is open!

Grace, Kiki, Princess Kate and some chickens out enjoying the new spring grass.
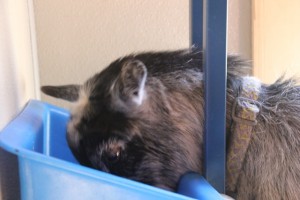
Melina on the milking stand. As long as we kept food in the bucket, she was fine.
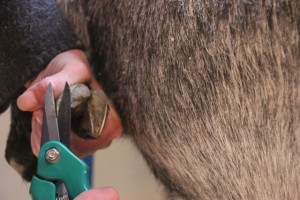
You use special hoof trimmers, similar to garden pruning shears, to trim the hoofs.
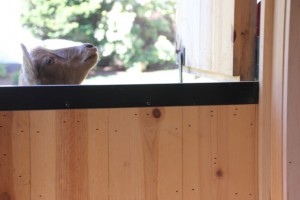
Gracie was sure she was missing out on something big when Melina was first one in to get her hoofs trimmed.
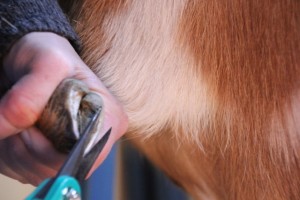
I had to be extra gentle with Kate so she didn't faint on me.
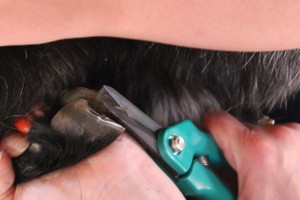
And Kiki, at 10 months old, is still such a peanut she couldn't reach the food bucket/neck lock! India had to straddle her over her legs so I could trim her hoofs. Again, as long as there was food in the bucket, she was happy.

Grace hops up on the table outside to offer Evan some computer tips.
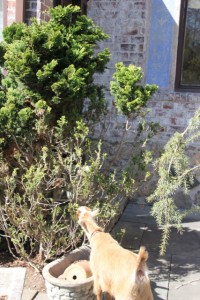
This picture is a perfect example of why most people don't let their goats free range. Look at the difference in this tree from the bottom up to about the middle (where the goats can reach), and how green and healthy the top is.
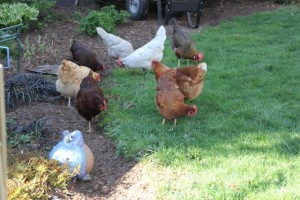
Some ladies enjoy some free range scratching in the shade.
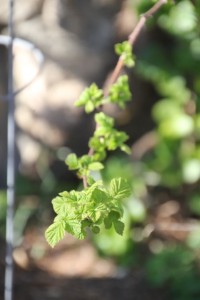
The raspberry bushes are leafing out!
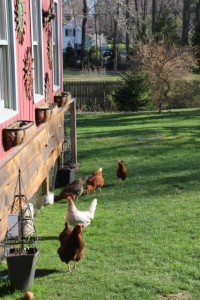
The grass IS greener on the other side!
I ordered the most adorable kitchen flour sack dishtowel recently. The Victory Garden of Tomorrow has a very cool series of prints based on historical poster propaganda and the prints are based on their commitment to civic innovation and social progress. I thought some of them framed would look very nice in a grouping. I ordered off of their website, but when I just came across their Etsy site, it turns out they did too!
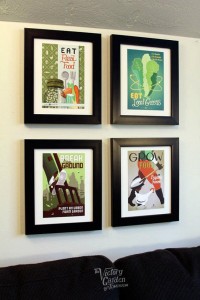
And here’s the dishtowel I just had to have. After only one wash it’s nice and soft and absorbent.

So use this post as your reminder to let your goats and chickens out for a little free-ranging if you can, and don’t forget the spring worming and hoof trimming!
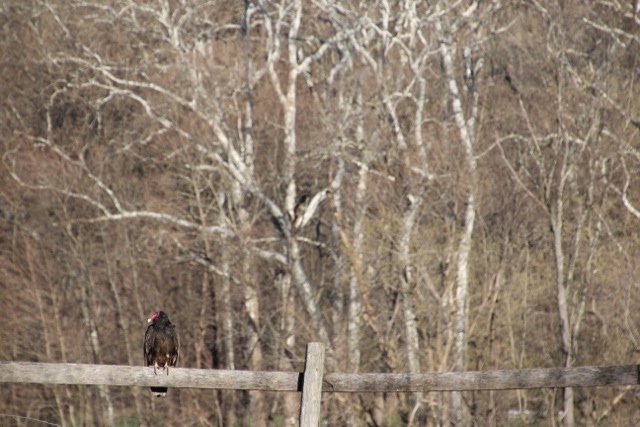
I spent the last 2 days in upstate Connecticut and New York revisiting 2 of the 3 boarding schools India is trying to decide between attending next year. I had never seen a vulture in Connecticut in my life until last year. I think today alone we probably saw 10 or 12, and they all weren't Turkey Vultures; about half were Black Vultures, which are supposed to be rare around here. Was I just having a lucky day in all of these sighting, or are vultures invading the Northeast?

My three youngest kids attend Teton Valley Ranch Camp in the summer. It's about 1-1/2 hours outside of Jackson in Dubois in a stunning area. This photo was taken as we were driving out of the long, 4 mile driveway one afternoon. Not a bad view.
I looked out the window this morning a little a little after 9 and saw this.
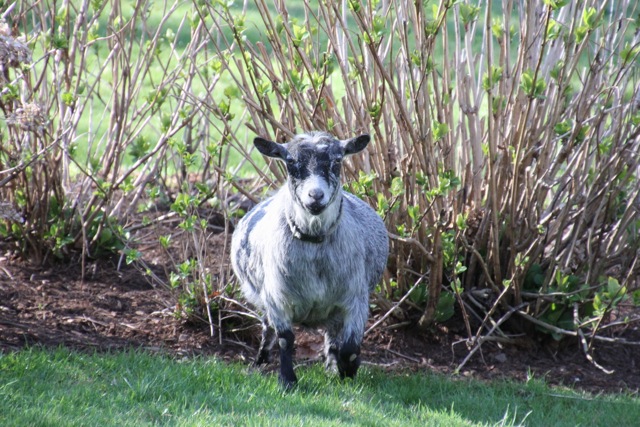
The Grump
The goats were out.
I must not have latched the gate properly this morning after I fed the farm. Look at Melina. What a grump. If she gets any fatter she can just roll around like a ball. I love her though.
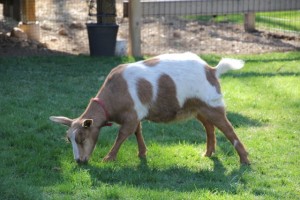
Princess Kate enjoys some spring grass.
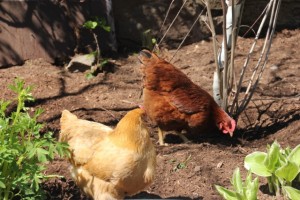
They were so excited to be out that it made my heart ache for last summer when they roamed the yard free.

For some reason I think Kiki looks like a bunny as she

Beautiful Grace.
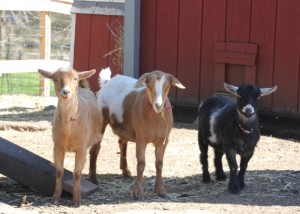
They were not happy when I locked them back up in the fenced area.
And remember my last Farm post where I said I’d hung up a sign at the end of the driveway and put a cooler out there for general egg sales? Well, I came home one day less than a week later and my sign was taken down and had been put by the lemonade stand with a note saying that “Signs of any kind are against association rules and are NOT allowed!” I was pretty miffed. I guess the neighborhood association has rules against that sort of thing. But, sales will continue without the sign, and I have to say that business has been pretty good and word seems to be getting around even without the sign, so poo on them.
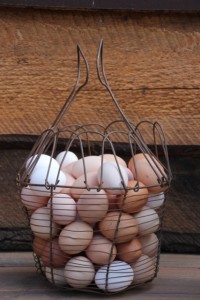
A bountiful basket containing just 2 days worth of laid eggs!
I can feel summer coming in my bones. I also know that summer is on it’s way because I’ve started making pickles! For some reason when the weather starts to get warm I get an overwhelming desire to can things — perhaps to try and preserve the long lazy days of summer.
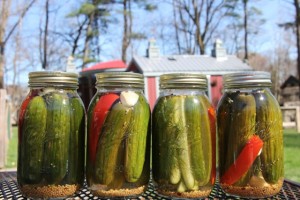
The first pickles of the season; Refrigerator Dills; the spears will be ready in 2 weeks and the whole pickles will be ready in 3 weeks.
I’ve been playing with different pickle recipes for a couple of years now. This is the first time I’m trying “refrigerator” dills. Since they don’t go in a hot water bath for sterilization, they should retain their crispness. I also made dill pickle slices today and an indian-inspired cauliflower pickle.
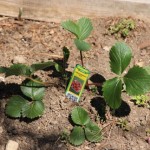
My garden is really starting to grow now. The host, astilbe, anenome, and bleeding heart are really getting big. The flowering quince is getting green and leafy in preparation for it’s beautiful peach colored flowers, and Evan planted 8 more strawberry plants for me last week.


A beautiful male cardinal stopped by for some leftover scratch grains on the ground. They never stick around long though, do they?


So that’s what’s been happening on the farm lately!