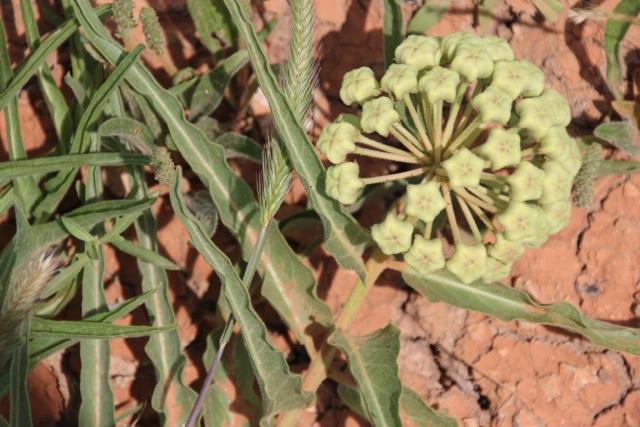
I hopped out of the car on a Hill Country back road this weekend in Austin to photograph some longhorn cows. I looked down at one point and this unusual flower(?) was growing out of the dry, cracked earth.

I hopped out of the car on a Hill Country back road this weekend in Austin to photograph some longhorn cows. I looked down at one point and this unusual flower(?) was growing out of the dry, cracked earth.
My friend Susan told me about some cupcakes she’d had recently. Chocolate cake with coconut frosting and a chocolate glaze. She knows me well enough to know that I would try and re-create them on my own. Unfortunately I didn’t have time to bring some over to her before I left for Texas to see if I’d done the originals justice.
I’m not going to give a lot of details on the recipes as they are pretty straightforward. I chose this devil’s food cake recipe because I’ve used it many times and it consistently delivers a moist, tender, chocolaty tasting cake. You will find details on making the coconut buttercream icing in this previous post. My coconut cake is one of my favorite cakes, but this combination of the devil’s food cake with the coconut buttercream and the chocolate ganache icing really was delicious.
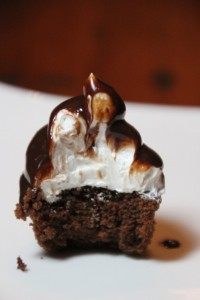
Devil's Food Cupcakes with Coconut Buttercream and Chocolate Ganache
Serves 12.
Originally published July 1, 1994 in Cook’s Illustrated. Adjusted slightly by Crafty Farm Girl, April, 2012.
While developing our devil’s food layer cake recipe we found very little difference between cakes baked with standard American cocoa and “Dutched” cocoa. We chose water over milk or buttermilk to moisten our cake batter, discovering that cakes made with dairy had a more muted chocolate flavor.
This cake’s texture is both soft and dense, similar to chocolate pound cake, only softer and lighter. Its flavor is intensely chocolate, yet pleasantly sweet. The substantial coffee-flavored buttercream stands up to the cake’s dense texture and balances the rich chocolate flavor.
Ingredients
* 1/2 cup natural cocoa powder
* 2 teaspoons instant espresso powder , or instant coffee
* 1 cup boiling water
* 2 teaspoons vanilla extract
* 12 tablespoons unsalted butter (1 1/2 sticks), softened
* 1-1/4 cups granulated sugar
* 2 large eggs, at room temperature
* 1-1/4 cups unbleached all-purpose flour
* 1/2 teaspoon baking soda
* 1/2 teaspoon table salt
Instructions
For the cupcakes: Adjust oven rack to lower middle and upper middle positions and heat oven to 350 degrees. Line 4 mini cupcake pans with paper liners.
Mix cocoa and instant coffee in small bowl; add boiling water and mix until smooth. Cool to room temperature, then stir in vanilla.
Beat butter in bowl of electric mixer set at medium-high speed until smooth and shiny, about 30 seconds. Gradually sprinkle in sugar; beat until mixture is fluffy and almost white, 3 to 5 minutes. Add eggs one at a time, beating 1 full minute after each addition.
Whisk flour, baking soda and salt in medium bowl. With mixer on lowest speed, add about 1/3 of dry ingredients to batter, followed immediately by about 1/3 of cocoa mixture; mix until ingredients are almost incorporated into batter. Repeat process twice more. When batter appears blended, stop mixer and scrape bowl sides with rubber spatula. Return mixer to low speed; beat until batter looks satiny, about 15 seconds longer.
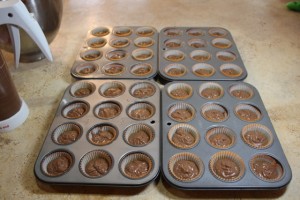
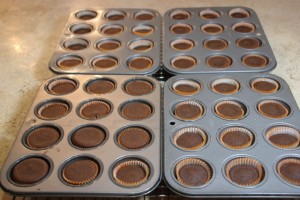
Divide batter evenly between cupcake liners, filling about 3/4 full. Bake until they feel firm in center when lightly pressed and a skewer comes out clean or with just a crumb or two adhering, 6-8 minutes. Tranfer pans to wire racks; cool for 20 minutes. Remove cupcakes from pans and place on wire rack.
Coconut Buttercream Icing
Combine whites, sugar, and salt in bowl of standing mixer; set bowl over saucepan containing 1 1/2-inches of barely simmering water. Whisk constantly until mixture is opaque and warm to the touch and registers about 120 degrees on an instant-read thermometer, about 2 minutes.
Transfer bowl to mixer and beat whites on high speed with whisk attachment until barely warm (about 80 degrees) and whites are glossy and sticky, about 7 minutes. Reduce speed to medium-high and beat in butter 1 piece at a time. Beat in cream of coconut and coconut and vanilla extracts. Stop mixer and scrape bottom and sides of bowl. Continue to beat at medium-high speed until well-combined, about 1 minute.
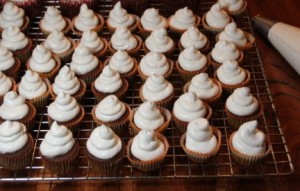
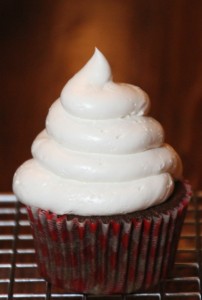
Original recipe from Martha Stewart Living.
Yield: Makes 3/4 cup ganache
Ingredients
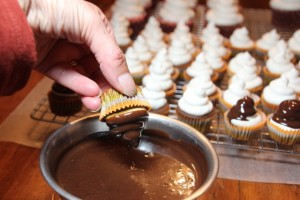
Holding cupcakes by their liners, carefully dip icing into ganache and gently shake extra off. Replace cupcake on wire rack and let cool.
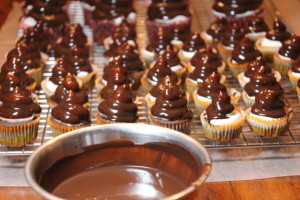

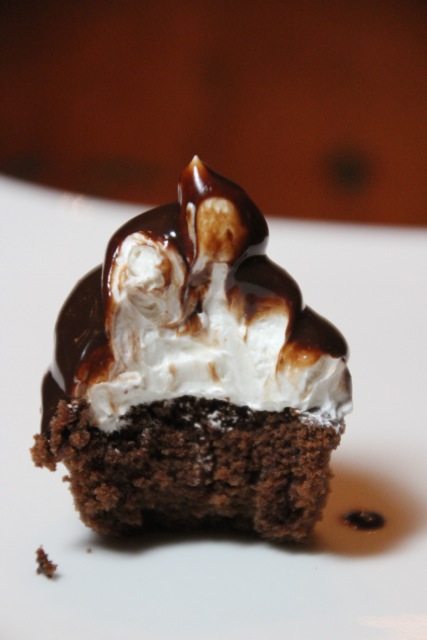
Devil's Food Cupcakes with Coconut Buttercream and Chocolate Ganache
 Print This Recipe
Pin It
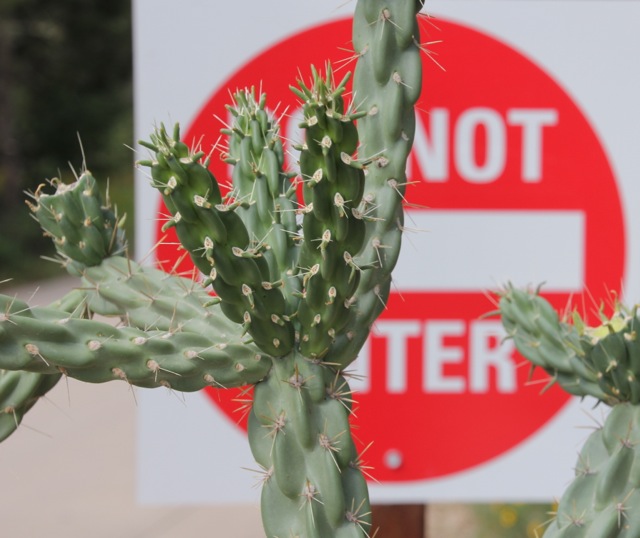
I thought this spiky cactus looked amusing in front of this sign.
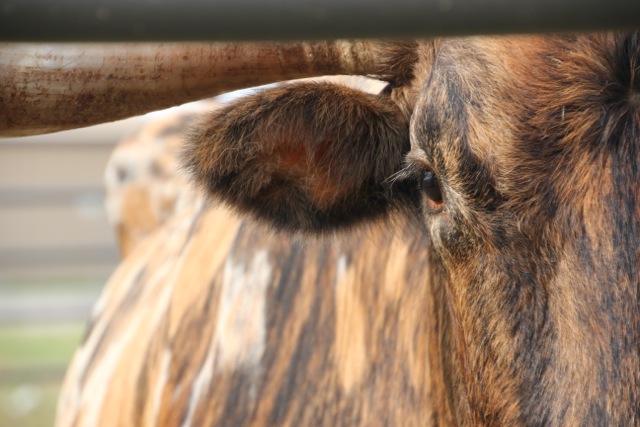
I'm down in Austin with Jim for a rare long weekend alone together. This morning we went to Country Living's 1st annual Austin Fair. They had two longhorn steer in a round pen, but this one in the photo was the most spectacular looking steer I have ever seen. He was not too happy about his current living conditions though, and if you got close enough to the fence, he would tap his horn on the ground, paw the ground and charge the fence. As we were leaving we couldn't help but notice they were putting an extra barrier up to protect the public.
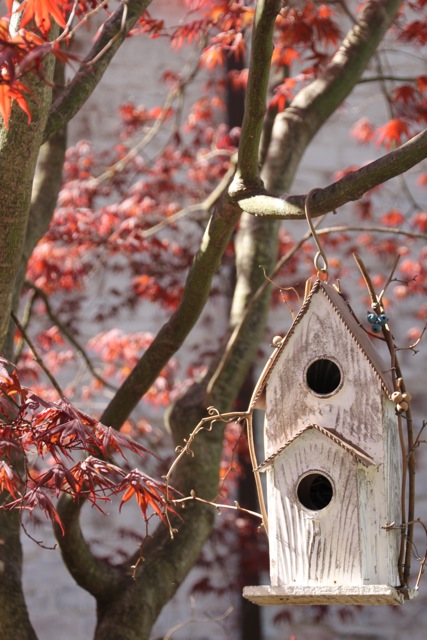
A birdhouse in the morning light hangs in our red maple tree that's just come out in leaves.
I had to go to Home Depot this morning, and while I was there they had some pretty nice flowers at the gardener center. Although technically it’s a little early to plant them, our winter/spring have been so mild I figured I’d take my chances; I can cover them with a sheet if there’s a frost threat.
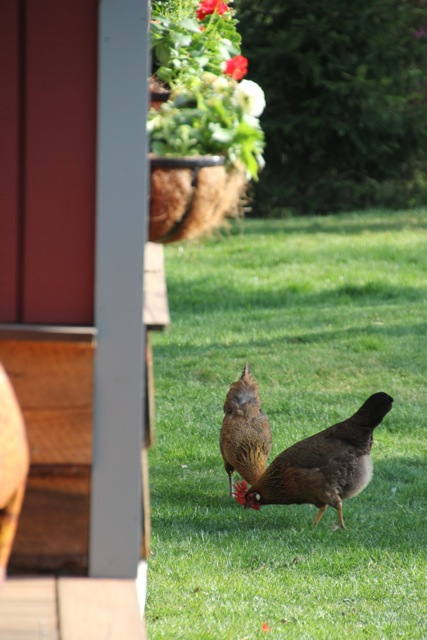
Since I was going to be hanging out in the yard and it was a beautiful day, I decided to let everyone out for a little free-ranging to keep me company.
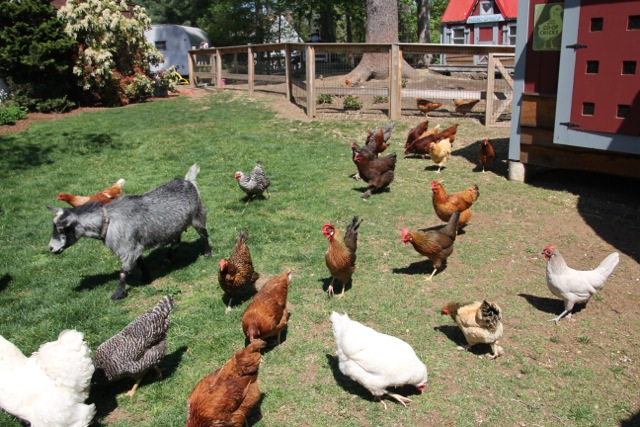
This is what rush hour on my farm looks like. When I open up the gates for some free-ranging, it's pretty amusing to see them all rush out. I find the chickens particularly entertaining, because all they really have to do is jump the fence any old time they want to, but they always rush out like it
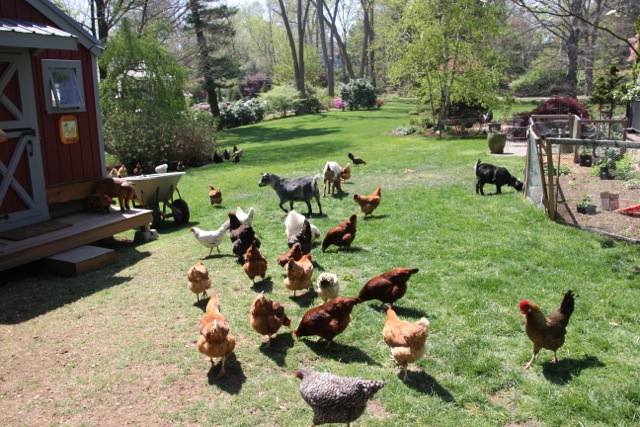
Bumper-to-bumper traffic, farm style.
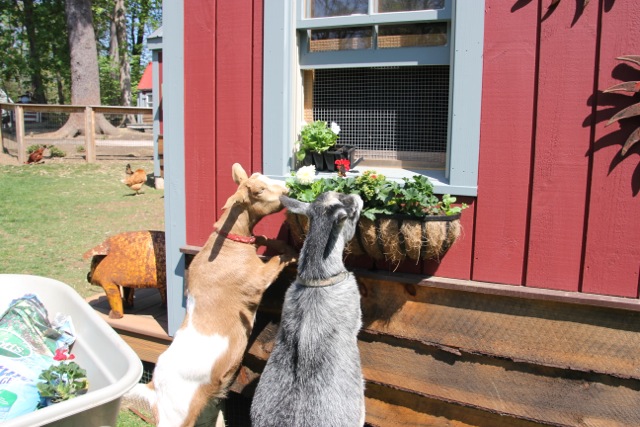
The drive-up window.
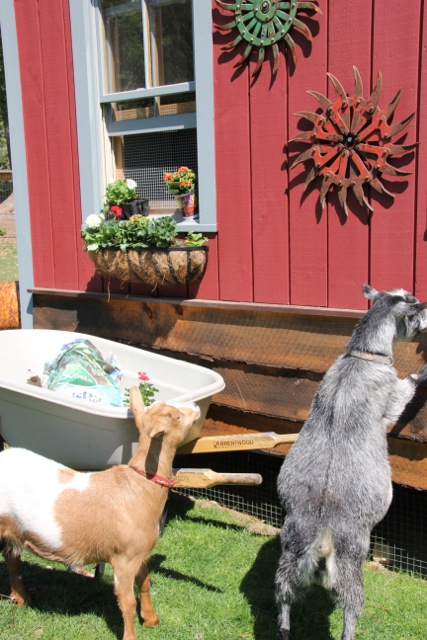
Oh dang - there's a line at the drive-up.
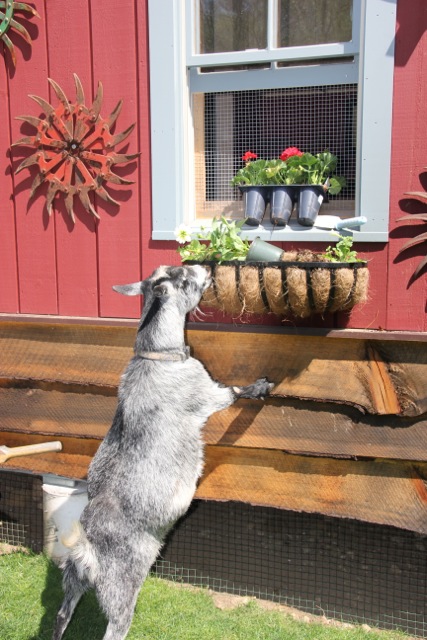
As you can see by her curvaceous figure, Melina likes to try all of the fast food options available.
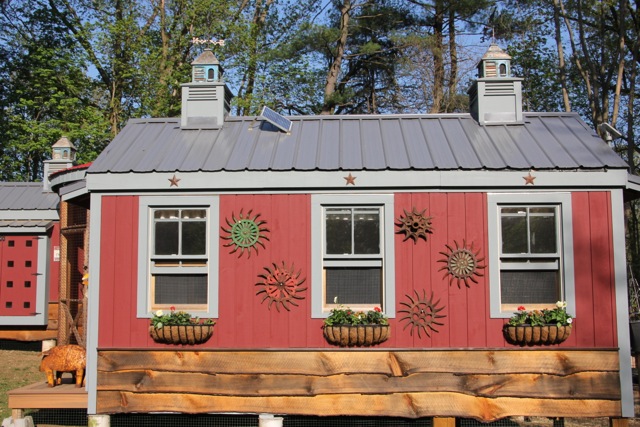
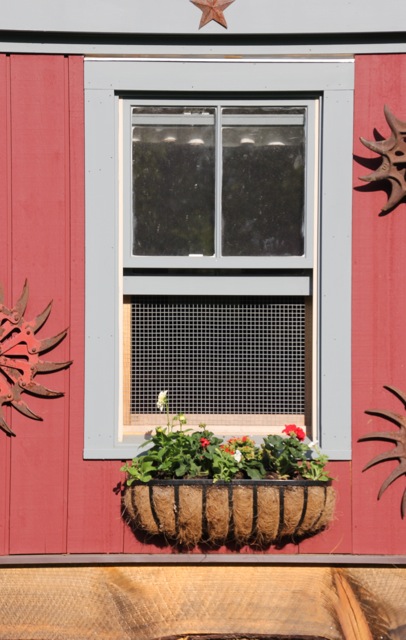
The finished, and nibbled, window boxes on the goat house.
I ordered these great prayer flags on Etsy to protect my bees. Since I’ve lost my entire colony two times now, I’m hoping that this will help them. I’ve got two colonies ordered that should be here soon, so I’ve got to get this one cleaned up and ready for them as well as getting the outside finish complete on the top bar hive I made last year that has a built-in viewing window. I cannot wait to get that colony going and be able to watch them in action undisturbed.
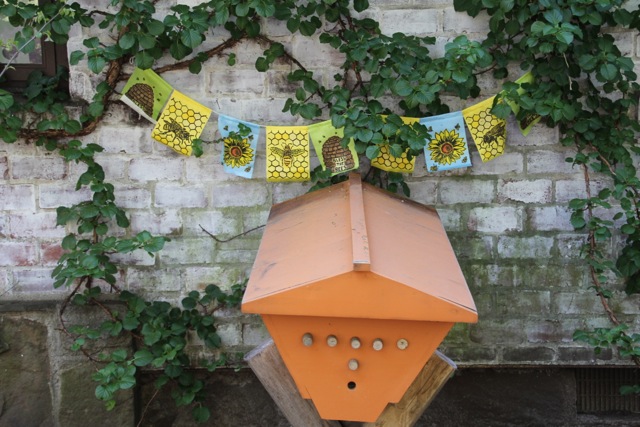
My new prayer prayer flags hanging over my bar top beehive. The new colony should be here soon.

Look how much the garden has grown since the last post!!

My white bleeding heart is blooming. I don't know why I prefer them to my red, but they are my favorite.
Few things make me angry, but don’t waste my money and don’t waste my time. Combine the two together and you’ll make me really mad.
Well, the pickle recipe that I tried 2 weeks ago managed to do just that.
I followed the recipe exactly. I made 6 pint jars and 2 half pint jars of pickles with the recipe. And this is what I had to do with them.
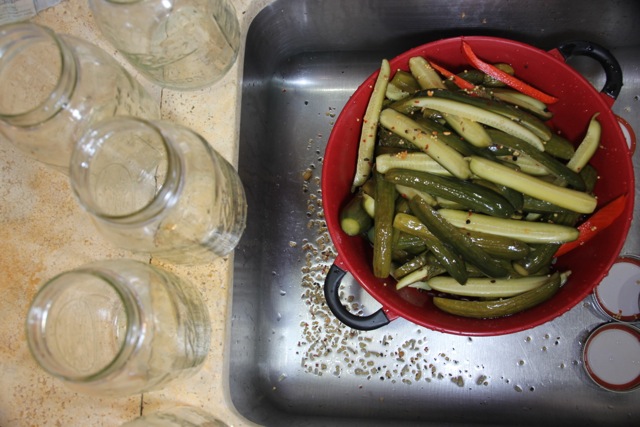
I had to drain all the jars out and throw the pickles away.
They were so incredibly, unbelievably salty they were inedible. First poor Evan tried them. He screwed up his face and bravely said “They’re a little salty, mom.” I took a bite and I literally couldn’t even swallow it. Jim tried them the next day and had the same reaction I did.
Into the garbage they all went.
Pounds of pickling cucumbers, lots of spices, and hours of my time, all right into the garbage.
Now if this had been my first attempt at canning I might chalk it up to inexperience, but I’ve been canning since I was in my 20’s.
Anyway, I just thought I’d share my frustration with you all. Thankfully I canned another batch with a different recipe the next week. Hopefully I’ll have better results.
Oh, and in case you were wondering, it was the Refrigerator Dill recipe out of this book.

It has great reviews at Amazon, so maybe it’s just me.
In the last Craft post I showed you the first part of how I made my new zinc topped work table for my office. I got up to installing the zinc top. Now I have to walk you to finishing the top up, distressing it and finishing it properly.
If anyone is inclined to give a project like this a shot, I highly suggest you look through the how-to videos that Rotometals has. That is the only source I used when I made my top and it worked out OK for me. I show a lot of photos because I want to show you all of the steps, but all in all this table probably took me 2 days to make of concentrated 8 hour days. It was a very satisfying project though because it yielded something that is so beautiful and useful.
Just to refresh your memory, when I decided to make my own table I started with this industrial cart:

And my finished zinc topped table looks like this:
I purchased the .027″ thickness ‘soft’ zinc that Rotometals recommended for this project, but I was surprised at how long it took to hammer down the edges of the table. I used a rubber mallet, and in order to do it properly, it just took some time and patience, and lots of hammering. Perhaps the arthritis in my shoulder made it seem harder than it really was. Because of the arthritis, I knew I had to finish this in one day because the next day I wouldn’t be able to lift my arms, so I had a lot to do.
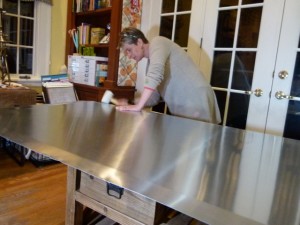
Use a rubber mallet to slowly hammer down the sides.
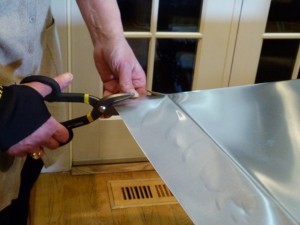
You have to cut the corners with metal snips to get a clean corner edge.
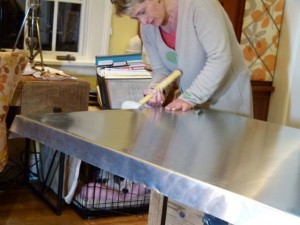
Here the top edge has been hammered down all around.
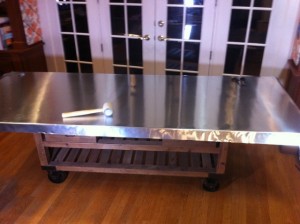
All of the edges hammered down, but they can still be hammered down further before nailing.
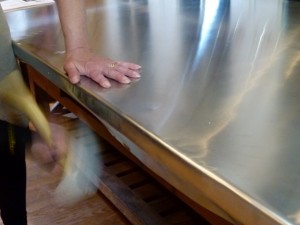
Then I went back around and hammered the bottom edge of the zinc sheet under the tabletop.
I knew I wanted to use a nailed edge, so I marked off where I wanted the nails along every side before I started nailing the galvanized nails in.
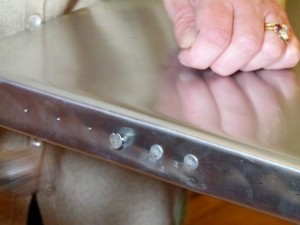
Measure and hammer in galvanized nails to edge.
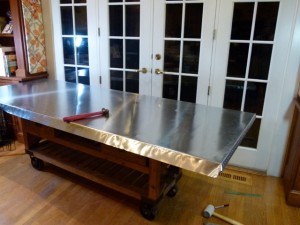
I nailed both ends first before I nailed the long sides down.
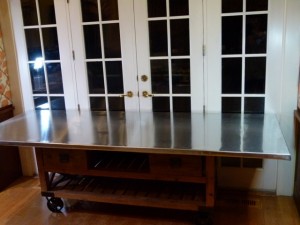
The front edge is hammered down and under and I've marked off where the nail holes will go.
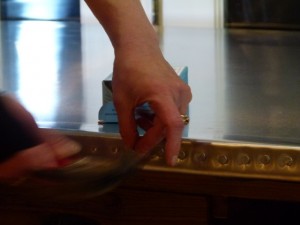
Hammer down the long sides after you've hammered nails into the short ends of the table.
Once you’ve got all of your edges nailed down, you’ll want to go around and nail the zinc to the underside of the table, but you don’t have to nail as close together as you did for the decorative edge – you’re just trying to secure it to the table.
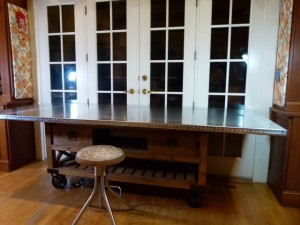
Finished top with nailed edge.
It looks great. I managed to finish it in the wee hours of the night thankfully because my arthritic shoulders were sore the next morning and my arms were tired from all the hammering. The shiny surface looked great, but I knew I wanted to put a distressed surface on it. It was quickly proven why this was a good idea.
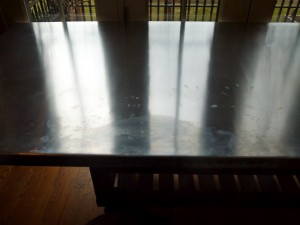
Evan sat to do some homework at the table, and this is what the surface looked like when he was done — covered in greasy dirty fingerprints, and his hands really weren't all that dirty.
Rotometals had a good video tutorial on how to do different kinds of distressed surfaces to zinc. Most were created using a diluted solution of water and Cupric Sulfate, which they sell. Those dirty fingerprints convinced me pretty quickly that a distressed top would be great.
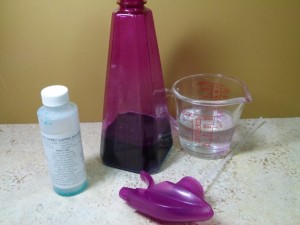
I mixed the distressing cupric sulfate with water and put it into a spray bottle.
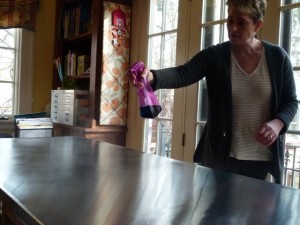
I sprayed the distressing liquid evenly on the table top and edges.
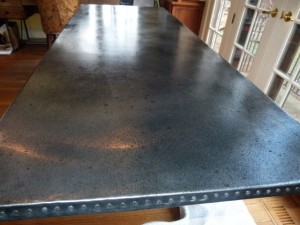
I sprayed fairly even coverage of distressing liquid, but applied it slightly heavier to random areas.
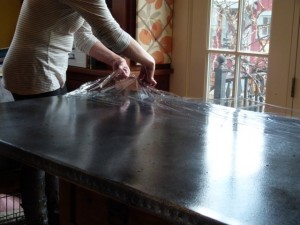
Quickly lay plastic wrap over surface of table, overlapping edges of plastic wrap to keep the solution wet longer. Try not to smudge the liquid too much, A helper at the other end holding the plastic wrap tight as you lay it down is key.
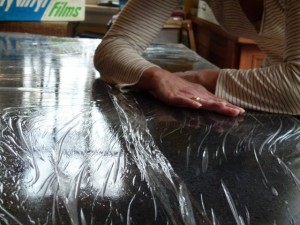
Try to get as many air bubbles out as possible so the plastic wrap lays directly on the table surface and the distressing liquid.
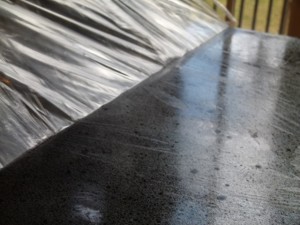
Peel off the plastic wrap when it's either looks the way you want it to and you don't want it to darken any further, or the distressing liquid has dried, because it won't darken any further once it's dried.
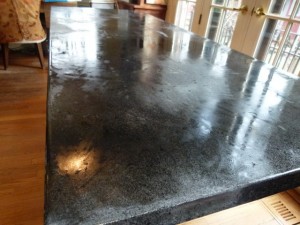
This is what it looks like when I removed the plastic wrap but isn't completely dry yet.
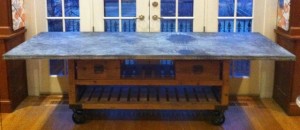
Here it is with the distressed finish complete and dry.
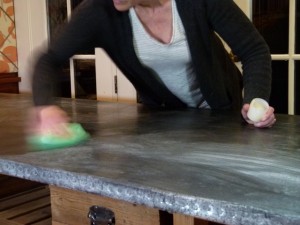
First I applied I thin layer of the clear wax sealer.
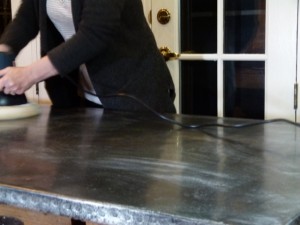
Then I buffed the waxed surface with a lambswool buffer.
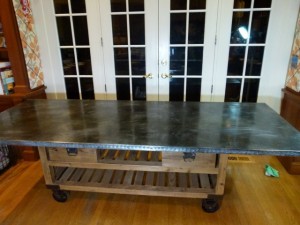
The clear wax finish has been applied and buffed. I could stop here but of course I didn't.
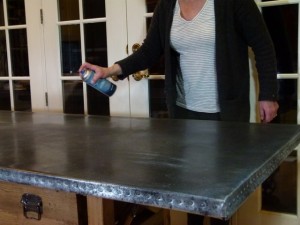
Then I applied the clear lacquer sealer.
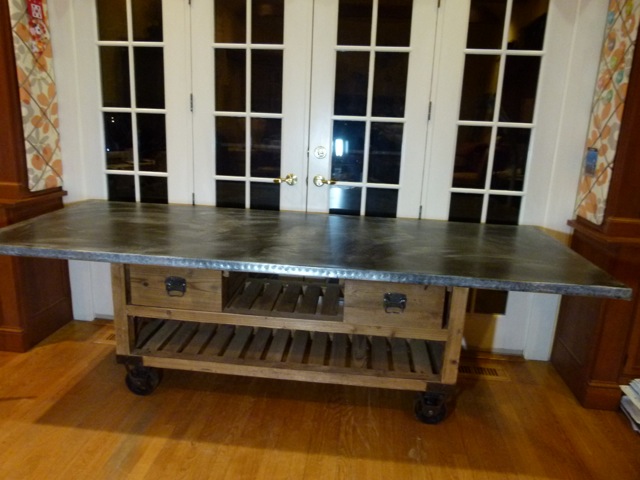
Finally it's finished and beautiful if I do say so myself.
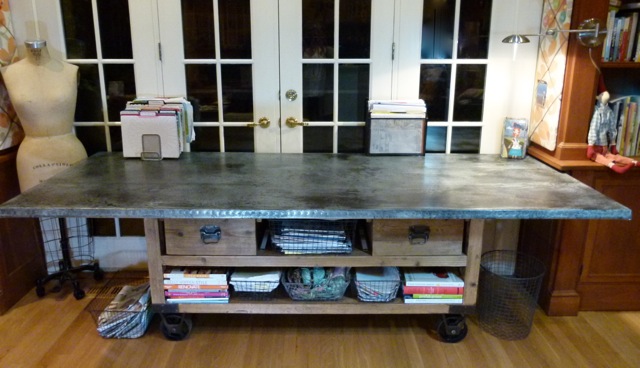
And here is the table as it looks today. The drawers and bins are perfect for storing papers and other things. It's the perfect work table for me, and I didn't see anything like it in my hunting. It also has enough overhand all around that it could easily be used as a dining table should the need arise.
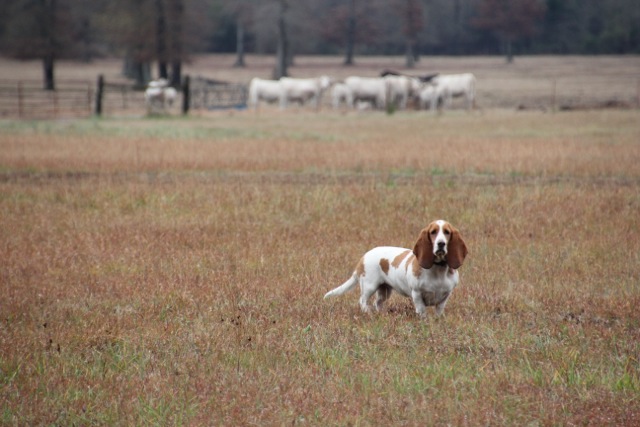
This incredibly handsome basset hound was wandering loose by a country highway in Mississippi. It took all the restraint my sister and I had not to scoop him up into the car and take him along on the road trip with us.