
I love this picture of Maia. Our town celebrates Memorial Day with a big, old-fashioned parade that goes on forever. After the parade everyone goes to the Post 53 Food Fair at Tilley Pond Park.

I love this picture of Maia. Our town celebrates Memorial Day with a big, old-fashioned parade that goes on forever. After the parade everyone goes to the Post 53 Food Fair at Tilley Pond Park.
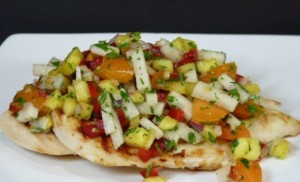
Today, finally, we had a beautiful day. It was hot and dry and lovely. At last I felt like cooking something summery, but I wouldn’t have a lot of time to cook today. I hit my favorite site, CooksIllustrated.com, and cruised around a bit. I came across their Apricot-Jicama Salsa recipe, which reminded me of a fruit salsa that I used to throw together and put over grilled chicken. This recipe is loosely based on that recipe. I liked the idea of jicama, which I didn’t used to use, but I did not like the idea of chipotle peppers in it. I also wanted to add pineapple because I used to use that and it goes great with both chicken and fish. I also thought the addition of fresh grated ginger was essential to add to the summery taste of this salsa.
Makes about 4 cups, which is enough to garnish two meals worth of chicken or fish
Recipe based loosely on Cook’s Illustrated’s Apricot-Jicama Salsa. Revised by Crafty Farm Girl, May, 2011
1/2 pound Jicama, peeled, sliced 1/8″ thick x 1/8″ thick and cut to 3/4″ lengths
6 fresh, ripe apricots, pitted, cut into quarters, and sliced thin but not too thin
1/4 pound fresh pineapple, diced
1 red bell pepper, cored and diced
1/2 red onion,peeled and diced
4 tablespoons minced fresh cilantro leaves
2″ piece of fresh ginger, peeled and grated for about 1 tablespoon ginger
2 tablespoons lime juice from 1 lime
Salt & pepper to taste
Prep all your ingredients before you assemble the salsa.
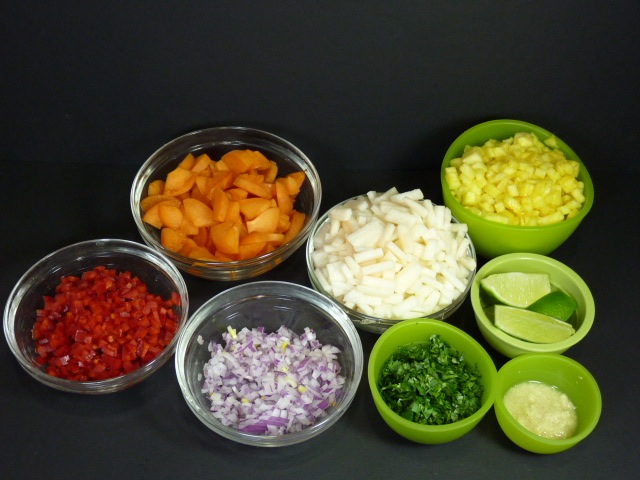
Using a large bowl and with your ingredients all assembled and ready, add the jicama to the bowl along with the apricots, then add the pineapple, red bell pepper and red onion.
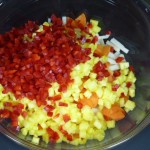
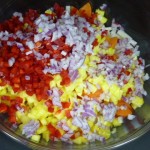
Then add the chopped cilantro, the fresh ginger, and squeeze the limes onto the salad. Stir thoroughly to combine. Add salt & pepper to taste.
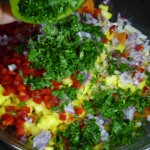
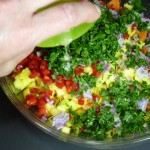
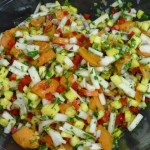
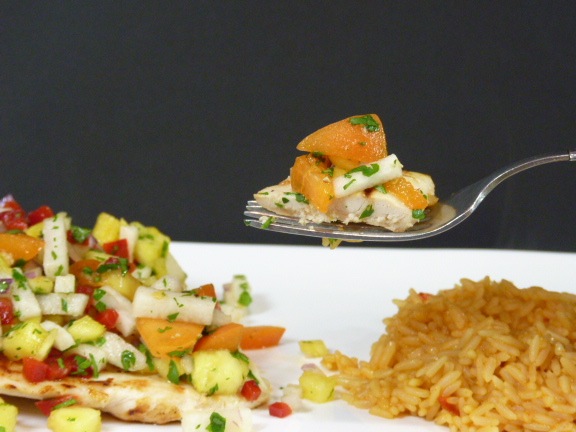
If you won’t be using the salsa quickly, cover with plastic wrap and refrigerate until ready to use. Prepare your chicken or fish and when plated, spoon salsa on top. Serve immediately.
Put any leftovers in a covered plastic or glass container in the refrigerator. The salsa should stay crisp and fresh for up to 2 days.
 Print This Recipe
I was so excited today to make candles from my own beeswax. I had to buy some bee supplies recently, so I added a cute candle mold of a bee skep to the order. I had a full shoebox of beeswax from when I went in and cleaned up the hive a bit and gathered some honey a few weeks ago. I had washed the wax in cold water to get rid of any excess honey in it and picked through it as best I could. Then I dried it on towels overnight. The shoebox was a good place to store it since it wasn’t airtight it allowed the little remaining water to evaporate.
In a double boiler over a low heat I put the beeswax into a 2-quart wax melting pot. It all wouldn’t fit, so I had to add more as the wax melted down.
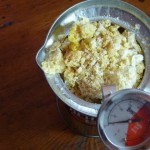
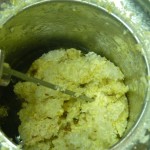
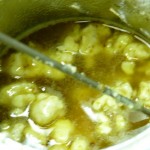
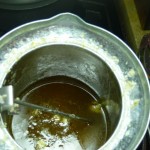
Now even though I’d picked through the cleaned beeswax, there was still things that needed to be filtered out. I strained the melted wax twice through double layers of cheesecloth. Then I added a little lemon essential oil to add just a hint of scent. Beeswax already has a wonderful scent, but I thought lemon would enhance it rather than detract from it.
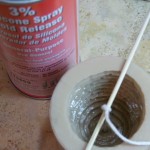
I’d prepared the mold while the wax was melting. I sprayed it with a silicone spray, threaded a wick that I’d dipped in beeswax through the center and centered it at the base using a bamboo skewer. I wanted to filter the wax one last time, so I placed a single layer of cheesecloth over the top of the wax melting pot and secured it with a rubber band before pouring it into the mold.
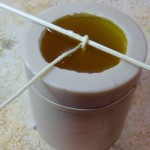
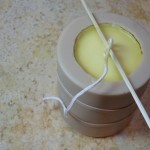
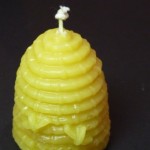
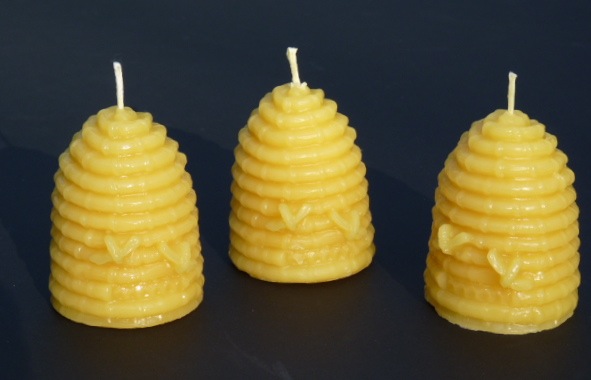
All that work — the gathering of the wax, washing the wax, cleaning the wax, drying it. Then today melting and filtering and everything else. I got a total of 4 candles. And because I only had one mold I had to go through the process four times! (Note to self: order more wax molds.) Now I’m not complaining. I’m thrilled to have them and so proud of my bees for their good work. But now I truly understand why beeswax is so expensive. Aren’t they beautiful?

This is a photo I took in the lobby of the Westin Peachtree hotel in Atlanta. While the hotel is a little past it's prime, the lobby is pretty timeless in a Jetson's futuristic sort of way.
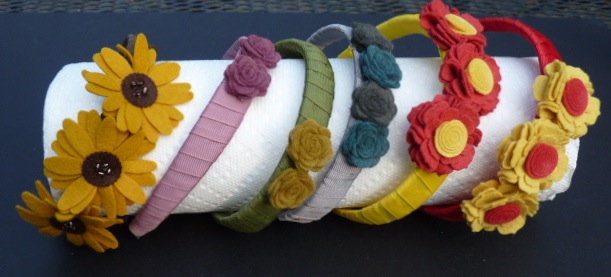
I don’t have enough hair to require a headband, but my girls certainly do. Amanda loves headbands, India is confused by how to wear them properly and Maia wears them occasionally.
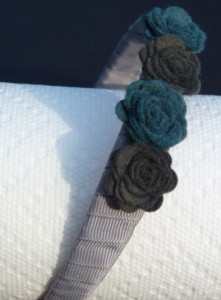
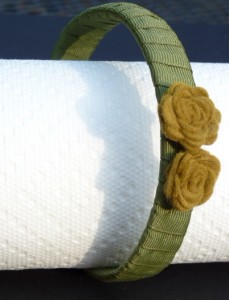
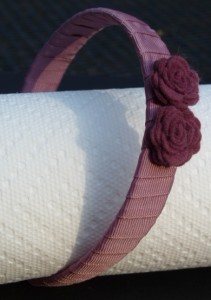
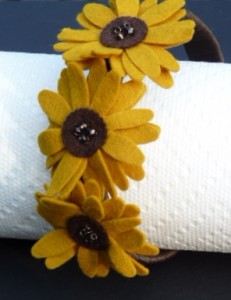
I came across some adorable felt flowers on Etsy a few weeks ago and for some reason they just seemed perfect for putting on some headbands. I went to my local sewing store and bought 1-3/4 yards each in varying colors of grosgrain ribbon, went to my local drugstore and bought a bunch of the cheapest headbands I could find, headed home and fired up the glue gun.
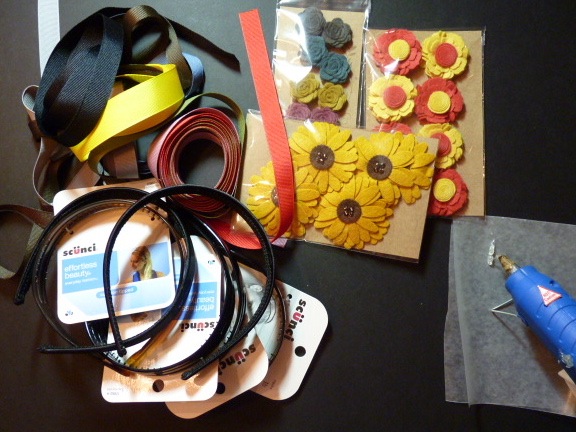
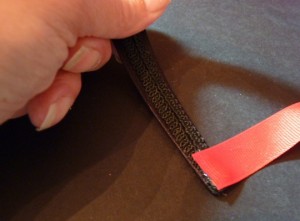
Gold over edge of ribbon and glue down to prevent fraying. Then glue the finished edge to the back of the bottom of one side of the hairband.
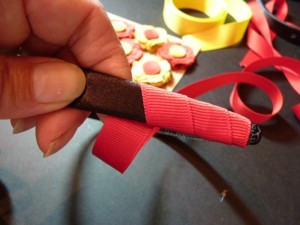
Apply a think strip of hot glue about an inch long on the outside of the headband and start to quickly and tightly wind the ribbon up and around the headband. Continue in the same way all the way around the headband.
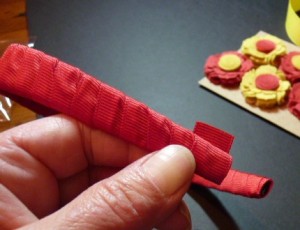
When you get to the end of the headband trim ribbon allowing enough to glue down and fold over edge again to prevent fraying. Glue ribbon edge down on the back of headband.
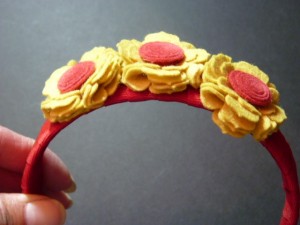
Using a dab of hot glue on the underside-center of felt flowers, glue flowers onto headband.
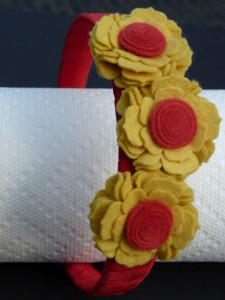
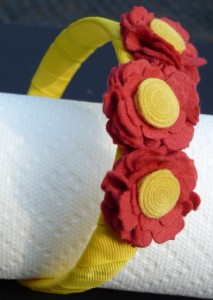
This is a terrific way to make a headband for a particular outfit that matches your color and style exactly. And you certainly don’t need to limit yourself to felt flowers — you could glue all sorts of fun things on a headband. Glue more or less flowers on them according to your own taste. They’re easy to make and a lot less expensive than a similar headband would be in a store.

Another photo taken at The Goat Farm in Atlanta, Georgia this past weekend. I absolutely love rusty corrugated metal walls. The colors of these were spectacular - especially when I play with the filters on my Instagram iPhone app!

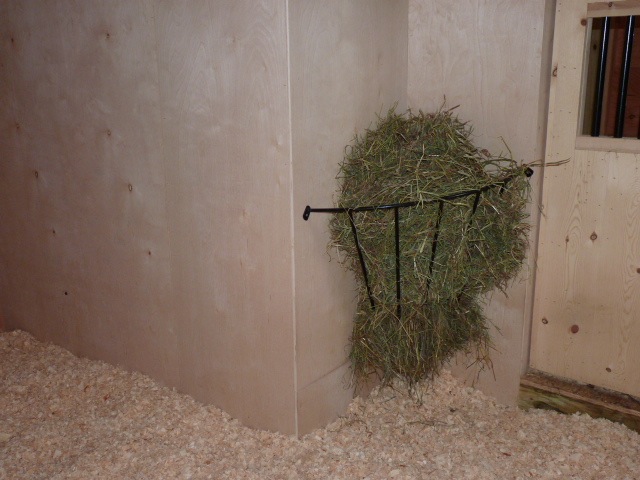
The chickens have taken a liking to the new goat house. I found this egg laid right on the floor of the a goat stall this morning.
Since I was only gone to Atlanta from 2:00 p.m. on Thursday afternoon until midnight Saturday night, the workers only had a few more hours on Thursday and Friday to make more progress, but progress they did make.
The small window has now been installed in-between the goat stall doors.

Inside the walls are up in both goat stalls and in the smaller one (where Cissy will have her kid this week), they’ve finished installing the plastic material that will make the walls washable and easy to keep clean.
The wood is up in the big stall but the plastic material isn't yet.
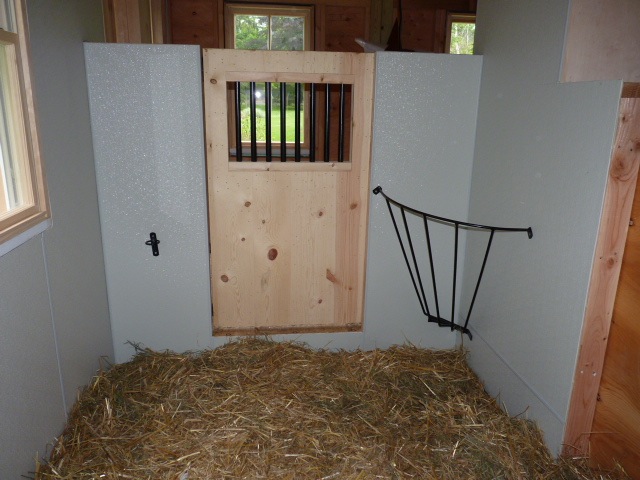
The plastic material over the wood walls makes everything washable and easy to clean.

An egg laid in the hayrack.
With Cissy due to kid this week, I’ve got another week of waiting and watching. Saturday will be day 150, but I’ve learned that Nigerian Dwarf’s most often kid between day 145 and 150, so I’m on high alert as of tomorrow for signs of labor.

While in Atlanta I took some time yesterday afternoon to go to the area called Westside. There was a funky place called The Goat Farm that was a bunch of abandoned old industrial buildings that were now artist spaces and a really cool coffee house. And yes, there were still a few goats.
Jim absolutely hates breakfast for dinner in any shape or form. He just doesn’t seem to understand it, but it was a favorite treat when I was a kid and my mother made us swedish pancakes for dinner. It’s something that Jim moans and groans about so much that I’ve learned to save it for when he’s away, or the kids will ask for it on their birthdays since they have their choice for dinner then with no arguments. I do serve it with either bacon or sausage, just to make it a well-rounded sort or breakfast/dinner. When Jim was away skiing with his brother in February I took the opportunity to make beignets (pronounced “ben-YAYS”) for dinner one night. The small, light, donuts made famous in the French Quarter of New Orleans by Café du Monde.
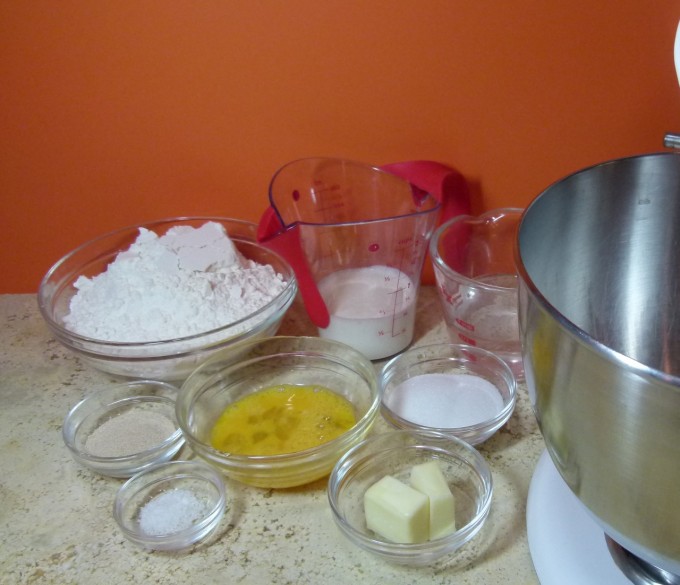
This was a lovely dough to work with, and I’m going to try it the next time I make regular donuts and see how it works with an icing or glaze.
Ingredients:
Directions:
In a 2-cup measuring cup, combine the water, granulated sugar, salt and yeast. Let stand until frothy, about 10 minutes.
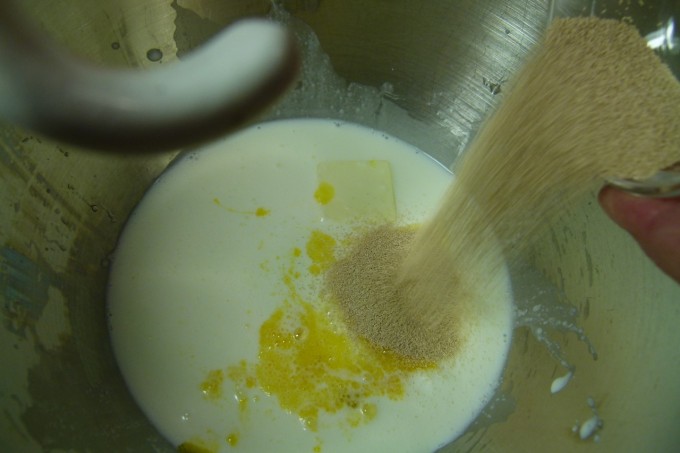
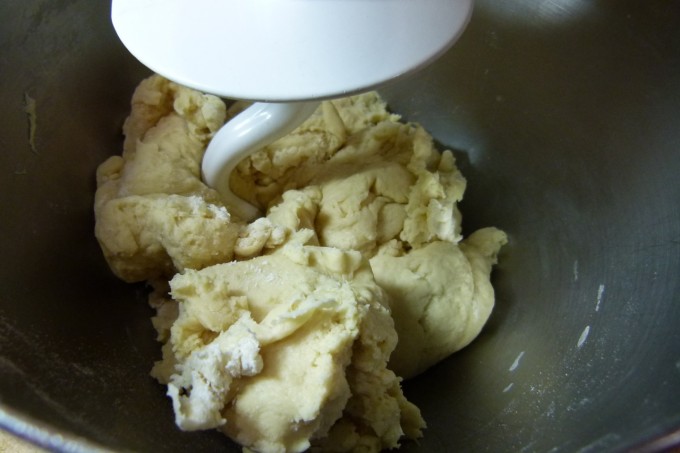
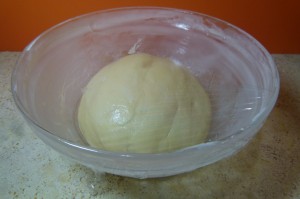
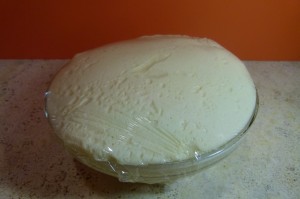
Measure out 3-1/2 cups of the flour into a food processor. With the motor running, slowly add the yeast mixture, processing until fully absorbed. Add the cream and egg and process to form a soft dough. Add more flour, 1 Tbs. at a time, until the dough cleans the sides of the work bowl and is no longer sticky. Continue processing for 1 minute to knead. Place the dough in a lightly oiled bowl and cover tightly with plastic wrap. Refrigerate overnight.
Transfer the dough to a lightly floured work surface and punch it down to eliminate air pockets. Using a floured rolling pin, roll out the dough into an 8-inch square about 3/4 inch thick. Using a sharp knife, square off the corners. Cut the dough into sixteen 2-inch squares, then cut the squares in half on the diagonal to form 32 triangles. Brush off flour with a dry pastry brush and transfer to a lightly floured baking sheet and let rise, uncovered, until doubled in size, about 45 minutes.
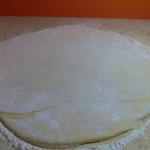
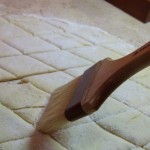
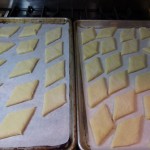
In a heavy saucepan or deep fryer, pour in oil to a depth of 4 inches and heat to 375°F on a deep-frying thermometer. Add the pieces of dough, a few at a time, and deep-fry, turning as needed, until golden, about 1 minute. Using a slotted spoon, transfer to paper towels to drain.
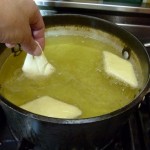
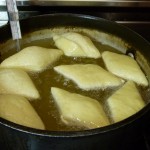
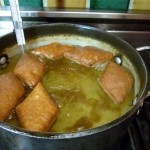
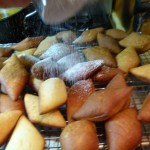
Sprinkle generously with confectioners’ sugar and serve hot.
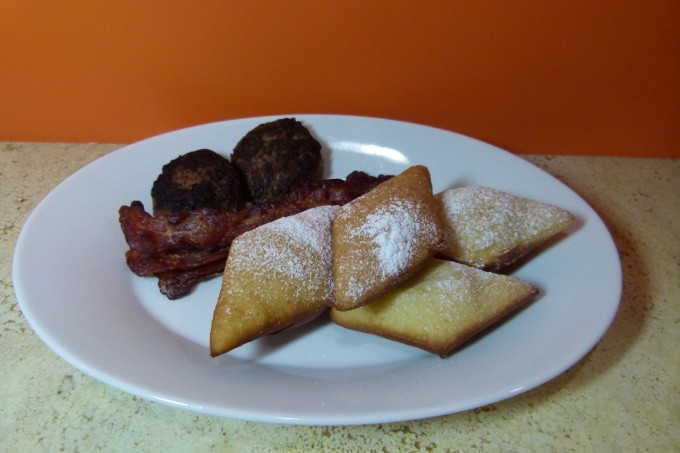
Serve immediately while still hot and just after you've dusted with powdered sugar.