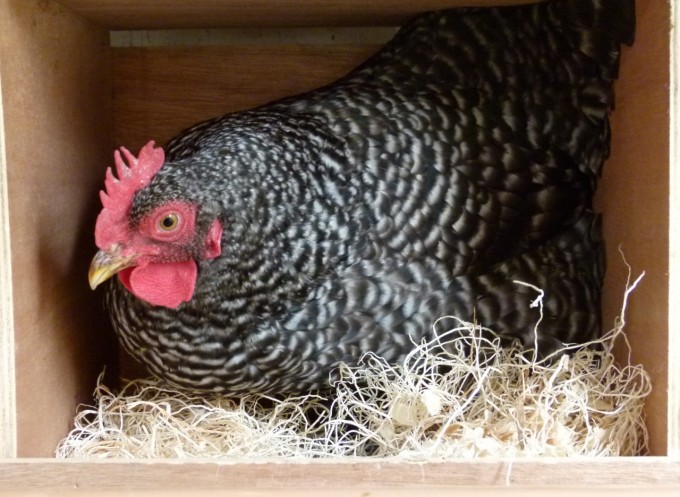
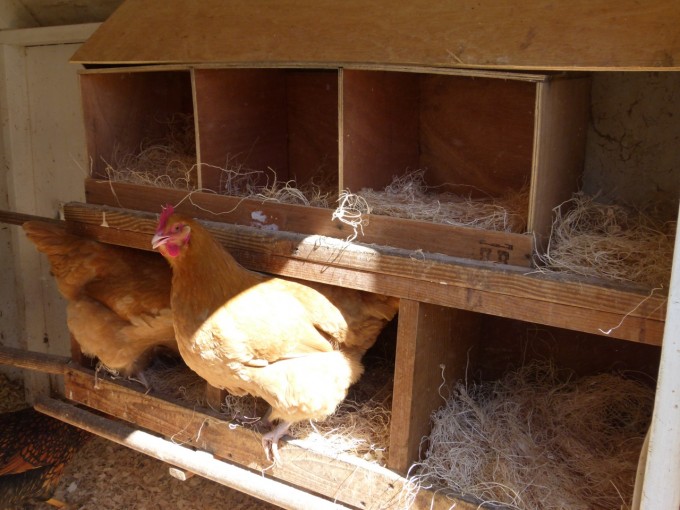
I took this picture the other day. I'd just installed a "second floor" of nesting boxes, and this barred rock was happily settling in to lay an egg, She's just such a perfect looking chicken.

I took this picture the other day. I'd just installed a "second floor" of nesting boxes, and this barred rock was happily settling in to lay an egg, She's just such a perfect looking chicken.
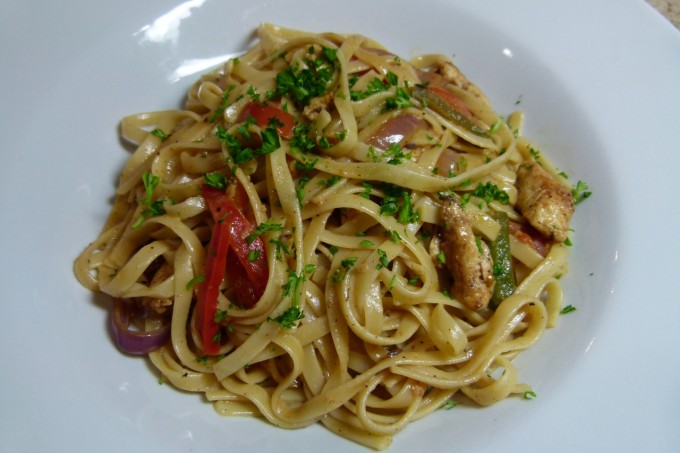
I first tried this recipe this summer, and it was a nice combination. I liked the slightly spicy cajun sauce with lots of chicken and all of the vegetables. I’m always a sucker for pasta, but this was a refreshingly different taste. Jim’s brother-in-law was coming down to spend the night this week before he and Jim headed off skiing, so I thought this would be a nice meal for Peter to have.
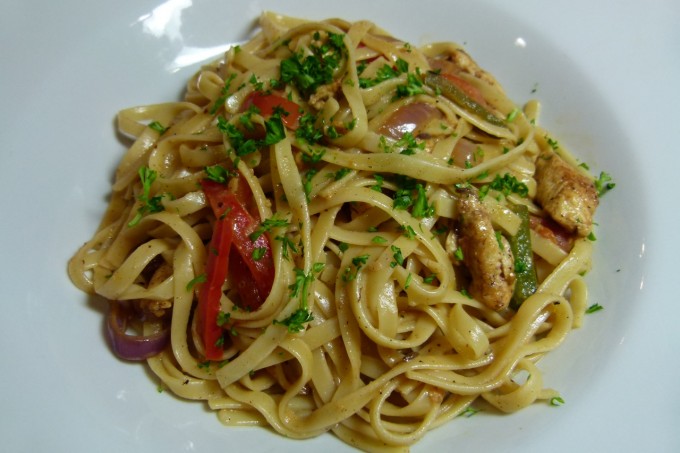
Original recipe from Pioneer Woman, adapted slightly by Crafty Farm Girl, 2011
Prep Time: 10 Minutes • Cook Time: 15 Minutes • Difficulty: Easy • Servings: 6-8
Ingredients
4 whole Boneless, Skinless Chicken Breasts, Cut Into Cubes
3-1/2 teaspoons Cajun Spice Mix, More To Taste
1 pound Fettuccine
2 Tablespoons Olive Oil
2 Tablespoons Butter
1 whole Green Bell Pepper, Seeded And Sliced
1 whole Red Bell Pepper, Seeded And Sliced
½ whole Large Red Onion, Sliced
3 cloves Garlic, Minced
4 whole plum Tomatoes, Diced
2 cups Low Sodium Chicken Broth
½ cups White Wine
3/4 cup Heavy Cream
Cayenne Pepper To Taste
Freshly Ground Black Pepper, To Taste
Salt To Taste
Chopped Fresh Parsley, To Taste
Preparation Instructions
Have all of your ingredients prepped and assembled right next to the stove. This comes together quickly and you must have everything ready and at-hand. Bring a large pot of salted water to boil for pasta.I first tried this recipe this summer, and it was a nice combination. I liked the slightly spicy cajun sauce with lots of chicken and all of the vegetables. I’m always a sucker for pasta, but this was a refreshingly different taste. Jim’s brother-in-law was coming down to spend the night this week before he and Jim headed off skiing, so I thought this would be a nice meal for Peter to have.
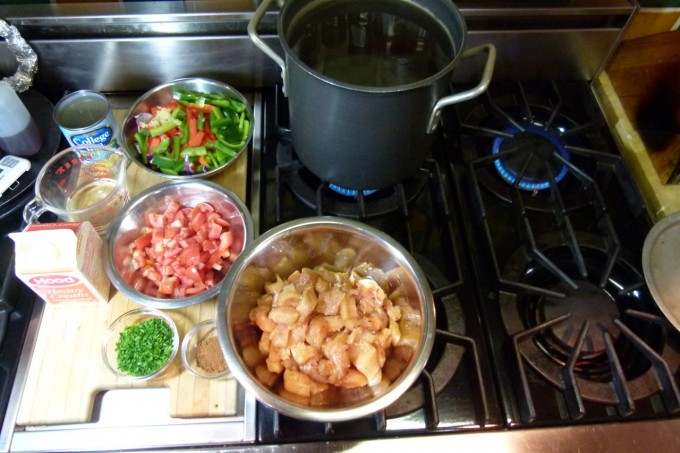
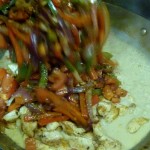
Sprinkle 1 1/2 teaspoons Cajun spice over chicken pieces. Toss around to coat. Heat 1 tablespoon oil and 1 tablespoon butter in a heavy skillet over high heat. Add half the chicken in a single layer; do not stir. Allow chicken to brown on one side, about 1 minute. Flip to the other side and cook an additional minute. Remove with a slotted spoon and place on a clean plate. Repeat with remaining chicken.
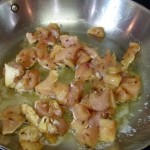
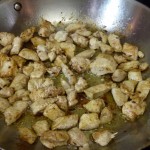
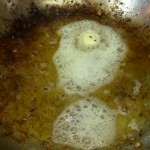
Remove chicken, leaving pan on high heat. Add remaining olive oil and butter. When heated, add peppers, onions, and garlic. Sprinkle on remaining Cajun spice, and add salt if needed. Cook over very high heat for 1 minute, stirring gently and trying to get the vegetables as dark/black as possible. Add tomatoes and cook for an additional 30 seconds. Remove all vegetables from the pan.
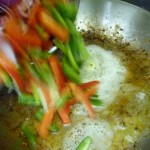
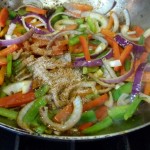
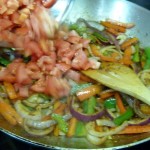
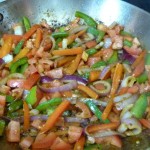
Cook pasta according to package directions. Drain when pasta is still al dente; do not overcook!
With the pan over high heat, pour in the wine and chicken broth. Cook on high for 3 to 5 minutes, scraping the bottom of the pan to deglaze. Reduce heat to medium-low and pour in cream, stirring/whisking constantly. Cook sauce over medium-low heat for a few minutes, until cream starts to thicken the mixture. Taste sauce and adjust with more salt, pepper or cayenne if necessary. Sauce should be spicy!
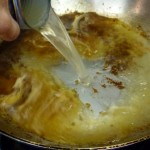
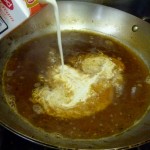
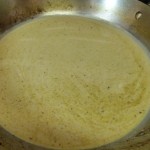
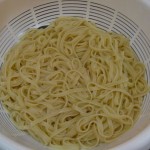
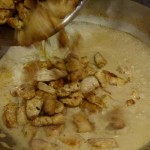
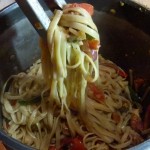
Finally, add chicken and vegetables to sauce, making sure to include all the juices that have drained onto the plate. Stir and cook for 1 to 2 minutes, until mixture is bubbly and hot. Add sauce to pot of drained fettuccine and toss well to evenly coat pasta with sauce. Top with chopped fresh parsley serve immediately.

 Print This Recipe
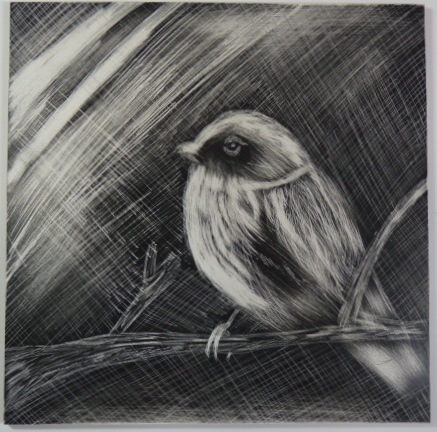
In my continuing effort to try and give my kids a well-rounded education in as many art forms as I can, yesterday we tried our hand at Scratchbord art.
My First Attempt at Scratchbord
Now this is an art that I had never done before, but taking from my “lessons learned from lack of preparation” in my first Encaustic Wax Painting class, I did try this before I sat down with the kids. It’s nice if the teacher is at least slightly familiar with what she’s teaching before class starts, don’t you think? I also prepared myself in advance by printing out lots of different examples of scratchbord art, trying to find at least one piece that I thought each child would want to try themselves.
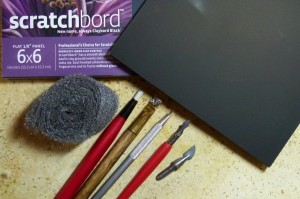
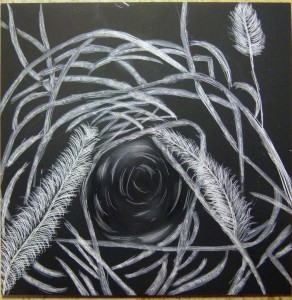
Scratchbord is a piece of cardboard similar to poster board that has been coated on one side with a layer of hard white chalk. The artist paints, rolls, or sprays black ink onto the surface. After the ink dries, the artist scratches through the ink with a sharp stylus or knife, creating white marks or lines by exposing the chalk underneath. Although it is possible to make your own scratchbord, it can be purchased pre-made, and you can bet that is what I did.
It seems to be getting harder and harder to even find a night when all three children have enough time to do this; between Lacrosse, music lessons, and dance class, my family has become one dynamic motion from 3:30 on every day.
Everyone started off with their chosen artwork printed out to the same size as the scratchbord. Scratchbord comes in all different sizes, but I had the 8″x8″ size and the 5″x7″ size. We taped the artwork down to the scatchbord, and then using the sharpest tool we had in our Scratchbord toolkit, we dug through the paper into the Scratchbord just until we had the very barest of outlines of the drawing. From there it was all freehand.
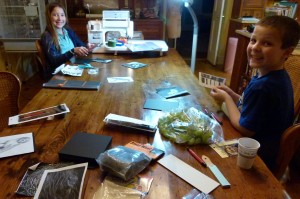
It’s really just amazing how much the kids enjoy this. I haven’t seen concentration like this in a long time.
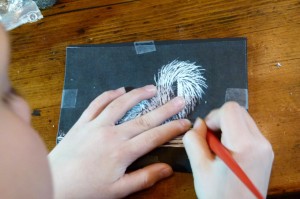
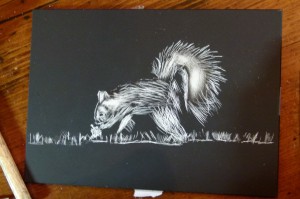
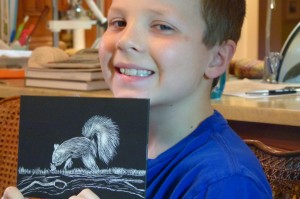
Evan's working on his squirrel
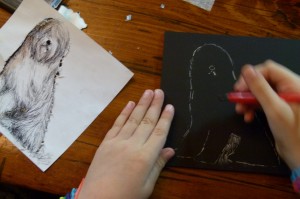
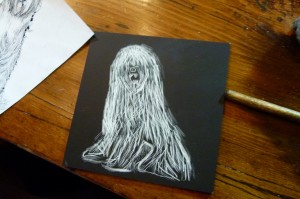
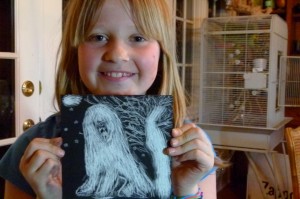
Maia's Shaggy Dog
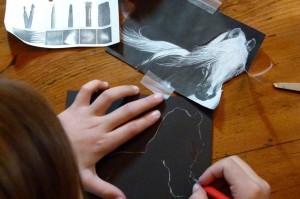
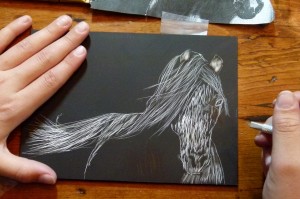
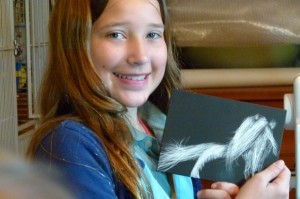
India's working on a horse
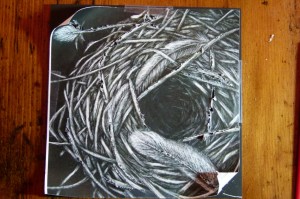
I'm working on a bird's nest.
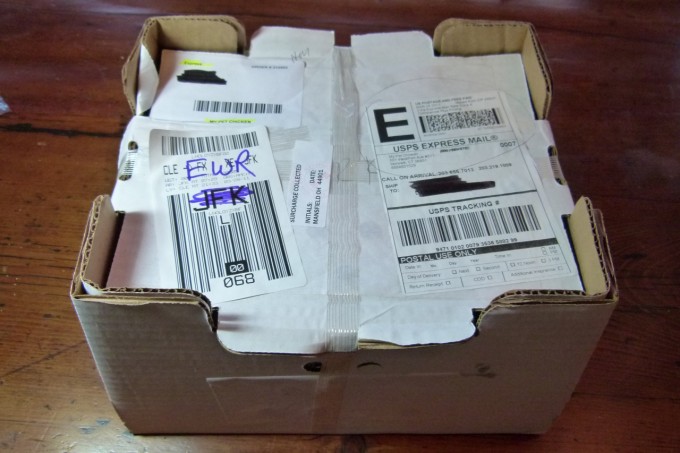
My absolute favorite kind of mail came today. Not my favorite magazine. Not a check. Not a letter from a friend. I got a call from my local post office this morning that my order of day-old chicks was there waiting to be picked up.
I had everything all ready in the basement.
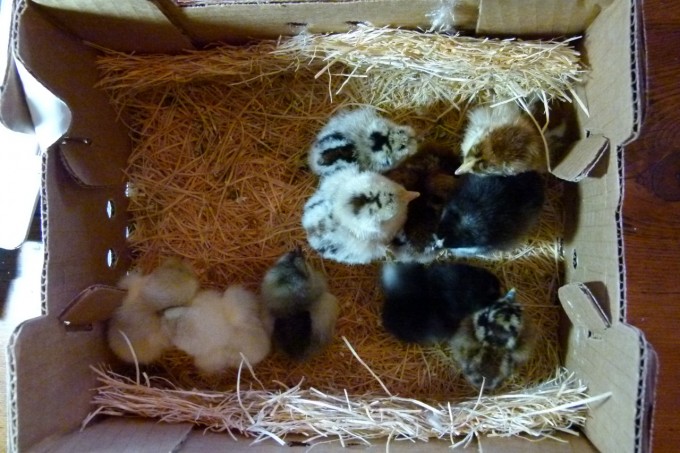
Included in this order are the following:
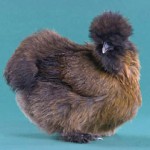
2 vaccinated female Partridge Silkie bantams
 that will turn into this
2 female vaccinated Blue Andalusian
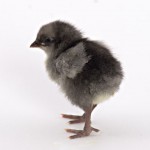 that will turn into this
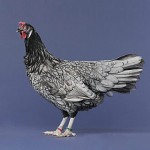
2 female vaccinated Partridge Penedesenca
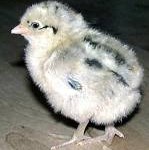 that will turn into this
1 Male vaccinated Partridge Penedesenca
 that will turn into this
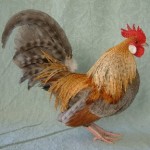
Now I don’t normally buy roosters, but this was such a classically beautiful rooster I just had to have him. He looks like he belongs on a box of Corn Flakes. I can’t keep a crowing rooster where I live, so while I’ve had many a rooster over the years, as soon as they start to crow I have to find another home for them. Hopefully this one won’t be a crower. It would be so nice for some of my broody hens to be able to actually hatch their own clutch one day.
and 2 Female vaccinated Rare Marans
 that will turn into this
 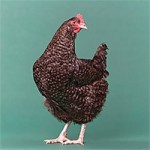 or this
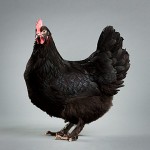
It’s a mixed bag of Maran’s, so I won’t know what they’ll look like until they’re feathered out. Maran’s lay the most amazing dark dark olive brown eggs. They are very hard to come by, and I’m excited to finally have some. I’ll be getting more at the end of April from Whitmore Farm in Maryland when I go pick up my new Tennessee Fainting Goat kid. They are big breeders of Copper Marans and other heritage breed chickens, so I’m picking up a few more when I’m down there.
They’re all settled in downstairs. Nice clean water, lots of chick starter food and a heat lamp to keep them warm. The cardboard enclosure can expand as they get bigger.
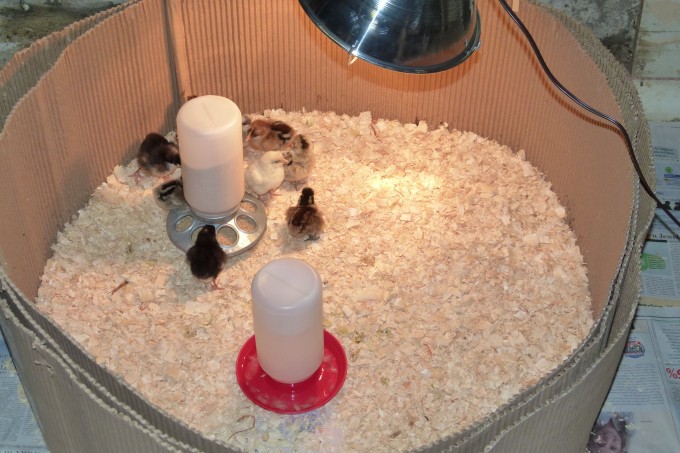
When they first arrive you have to dip their beaks in water to give them a drink and familiarize them with the water feeder. They seem to find the food on their own. They all gather under the heat lamp to warm up. They were pretty cold by the time I got them. The yellow chick already knows to spread her wings out to warm up faster.
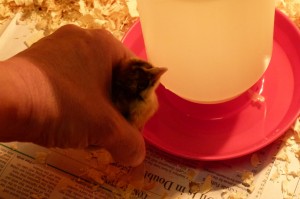
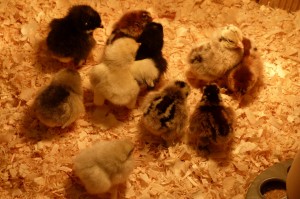
After some water, some food, and some naps they were awake and perky and running around.
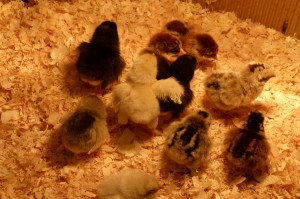
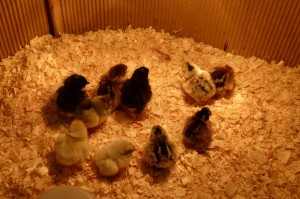
I love having new chicks in the house. I can’t wait to see them grow and what they’ll look like. I’ll keep you posted on their progress.
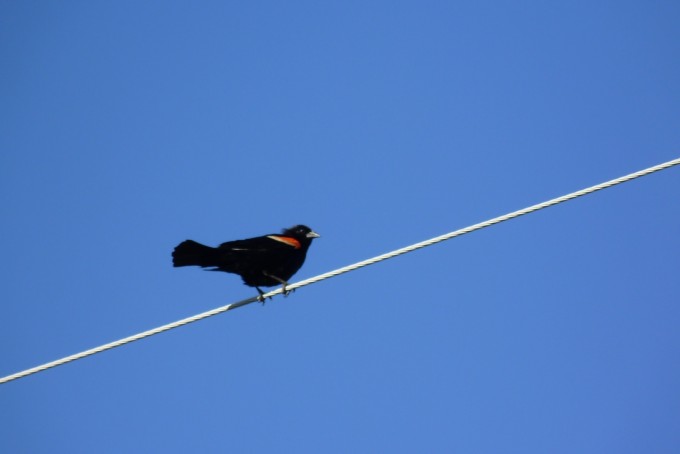
Red Winged Blackbird on a WINDY South Dakota Day
I was going through my photos tonight and came across the photos from the Crafty Farm Girl’s Summer Road Trip last year when we were in North & South Dakota. Good memories of that whole trip. Well, except maybe that first day with two flat tires. What you have to look closely at in this picture is the top of the birds head. Can you see those head feathers blowing around? It was SO windy in South Dakota! Not just a little windy — a hold-on-to-your-car-door-when-you-open-it kind of windy. To really understand how windy it was you’ll have to click the link above to the post from that day.
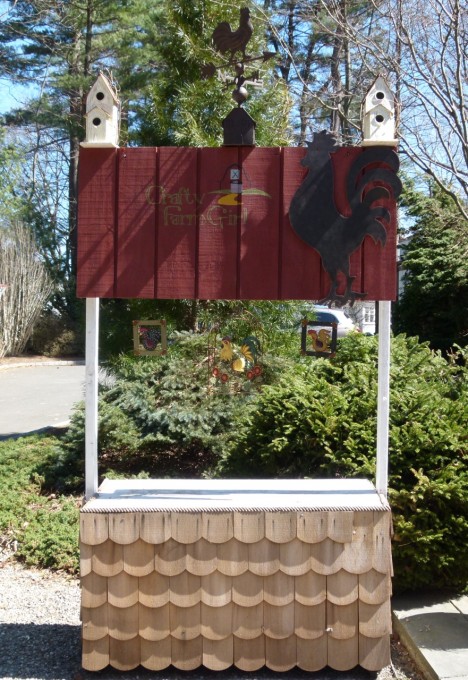
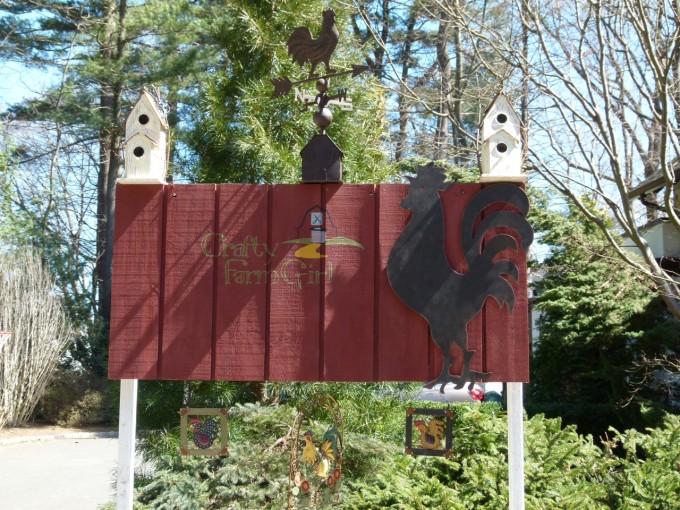
I told you it was going to drive me crazy until I had it fixed. Today I finished it – the Farm Stand sign the way it should have been built the first time. One that actually covers the lemonade sign behind it!
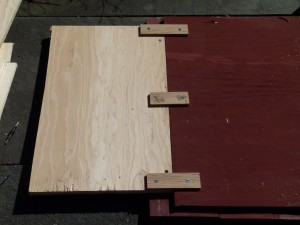
It wasn’t really that hard to fix. I added a piece of plywood to the back and connected it with little hardwood tabs just as a precaution. This process would have been a lot more difficult to do if I didn’t have some overlap on the siding from the sign to drill the plywood onto.
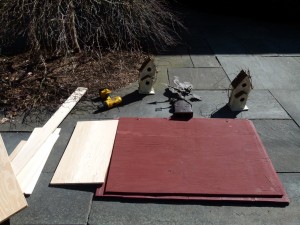
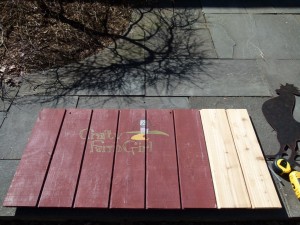
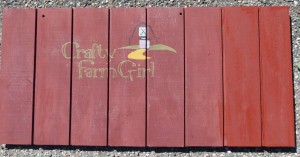
I had to drill another whole through the sign as an additional hanging point. It’s a heavy sign, and I wanted it secured in 3 spots. I had this big metal rooster that I’d picked up at Home Goods not too long ago. I’d planned on hanging on the exterior of the new chicken coop, but to offset the now-not-centered Crafty Farm Girl logo, I thought this rooster was perfect. I love that he hangs slightly off of the board to add a little dimension to the sign. I reattached the weathervane and birdhouses and tad-da!
NOW I love the way it looks.
The girls got a new set of nesting boxes this weekend! I added a “second floor” to their existing nesting box. They were pretty excited about it and laying like crazy in the new boxes today.
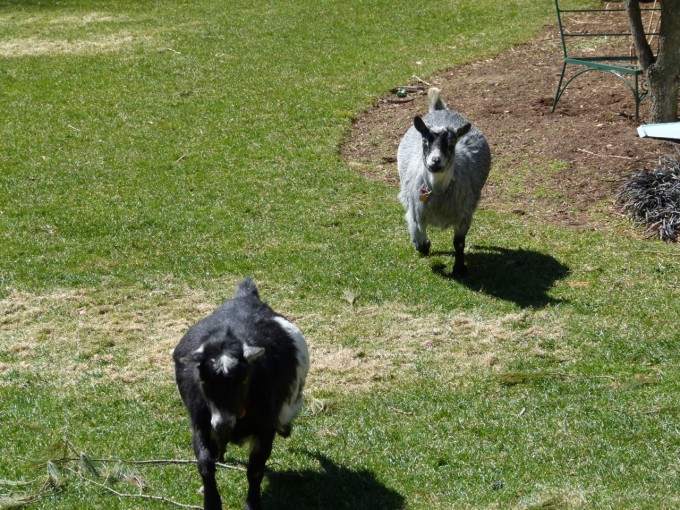
Here’s my fat, pregnant goats running to me in the hopes that I might have a little treat for them.
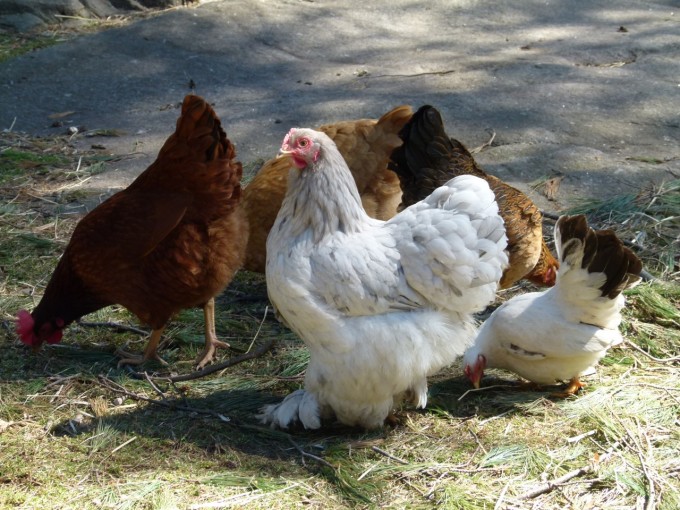
And the chickens wish that the weather would get just a little bit warmer so the bugs are more plentiful.
I’ve been madly nesting lately – must be sympathetic nesting for my pregnant goats. Poor Melina is getting so big that she’s been taking these long deep sleeping naps during the day with a look of sheer exhaustion on her face. It’s hard to image she’s got over a month still to go. I’ve been organizing and cooking and cleaning. There’s so much to do.
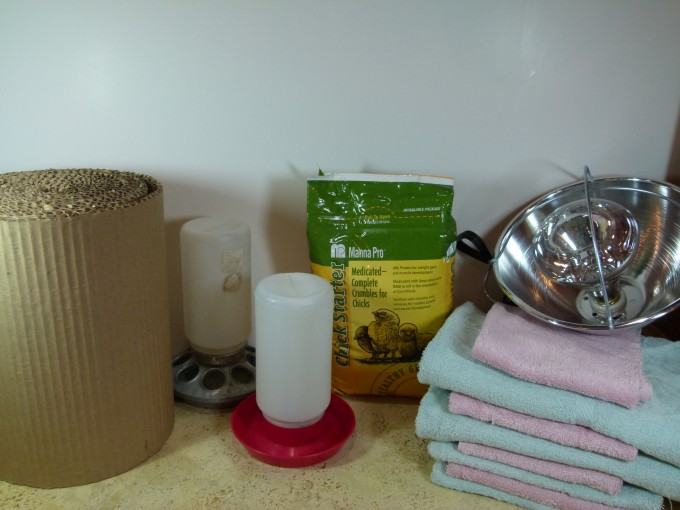
I’m hoping that my first batch of day-old chicks will arrive on Tuesday, so today I gathered all of the equipment and supplies I would need for their arrival. Tomorrow I will prepare my usual spot in my basement for them to grow and feather out before I move them out into what I now refer to as my “brooder” coop.
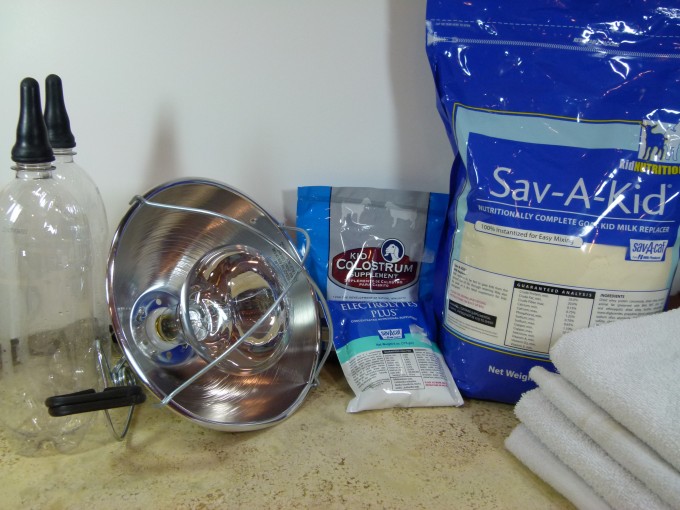
While I was at it I figured I’d gather up all of the equipment and supplies I would need for delivering the baby goats. I’ve been re-reading books on what to expect during the delivery and hope that I am prepared for anything.
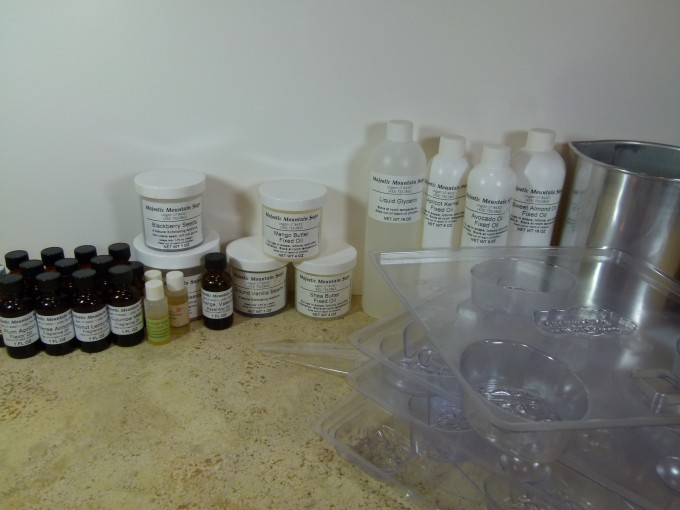
Then while I was at it I figured I’d check out my long-ignored soap making equipment to see what I needed to re-stock while I had the time. I’m going to try my hand at making goat’s milk soap. It has been a few years since my last venture into soap making, so all of the oils will need to be replaced.
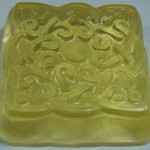
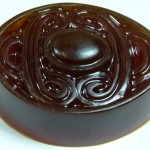
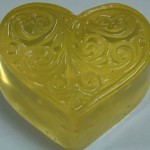
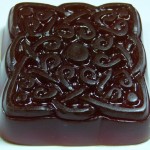
While I was foraging around in the basement cabinets I came across a bunch of slabs of ready-made soap base in all kinds of fun varieties: Honey, Olive Oil, Translucent Oatmeal, Shea Butter, and Avocado Cucumber. So I’ve spent the day melting them down, adding scents and other things and making bars from them.
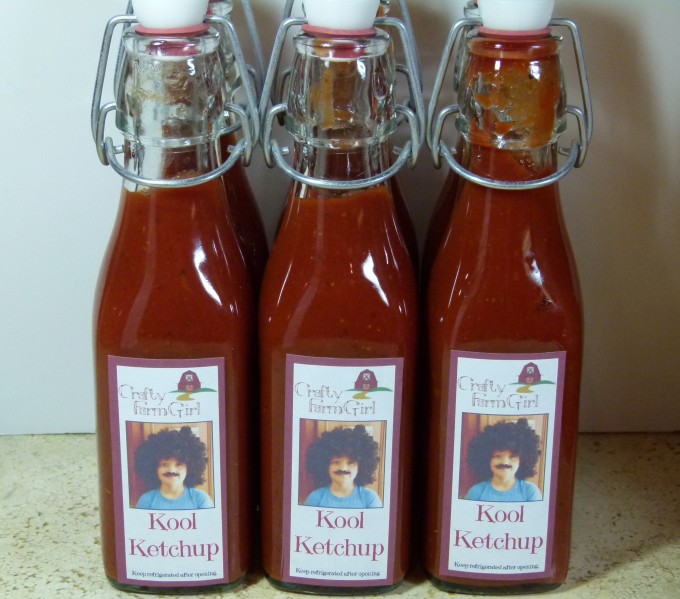
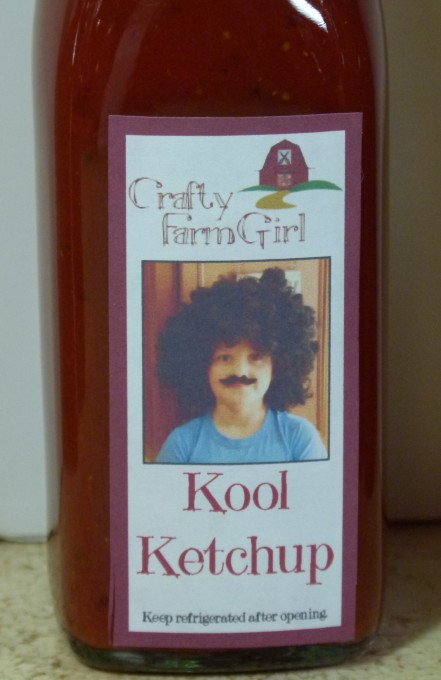
And on Friday I put up a batch of home-made ketchup. I had these great jars just waiting to be used, and it came out great. Then I had to design a label. Years ago I had attempted to make hot sauce. This wasn’t particularly successful as it separated while sitting in the jar so it wasn’t very ‘attractive’, but I had used Evan’s picture on the label. Maia, of course, remembered this, so as soon as I mentioned “label” she said it was her turn. I obliged. I had this goofy picture of her from a few weeks ago where she was wearing an afro wig I had (from an old Halloween costume) and a mustache, so it worked perfectly for what I had in mind.
So lest you think I’ve been sitting around eating bon-bon’s all weekend. I’ve been busy!
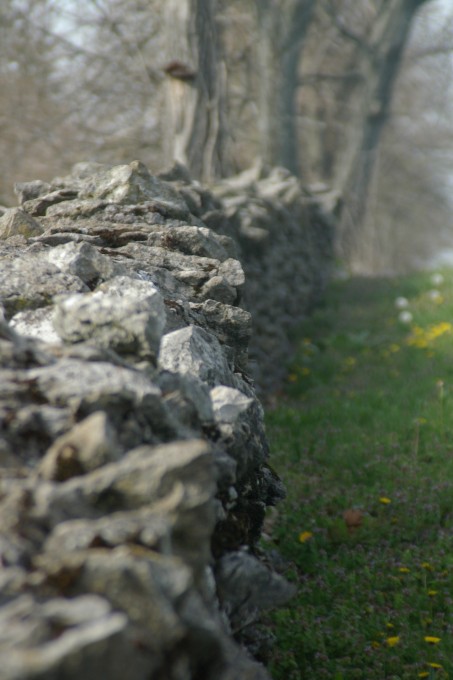
They had the most amazing stone walls at the Shaker Village at Pleasant Hill outside of Lexington, Kentucky. They were everywhere. I guess Kentucky is as rocky as Connecticut. The rocks were different than our rocks though; flatter and sharper — we have big smooth rocks here.