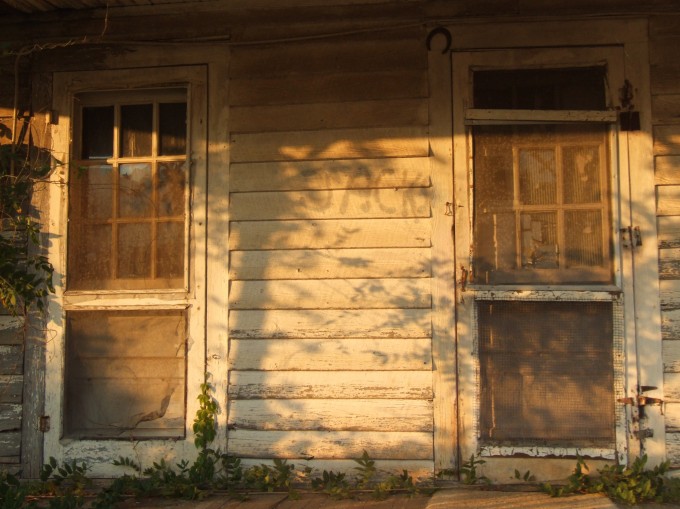
Graffiti on an Abandoned House
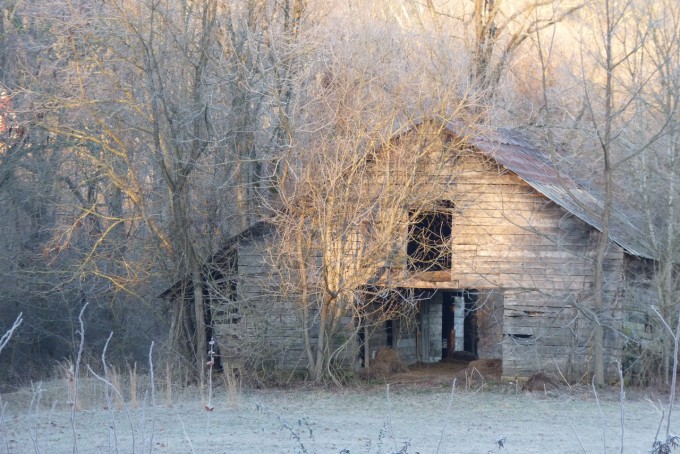
My SIster and I Went Out Early Saturday Morning and Got this Lovely Shot of a Beautiful Barn on a Frosty Morning
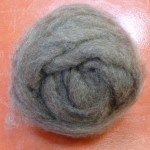
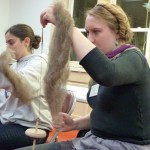
The first (and only) full day of my Learning to Spin class started early and ended late. In the morning we were still learning how to use a drop spindle with wool roving.
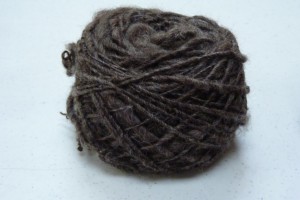
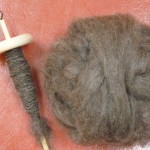
Yarn Spun on a Drop Spindle
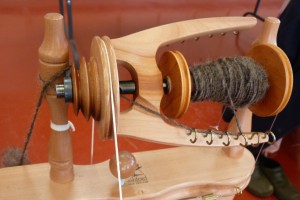
By the end of the night I had two rolls of brown wool yarn and one of the beautiful pink and yellow alpaca yarn.
Tomorrow we’ll learn to “ply” the yarns together and then there will be an “show” of what all of the students at the school here this weekend have made which should be very fun and inspirational.
My sister has completed 3 bowls in her woodturning course!
My laptop is about to die and I forgot my power cord somehow so I’ll post tomorrow night again.
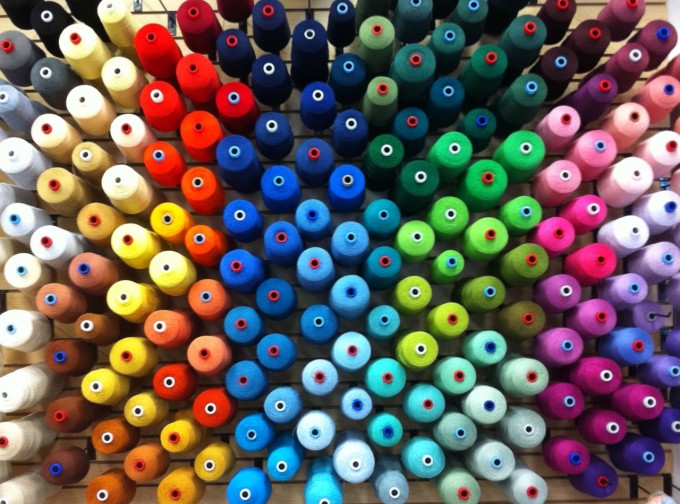
The Beautiful Colors on a Wall Full of Weaving Yarns
What a lovely day for my sister and me.
Our fight departed slighly late but we actually arrived on time to Atlanta. Got our rental car with relative ease, and departed for our drive to North Carolina with shining sun, blue skies and temperatures in the high 40’s. There wasn’t a flake of snow to be seen anywhere. The drive was not particularly impressive until we started to get into the boonies of Georgea and into North Carolina. By that time it was about 4:30 and the sun was so perfect in the sky, casting this golden hew on everything. I wanted to stop the car every few hundred yards to take pictures. But, by this time we’d run out of room to spare to get to the school on time so I only got a few opportunities.
Here are a few of the photos I managed to get.
Fence in the Setting Sun
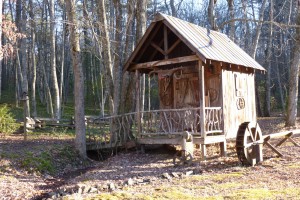
Cool Funky Cabin
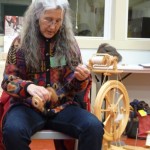
From 6:45 until 9:00 we both learned something we knew absolutely nothing about. By the end of the night I had learned how to make yarn on a drop spindle. It wasn’t perfect, but I seemed to be picking it up fairly quickly and was happy with the progress I’d made by 9:00.
My sister enjoyed her evening portion of the bowl turning on a lathe class, but seemed a little frustrated by having a little bit too much assistance by the teachers. She may start over with a fresh bowl blank tomorrow.
Tomorrow we plan on getting up at 6:00 a.m. and take a quick drive around the area for to see what’s here and take some photos in the early-morning sunlight. Breakfast is at 8:15 and class starts at 9:00 and pretty much goes all day with a short break for lunch. By the end of the day tomorrow we should all have learned the general basics of spinning on a spinning wheel, which should be quite interesting. Apparently we will not be learning carding and preparing wool, as there is simply not enough time in the short weekend to cover all of the basics. We will learn how to pick a good fleece tomorrow and we’ll wash it as well. It’s all very interesting. There are I think 8 women in the class and none of us have every done spinning of any kind so we’re all total beginners and there was a lot of laughing going on.
At night we’ll have an opportunity to spend more “open studio” time working on projects or visiting the other buildings and see what they are doing there. They teach so many classes in so many different arts it’s mind boggling.
Hopefully I’ll be able to update more tomorrow. There’s lots to learn!
On Friday morning my sister and I will fly down to Atlanta and then drive 3 hours or so to westernmost North Carolina to the John C. Campbell Folk School. We’ve both been receiving their catalogs for a few years now and have talked and talked about going together to take a class. I finally called her about 6 months ago and said “Let’s just do it – let’s pick a weekend and go.” So we did. We are really excited to be going and I’m hoping to find lots of great picture-taking opportunities on the drive there.
Most of their classes are week-long events, but they do offer a pretty wide variety of courses over weekends.
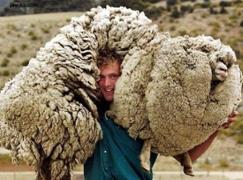
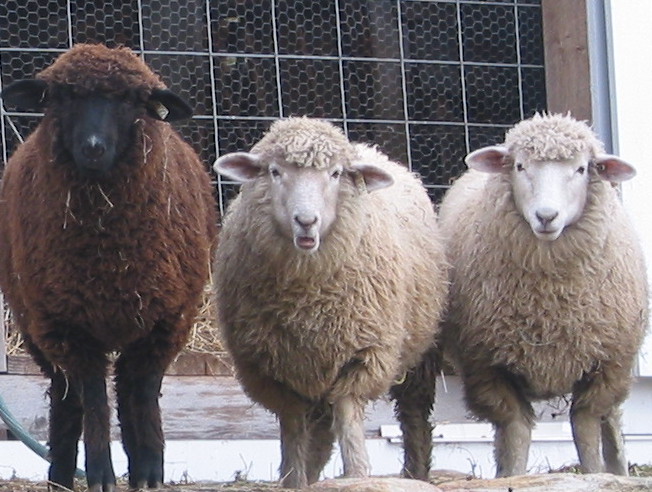
A Very Wooly Sheep Going to be Sheared
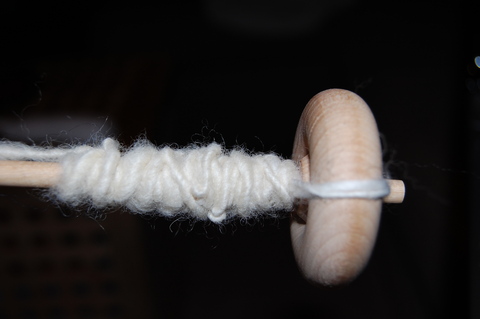
Spinning Wool with a Drop Spindle
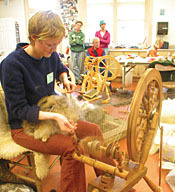
Spinning Wool on a Spinning Wheel
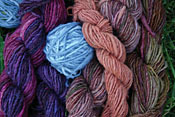
Hand Spun and Naturally Dyed Yarn
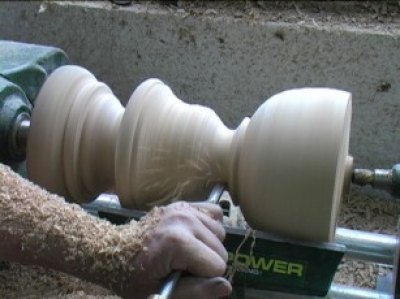
Turning Wood on a Lathe
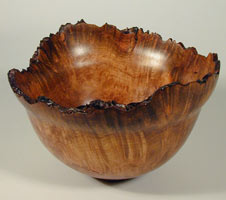
A Turned Wood Bowl Made on a Lathe
As you may have read in my last farm post “Everybody’s In The Dog House“, my goats have been booted from their home by the chickens and are now living in a (very) large dog house. Now normally (although they were not initially very happy about it) this is not a bad living situation for them, but with all of the snow we’ve been getting lately I feel just terrible. There’s a virtual blizzard out my window right now as I write this, and they seem to be coming on an almost daily basis, which is highly unusual for normal Connecticut winters. Plus, they will both (hopefully) have kids come May so I need some suitable housing ASAP.
The point here is that’s it’s forced the issue of getting a larger facility built.
One of my best friends, Michelle, is an architect. She also happens to be out of work at the moment thanks to this economy. Since I can’t add one more morsel of work to my schedule, I realized that this would be perfect for Michelle to design. I think she’s enjoying it, and she’s learning more about small hobby farming than she ever thought she’d want to know!
We spoke last Friday to talk about what I had in mind as far as design and the specifics needs that I had, and she came over yesterday with three initial concept!. I’m just so excited about everything that she did I have to show you.
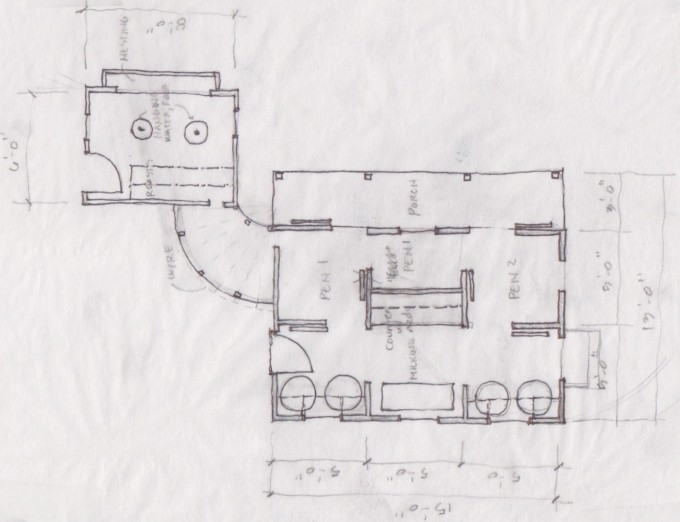
Now although they look like grand ornate barns, the chicken coop will be 8’x10′ and the goat barn will be 15’x10′. The best part of it is that we’ll build the goat barn in 3 5’x10′ sections that we can join together, so when I finally convince Jim to move to the real “farm” I can just detach the sections, haul it up onto a truck and take it with me! If I’m going to do this, I’m going to do it right, and I’m taking it with me.
That thing that looks like a silo is really going to be a fenced chicken area, which will be perfect for young chicks and for cover in bad weather. It will also allow the chickens to “visit” the goats, but the door size will not allow the goats to “visit” the chicken coop and eat the food that makes them sick (and fat).
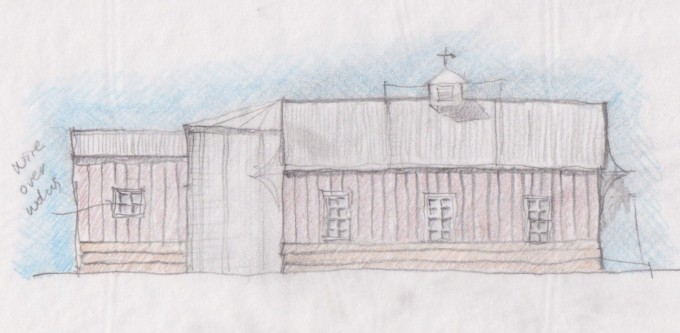
Design #1 with "Silo" Chicken Run
This is the second concept that she came up with:
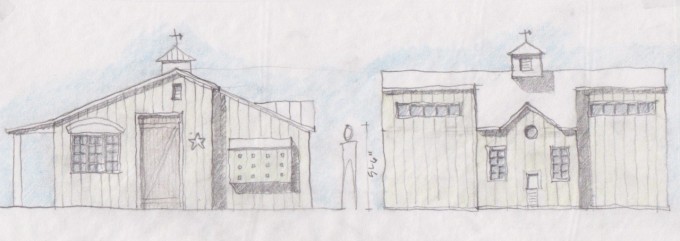
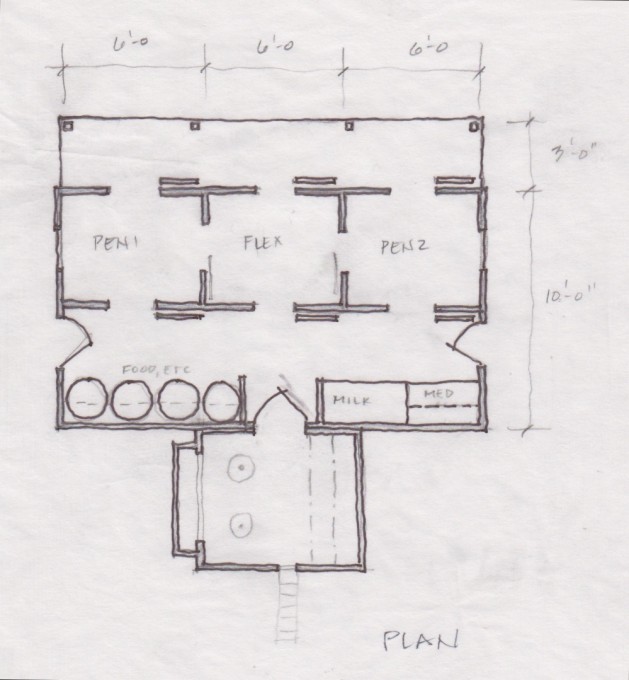
I love parts of both designs #1 and #2. We discussed revisions today and hopefully by next week we’ll have the basic layout and design complete. I’ll
And although this final concept was never really either of our favorites, I’ll show this one to you too. It was really based on more of a “compound” feeling that a single housing unit.
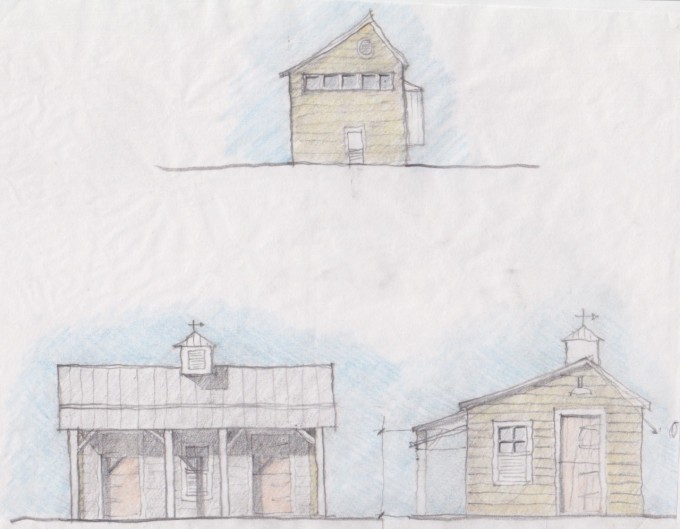
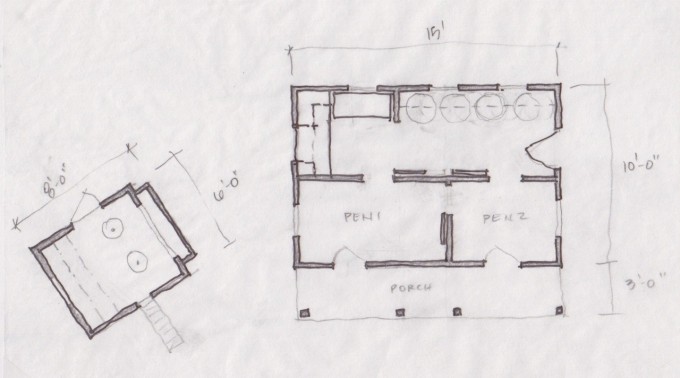
She did such a great job and I cannot wait to see the final “mix” of the two designs that we discussed today. I’ll share them with you when I get them.
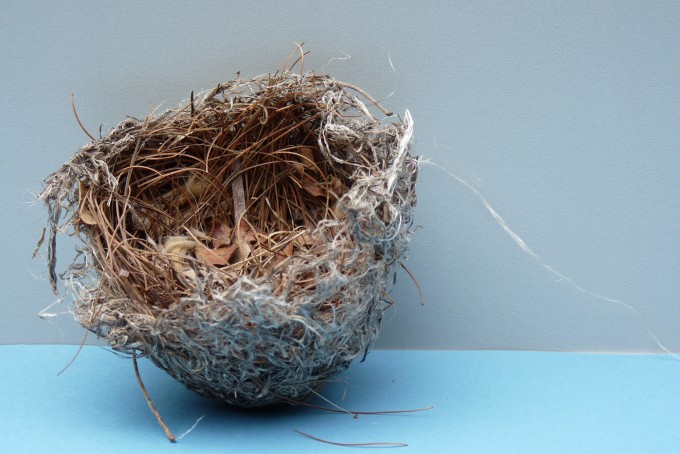
This is one of my favorite photos from my post on Nests
Now I’ve never carved anything in wood in my life, but recently I got it into my head that I needed a beautiful carved sign to hang in front of my farm (that is once I get my realfarm, not this dinky little thing I call a farm here).
I’ve seen some lovely signs hanging outside of farms. Something for everyone to notice as they are driving by. My farm will need one of those. Signs like these:

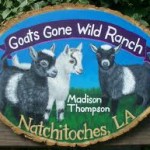

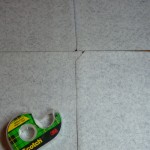
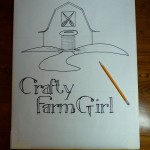
When I went to my local lumberyard they told me they didn’t have a board in the width that I needed and sent me up to the Woodworker’s Store. There they helped me pick out a piece of basswood, which is soft carving wood with very little grain, and I paid a small fee for the shop to glue three lengths together to get the desired size of 18″ wide by 24″ tall. They did an amazing job and you literally could not find the three seams where the boards were joined. Even when I was carving it I couldn’t tell where they were. From there I took my logo to the local Fedex/Kinko’s and enlarged my logo so that it would fit proportionately on the board. Then with my home-made lightbox I used some white craft paper from a roll I have and copied the taped together image onto the one larger pieces of paper. Using regular old carbon paper I pieced four pieces together to get the proper size, laid the copied image over that and taped it onto the board. With a well-sharpened pencil I traced the image onto the wood.
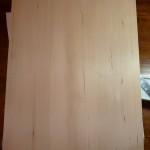
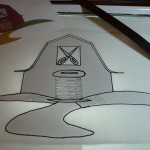
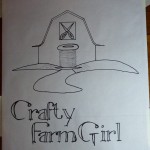

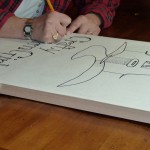
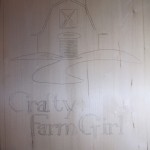
Then using some of the carving tools I’d bought while at the Woodworker’s Store I just started. I had no idea what I was doing, but I generally had a picture in my mind of what I wanted it to look like. It was really fun. It was calming. At the end of the night I would spend a half an hour peacefully working on it. I played with textures and shapes. I love the straight cuts I made to look the barn like siding. I love the way the spool/door looks.
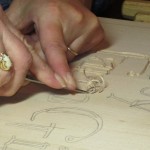
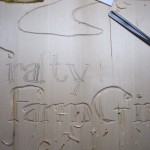
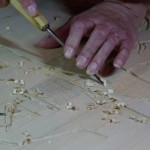
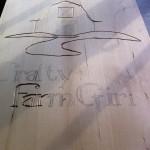
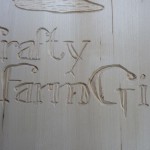
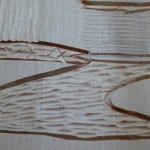
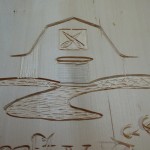
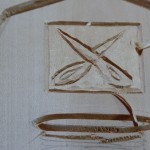
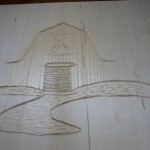
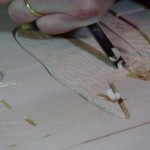
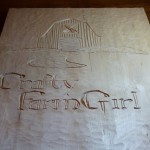
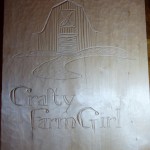
Now I had to paint it. I chose the same colors that were in my Crafty Farm Girl Logo. I used normal craft paint that you can buy at any craft store. The work was very very detailed however, as I wanted the paint only in the actual logo and words and not on the wood as I planned on staining that and keeping it a natural wood color. Luckily my father (a qualifier for the show Hoarders, but he’s working on letting go of stuff) had an old magnifying light that worked perfectly for my needs. I literally couldn’t have painted this without it. I also, thankfully, have tons of paintbrushes in every shape and size.
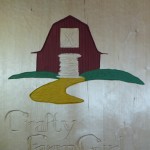
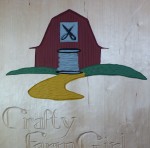
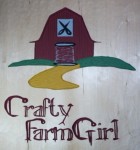
Then, even with a magnified light there were still parts where the paint came out over the edge of the letters or barn logo, so I had to go in with very fine sandpaper and sand the paint off.
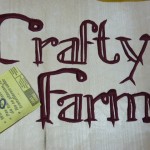
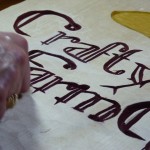
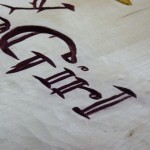
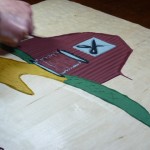
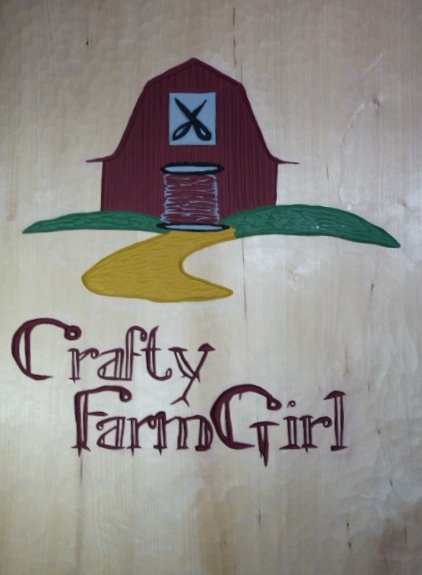
All sanded and ready for stain. The stain came out much darker than I anticipated. I wanted a light finish on it. This may have been that I didn’t use a stain preparation liquid first so the stain just sucked right into the wood quickly.
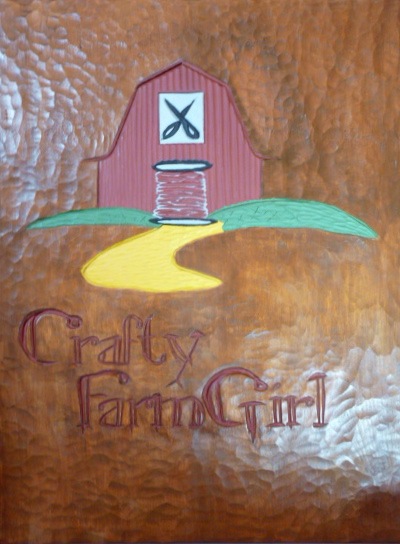
Anyway, I wasn’t thrilled with it the way it was, so I lightly sanded it which removed some of the color from the high points in the carving, and I liked the way that looked since it showed the texture better.
Then I put a very light coat of stain on and multiple coats of polyurethane that I sanded very very lightly with very fine grit sandpaper in-between coats.
Voila
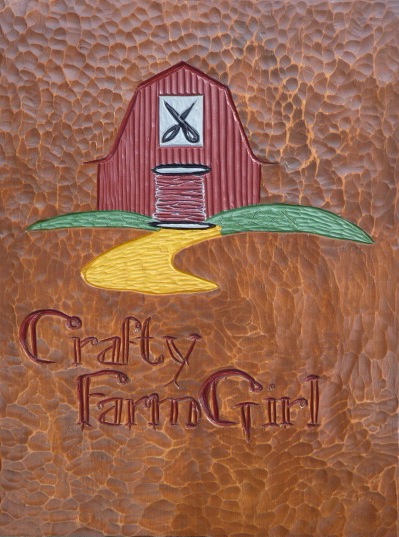
It’s finished for now. I’ve got too many other things on my list, but one day I’ll built a frame of sorts around it like a real farm sign and put at the front of my farm. For now though it was really fun to do and to learn, at least the beginnings, of how to carve.